场景描述:
开始之前,先对Debian和Ubuntu操作系统做个了解,两者都是Linux阵营中很有影响力的发行版本,可以简单理解成“Ubuntu源自Debian,两者系统操作命令基本相同,相比Ubuntu,Debian更加稳定。”
ubuntu和debian的版本对应关系:参考
From 10.04 up to 19.04:
Ubuntu-版本&代号   Debian-代号&版本
19.04  disco      buster  / sid   - 10
18.10  cosmic     buster  / sid
18.04  bionic     buster  / sid
17.10  artful     stretch / sid   - 9
17.04  zesty      stretch / sid
16.10  yakkety    stretch / sid
16.04  xenial     stretch / sid
15.10  wily       jessie  / sid   - 8
15.04  vivid      jessie  / sid
14.10  utopic     jessie  / sid
14.04  trusty     jessie  / sid
13.10  saucy      wheezy  / sid   - 7
13.04  raring     wheezy  / sid
12.10  quantal    wheezy  / sid
12.04  precise    wheezy  / sid
11.10  oneiric    wheezy  / sid
11.04  natty      squeeze / sid   - 6
10.10  maverick   squeeze / sid
10.04  lucid      squeeze / sid
回到我们主题,安装python环境下操作SqlServer的包pymssql;「pymssql官方文档」
联网环境的话,如果已安装pip,直接执行pip install pymssql就可以!一条命令搞定。
如果离线环境安装的话,就有点复杂了:
首先确认我们的系统版本:
root@9deba54adab7:/# cat /etc/debian_version
8.11
root@9deba54adab7:/# uname -a
Linux 9deba54adab7 4.4.0-105-generic #128-Ubuntu SMP Thu Dec 14 12:42:11 UTC 2017 x86_64 GNU/Linux
root@9deba54adab7:/# more /etc/issue
Debian GNU/Linux 8
 l
大概心里有个印象,当前我们系统版本为Debian 8,大体对应ubuntu的14.04。
接下来,我们先按照正常的安装步骤走一遍:
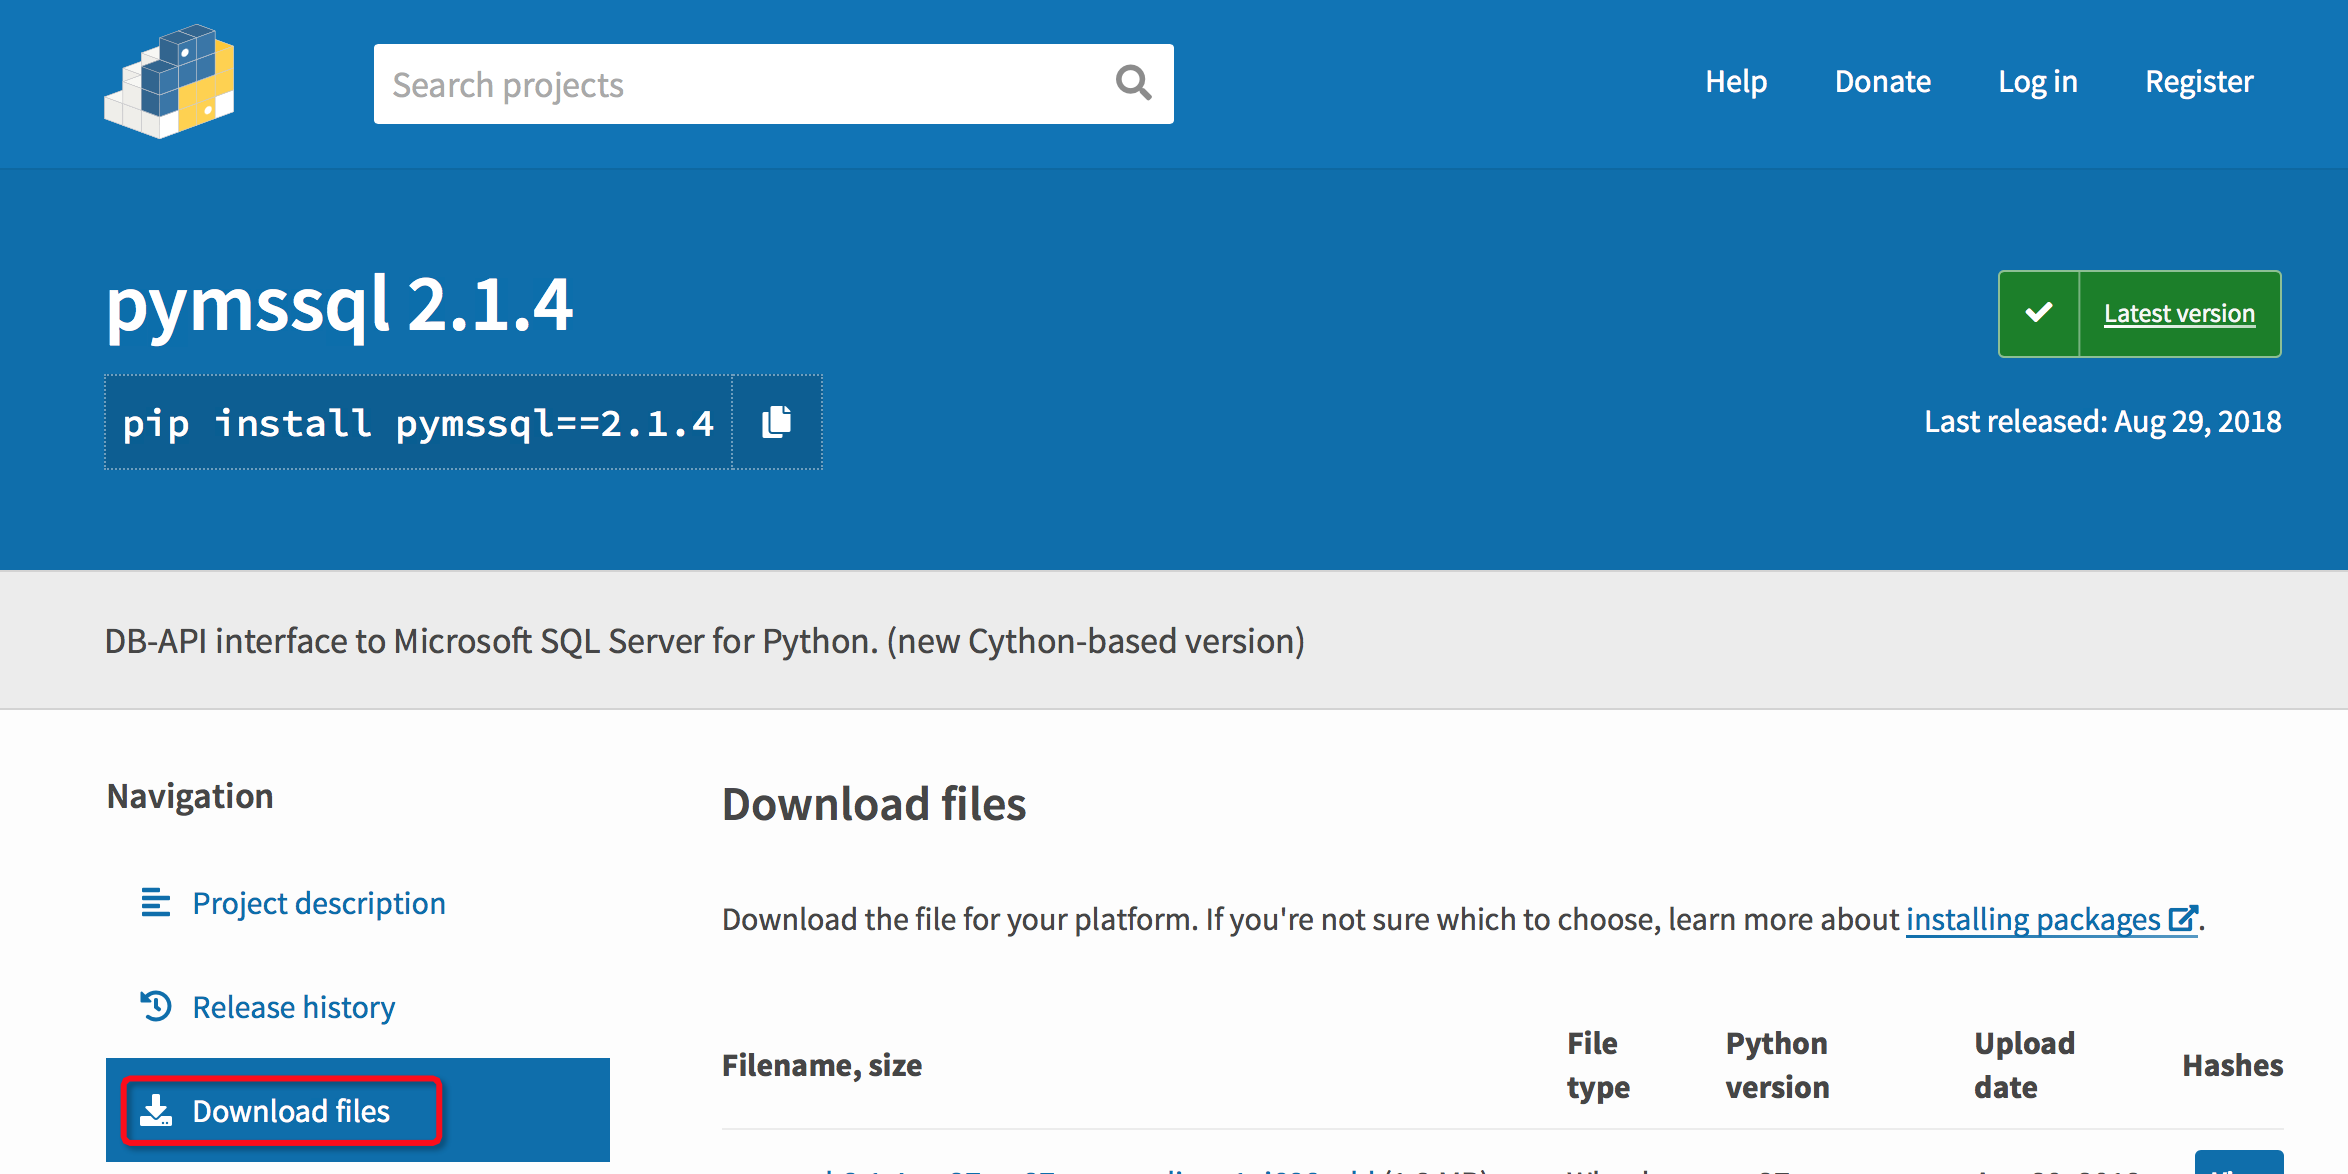
(1) 首先下载pymssql离线安装源码包--注意包版本号,以及支持的python版本:https://pypi.org/project/pymssql/2.1.4/
帮人帮到底:点击 Dowload files (PS: 小伙伴们注意下,这个版本的包可能装不上,这里只是提供给想要测试我遇到的安装问题的版本)


下载并上传到服务器本地之后,解压pymssql-2.1.4.tar.gz,然后进入解压后的目录,执行:
python setup.py build
python setup.py install
(上边两条命令,执行的前提是系统已安装了setuptools包:https://pypi.org/project/setuptools/#downloads)
执行python setup.py build的时候出现如下异常:
Traceback (most recent call last):
  File "setup.py", line 88, in <module>
    from Cython.Distutils import build_ext as _build_ext
  File "/mnt/tt_package/pymssql-2.1.4/Cython-0.29.13-py2.7-linux-x86_64.egg/Cython/Distutils/__init__.py", line 1, in <module>
    from Cython.Distutils.build_ext import build_ext
  File "/mnt/tt_package/pymssql-2.1.4/Cython-0.29.13-py2.7-linux-x86_64.egg/Cython/Distutils/build_ext.py", line 5, in <module>
    from setuptools.command.build_ext import build_ext as _build_ext
  File "/usr/lib/python2.7/dist-packages/setuptools/command/build_ext.py", line 50, in <module>
    class build_ext(_build_ext):
TypeError: Error when calling the metaclass bases
    str() takes at most 1 argument (3 given)
基于上述异常,网络查找资料,WTF,资料少的可怜,难道跟Linux下用某软sqlserver的用户少有关么?!找了半天,无果!
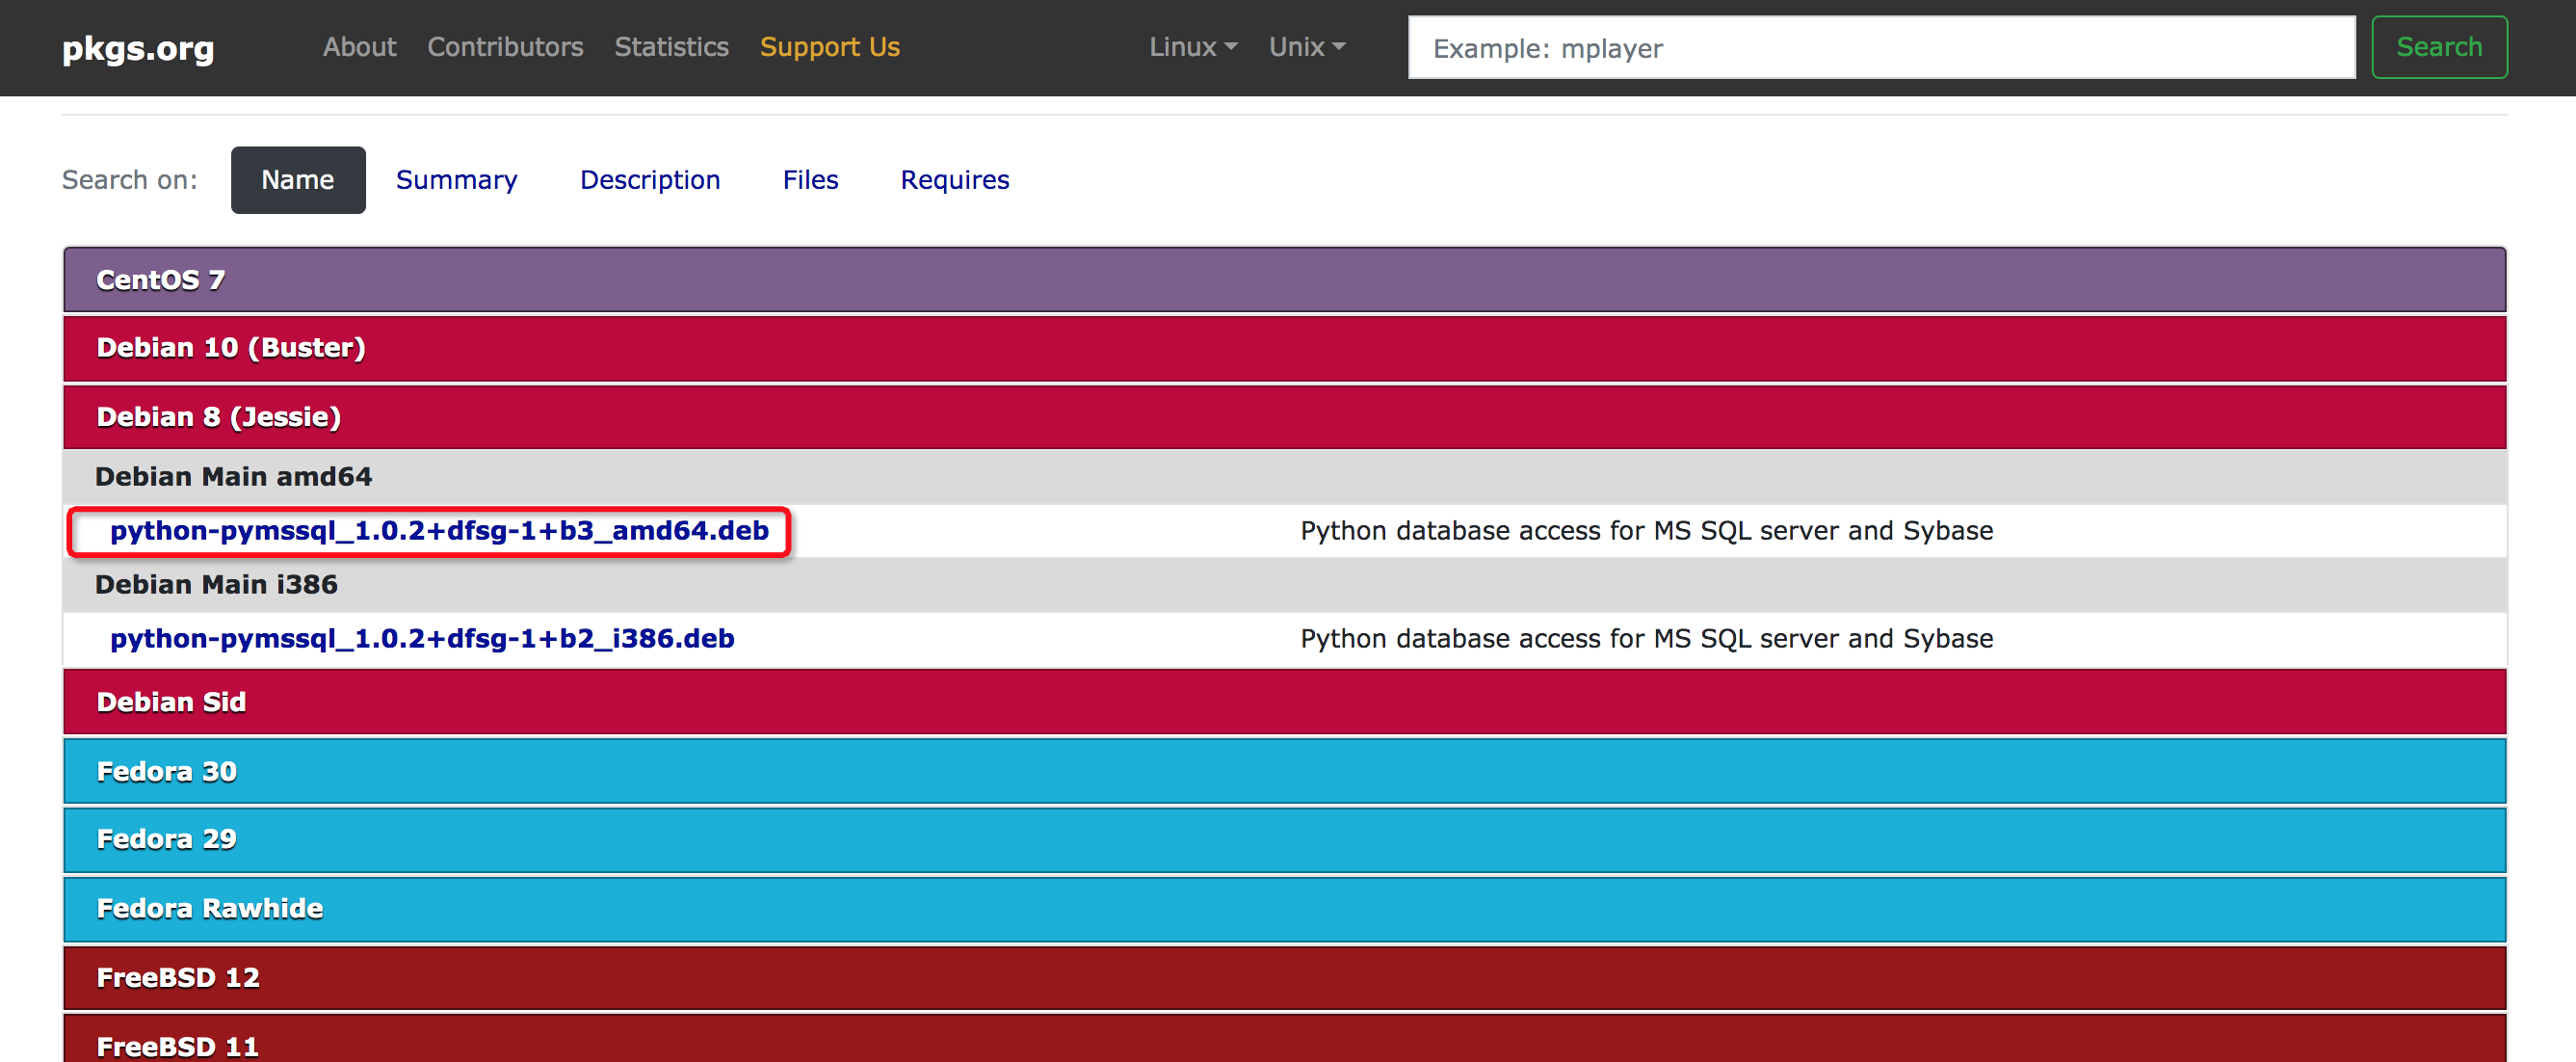
中途尝试了其他安装python包的方式,如:dpkg的方式安装.deb包,https://pkgs.org/download/pymssql

将上述包,下载下来后执行安装:
dpkg -i python-pymssql_1.0.2+dfsg-1+b3_amd64.deb
结果~ 结果~!报了一堆依赖问题,擦汗!来来来,顺便提供个下载debian依赖包的地址:https://packages.debian.org/buster/libsybdb5
学了一遍,ubuntu下如何搜集依赖及解决依赖问题:
https://www.youcl.com/info/5946
https://blog.csdn.net/junbujianwpl/article/details/52811153
最后,最后还是无果!
***********************************************************************************
分割线之后,休息一下,中午吃个饭,一直寻思到底啥问题,甚至有了放弃的念头,实在不行,写个Django接口服务,也是一种思路提供参考!
即:在可以联网的机器上用Docker装好pymssql环境,用Django起个服务,跟当前需要访问sqlserver的程序部署在同一台服务器上,通过调用接口来实现间接访问sqlserver数据库。
PS:这块功能已实现,回头梳理下整理出来。
***********************************************************************************
还是不甘心,怎么办?怎么办?难道我们安装的版本出了问题么?
更换版本试下;pymssql-2.1.1.tar.gz

按照第一次的安装步骤,上传解压,执行python setup.py install;出现异常:
root@2bb33e0d50af:/mnt/tt_package/pymssql-2.1.1# python setup.py install
setup.py: platform.system() => 'Linux'
setup.py: platform.architecture() => ('64bit', '')
setup.py: platform.linux_distribution() => ('debian', '8.11', '')
setup.py: platform.libc_ver() => ('glibc', '2.4')
setup.py: Not using bundled FreeTDS
setup.py: include_dirs = ['/usr/local/include']
setup.py: library_dirs = ['/usr/local/lib']

Installed /mnt/tt_package/pymssql-2.1.1/setuptools_git-1.2-py2.7.egg
running install
running bdist_egg
running egg_info
writing pymssql.egg-info/PKG-INFO
writing top-level names to pymssql.egg-info/top_level.txt
writing dependency_links to pymssql.egg-info/dependency_links.txt
reading manifest file 'pymssql.egg-info/SOURCES.txt'
writing manifest file 'pymssql.egg-info/SOURCES.txt'
installing library code to build/bdist.linux-x86_64/egg
running install_lib
running build_ext
building '_mssql' extension
creating build
creating build/temp.linux-x86_64-2.7
x86_64-linux-gnu-gcc -pthread -DNDEBUG -g -fwrapv -O2 -Wall -Wstrict-prototypes -fno-strict-aliasing -D_FORTIFY_SOURCE=2 -g -fstack-protector-strong -Wformat -Werror=format-security -fPIC -I/usr/local/include -I/usr/include/python2.7 -c _mssql.c -o build/temp.linux-x86_64-2.7/_mssql.o -DMSDBLIB
_mssql.c:314:22: fatal error: sqlfront.h: No such file or directory
 #include "sqlfront.h"
                      ^
compilation terminated.
error: command 'x86_64-linux-gnu-gcc' failed with exit status 1
出现了新的错误,网上根据错误关键字查找,
找到如下靠谱参考:
https://blog.csdn.net/u012965373/article/details/52759391
https://blog.csdn.net/Mr0Yang/article/details/52351595
https://blog.51cto.com/linuxshow/1407255
https://www.cnblogs.com/dbcloud/p/6397270.html
里边基本上都提到了,系统缺少包:freetds,会导致安装pymssql的时候,出现异常:error: command 'gcc' failed with exit status 1
OK!
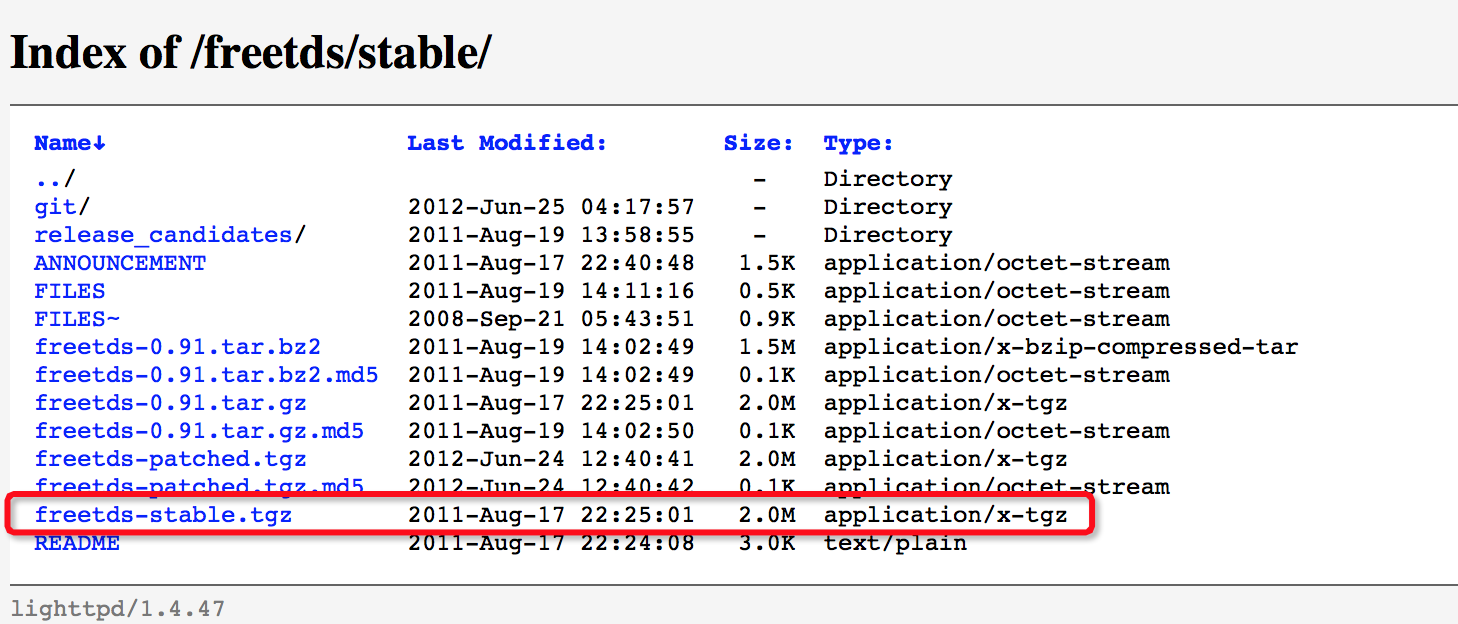
我们接着继续安装缺少的包:freetds,上边几篇参考博客中基本附了下载地址:http://mirrors.ibiblio.org/freetds/stable/

也可以点击这里下载 提取码: fpmw
下载到本地后,上传到目标服务器,然后解压tgz包安装:
# 解压
tar zxvf freetds-stable.tgz
cd freetds-0.91
# 编译安装 ---耐心等待执行完成
./configure --prefix=/usr/local/freetds --with-tdsver=8.0 --enable-msdblib --enable-dbmfix --with-gnu-ld --enable-shared --enable-static

make && make install

# 配置freetds:
echo "/usr/local/freetds/lib" >> /etc/ld.so.conf.d/freetds.conf
# 然后运行以下指令使配置生效
ldconfig -v
到此没有出现异常的话,基本上freetds包已安装完成!
接下来重头戏,重新执行安装:pymssql-2.1.1.tar.gz,到相应目录下执行: python setup.py install ---耐心等待
.....................省略部分输出...............
creating 'dist/pymssql-2.1.1-py2.7-linux-x86_64.egg' and adding 'build/bdist.linux-x86_64/egg' to it
removing 'build/bdist.linux-x86_64/egg' (and everything under it)
Processing pymssql-2.1.1-py2.7-linux-x86_64.egg
creating /usr/local/lib/python2.7/dist-packages/pymssql-2.1.1-py2.7-linux-x86_64.egg
Extracting pymssql-2.1.1-py2.7-linux-x86_64.egg to /usr/local/lib/python2.7/dist-packages
Adding pymssql 2.1.1 to easy-install.pth file

Installed /usr/local/lib/python2.7/dist-packages/pymssql-2.1.1-py2.7-linux-x86_64.egg
Processing dependencies for pymssql==2.1.1
Finished processing dependencies for pymssql==2.1.1
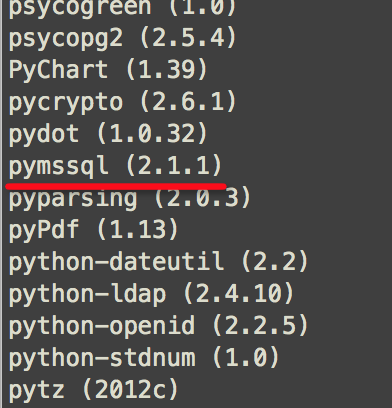
按耐不住内心的小激动,OK,验证下是否安装成功:pip list 查看安装情况

# python环境下执行导入操作:
root@2bb33e0d50af:/mnt/tt_package/pymssql-2.1.1# python
Python 2.7.9 (default, Sep 25 2018, 20:42:16)
[GCC 4.9.2] on linux2
Type "help", "copyright", "credits" or "license" for more information.
>>>
>>> import pymssql
>>>
不容易~ 一波三折~ 搞定啦!!!
如果提示缺少包:setuptools-git
到下面地址下载:
https://pypi.org/project/setuptools-git/#files
PS: 虽然我按照上边的流程,最终安上了,但是小伙伴们可能遇到新的问题,如果有新的情况,欢迎留言区补充,大家共同学习进步。