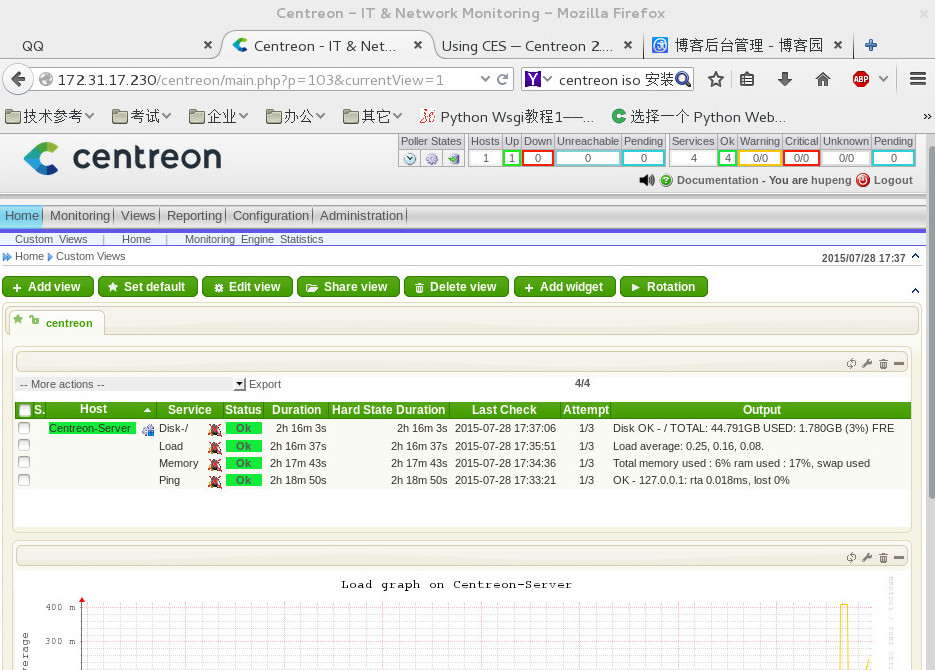
centreon 是一个自动化监控平台,监控数据存储在 mysql 中,监控配置在UI中操作,方便且功能强大。

1. centreon 监控引擎
centreon 可以与 nagios 结合,使用 nagios 的监控引擎,也可以使用 centreon 自己的监控引擎。
根据 centreon 的测试,采用centreon 引擎比 nagios 引擎快8到9倍。因此,最新的 centreon 3.2 发行版默认采用 centreon 引擎。
2. 安装方法
2.1 概述
查阅搜索引擎,过去都采用 Nagios + NDOUtils + centreon 软件包 + 众多依赖包的安装方式,不仅安装过程繁琐、而且nagios/ndoutils性能不佳。
现在centreon 官方网站提供了 iso 镜像文件,默认使用Centreon Engine/Centreon Broker 替代 Nagios/NDOUtils,集成了所有的依赖软件,不仅安装方便,而且性能好。
iso 文件下载地址:
https://download.centreon.com/
2.2 安装过程
用 iso 文件启动虚拟机或者刻盘后启动服务器,按照向导,基本上点击默认设置就能成功安装,安装完成后在浏览器中访问 http://YOUR_IP/centreon 进行简单的配置。
详细过程可以参考 centreon 的文档:
https://documentation.centreon.com/docs/centreon/en/latest/installation/01a.html
3. 启动监控
初次使用 centreon 请按照下述方法启用监控,默认已经有了一个 localhost 的监控配置了。如果不这样操作,已经配好的 host 和 service 的监控信息有可能看不到的:
Start monitoring
To start monitoring engine :
- On web interface, go to Configuration ==> Monitoring engines
- Leave the default options and click on Export
- Uncheck Generate Configuration Files and Run monitoring engine debug (-v)
- Check Move Export Files and Restart Monitoring Engine
- Click on Export again
- Log into the ‘root’ user on your server
- Start Centreon Broker