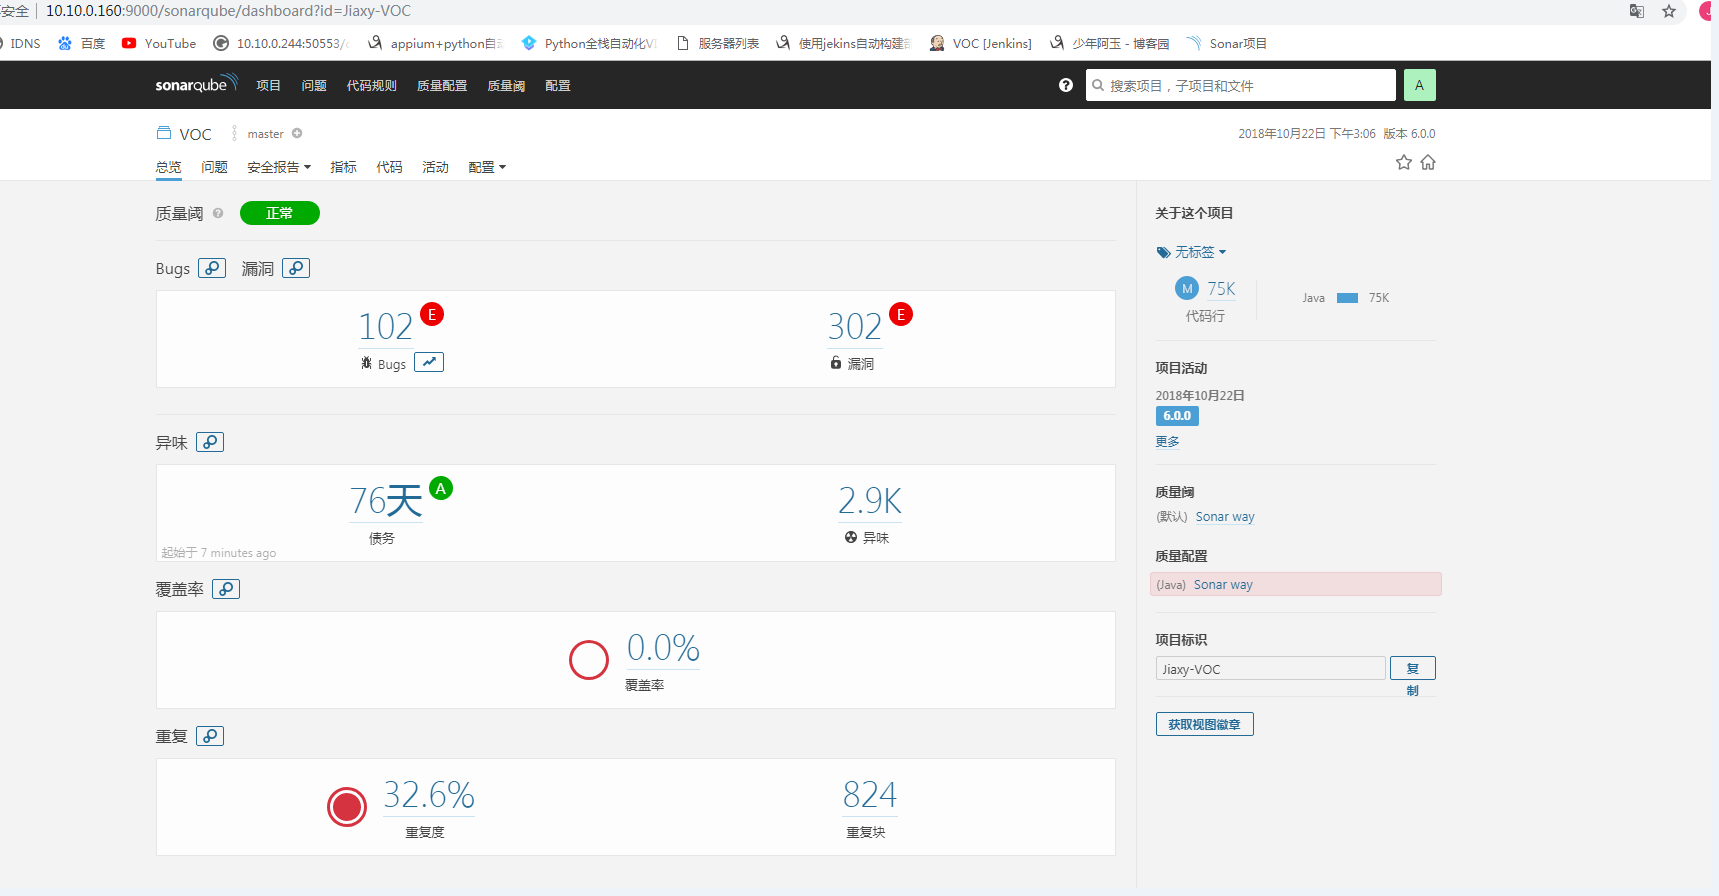
预置条件:
Jdk已安装
Mysql已安装
1. 下载 SonarQube和Sonar scanner。
SonarQube: http://www.sonarqube.org/downloads/
Sonar scanner: https://docs.sonarqube.org/display/SCAN/Analyzing+with+SonarQube+Scanner
2. 数据库配置
#mysql -u root -p
mysql> CREATE DATABASE sonar CHARACTER SET utf8 COLLATE utf8_general_ci;
mysql> CREATE USER 'sonar' IDENTIFIED BY 'sonar';
mysql> GRANT ALL ON sonar.* TO 'sonar'@'%' IDENTIFIED BY 'sonar';
mysql> GRANT ALL ON sonar.* TO 'sonar'@'localhost' IDENTIFIED BY 'sonar';
mysql> FLUSH PRIVILEGES;
3. 安装sonarqube
(1)将下载的sonarqube-7.3.zip包 解压至Linux某路径如 /opt
将下载的sonar-scanner-cli-3.2.0.1227-linux.zip包 解压某路径 /opt
unzip *.zip
(2)编辑 sonar 配置:
A. vi sonarqube/conf/sonar.properties 放开相应配置如下:
sonar.jdbc.username=sonar
sonar.jdbc.password=sonar
sonar.jdbc.url=jdbc:mysql://localhost:3306/sonarqube?useUnicode=true&characterE
ncoding=utf8&rewriteBatchedStatements=true&useConfigs=maxPerformance
sonar.web.host=0.0.0.0
sonar.web.context=/sonarqube
sonar.web.port=9090
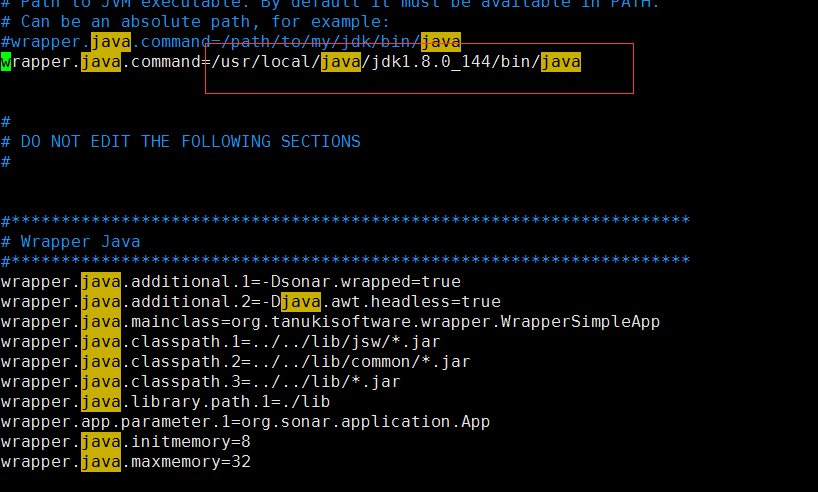
B. vi waapper.conf 设置java命令
(3)使用非root用户,启动sonarqube服务
/opt/sonarqube/bin/linux-x86-64/sonar.sh start
(4)关闭防火墙
service iptables stop
(5)访问 http://10.10.0.160:9090/sonarqube 即可
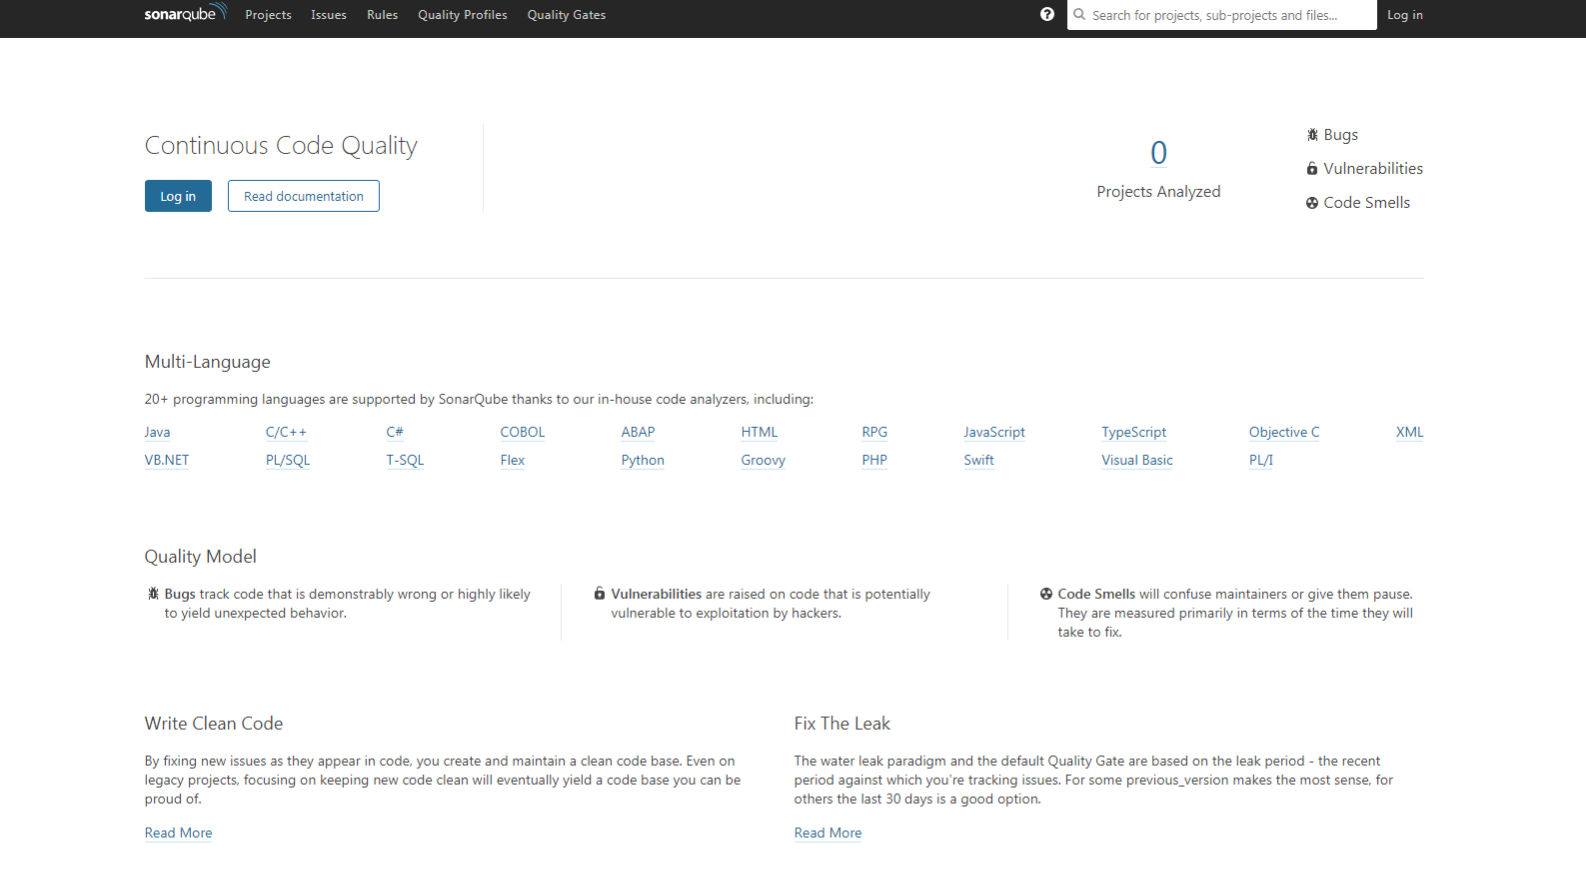
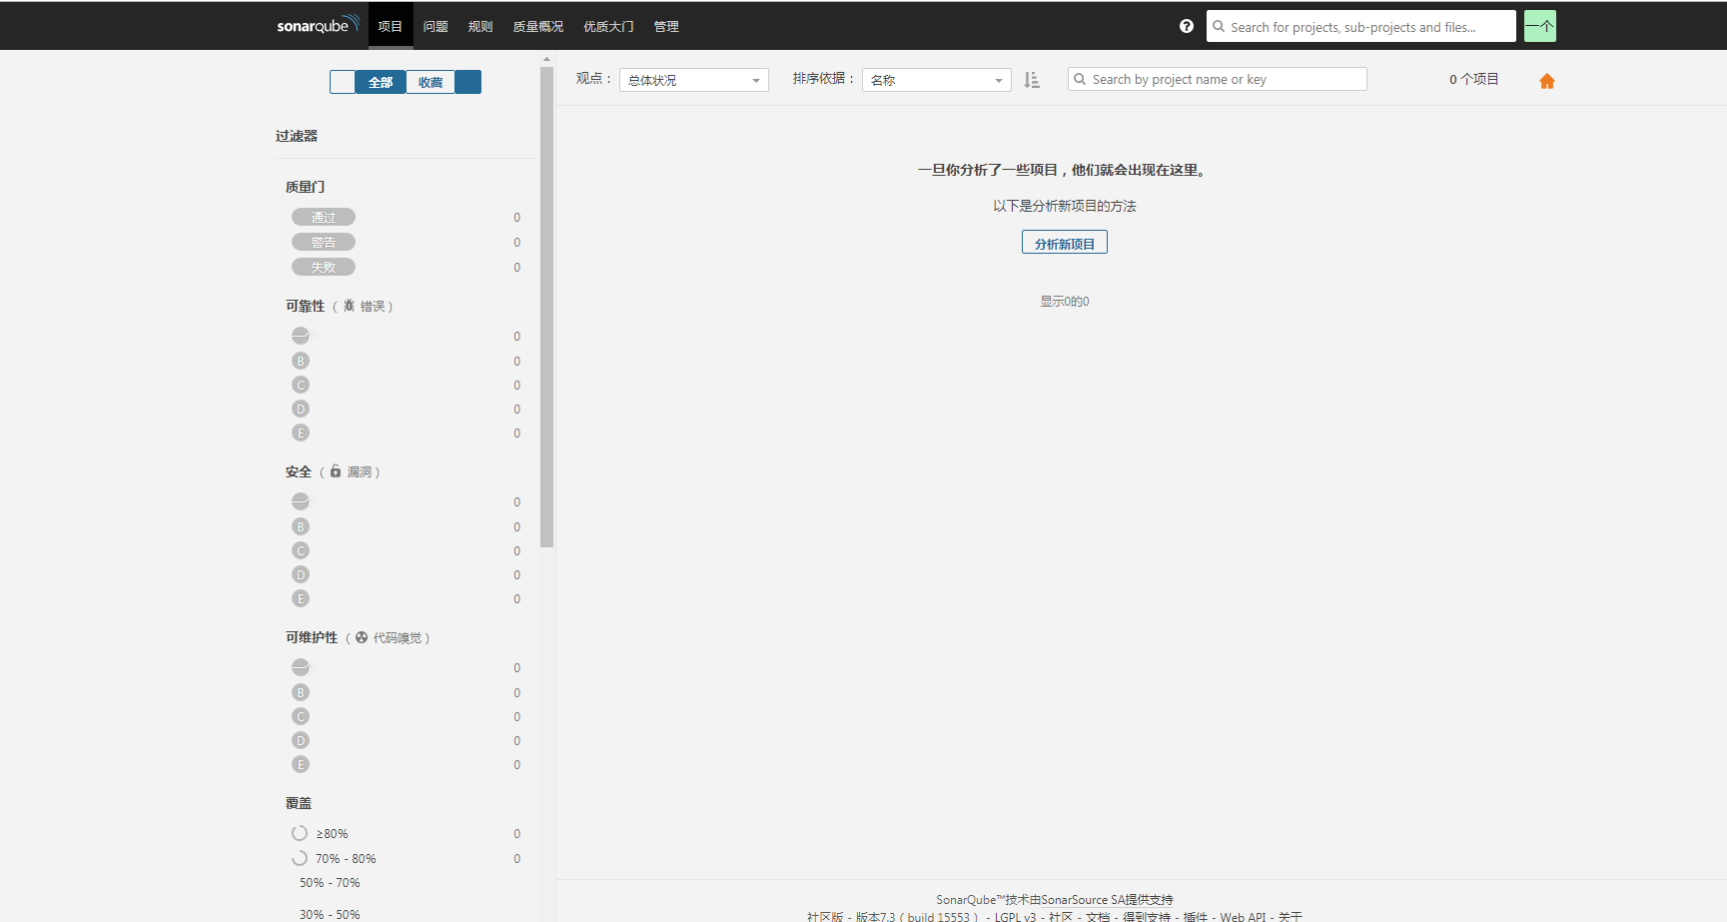
(6)点击右上角【login】,使用admin admin登录,登录成功后如下图所示
4. sonar中文补丁包安装
(1)点击【Administration】-【Marketplace】,搜索chinese,点击【install】

(2)安装完成之后点击【restart】,重新登录
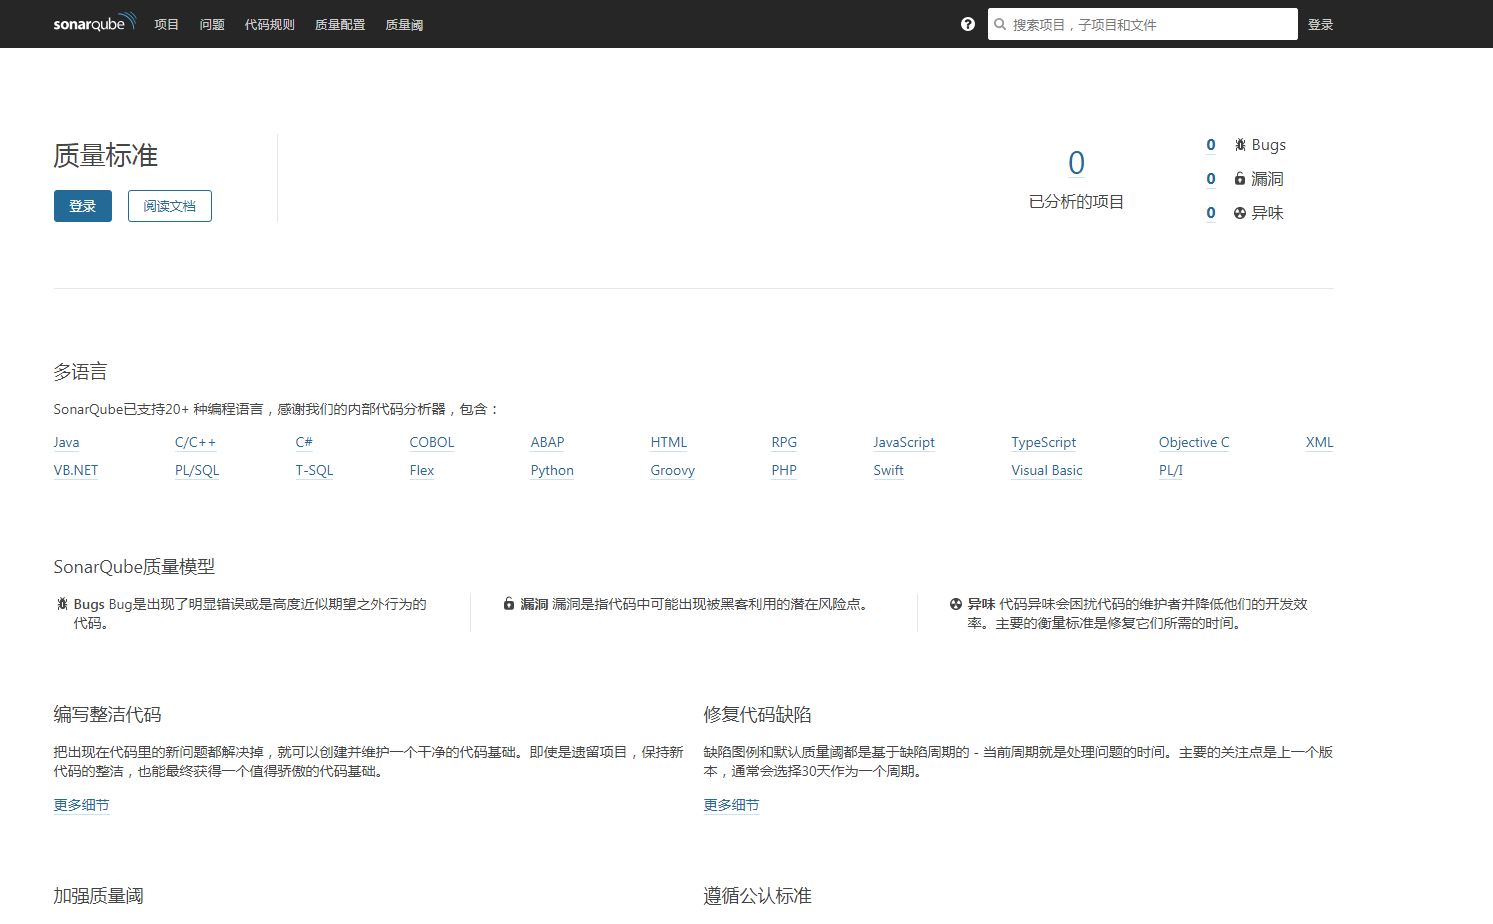
5. sonar-scanner配置
(1)把以下配置加到:/etc/profile
SONAR_RUNNER_HOME=/usr/local/sonarscanner
PATH=$SONAR_RUNNER_HOME/bin:$PATH
export SONAR_RUNNER_HOME
export PATH
然后执行source /etc/profile
(2)修改sonar-scanner的配置文件,vim conf/sonar-scanner.properties
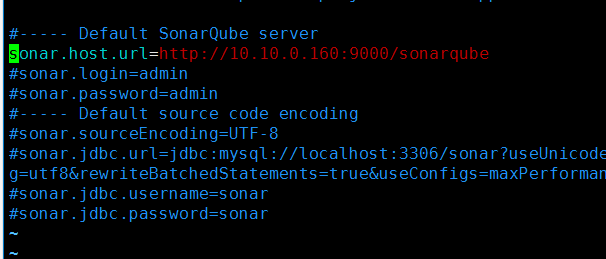
(3)在项目源码目录下创建sonar-project.properties

(4)配置sonar-project.properties
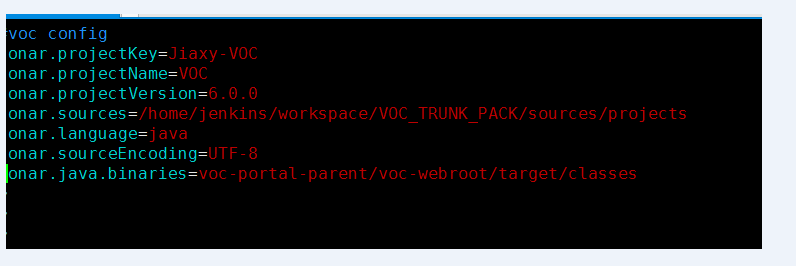
(5)在sonar-project.properties的路径下执行sonarscanner:
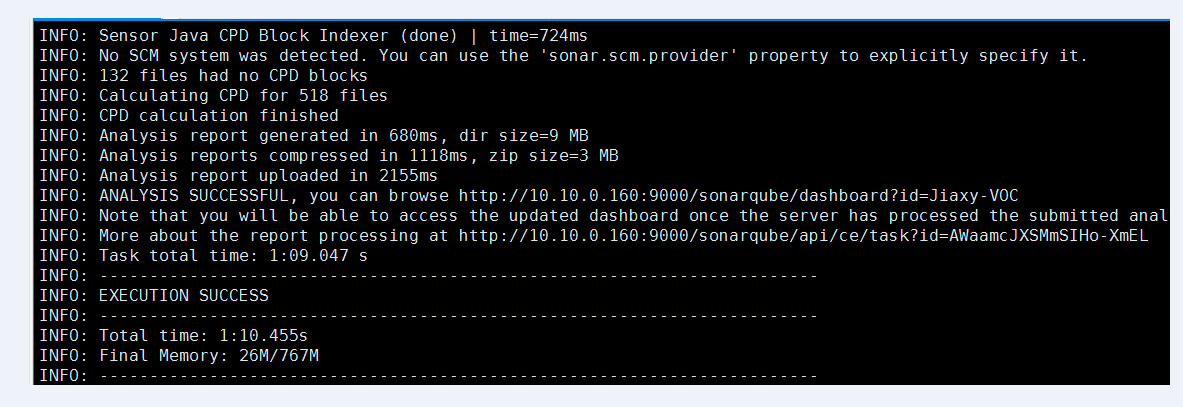
(6)浏览器查看扫描分析结果:
