LineChart,就使用Core Graphics和QuartzCore框架中的CAShapeLayer绘制。这样执行效率明显比堆砌UIView的方法效率高--占用资源少,执行快。
看看CALayer的定义:
class CALayer : NSObject, NSCoding, CAMediaTiming
再看看UIView的定义:
class UIView : UIResponder, NSCoding, UIAppearance, NSObjectProtocol, UIAppearanceContainer, UIDynamicItem, UITraitEnvironment, UICoordinateSpace
你就应该知道为什么完全不能用UIView来堆砌这个图了。
言归正传!画线可以用Core Graphics一点点的画,也可以用CALayer来话,准确的说是CAShapeLayer更方便,所以我们用CAShapeLayer来画线。用CAShapeLayer画线灰常之简单。总的来说就是设定路线(Path),然后把这个路线赋值给这个layer画线就完成了。比如,初始化一条贝塞尔曲线,然后指定好center point和半径,起始角度和结束角度,然后“BANG”。“BANG”是一个象声词,龙珠里很多。指定你的CAShapeLayer实例的path属性值为这个path。此处略去一堆什么给你的view.layer.addsublayer什么的细节。运行后你就会看到一个从起始角度到结束角度的一个半圆。
运行起来之后,你会看到这个半圆和你需要的起始角度、结束角度差很多。所以,还是画一个正圆比较容易一些。尤其现在我们才刚刚开始接触这个神秘的东东。等下还有更神秘的。。。要画正圆只要指定起始角度为0(这里需要严重说明一下,角度都是弧度制的,比如,π、2π什么的)。结束角度为2π,也就是(M_PI * 2)。半径随便,圆心最好设定在屏幕的中心,也就是:
UIScreen.mainScreen().bounds.height / 2和UIScreen.mainScreen().bounds.width / 2。这样就是在屏幕中心点,以你给定的值为半径画了一个圆圈。效果如图:

给的贝塞尔曲线是这样的:
UIBezierPath(arcCenter: centerPoint, radius: CGRectGetWidth(bounds) / 2 - 30.0, startAngle: 0, endAngle: CGFloat(M_PI * 2.0), clockwise: true).CGPath
这里需要注意的是一定要在最后调用属性CGPath,这个才是CAShapeLayer可以接受的Path的类型。直接赋值是会报错的。在贝塞尔曲线初始化的过程中角度值需要使用CGFloat类型。M_PI是Double类型的。这里需要类型转换一下。否则报错会报在radius的身上,但是起始是角度的类型问题。
圆是画出来了,但是我们要绘制的是line chart,是直线。该如何解决呢。这里就需要说明一下绘制线的一般感性认识。首先CAShapeLayer需要知道绘制的起始点在哪里,其次,从哪一点到哪一点绘制一条线。对于圆的贝塞尔曲线来说自然是从角度为0的,半径长度和圆心来开始画线,线一直延续到结束角度2π(PI)。对于一条直线就简单多了。起点是指定的一个点。然后,添加一条线到另一个点。来看看如何具体的用代码画一条线。

        var path = CGPathCreateMutable()
        var x = UIScreen.mainScreen().bounds.width / 2, y = UIScreen.mainScreen().bounds.height / 5
        CGPathMoveToPoint(path, nil, 0, y * 2)
CGPathAddLineToPoint(path, nil, 0, 0)
CGPathAddLineToPoint(path, nil, x - kRadiusLength, 0)
        CGPathAddLineToPoint(path, nil, bounds.size.width, bounds.size.height)

        progressLayer.path = path
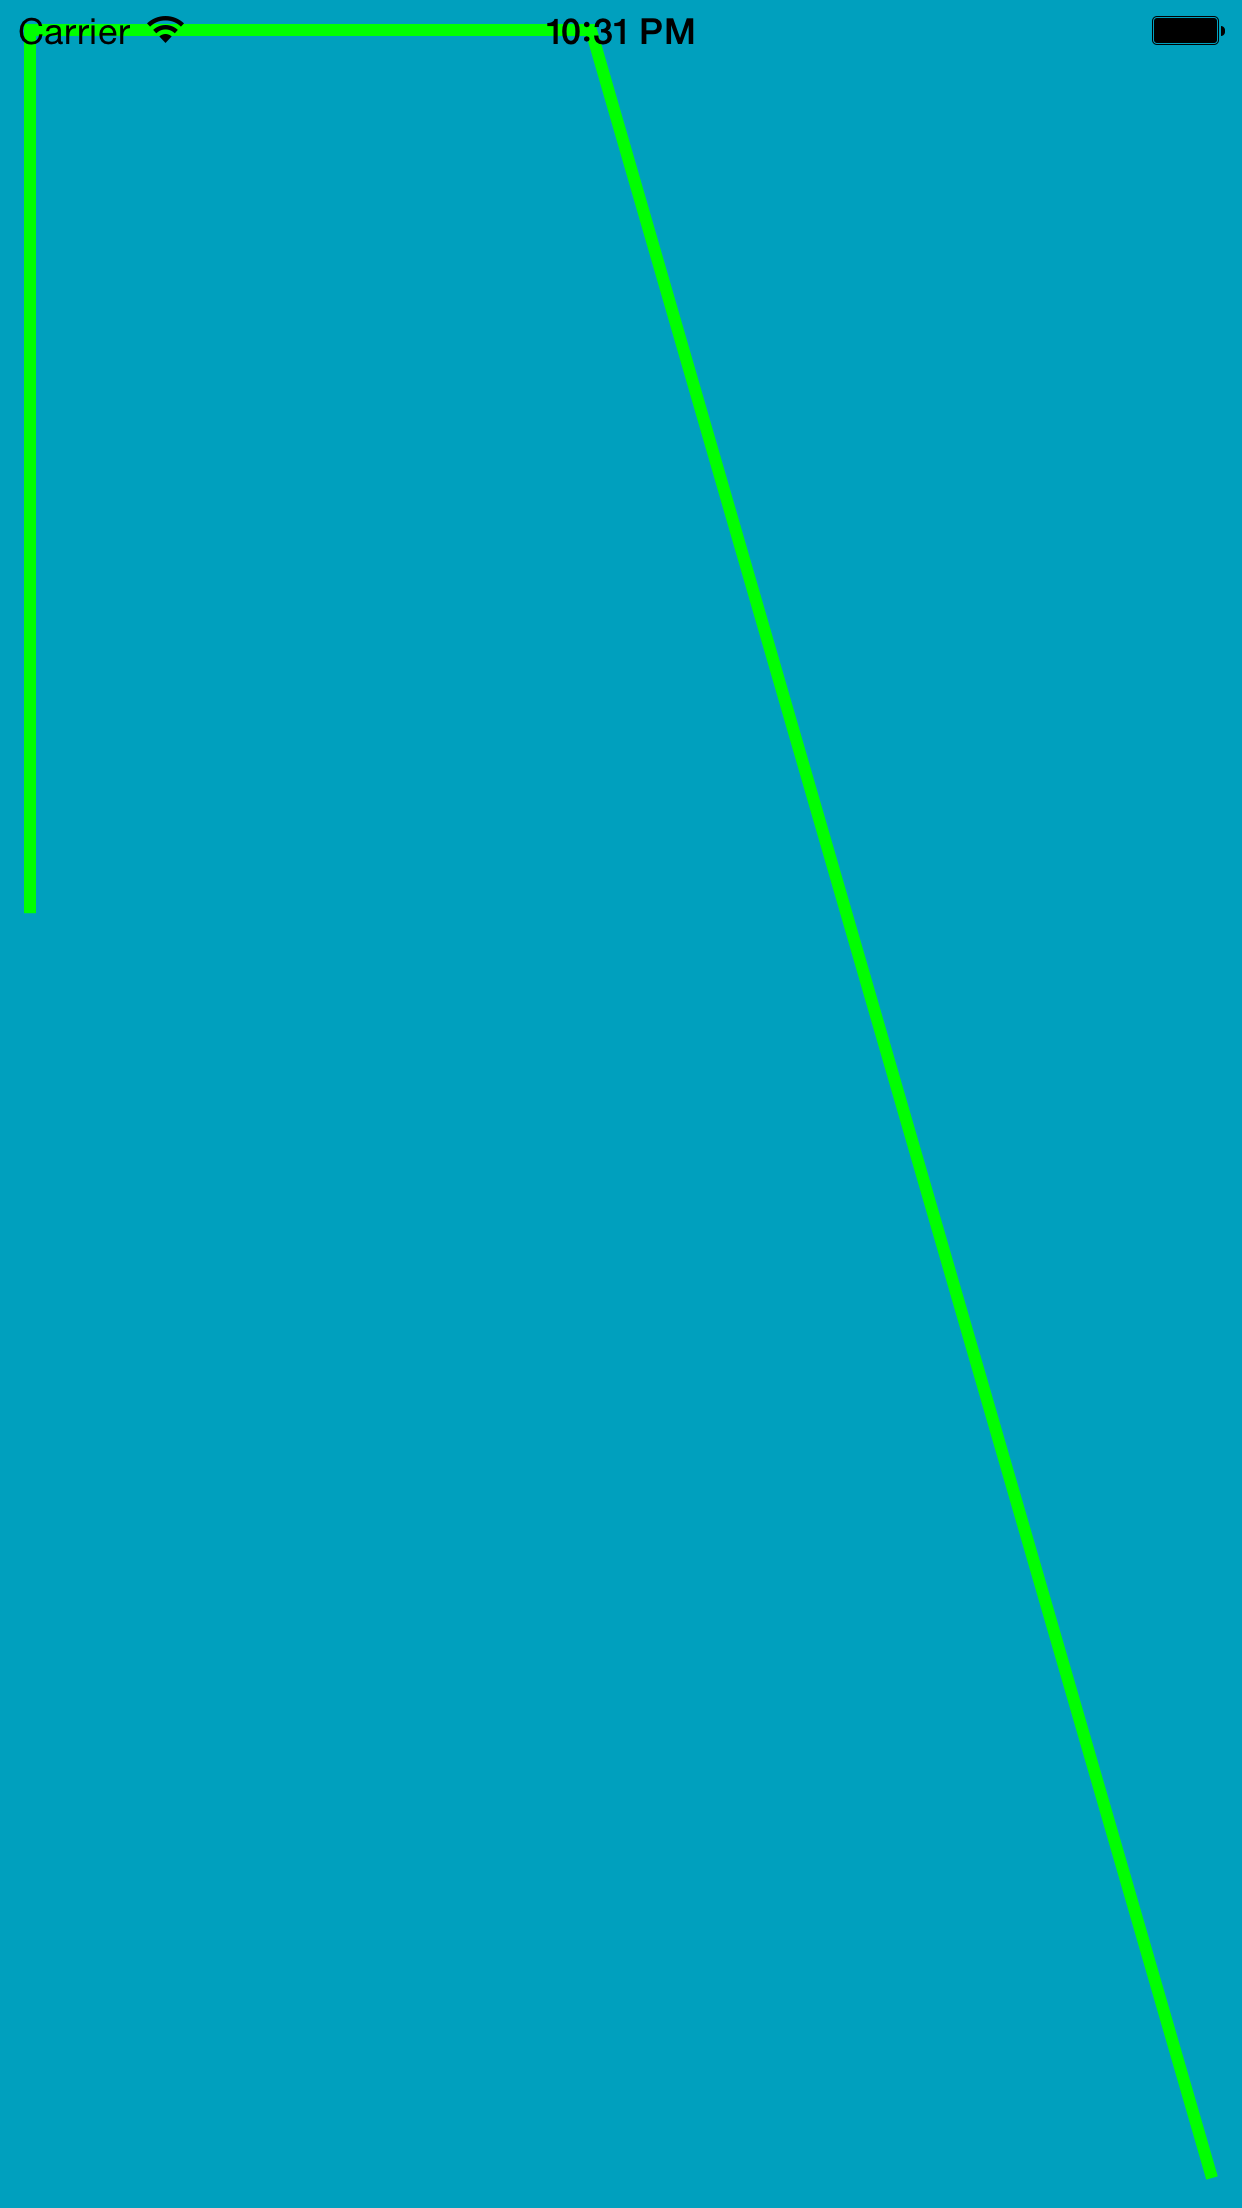
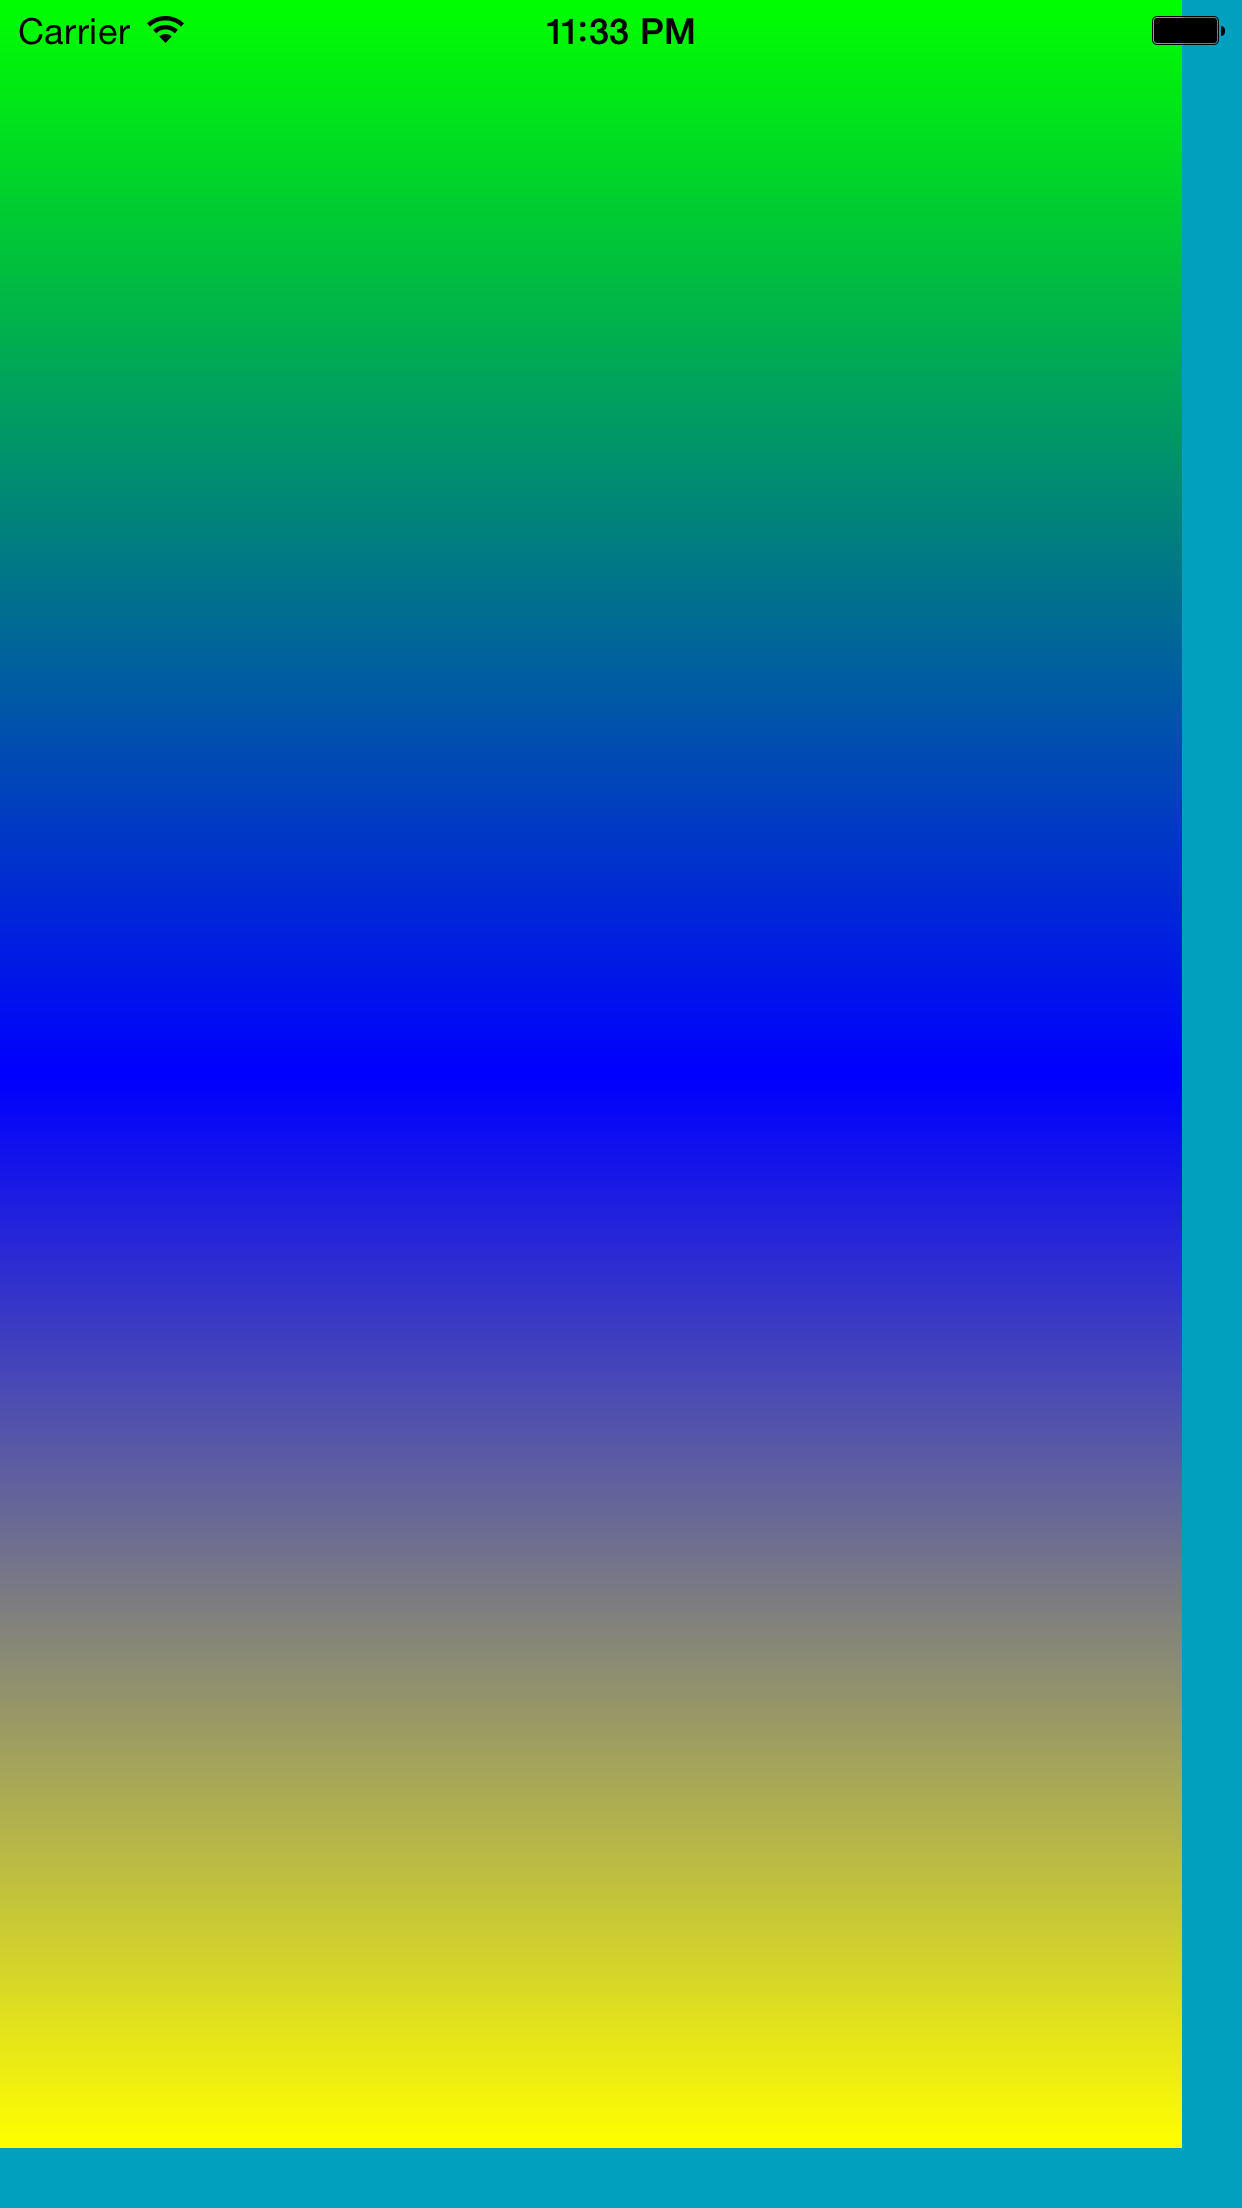
线就是这么画出来的。有线了以后就需要考虑另一个问题了,线下面的渐变色。这个就需要用到另一种Layer:CAGradientLayer。CAGradientLayer有一个属性可以做到这一点,这个属性就是colors。给这个属性多少颜色,CAGradientLayer就会出现多少从一个颜色到另一个颜色的渐变。注意一点,这里需要的颜色都是UIColor.yellowColor().CGColor。看到这个CGColor了吗?一定要这个颜色才行。否则,不报错,也不显示任何的颜色!
代码:
        var gradientLayer2 = CAGradientLayer()
        gradientLayer2.startPoint = CGPointMake(0.5, 1.0)
        gradientLayer2.endPoint = CGPointMake(0.5, 0.0)
        gradientLayer2.frame = CGRectMake(0, 0, bounds.size.width, bounds.size.height)
        gradientLayer2.colors = [UIColor.yellowColor().CGColor, UIColor.blueColor().CGColor, UIColor.greenColor().CGColor]
        self.view.layer.addSublayer(gradientLayer2)
这效果就出来了:
到这里你应该就明白了。图一种的白色到透明的渐变其实就是不同alpha的白色赋值给了colors属性。
gradientLayer2.colors = [UIColor(red: 1.0, green: 1.0, blue: 1.0, alpha: 0.0).CGColor,
            UIColor(red: 1.0, green: 1.0, blue: 1.0, alpha: 0.5).CGColor,
            UIColor(red: 1.0, green: 1.0, blue: 1.0, alpha: 0.8).CGColor]

看效果,白色从上到下的渐变填充已经出来了。画线前面已经讲过。现在的问题就是让这个填充按照画得线剪裁。这个非常简单。
我们来给上面的CAShapeLayer这样的一个路线:
var path = CGPathCreateMutable()
        CGPathMoveToPoint(path, nil, 0, UIScreen.mainScreen().bounds.height)
        CGPathAddLineToPoint(path, nil, 0, 0)
        CGPathAddLineToPoint(path, nil, x - kRadiusLength, 0)
        CGPathAddLineToPoint(path, nil, bounds.size.width, bounds.size.height / 2)
然后,就让CAGradientLayer的mask属性为这个CAShapeLayer。
gradientLayer.mask = progressLayer
这样一来。效果就出来了。

但是。。仔细一个,填充的渐变白色图是有了,那么线呢?白色的线没有。CAShapeLayer的线最终都只是成为CAGradientLayer的剪裁线。要解决这个问题就要上下面的重头戏了。
为了解决这个问题,我们不得不祭出Core Graphics神器了。总体的构造思路是在Controller中添加一个View,在这个View中使用Core Graphics来画线,之后在上面添加我们上文说到的两个Layer。也就是下面画线,然后用Layer来完成渐变色的填充和对这个填充色的剪裁。
Core Graphics画线比CALayer还是麻烦一些的,但是思路总体上一致。也是把画笔放到起始点(在哪里开始画线)。之后也是从哪里到哪里画线。总体来说,画线的思路就是这样。
首先,需要在Core Graphics中铺上画布:
var context = UIGraphicsGetCurrentContext()
2. 指定线的颜色和线的宽度:
CGContextSetStrokeColorWithColor(context, UIColor.whiteColor().CGColor)
CGContextSetLineWidth(context, 1.0)
3. 开始画线:
CGContextMoveToPoint(context, kBottomMargin, CGRectGetHeight(rect) - kBottomMargin)
CGContextAddLineToPoint(context, CGRectGetWidth(rect) - kBottomMargin, CGRectGetHeight(rect) - kBottomMargin)
这里必须补充一点。在画线的时候,我们需要一些列的点坐标。暂时,只是用模拟的方式实现。var x = calculateX(0)和var y = calculateY(0)就是第一个点得x,y坐标的计算方法。具体的代码在后面。这些给定的点需要映射到你的画布的坐标系中。calculateX、Y就是做这个映射的。虽然省略了一些步骤。但是你应该可以从初中的数学基础中明白这个是怎么回事的,所以此处只做解释其他省略。
    func calculateX(i: Int) -> CGFloat {
        var x = kBottomMargin + CGFloat(i) * kUnitLabelWidth!
        return x
    }
kBottomMargin是x点在左侧的一个margin。只是展示需要,不用关心。 CGFloat(i) * kUnitLabelWidth!,i是第几个点,也就是x轴上的index。kUnitLabelWidth!是x轴上两点之间的距离,至于感叹号就不多解释了,那个是swift的基础。
func calculateY(i: Int) -> CGFloat {
        var y: CGFloat = 0
        switch(i){
        case 0:
            y = kTotalYValue! * 0.5
            break
        case 1:
            y = kTotalYValue! * 0.3
            break
        case 2:
            y = kTotalYValue! * 0.7
            break
        case 3:
            y = kTotalYValue! * 0.7
            break
        case 4:
            y = kTotalYValue! * 0.2
            break
        case 5:
            y = kTotalYValue! * 0.8
            break
        default:
            y = 0
            break
        }
        return y
    }
这里主要计算,每个x点对应的y点(这里就摸你了y值对应在画布坐标系的方法)。
有了以上的只是就可以画出折线图了。具体的方法如下:
override func drawRect(rect: CGRect) {
        println("drawRect")

        var context = UIGraphicsGetCurrentContext()

//        CGContextSetStrokeColorWithColor(context, UIColor.blueColor().CGColor)
//        CGContextSetLineWidth(context, 4.0)
//        CGContextMoveToPoint(context, kBottomMargin, kBottomMargin)
//        CGContextAddLineToPoint(context, CGRectGetWidth(rect) - kBottomMargin, CGRectGetHeight(rect) - kBottomMargin)
//        CGContextStrokePath(context)

        CGContextSetStrokeColorWithColor(context, UIColor.whiteColor().CGColor)
        CGContextSetLineWidth(context, 1.0)
        CGContextMoveToPoint(context, kBottomMargin, CGRectGetHeight(rect) - kBottomMargin)
        CGContextAddLineToPoint(context, CGRectGetWidth(rect) - kBottomMargin, CGRectGetHeight(rect) - kBottomMargin)
//        CGContextStrokePath(context)

        CGContextSetFillColorWithColor(context, UIColor.orangeColor().CGColor)

        var x = calculateX(0)
        var y = calculateY(0)
        var prePoint: CGPoint = CGPointMake(x, y)

        for var index = 0; index < 6; index++ {
            var x = calculateX(index)
            var y = calculateY(index)
            var textY = CGRectGetHeight(rect) - kBottomMargin + 3

            CGContextMoveToPoint(context, x, CGRectGetHeight(rect) - kBottomMargin)
            CGContextAddLineToPoint(context, x, CGRectGetHeight(rect) - kBottomMargin + kUnitLabelHeight)

            var labelString = NSString(string: "(kBaseLabelString) (index)")
            labelString.drawAtPoint(CGPointMake(x + kUnitLabelHeight, textY), withAttributes: [NSFontAttributeName: kLabelFont, NSForegroundColorAttributeName: kLabelFontColor])

            CGContextStrokePath(context)

            CGContextMoveToPoint(context, x, y)
//            CGContextSetLineWidth(context, 2.0)
            var path = UIBezierPath(arcCenter: CGPointMake(x, y), radius: kCircleRadiusLength, startAngle: CGFloat(0.0)
                , endAngle: CGFloat(2 * M_PI), clockwise: true)
            CGContextAddPath(context, path.CGPath)
//            CGContextFillPath(context)

            CGContextStrokePath(context)

//            var offset: CGFloat = kCircleRadiusLength * CGFloat(sin(M_PI_4))
            var offset = calculateOffset(prePoint.x, prePoint.y, x, y, kCircleRadiusLength)
            if prePoint.x != x /*&& prePoint.y != y*/ {

                if y > prePoint.y {
                    CGContextMoveToPoint(context, prePoint.x + offset.offsetX, prePoint.y + offset.offsetY)
                    CGContextAddLineToPoint(context, x - offset.offsetX, y - offset.offsetY)
                }
                else if y < prePoint.y {
                    CGContextMoveToPoint(context, prePoint.x + offset.offsetX, prePoint.y - offset.offsetY)
                    CGContextAddLineToPoint(context, x - offset.offsetX, y + offset.offsetY)
                }
                else{
                    CGContextMoveToPoint(context, prePoint.x + offset.offsetX, prePoint.y)
                    CGContextAddLineToPoint(context, x - offset.offsetX, y)
                }

                CGContextStrokePath(context)

                prePoint = CGPointMake(x, y)
            }
        }

//        CGContextMoveToPoint(context, x, y)
        CGContextSetLineWidth(context, 3)
        CGContextSetStrokeColorWithColor(context, UIColor.greenColor().CGColor)
        CGContextSetFillColorWithColor(context, UIColor.blueColor().CGColor)
        var circleRect = CGRectMake(x, y, 15, 15)
        circleRect = CGRectInset(circleRect, 3, 3)
        CGContextFillEllipseInRect(context, circleRect)
        CGContextStrokeEllipseInRect(context, circleRect)
    }
这一段代码:
var path = UIBezierPath(arcCenter: CGPointMake(x, y), radius: kCircleRadiusLength, startAngle: CGFloat(0.0)
                , endAngle: CGFloat(2 * M_PI), clockwise: true)
            CGContextAddPath(context, path.CGPath)
就是用来在各条线之间画圆圈的。
以几乎略有不同的算法可以在calayer上绘制出CAGradientLayer的mask路线。也就是在core graphics里画得白线和在纸上铺上去的mask以后的gradient layer可以严丝合缝的组合在一起。这是看起来才能和苹果的health app一样的效果。这里需要说明,在添加了圆圈之后,每次画线的时候需要考虑要把线缩短。如果直接按照原来的方式的话,会优先穿过圆圈。