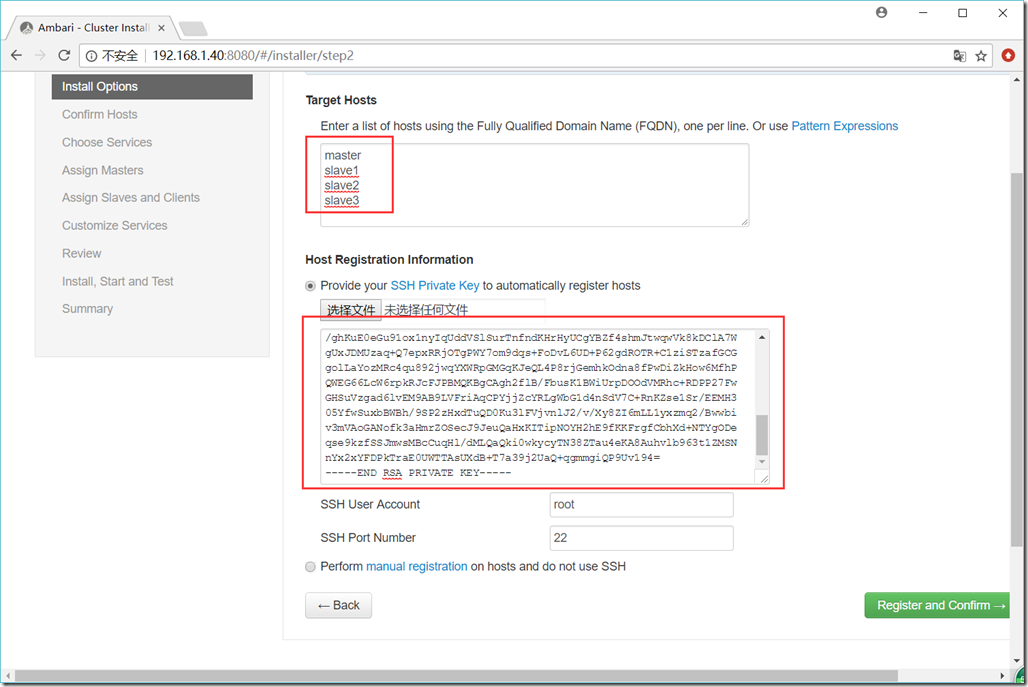
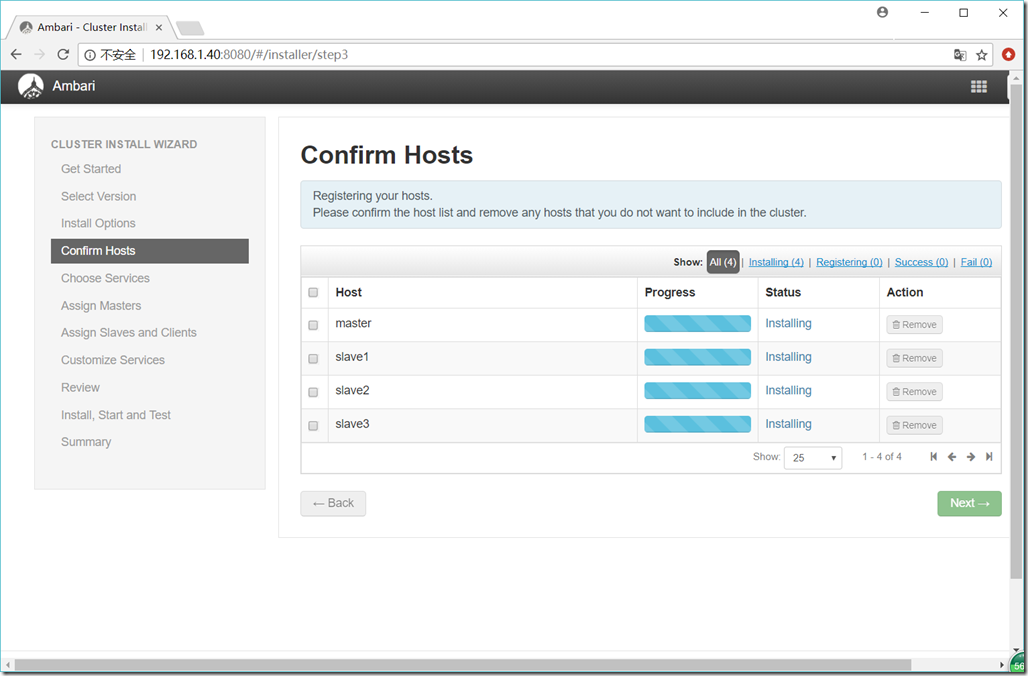
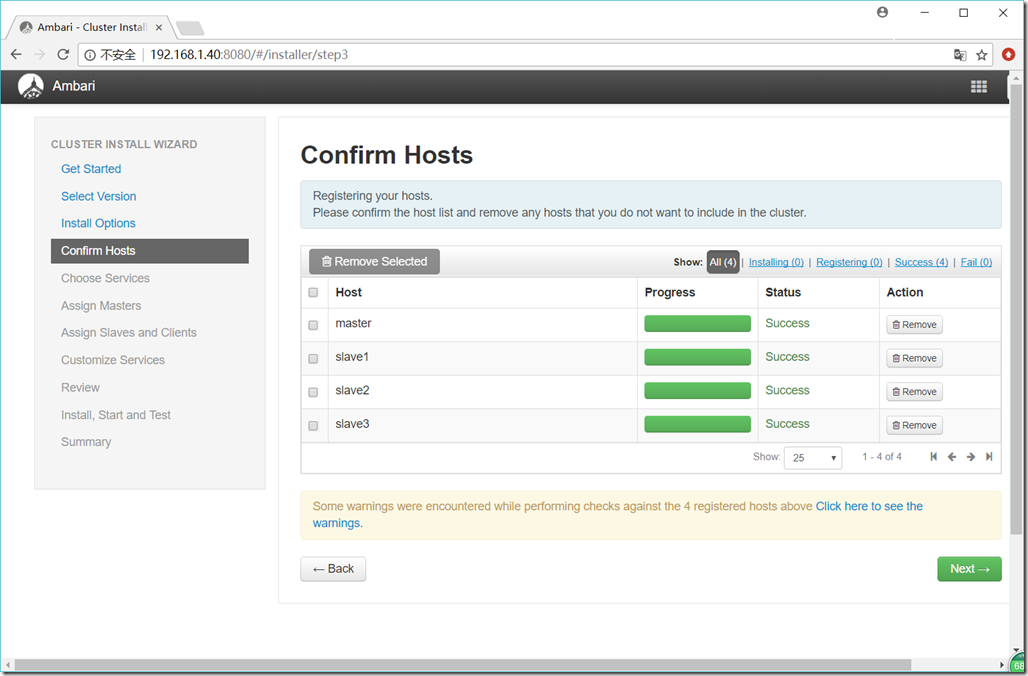
服务器
|
主机名 |
master |
slave1 |
slave2 |
slave3 |
|
IP |
192.168.1.40 |
192.168.1.41 |
192.168.1.42 |
192.168.1.43 |
离线包服务器: 192.168.1.50
-------------------------------------------------------------------------------------------------------------------------------------------------
-------------------------------------------------------------------------------------------------------------------------------------------------
1.启用root账号
1)sudo passwd root
2)sudo vi /etc/ssh/sshd_config
PermitRootLogin yes
RSAAuthentication yes
PubkeyAuthentication yes
AuthorizedKeysFile %h/.ssh/authorized_keys
3)sudo service sshd restart
4)SSH免密码
所有服务器
su – root
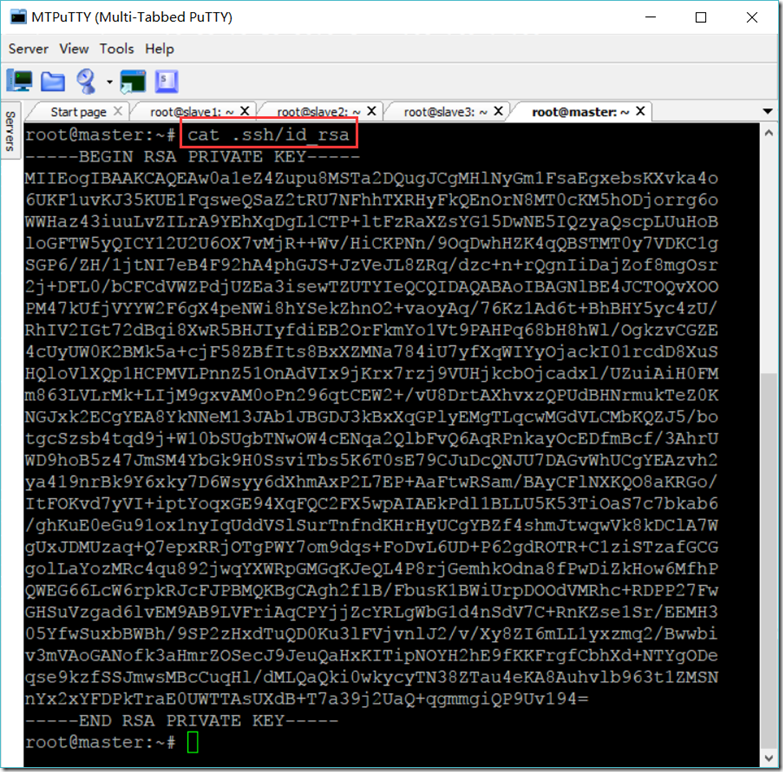
ssh-keygen -t rsa
cd ~/.ssh/
cat id_rsa.pub >> authorized_keys
master服务器
scp root@192.168.1.41:/root/.ssh/authorized_keys /root/.ssh/authorized_keys_slave1
scp root@192.168.1.42:/root/.ssh/authorized_keys /root/.ssh/authorized_keys_slave2
scp root@192.168.1.43:/root/.ssh/authorized_keys /root/.ssh/authorized_keys_slave3
cat authorized_keys_slave1 >> authorized_keys
cat authorized_keys_slave2 >> authorized_keys
cat authorized_keys_slave3 >> authorized_keys
chmod 600 ~/.ssh/authorized_keys
其它服务器
scp root@192.168.1.40:/root/.ssh/authorized_keys /root/.ssh/authorized_keys
5)设置文件句柄与线程限制
vi /etc/security/limits.conf
* soft nofile 204800
* hard nofile 204800
* soft nproc 204800
* hard nproc 204800
2.创建如下的几个文件放到所有服务器上
hdp.list
#VERSION_NUMBER=2.6.4.0-91
deb http://192.168.1.50/ubuntu/HDP/ubuntu16/2.6.4.0-91 HDP main
hdp.utils.list
#VERSION_NUMBER=1.1.0.22-91
deb http://192.168.1.50/ubuntu/HDP-UTILS/ HDP-UTILS main
hdp.gpl.list
#VERSION_NUMBER=2.6.4.0-91
deb http://192.168.1.50/ubuntu/HDP-GPL/ubuntu16/2.6.4.0-91 HDP-GPL main
ambari.list
#VERSION_NUMBER=2.6.1.5-3
deb http://192.168.1.50/ubuntu/ambari/ubuntu16/2.6.1.5-3 Ambari main
sudo scp zyx@master:/etc/apt/sources.list.d/hdp.list /etc/apt/sources.list.d/hdp.list
sudo scp zyx@master:/etc/apt/sources.list.d/hdp.utils.list /etc/apt/sources.list.d/hdp.utils.list
sudo scp zyx@master:/etc/apt/sources.list.d/hdp.gpl.list /etc/apt/sources.list.d/hdp.gpl.list
sudo scp zyx@master:/etc/apt/sources.list.d/ambari.list /etc/apt/sources.list.d/ambari.list
sudo apt-key adv --recv-keys --keyserver keyserver.ubuntu.com B9733A7A07513CAD
sudo apt-get update
3.安装其它JAR(jce_policy-8.zip和mysql-connector-java.jar)
1)
unzip -o -j -q jce_policy-8.zip -d /usr/lib/jvm/jdk1.8.0_171/jre/lib/security
scp -r zyx@master:/usr/lib/jvm/jdk1.8.0_171/jre/lib/security /usr/lib/jvm/jdk1.8.0_171/jre/lib/
2)MySQL相关
(1)MySQL安装及设置
dpkg -i mysql-apt-config_0.8.10-1_all.deb
sudo apt-get update
apt-get install mysql-server
systemctl start mysql
systemctl enable mysql
vi /etc/mysql/mysql.conf.d/mysqld.cnf
bind-address = 0.0.0.0
(2)设权限与建库
mysql -u root -p
GRANT ALL PRIVILEGES ON *.* TO 'root'@'%' IDENTIFIED BY 'gis' WITH GRANT OPTION;
create database ambari character set utf8;
CREATE USER 'ambari'@'%'IDENTIFIED BY 'gis';
GRANT ALL PRIVILEGES ON *.* TO 'ambari'@'%';
FLUSH PRIVILEGES;
create database hive character set utf8;
CREATE USER 'hive'@'%'IDENTIFIED BY 'gis';
GRANT ALL PRIVILEGES ON *.* TO 'hive'@'%';
FLUSH PRIVILEGES;
create database oozie character set utf8;
CREATE USER 'oozie'@'%'IDENTIFIED BY 'gis';
GRANT ALL PRIVILEGES ON *.* TO 'oozie'@'%';
FLUSH PRIVILEGES;
quit
(3)将mysql-connector-java.jar放到/usr/share/java/目录下
cp mysql-connector-java.jar /usr/share/java/
4.安装如下的Python组件
sudo apt-get install libffi-dev
sudo apt-get install python-pip
sudo apt-get install python-pip
pip install ndg-httpsclient
pip install pyopenssl
pip install pyasn1
sudo pip install -U requests[security]
5.安装ambari-server
sudo apt-get install ambari-server
sudo ambari-server setup --jdbc-db=mysql --jdbc-driver=/usr/share/java/mysql-connector-java.jar
sudo ambari-server setup --java-home=/usr/lib/jvm/jdk1.8.0_171
/var/lib/ambari-server/resources/Ambari-DDL-MySQL-CREATE.sql
6.取消加密方式限制
vi /etc/ambari-server/conf/ambari.properties
security.server.disabled.ciphers=
7.启动服务
ambari-server start
ambari-server stop
ambari-server status
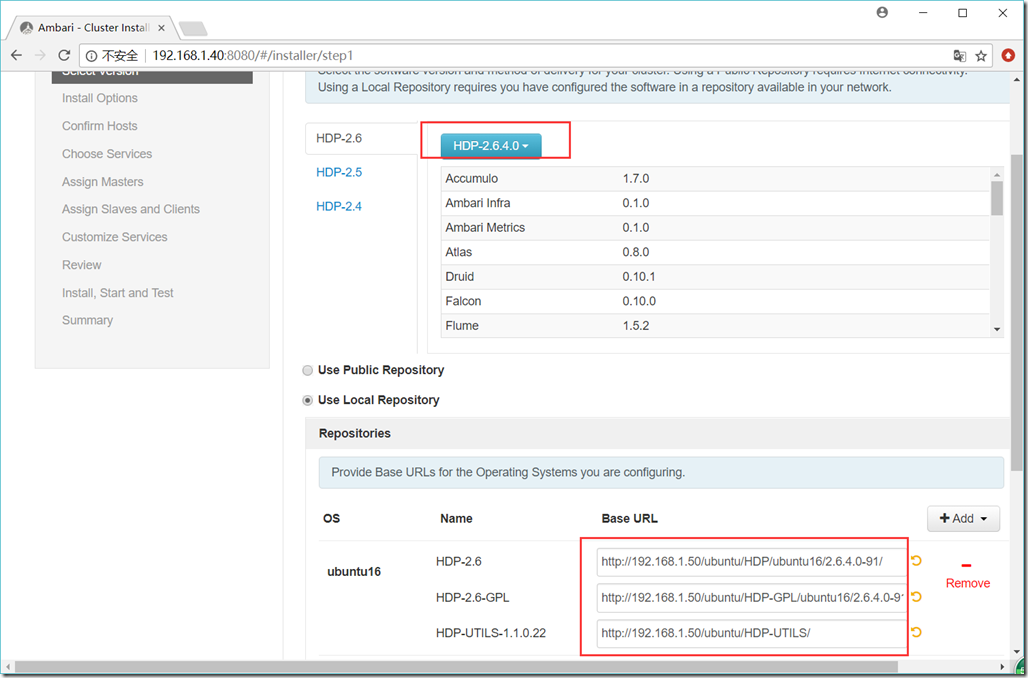
http://192.168.1.50/ubuntu/HDP/ubuntu16/2.6.4.0-91/
http://192.168.1.50/ubuntu/HDP-GPL/ubuntu16/2.6.4.0-91/
http://192.168.1.50/ubuntu/HDP-UTILS/
Admin Name : admin
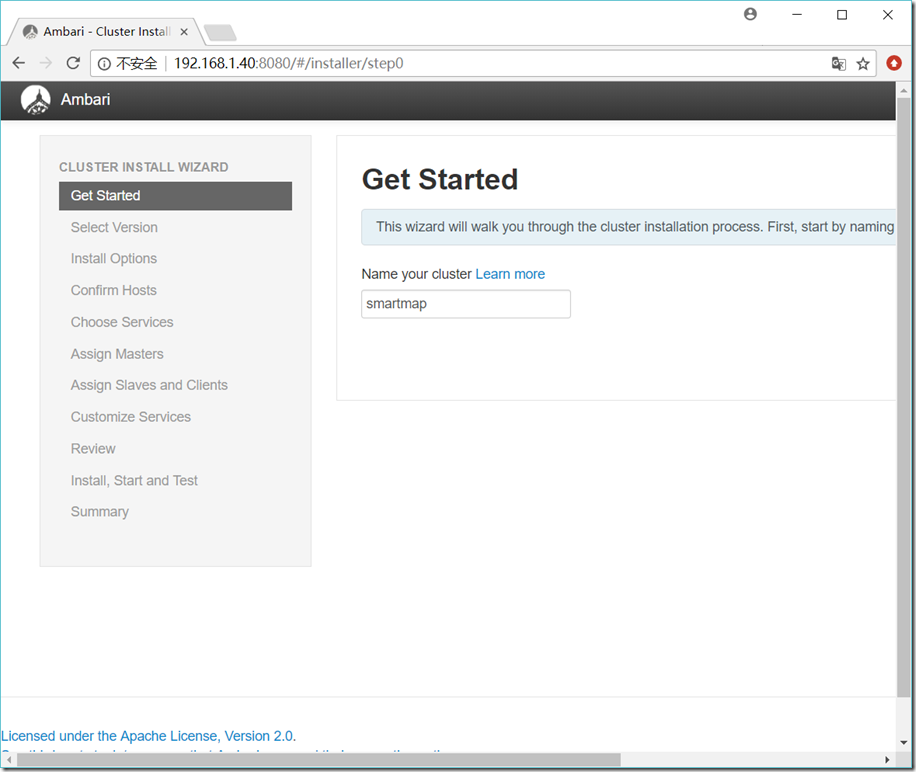
Cluster Name : smartmap
Total Hosts : 4 (4 new)
Repositories:
ubuntu16 (HDP-2.6):
http://192.168.1.50/ubuntu/HDP/ubuntu16/2.6.4.0-91/
ubuntu16 (HDP-UTILS-1.1.0.22):
http://192.168.1.50/ubuntu/HDP-UTILS/
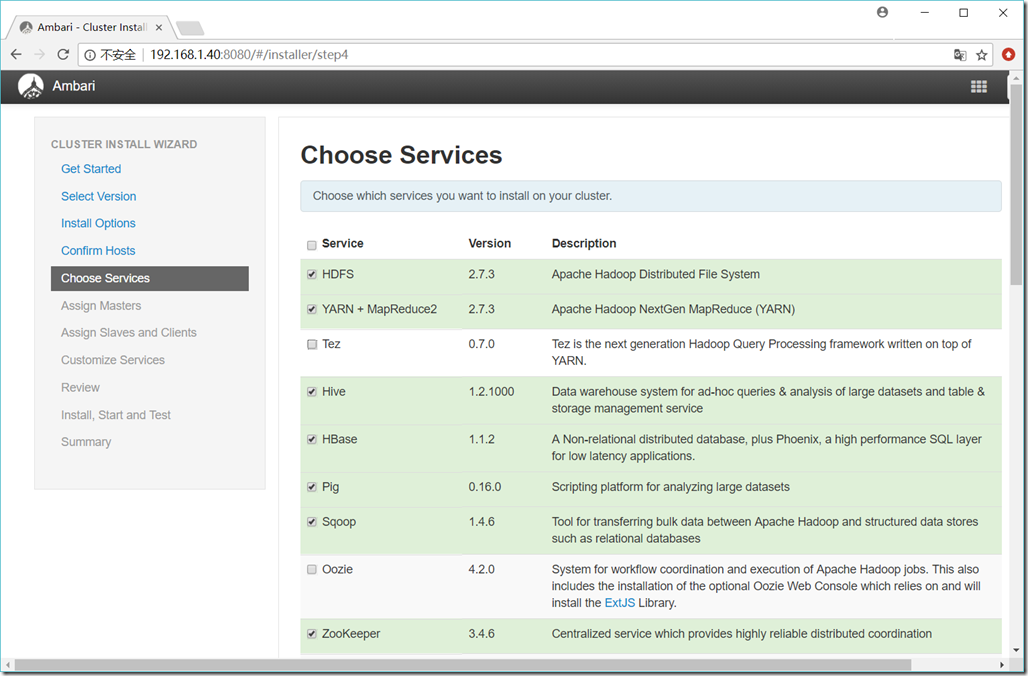
Services:
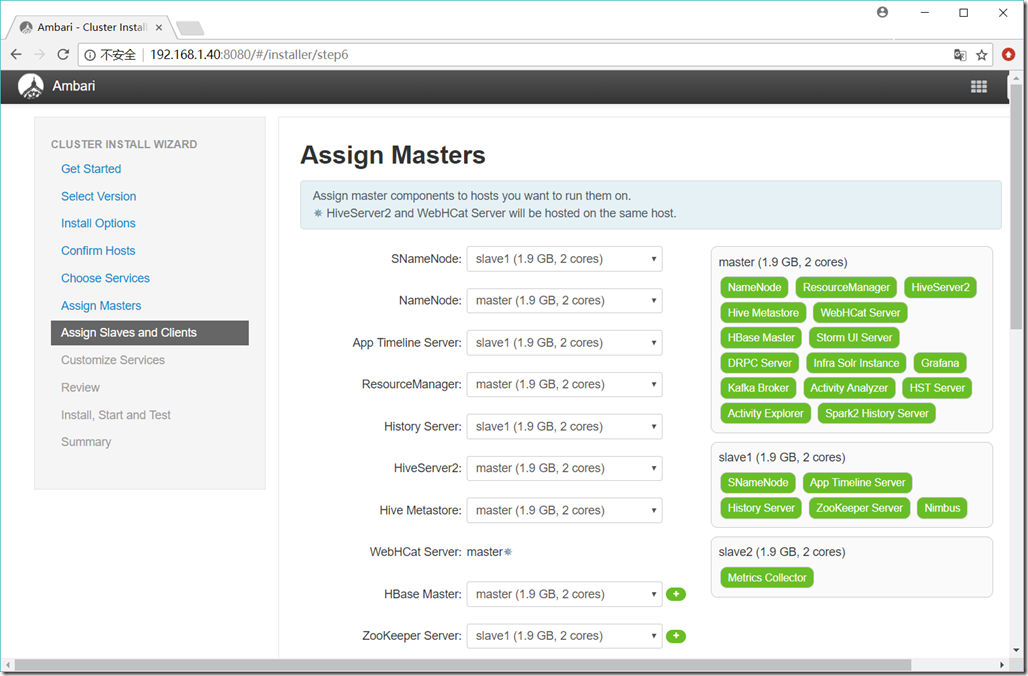
HDFS
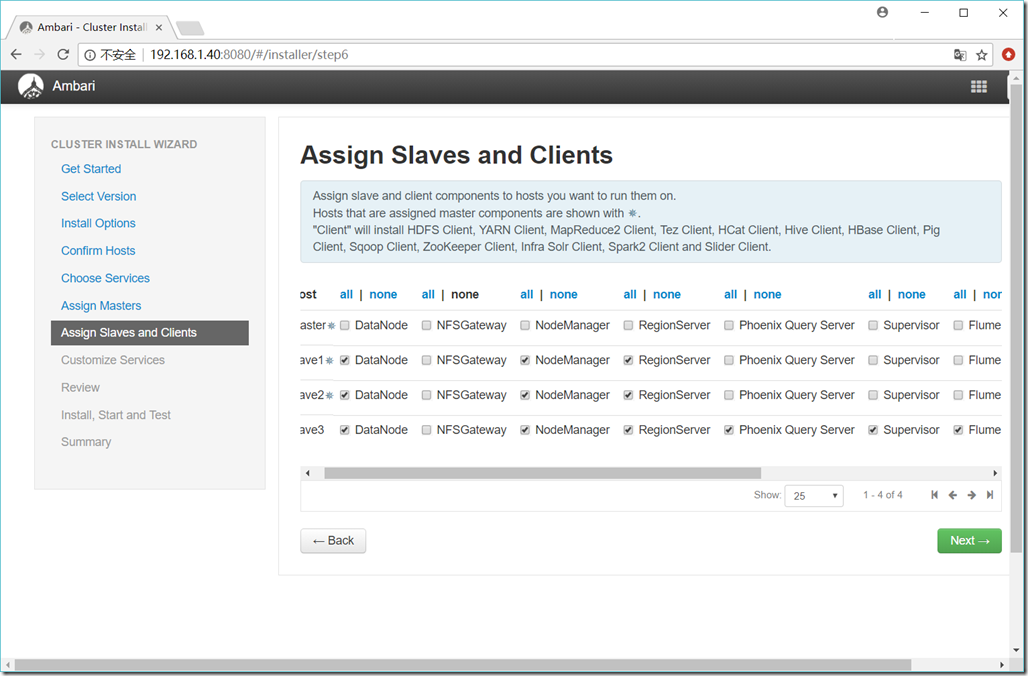
DataNode : 3 hosts
NameNode : master
NFSGateway : 0 host
SNameNode : slave1
YARN + MapReduce2
App Timeline Server : slave1
NodeManager : 3 hosts
ResourceManager : master
Tez
Clients : 1 host
Hive
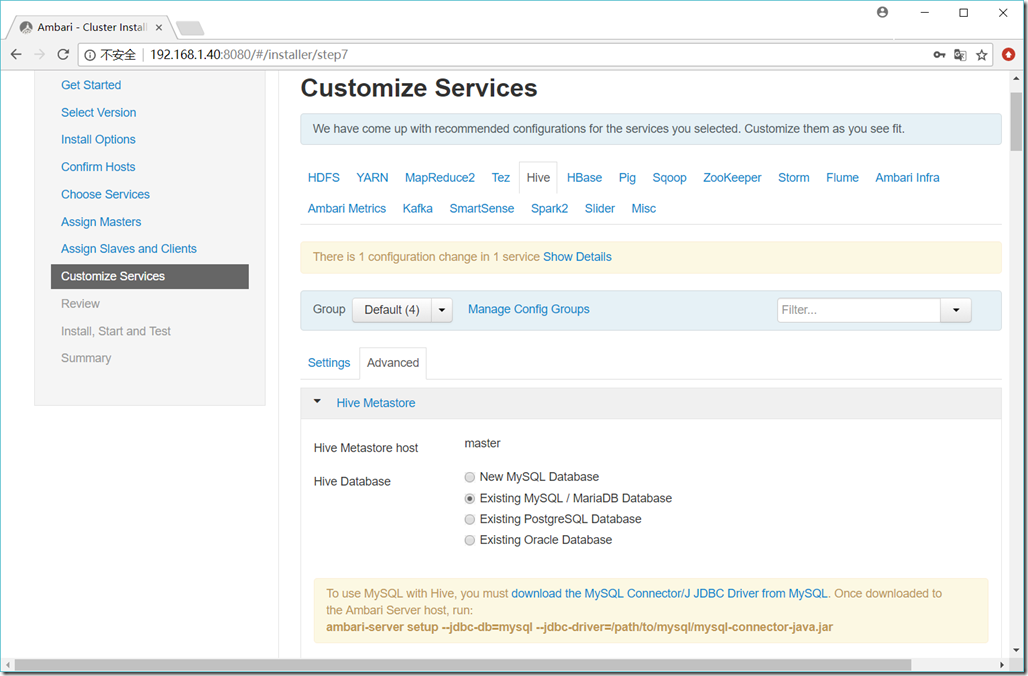
Metastore : master
HiveServer2 : master
WebHCat Server : master
Database : Existing MySQL / MariaDB Database
HBase
Master : master
RegionServer : 3 hosts
Phoenix Query Server : 1 host
Pig
Clients : 1 host
Sqoop
Clients : 1 host
ZooKeeper
Server : slave1
Storm
DRPC Server : master
Nimbus : slave1
UI Server : master
Supervisor : 1 host
Flume
Flume : 1 host
Ambari Infra
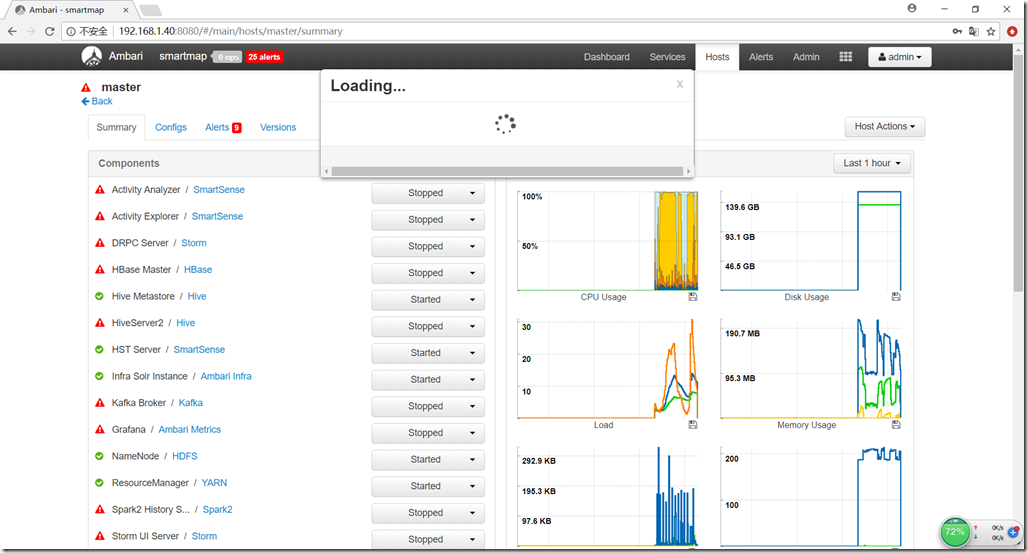
Infra Solr Instance : master
Ambari Metrics
Metrics Collector : slave2
Grafana : master
Kafka
Broker : master
SmartSense
Activity Analyzer : master
Activity Explorer : master
HST Server : master
Spark2
Livy for Spark2 Server : 1 host
History Server : master
Thrift Server : 1 host
Slider
Clients : 1 host
