1.Bootstrap
一个包含CSS和JS的代码库,网址:https://www.bootcss.com/
Bootstrap 是一个用于快速开发 Web 应用程序和网站的前端框架。Bootstrap 是基于 HTML、CSS、JAVASCRIPT 的。
- 样式
- 响应式,@media关键字
- 导航条
- 栅格
体现响应式的小例:当上表框小于700px时,颜色就会变为#b2dba1
<!DOCTYPE html>
<html lang="en">
<head>
    <meta charset="UTF-8">
    <title>Title</title>
    <style>
        .pg-header{
            background-color: cadetblue;
            height: 48px;;
        }

        @media (max- 700px) {
            .pg-header{
                background-color:#b2dba1;
                height: 48px;;
            }
        }
    </style>
</head>
<body>
    <div class="pg-header"></div>
</body>
</html>
网上有很多写好的,我们可直接拿来用;可以参照这个文章
或者直接在官网找到下载页:https://v3.bootcss.com/getting-started/#download
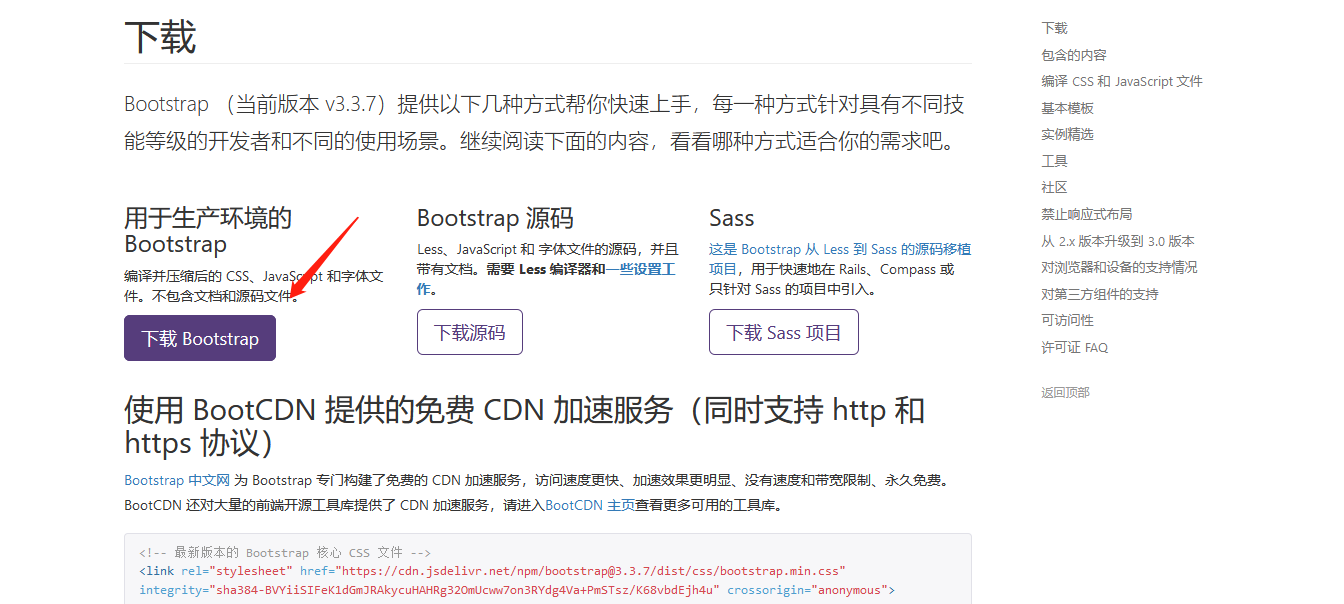
然后解压复制到你的项目里就ok了,一般习惯放到/static/plugins/下。
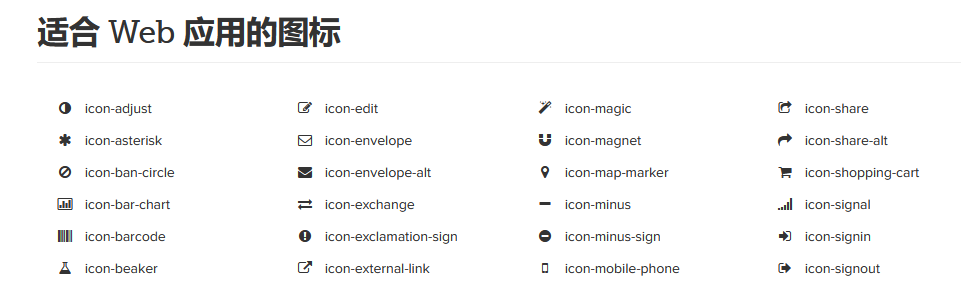
对了!提到bootstrap不得不墙裂推荐一个好用的图标字体资源:Font Awesome;
也是可以直接官网http://fontawesome.dashgame.com/下载解压到你的项目目录下,可以放在/static/plugins/下
再点图标库复制势力就可以为己所用了。
这样我们要记得在你网页的header中导入:
<!DOCTYPE html>
<html lang="en">
<head>
    <meta charset="UTF-8">
    <title>Title</title>
    <link rel="stylesheet" href="/static/plugins/bootstrap-3.3.7-dist/css/bootstrap.css" />
    <link rel="stylesheet" href="/static/plugins/font-awesome-4.7.0/css/font-awesome.css" />
</head>
#当然!也可以不用下载到本地,直接引用在线的就可以(同理bootstrap)
<link href="//netdna.bootstrapcdn.com/font-awesome/4.7.0/css/font-awesome.min.css" rel="stylesheet">
2.后台管理布局
新建一个layout的html:
<!DOCTYPE html>
<html lang="en">
<head>
    <meta charset="UTF-8">
    <title>Title</title>
    <style>
        body{
            margin: 0;
        }
        .pg-header{
            height:48px;
            min-width: 1190px;
            background-color: cadetblue;
        }
        .menus{
            width:200px;
            position: absolute;
            left:0;
            bottom: 0;
            top: 48px;
            background-color: cornflowerblue;
        }
        .content{
            position: absolute;
            left: 200px;
            right: 0;
            top: 48px;
            bottom: 0;
            min-width: 990px;
            overflow: scroll;
        }
    </style>
</head>
<body>
    <div class="pg-header"></div>
    <div class="pg-body">
        <div class="menus">菜单</div>
        <div class="content">内容</div>
    </div>
</body>
</html>
解释一下:
margin: 0;是无边框

position: absolute;是位置是绝对定位
min-width: 990px;是浏览器边框小于990px就出现下方滚动条,
overflow: scroll;是当上下内容翻页过多时,出现右侧滚动条,适合内容较多时的显示。

下面是相对具体一点的html:


<!DOCTYPE html>
<html lang="en">
<head>
    <meta charset="UTF-8">
    <title>Title</title>
    <link rel="stylesheet" href="/static/plugins/bootstrap-3.3.7-dist/css/bootstrap.css" />
    <link rel="stylesheet" href="/static/plugins/font-awesome-4.7.0/css/font-awesome.css" />

    <style>
        body{
            margin: 0;
        }
        .left{
            float:left
        }
        .right{
            float: right;
        }
        .hide{
            display: none;
        }
        .pg-header{
            height:48px;
            min-width: 1190px;
            background-color: #398568;
            line-height: 48px;
        }
        /*设置logo,border-right为右分割线 */
        .pg-header .logo{
            color:white;
            font-size:18px;
            width: 200px;
            text-align: center;
            border-right: 1px solid gainsboro;
        }
        /*padding:上 右 左 下 内边距 */
        .pg-header .rmenus a{
            display: inline-block;
            padding: 0 15px;
            color: white;
        }
        /*当鼠标移动于此背景颜色改变 */
        .pg-header .rmenus a:hover{
            background-color: #2f7f85;
        }
        /*设置头像距右侧20px */
        .pg-header .avatar{
            padding: 0 20px;
        }
        /*设头像为圆形 */
        .pg-header .avatar img{
            border-radius: 50%;
        }
        /*鼠标移到头像会出现下拉框;默认不显示-hover时显示;位置调整可浏览器F12元素调整 */
        .pg-header .avatar .user-info{
            display: none;
            position: absolute;width: 120px;top: 48px;right: 2px;background-color: #7f8085;z-index: 100;
        }
        /*鼠标hover时显示*/
        .pg-header .avatar:hover .user-info{
            display: block;
        }
        /*给a标签换行*/
        .pg-header .avatar:hover .user-info a{
            display: block;
            color: white;
        }
        .menus{
            width:200px;
            position: absolute;
            left:0;
            bottom: 0;
            top: 48px;
            background-color: #9bd2d6;
            border-right: 1px solid #dddddd;
        }
        /*菜单栏属性*/
        .pg-body .menus a{
            display: block;
            padding: 10px 5px;
            border-bottom: 1px solid #dddddd;
        }
        .content{
            position: absolute;
            left: 200px;
            right: 0;
            top: 48px;
            bottom: 0;
            min-width: 990px;
            overflow: scroll;
            z-index: 99;
        }
    </style>
</head>
<body>
    <div class="pg-header">
        <div class="logo left" >运维日志管理</div>
        <div class="avatar right" style="position: relative">
            <img style=" 40px;height: 40px" src="/static/image/1.jpg">
            <div class="user-info">
                <a>个人资料</a>
                <a>注销</a>
            </div>
        </div>
        <div class="rmenus right" >
            <a><i class="fa fa-desktop" aria-hidden="true"></i> 主页</a>
            <a><i class="fa fa-sign-out" aria-hidden="true"></i> 退出</a>
        </div>

    </div>
    <div class="pg-body">
        <div class="menus">
            <a><i class="fa fa-bar-chart" aria-hidden="true"></i> 事件概览</a>
            <a><i class="fa fa-braille" aria-hidden="true"></i> 事件区域图</a>
            <a><i class="fa fa-area-chart" aria-hidden="true"></i> 报表</a>
        </div>
        <div class="content">
            <ol class="breadcrumb">
                <li><a href="#">首页</a></li>
                <li><a href="#">日志管理</a></li>
                <li><a href="#">待定</a></li>
        </div>
    </div>

</body>
</html>
效果:

这个东西其实就是母版!就是把左边和上边的东西只写一遍就行了;以后让其他页面去继承这些东西!
-Django母版:
  母版:存放所有页面公用的东西
  子版: 1,继承母版;2,自定义当前页面私有的东西
怎么继承呢???
首先在母版的html可替换位置写:
{% block xx %}{% endblock %}
然后再在要继承的html里放上即可:
{% extends "layout.html" %}

{% block xx %}
    <h1>运维日志列表</h1>这里就是可变域了
{% endblock %}
可也以多加几个block,只要你放到哪,他就继承哪。一般会写3个block
<!DOCTYPE html>
<html lang="en">
<head>
    <meta charset="UTF-8">
    <title>Title</title>
    <link rel="stylesheet" href="/static/plugins/bootstrap-3.3.7-dist/css/bootstrap.css" />
    <link rel="stylesheet" href="/static/plugins/font-awesome-4.7.0/css/font-awesome.css" />
    <link rel="stylesheet" href="/static/css/commons.css" />
    <!--有它,子版继承后还可以放自己的css-->
    {% block css %}{% endblock %}
</head>
<body>
    <div class="pg-header">
        <div class="logo left" >运维日志管理</div>
        <div class="avatar right" style="position: relative">
            <img style=" 40px;height: 40px" src="/static/image/1.jpg">
            <div class="user-info">
                <a>个人资料</a>
                <a>注销</a>
            </div>
        </div>
        <div class="rmenus right" >
            <a><i class="fa fa-desktop" aria-hidden="true"></i> 主页</a>
            <a><i class="fa fa-sign-out" aria-hidden="true"></i> 退出</a>
        </div>

    </div>
    <div class="pg-body">
        <div class="menus">
            <a><i class="fa fa-bar-chart" aria-hidden="true"></i> 事件概览</a>
            <a><i class="fa fa-braille" aria-hidden="true"></i> 事件区域图</a>
            <a><i class="fa fa-area-chart" aria-hidden="true"></i> 报表</a>
        </div>
        <div class="content">
            <ol class="breadcrumb">
                <li><a href="#">首页</a></li>
                <li><a href="#">日志管理</a></li>
                <li><a href="#">待定</a></li>
            </ol>
            <!--母版的继承,起一个xx的名-->
            {% block xx %}{% endblock %}
        </div>
    </div>
    <!--有它,子版继承后还可以放自己的js-->
    {% block js %}{% endblock %}
</body>
</html>
再说一点:关于style的我们写的太多了,所以可以复制到一个新建的commons.css文件里,用的时候再link就行了。
        body{
            margin: 0;
        }
        .left{
            float:left
        }
        .right{
            float: right;
        }
        .hide{
            display: none;
        }
        .pg-header{
            height:48px;
            min- 1190px;
            background-color: #398568;
            line-height: 48px;
        }
        /*设置logo,border-right为右分割线 */
        .pg-header .logo{
            color:white;
            font-size:18px;
             200px;
            text-align: center;
            border-right: 1px solid gainsboro;
        }
        /*padding:上 右 左 下 内边距 */
        .pg-header .rmenus a{
            display: inline-block;
            padding: 0 15px;
            color: white;
        }
        /*当鼠标移动于此背景颜色改变 */
        .pg-header .rmenus a:hover{
            background-color: #2f7f85;
        }
        /*设置头像距右侧20px */
        .pg-header .avatar{
            padding: 0 20px;
        }
        /*设头像为圆形 */
        .pg-header .avatar img{
            border-radius: 50%;
        }
        /*鼠标移到头像会出现下拉框;默认不显示-hover时显示;位置调整可浏览器F12元素调整 */
        .pg-header .avatar .user-info{
            display: none;
            position: absolute; 120px;top: 48px;right: 2px;background-color: #7f8085;z-index: 100;
        }
        /*鼠标hover时显示*/
        .pg-header .avatar:hover .user-info{
            display: block;
        }
        /*给a标签换行*/
        .pg-header .avatar:hover .user-info a{
            display: block;
            color: white;
        }
        .menus{
            200px;
            position: absolute;
            left:0;
            bottom: 0;
            top: 48px;
            background-color: #9bd2d6;
            border-right: 1px solid #dddddd;
        }
        /*菜单栏属性*/
        .pg-body .menus a{
            display: block;
            padding: 10px 5px;
            border-bottom: 1px solid #dddddd;
        }
        .content{
            position: absolute;
            left: 200px;
            right: 0;
            top: 48px;
            bottom: 0;
            min- 990px;
            overflow: scroll;
            z-index: 99;
        }
也放到/static/css/下吧!
<link rel="stylesheet" href="/static/css/commons.css" />
这样页面简洁了不少呢!