1、前提已经安装好lnmp 测试连接mysql没有问题;lnmp安装请参照 python篇 一键安装lnmp
2、创建wordpress数据库
mysql> show databases;
+--------------------+
| Database |
+--------------------+
| information_schema |
| mysql |
| performance_schema |
| sys |
+--------------------+
4 rows in set (0.03 sec)
mysql> create database wordpress;
Query OK, 1 row affected (0.02 sec)
mysql> select user();
+----------------+
| user() |
+----------------+
| root@localhost |
+----------------+
1 row in set (0.00 sec)
mysql> select user,host from mysql.user;
+---------------+-----------+
| user | host |
+---------------+-----------+
| root | % |
| mysql.session | localhost |
| mysql.sys | localhost |
| root | localhost |
+---------------+-----------+
4 rows in set (0.00 sec)
mysql> grant all on wordpress.* to'wordpress'@'localhost' identified by 'jenkins!666'; #创建用户同时授权。无需单独创建用户
Query OK, 0 rows affected, 1 warning (0.00 sec)
mysql> select user,host from mysql.user;
+---------------+-----------+
| user | host |
+---------------+-----------+
| root | % |
| mysql.session | localhost |
| mysql.sys | localhost |
| root | localhost |
| wordpress | localhost |
+---------------+-----------+
5 rows in set (0.00 sec)
mysql> show grants for wordpress@'localhost';
+------------------------------------------------------------------+
| Grants for wordpress@localhost |
+------------------------------------------------------------------+
| GRANT USAGE ON *.* TO 'wordpress'@'localhost' |
| GRANT ALL PRIVILEGES ON "wordpress".* TO 'wordpress'@'localhost' |
+------------------------------------------------------------------+
2 rows in set (0.00 sec)
mysql> flush privileges;
Query OK, 0 rows affected (0.00 sec)
mysql>
3、下载wordpress安装包
[root@bogon local]# cd /var/www/www.test.com/
[root@bogon www.test.com]# ls
index.html index.php
[root@bogon www.test.com]# mkdir bak
[root@bogon www.test.com]# mv * bak/
mv: cannot move ‘bak’ to a subdirectory of itself, ‘bak/bak’
[root@bogon www.test.com]#
[root@bogon www.test.com]# ls
bak
[root@bogon www.test.com]# ls bak/
index.html index.php
[root@bogon www.test.com]# cd /usr/local/
[root@bogon local]# wget https://cn.wordpress.org/wordpress-4.9.4-zh_CN.tar.gz
--2018-11-28 21:08:51-- https://cn.wordpress.org/wordpress-4.9.4-zh_CN.tar.gz
Resolving cn.wordpress.org (cn.wordpress.org)... 198.143.164.252
Connecting to cn.wordpress.org (cn.wordpress.org)|198.143.164.252|:443... connected.
HTTP request sent, awaiting response... 200 OK
Length: 9082696 (8.7M) [application/octet-stream]
Saving to: ‘wordpress-4.9.4-zh_CN.tar.gz’
100%[===========================================================================================>] 9,082,696 3.74MB/s in 2.3s
2018-11-28 21:08:54 (3.74 MB/s) - ‘wordpress-4.9.4-zh_CN.tar.gz’ saved [9082696/9082696]
[root@bogon local]# tar -xf wordpress-4.9.4-zh_CN.tar.gz
[root@bogon local]# cp -a wordpress/* /var/www/www.test.com/
[root@bogon local]# cp -a wordpress/* /var/www/www.test.com/
[root@bogon local]# chown -R nginx.nginx /var/www/www.test.com/
4、添加nginx配置文件
[root@bogon conf.d]# cat test6.conf
server
    {
        listen       8085;
        server_name 192.168.0.204;              #填写 ip 或者域名
        index index.html index.htm default.html index.php;
        root  /var/www/www.test.com/;

        if (!-e $request_filename) {            #访问路径的文件不存在则重写URL转交给ThinkPHP处理
            rewrite  ^/(.*)$  /index.php/$1  last;
            break;
        }


	location ~ [^/].php(/|$)
	    {
        	try_files $uri =404;
		fastcgi_pass  127.0.0.1:9000;
		fastcgi_index index.php;
		include fastcgi.conf;                   #注意这个include 这个配置文件是nginx自带的,一定要有

		#下面这 8 行统称为fastcgi_params的配置,nginx也有自带的fastcgi_params,但是报错,按照下面的就行
		#宝塔面板里面 直接把这 8 行写到了一个pathinfo.conf文件里面,用一句话include pathinfo.conf代替

		set $real_script_name $fastcgi_script_name;
		if ($fastcgi_script_name ~ "^(.+?.php)(/.+)$") {
                	set $real_script_name $1;
                	set $path_info $2;
 		}
		fastcgi_param SCRIPT_FILENAME $document_root$real_script_name;
		fastcgi_param SCRIPT_NAME $real_script_name;
		fastcgi_param PATH_INFO $path_info;


    	}


        location /status {
            stub_status on;
            access_log   off;
        }

	location /favicon.ico {
	    root html;
	}

        location ~ .*.(gif|jpg|jpeg|png|bmp|swf)$
            {
                expires      15d;
            }

        location ~ .*.(js|css)?$
            {
                expires      6h;
            }
        access_log  /var/www/ceshi.access.log  access;
        error_log  /var/www/ceshi.error.log;
    }
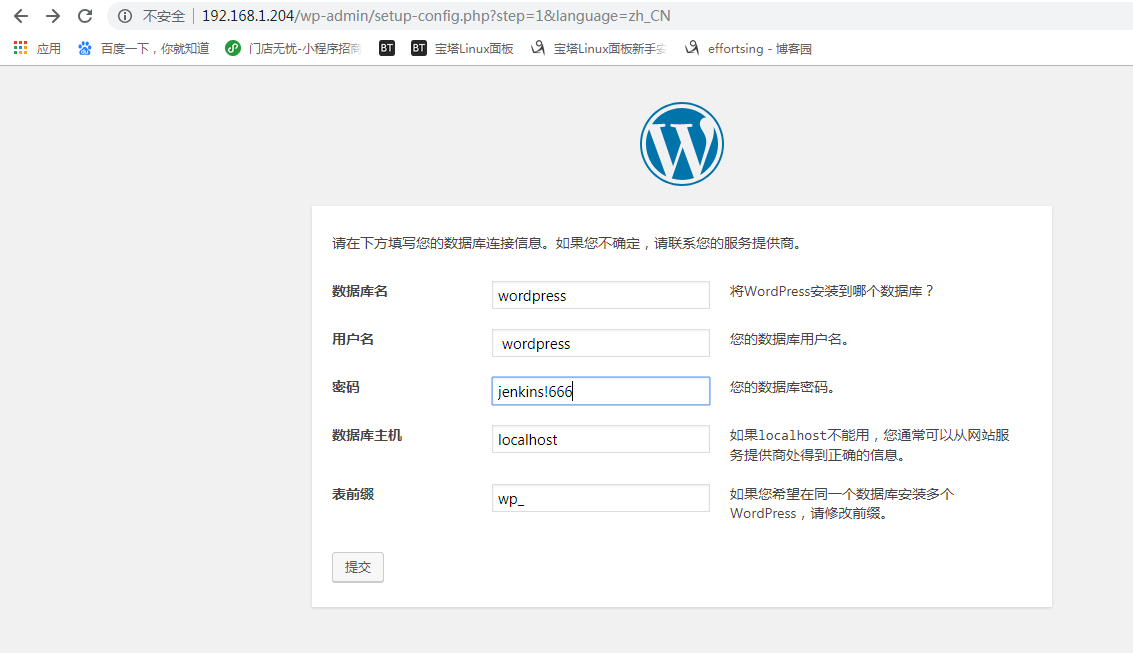
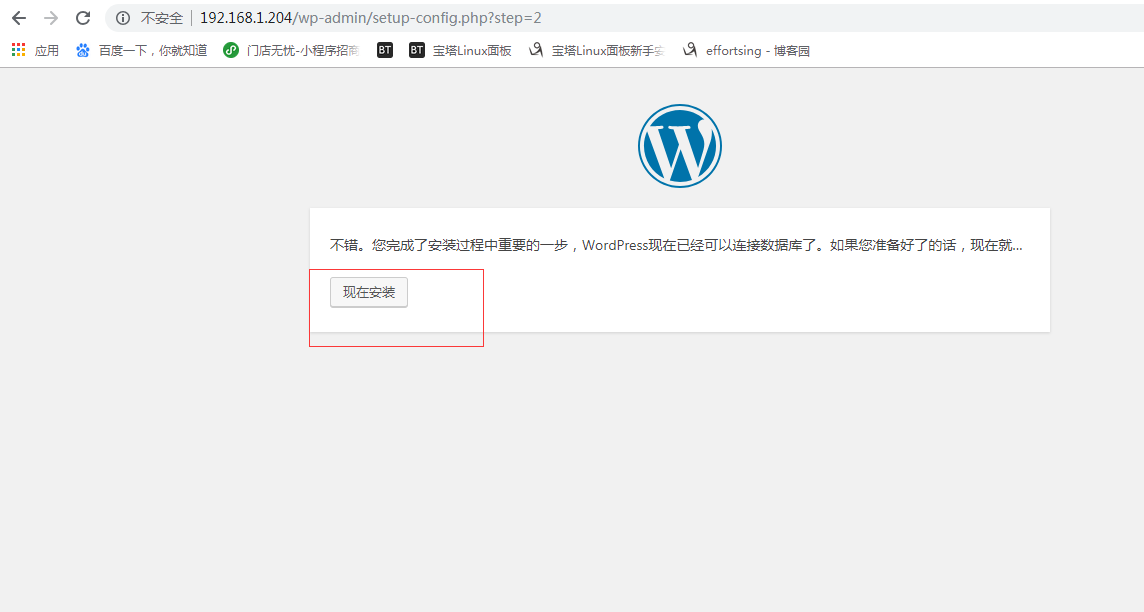
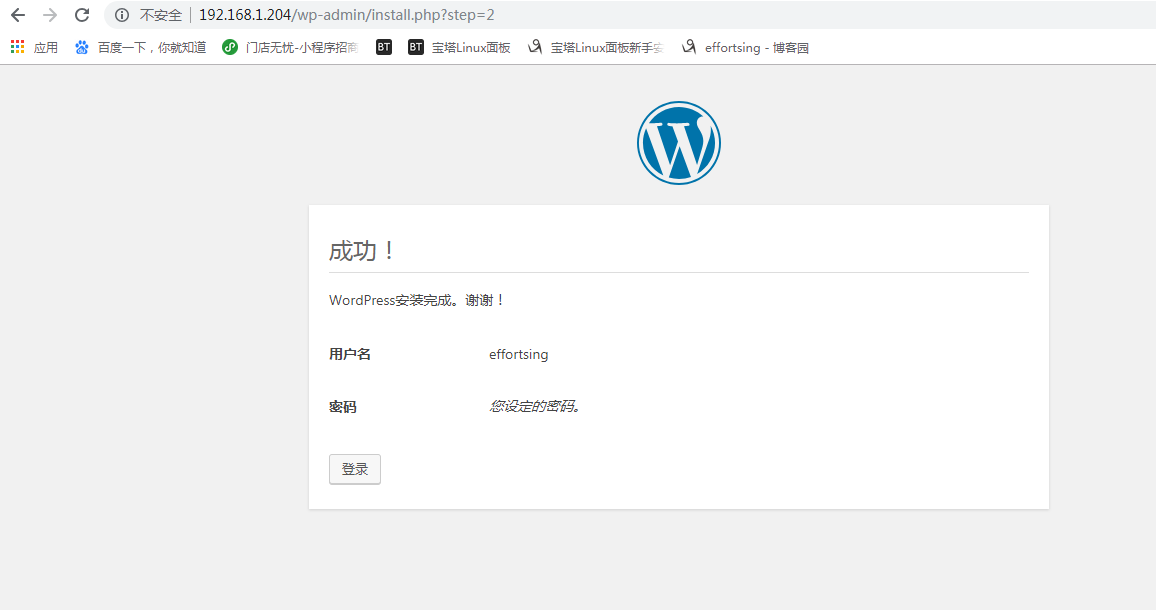
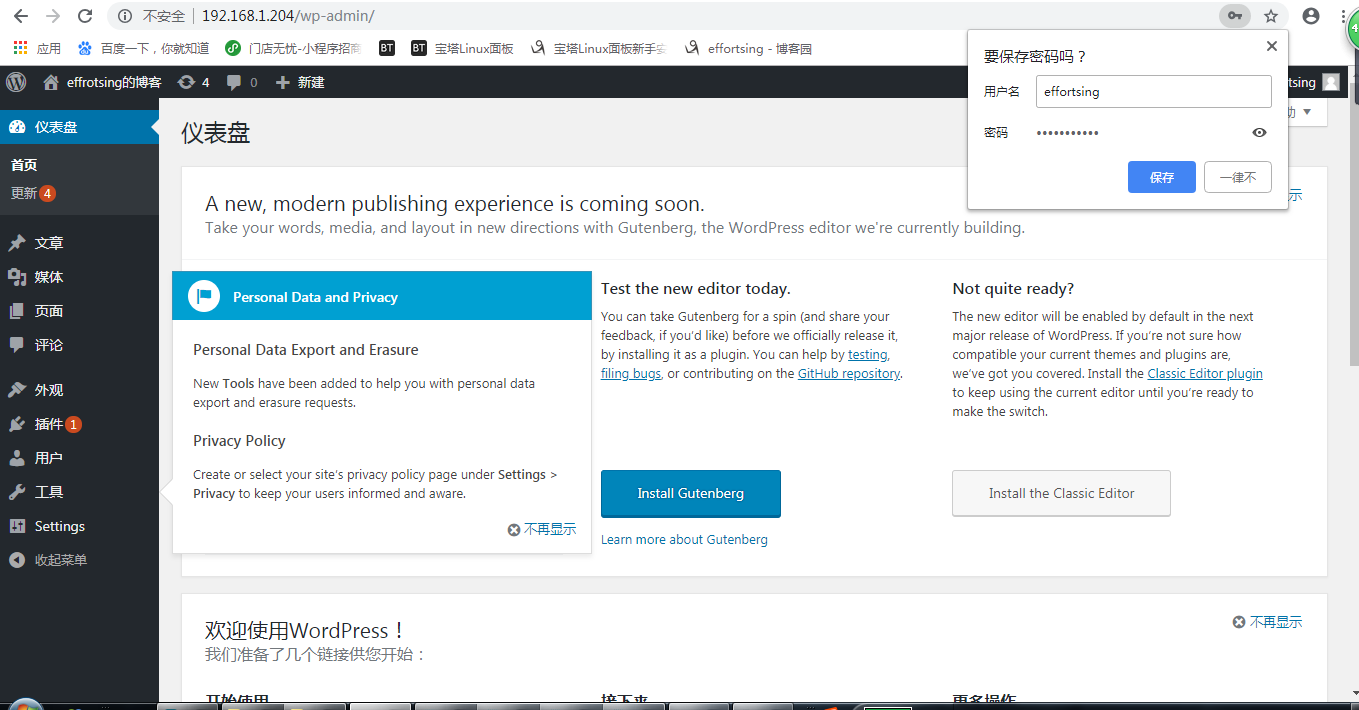
5、安装wordpress
http://192.168.1.204:8085/wp-admin/setup-config.php


参照文档
https://blog.csdn.net/Mr_rsq/article/details/79652629