概述
详细
一、准备工作
1、需要Xcode8+iOS8的运行环境
2、本例子实现重力、碰撞、推力、摆动、碰撞+重力、重力弹跳、仿摩拜单车贴纸效果、防iMessage滚动效果、防百度外卖首页重力感应效果等功能!
二、程序实现
1、这是此demo的文件结构
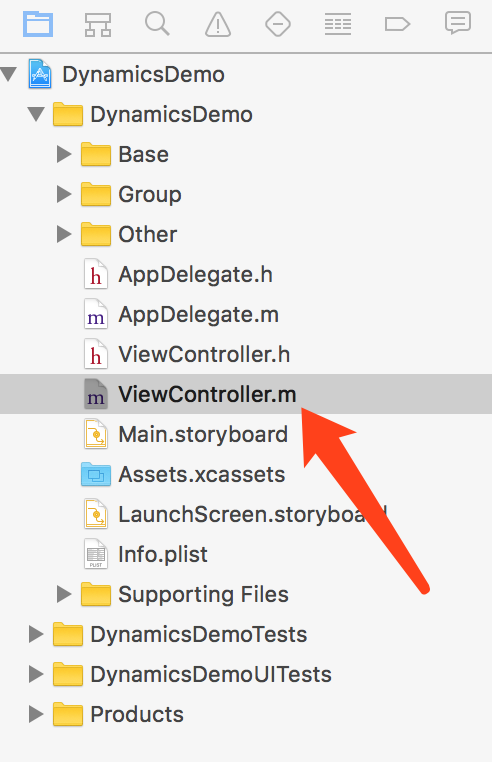
文件夹说明:
-
Base:存放控制器的基类和单个效果的控制器
-
Group:存放组合效果的控制器
-
Other:存放一些其他文件,如需要用到的自定义cell和CollectionViewLayout
图片中箭头所指的文件ViewController.m是此项目首页控制器。
2、iOS物理引擎UIDynamic是在iOS7引入的一项新技术,隶属于UIKit框架,可以让制作物理动画更简单;
主要步骤:
(1)、创建一个物理仿真器,设置作用的视图;
(2)、创建物理仿真行为,并且添加元素;
(3)、将仿真行为添加到仿真器内,开始执行;
3、所有物理行为的对象下载BaseViewController中,如图:
/**
 运动管理对象
 */
@property (nonatomic, strong) CMMotionManager *motionManager;

/**
 物理仿真器(相当于一个存放运动行为的容器)
 */
@property (nonatomic, strong) UIDynamicAnimator *animator;

/**
 重力行为
 */
@property (nonatomic, strong) UIGravityBehavior *gravity;

/**
 碰撞行为
 */
@property (nonatomic, strong) UICollisionBehavior *collision;

/**
 吸附行为
 */
@property (nonatomic, strong) UIAttachmentBehavior *attach;

/**
 迅猛移动弹跳摆动行为
 */
@property (nonatomic, strong) UISnapBehavior *snap;

/**
 推动行为
 */
@property (nonatomic, strong) UIPushBehavior *push;

/**
 物体属性,如密度、弹性系数、摩擦系数、阻力、转动阻力等
 */
@property (nonatomic, strong) UIDynamicItemBehavior *dynamicItem;
然后将这些对象在BaseViewController.m中懒加载初始化,其他控制器均需要继承这个控制器,以便需要用到这些对象的地方直接加载:
#pragma mark - lazy
- (UILabel *)descLabel
{
    if (!_descLabel) {
        _descLabel = [[UILabel alloc] init];
        [self.view addSubview:_descLabel];
        _descLabel.textColor = [UIColor lightGrayColor];
    }
    return _descLabel;
}

- (NSMutableArray *)pointViews
{
    if (!_pointViews) {
        _pointViews = [NSMutableArray array];
    }
    return _pointViews;
}

- (UIDynamicAnimator *)animator
{
    if (!_animator) {
        _animator = [[UIDynamicAnimator alloc] initWithReferenceView:self.view];
    }
    return _animator;
}

- (UIGravityBehavior *)gravity
{
    if (!_gravity ) {
        _gravity = [[UIGravityBehavior alloc] init];
        [self.animator addBehavior:_gravity];
    }
    return _gravity;
}

- (UICollisionBehavior *)collision
{
    if (!_collision) {
        _collision = [[UICollisionBehavior alloc] init];
        [self.animator addBehavior:_collision];
        _collision.translatesReferenceBoundsIntoBoundary = YES;
    }
    return _collision;
}

/*
- (UIAttachmentBehavior *)attach
{
    if (!_attach) {
        _attach = [[UIAttachmentBehavior alloc] init];
        _attach.damping = 0;
        _attach.frequency = 0.5;
         吸附类型:连接到视图View,至少需要两个动力项
        _attach.attachedBehaviorType = UIAttachmentBehaviorTypeItems;
         UIAttachmentBehaviorTypeAnchor 连接到锚点(只有一个动力项)
    }
    return _attach;
}
*/

- (UIPushBehavior *)push
{
    if (!_push) {
        _push = [[UIPushBehavior alloc] init];
        // mode : 推力模式,UIPushBehaviorModeContinuous:持续型。UIPushBehaviorModeInstantaneous:一次性推力。
//        _push.mode = UIPushBehaviorModeContinuous;

        // 推力是否被激活,在激活状态下,物体才会受到推力效果
        _push.active = YES;

        // 推力的大小和方向, 是一个平面向量,表示推力的力和方向
//        _push.pushDirection = CGVectorMake(<#CGFloat dx#>, <#CGFloat dy#>);

        [self.animator addBehavior:_push];
    }
    return _push;
}

//- (UISnapBehavior *)snap
//{
//    if (!_snap) {
//        _snap = [[UISnapBehavior alloc] initWithItem:nil snapToPoint:CGPointZero];
//        // 设置item要在哪个点上震动
//        _snap.snapPoint = CGPointZero;
//        // 减震系数,弹性的迅猛度,范围在0.0~1.0,默认值为0.5
//        _snap.damping = 0.5;
//    }
//    return _snap;
//}

- (UIDynamicItemBehavior *)dynamicItem
{
    if (!_dynamicItem) {
        _dynamicItem = [[UIDynamicItemBehavior alloc] init];
        [self.animator addBehavior:_dynamicItem];
        // 弹力, 通常0~1之间
        _dynamicItem.elasticity = 1;
        // 摩擦力,0表示完全光滑无摩擦
//        _dynamicItem.friction = 0;
        // 密度,一个 100x100 points(1 point 在 retina 屏幕上等于2像素,在普通屏幕上为1像素。)大小的物体,密度1.0,在上面施加 1.0 的力,会产生 100 point/平方秒 的加速度。
//        _dynamicItem.density = 1;
        // 线性阻力,物体在移动过程中受到的阻力大小
//        _dynamicItem.resistance = 1;
        // 旋转阻力,物体旋转过程中的阻力大小
//        _dynamicItem.angularResistance = 1;
        // 是否允许旋转
//        _dynamicItem.allowsRotation = YES;
    }
    return _dynamicItem;
}

- (CMMotionManager *)motionManager {
    if (!_motionManager) {
        _motionManager = [[CMMotionManager alloc] init];

        // 设备状态更新帧率
        _motionManager.deviceMotionUpdateInterval = 0.01;
    }
    return _motionManager;
}
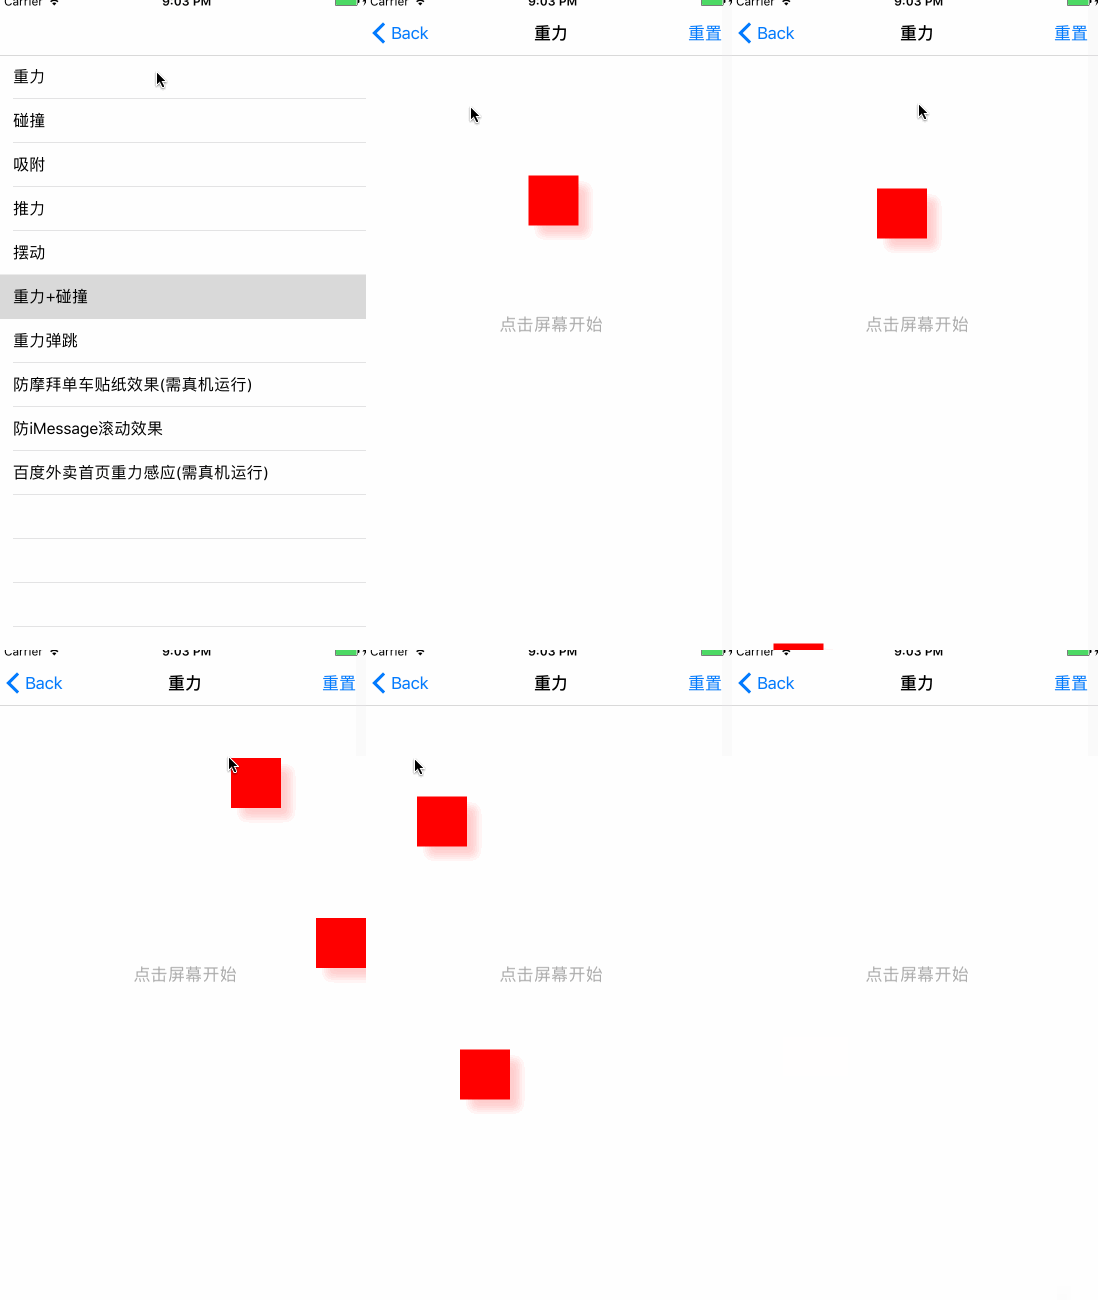
1、重力行为非常简单,只需要把需要设置重力效果的view添加到重力行为对象UIGravityBehavior中即可:
UIView *view = [self getLeadingActorView:(CGRect){point, 50, 50} backgroundColor:[UIColor redColor]];
    [self.view addSubview:view];
    [self.gravity addItem:view];
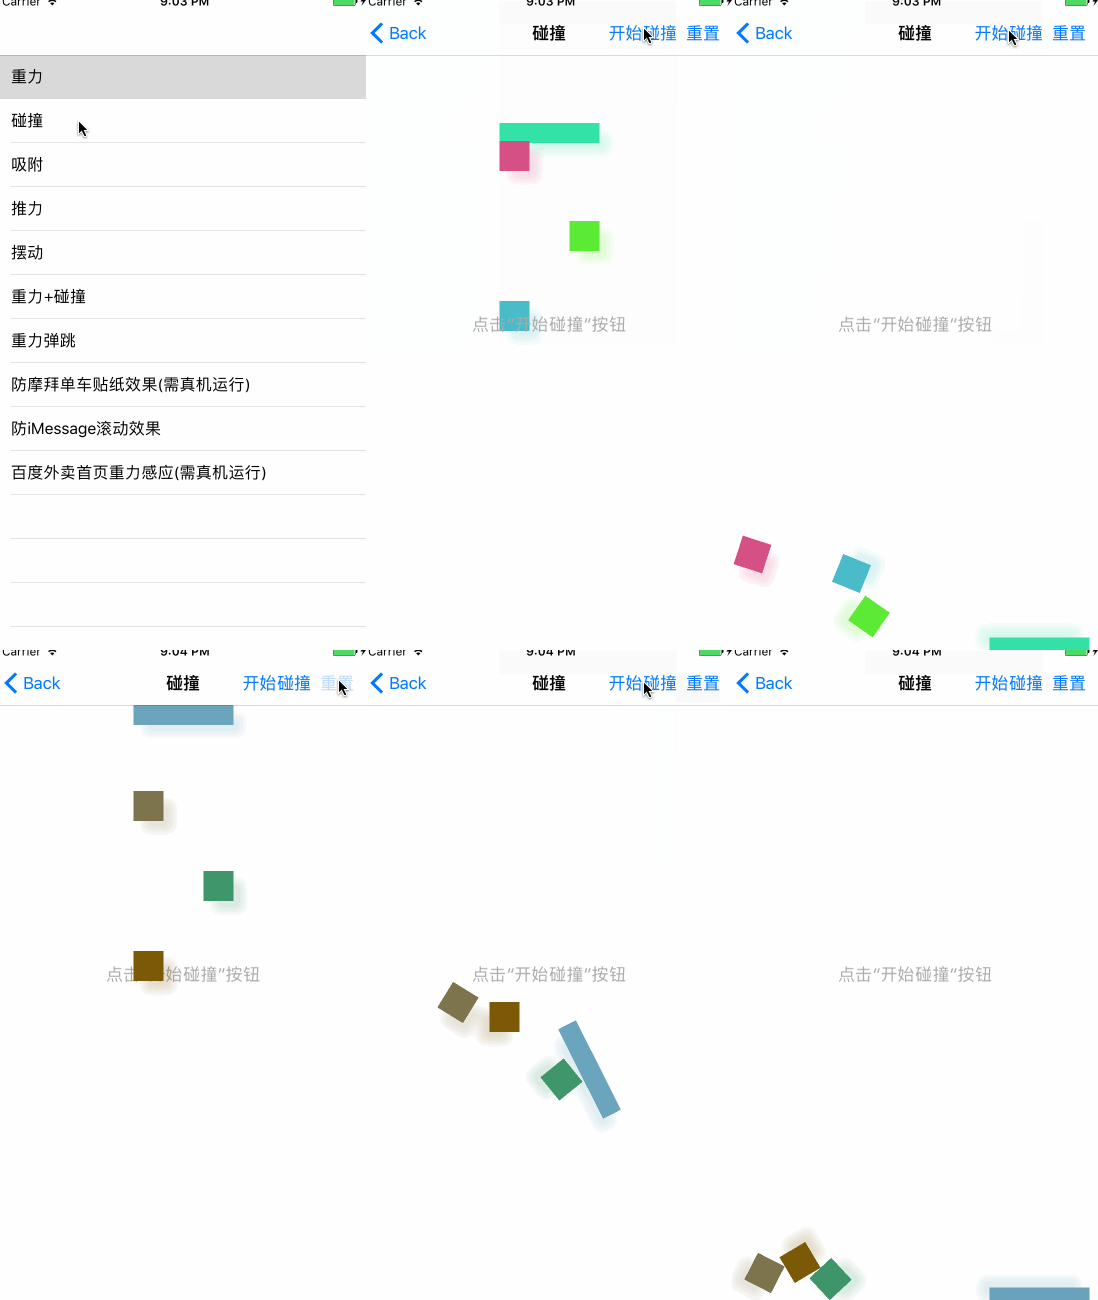
2、碰撞行为,和重力效果一样,把需要设置碰撞行为的view添加到碰撞行为对象UICollisionBehavior中即可:
// 创建View
        UIView *view = [self getLeadingActorView:[frames[i] CGRectValue] backgroundColor:[self randomColor]];
        [self.view addSubview:view];

        // 添加碰撞效果
        [self.collision addItem:view];
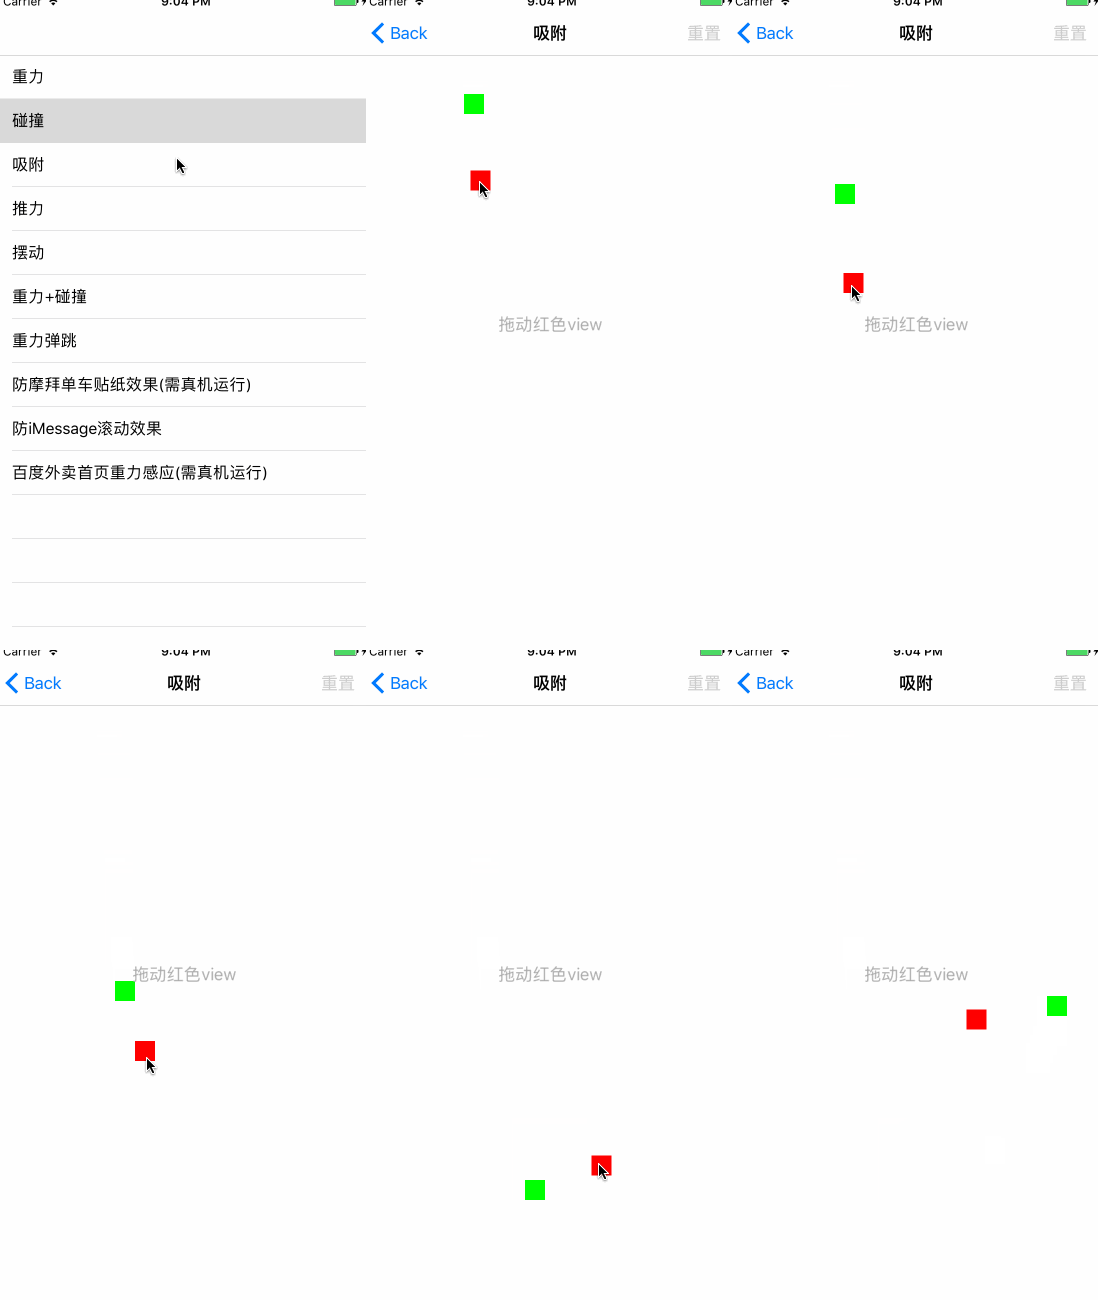
3、吸附效果,一个view想要拥有吸附效果,除了需要设置吸附行为外,还有一个锚点的概念,通俗点讲就是,这个view以后会吸附在这个点上,通过改变这个点的位置,这个view也在跟着锚点不断移动:
self.attach = [[UIAttachmentBehavior alloc] initWithItem:self.squareView offsetFromCenter:UIOffsetZero attachedToAnchor:self.anchorView.center];
    // anchorPoint : 类型的依赖行为的锚点,锚点与行为相关的动力动画的坐标系统有关
    // items : 与吸附行为相连的动态项目,当吸附行为类型是UIAttachmentBehaviorTypeItems时有2个元素,当吸附行为类型是UIAttachmentBehaviorTypeAnchor时只有一个元素。

    // 吸附行为中的两个吸附点之间的距离,通常用这个属性来调整吸附的长度,可以创建吸附行为之后调用。系统基于你创建吸附行为的方法来自动初始化这个长度
    self.attach.length = 60;

    // 吸附行为震荡的频率
    self.attach.frequency = .3;
    // 描述吸附行为减弱的阻力大小
    self.attach.damping = .3;
    [self.animator addBehavior:self.attach];
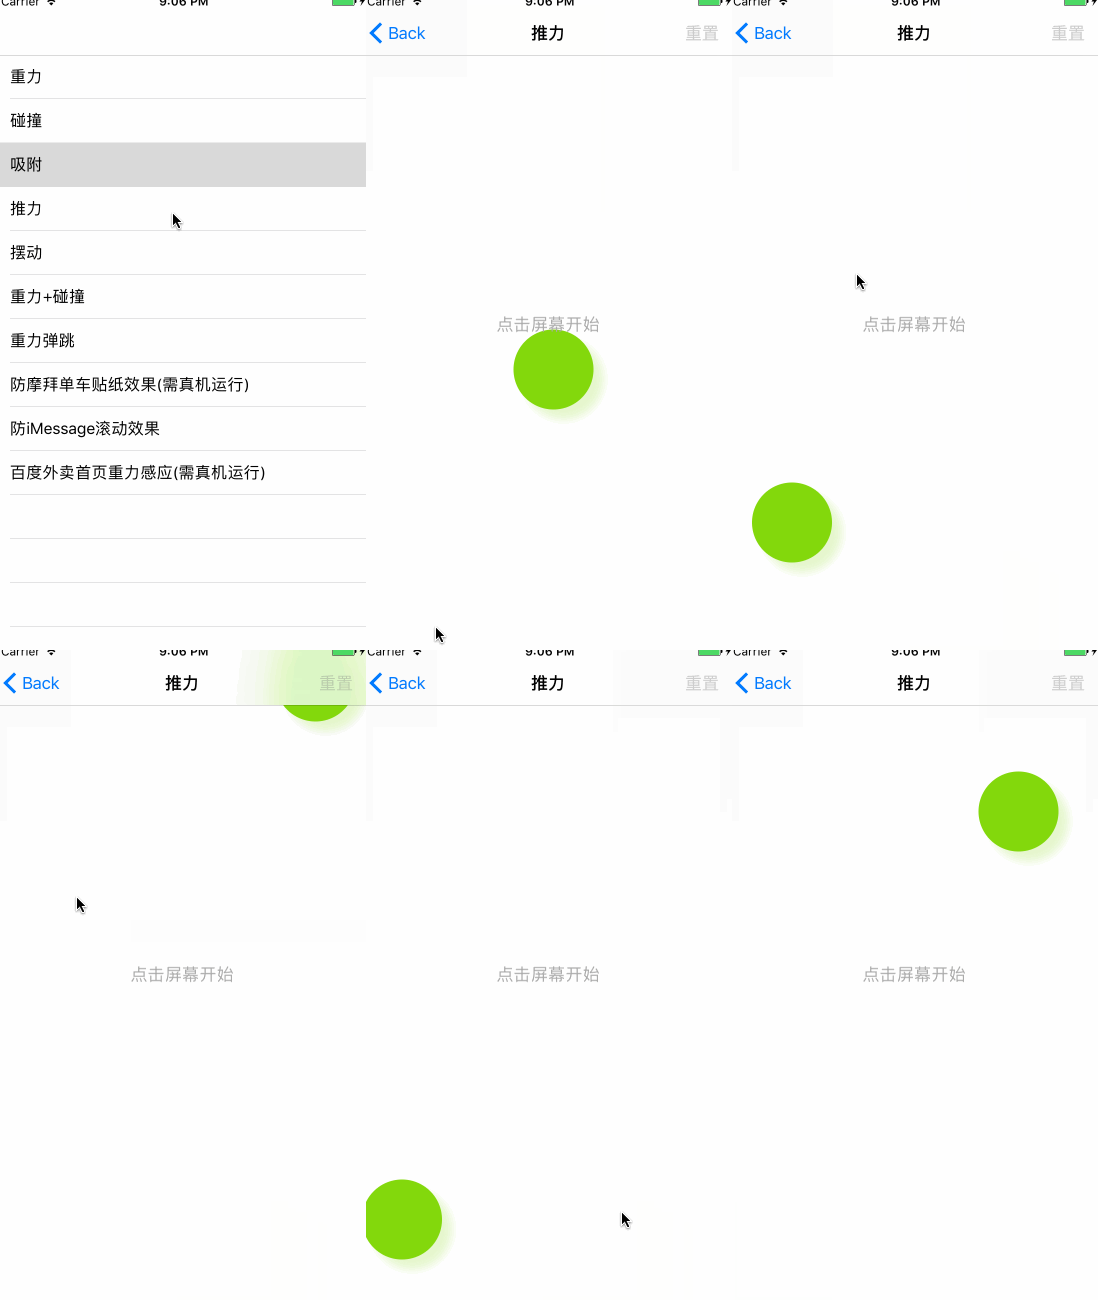
4、推力行为,一个view添加推力后,这个view在推力的方向上就会产生一个力,从而往这个方向移动:
UIView *square = self.pointViews.firstObject;
    // 创建推力行为
    UIPushBehavior *push = [[UIPushBehavior alloc] initWithItems:@[square] mode:UIPushBehaviorModeInstantaneous];
    CGPoint location = [touches.anyObject locationInView:self.view];
    CGPoint itemCenter = square.center;

    // 设置推力方向
    push.pushDirection = CGVectorMake((location.x - itemCenter.x) / 300, (location.y - itemCenter.y) / 300);
    [self.animator addBehavior:push];
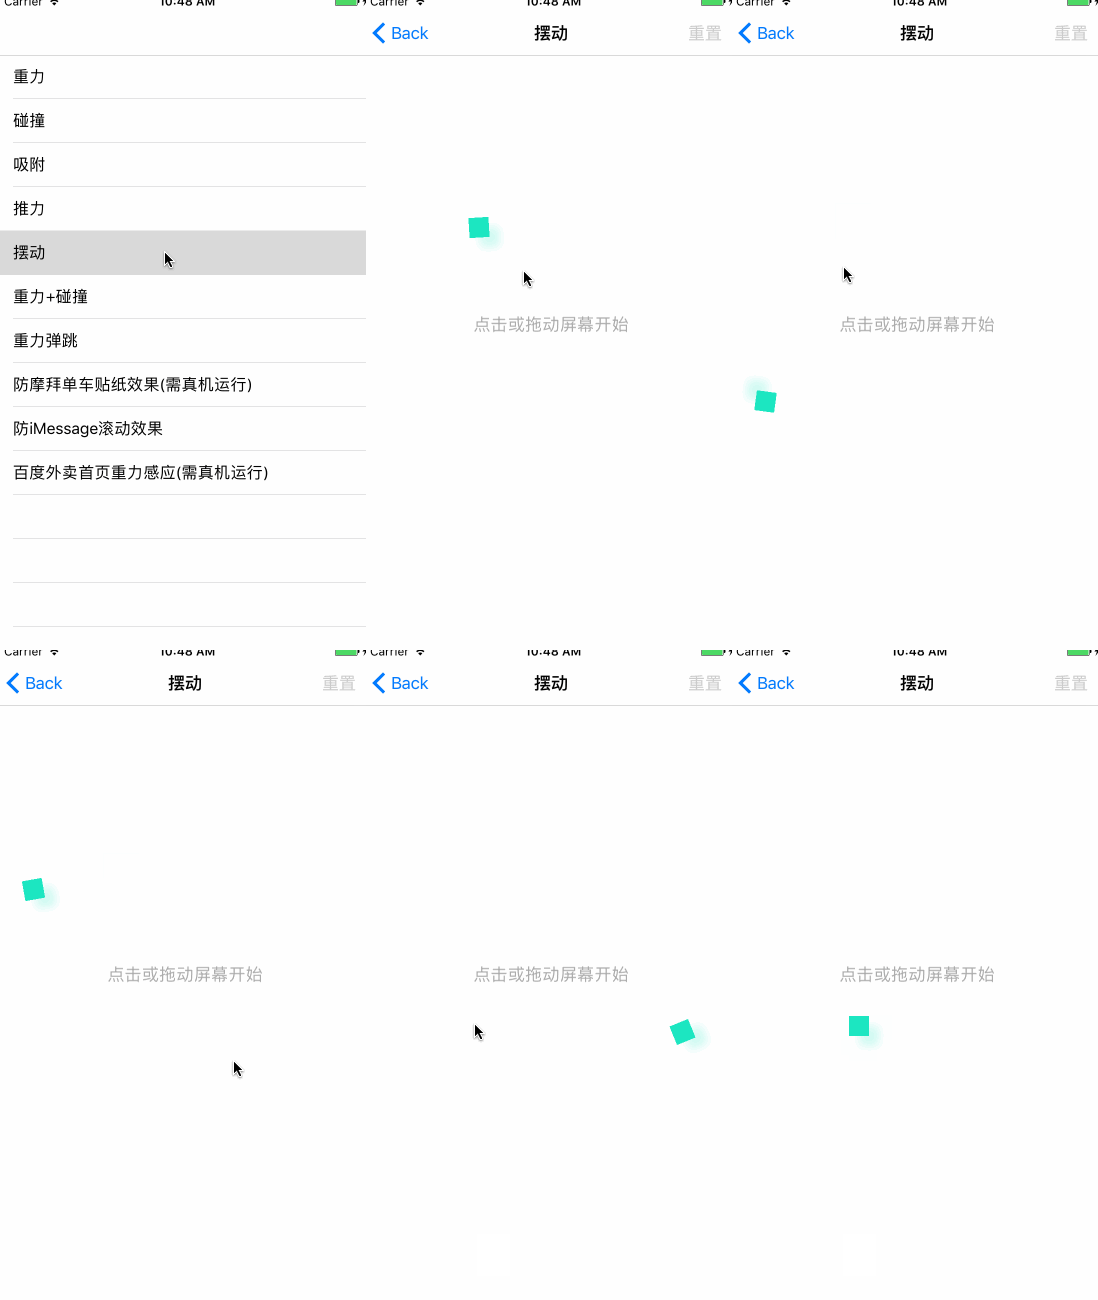
5、摆动行为:也叫捕捉行为,因为捕捉行为比较抽象,不好理解,我一般会叫摆动行为。其实效果就是在某个作用点上震动。UISnapBehavior初始化时需要设置一个点,存在一个防震系数,值越大振幅越小。如果想多次操作一个behavior可以使用removeAllBehaviors移除所有的行为在添加即可。我这里只添加了一次,然后不断改变它的作用点
    // 创建一个view
    UIView *view = [self getLeadingActorView:CGRectMake(20, 66, 20, 20) backgroundColor:[self randomColor]];
    [self.view addSubview:view];

    // 创建震动行为,snapPoint是它的作用点
    self.snap = [[UISnapBehavior alloc] initWithItem:self.pointViews.firstObject snapToPoint:view.center];
    [self.animator addBehavior:self.snap];

    // 设置震动量,范围从0到1,默认为0.5
    self.snap.damping = 1;

// 移动的时候改变作用点
- (void)touchesMoved:(NSSet<UITouch *> *)touches withEvent:(UIEvent *)event
{
    // 更改作用点
    [self changeSnapPoint:[touches.anyObject locationInView:self.view]];
}

- (void)changeSnapPoint:(CGPoint)snapPoint
{
    self.snap.snapPoint = snapPoint;
}
以上是独立效果,我们还可以稍加组合,做些组合效果,看起来会很酷~
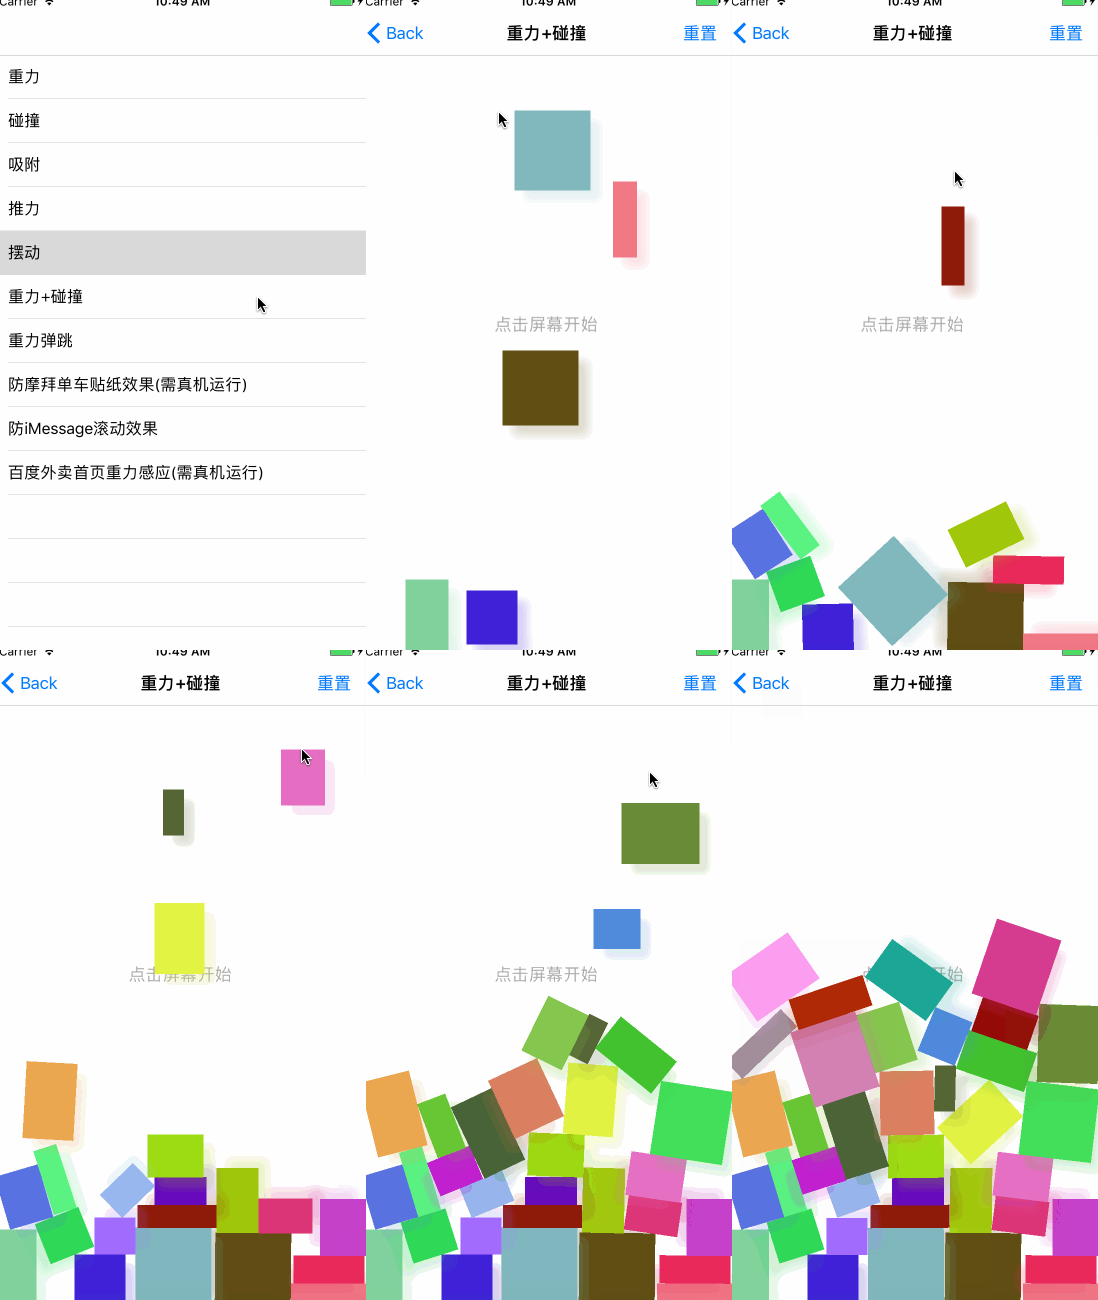
1、重力加碰撞:
    // 创建一个view
    UIView *view = [self getLeadingActorView:(CGRect){point, 20 + (arc4random() % 61), 40 + (arc4random() % 41)} backgroundColor:[self randomColor]];
    [self.view addSubview:view];

    // 为view添加重力效果
    [self.gravity addItem:view];
    // 为view添加碰撞效果
    [self.collision addItem:view];
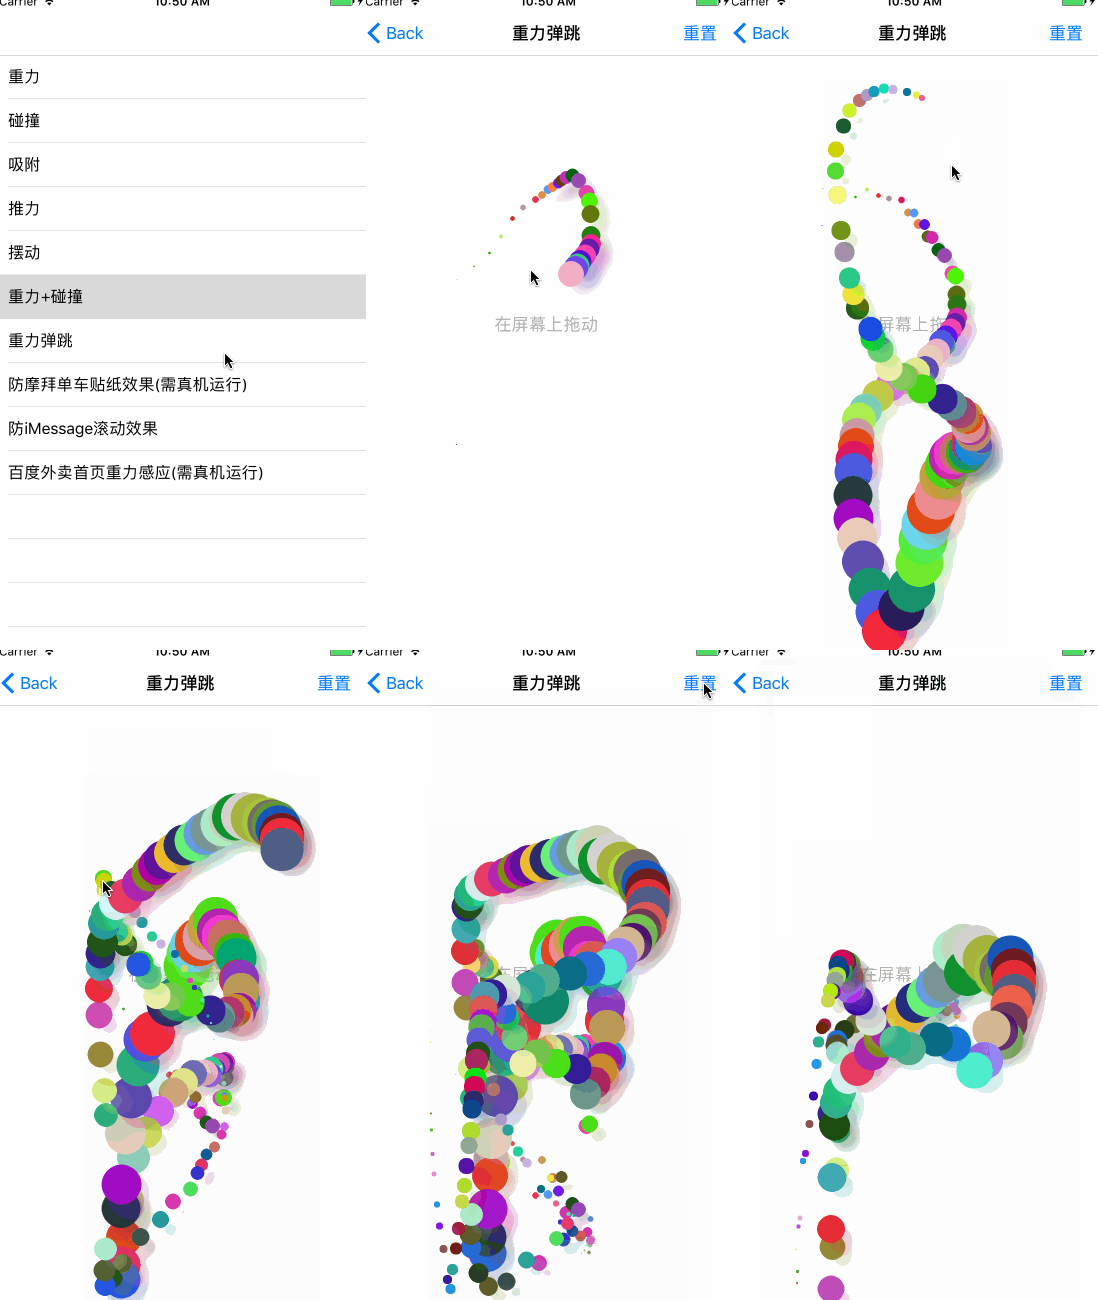
2、重力加弹跳
UIView *square = [self getLeadingActorView:(CGRect){point, wh % 50, wh % 50} backgroundColor:[self randomColor]];
[self.view addSubview:square];

    // 动态媒介
    UIDynamicAnimator *animator = [[UIDynamicAnimator alloc] initWithReferenceView:self.view];
    [self.animators addObject:animator];
    // 重力
    UIGravityBehavior *gravity = [[UIGravityBehavior alloc] initWithItems:@[square]];
    [animator addBehavior:gravity];

    // 碰撞
    UICollisionBehavior *collision = [[UICollisionBehavior alloc] initWithItems:@[square]];
    collision.collisionDelegate = self;
    [collision addBoundaryWithIdentifier:@"barrier" forPath:[UIBezierPath bezierPathWithRect:self.view.bounds]];
    collision.translatesReferenceBoundsIntoBoundary = YES;
    [animator addBehavior:collision];

    // 动力学属性
    UIDynamicItemBehavior *itemBehavior = [[UIDynamicItemBehavior alloc] initWithItems:@[square]];
    itemBehavior.elasticity = 1;
    [animator addBehavior:itemBehavior];
除此之外,咱们还可以模仿一些大厂利用这种技术作出的效果:
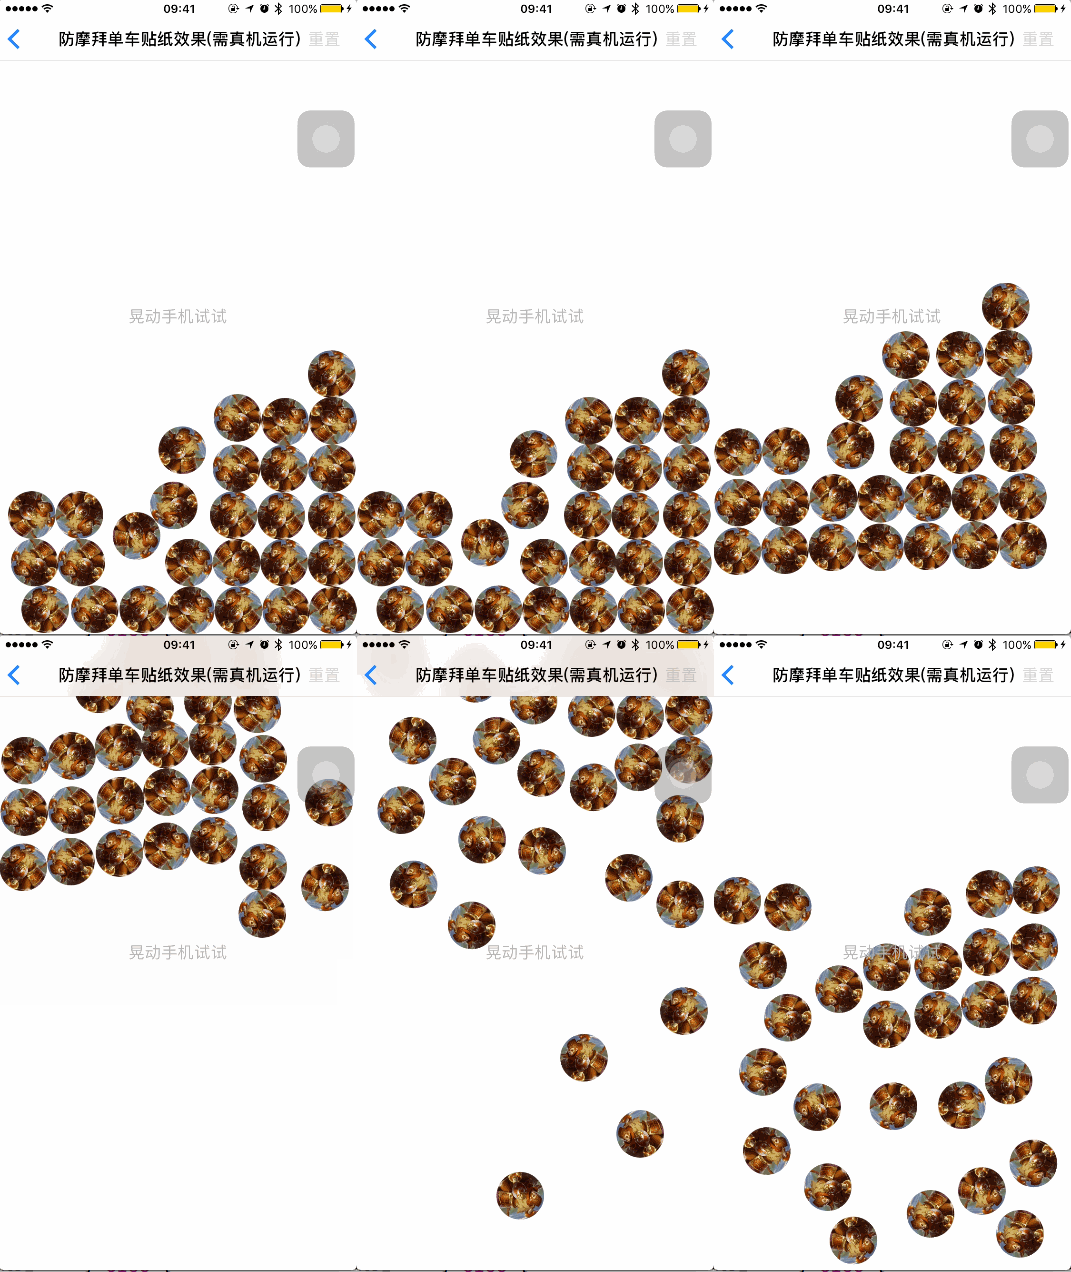
1、防摩拜单车贴纸效果
这种效果说白了就是重力加互相碰撞,然后根据监听设备倾斜方向动态改变view的重力方向实现的。
// 创建view
    for (NSInteger i = 0; i < 40; i++) {
        UIImageView *imageView = [[UIImageView alloc] initWithImage:[UIImage imageNamed:@"MobikeTest"]];
        imageView.frame = CGRectMake(100, 0, 50, 50);
        imageView.layer.masksToBounds = YES;
        imageView.layer.cornerRadius = 25;
        [self.view addSubview:imageView];

        // 添加重力效果
        [self.gravity addItem:imageView];
        // 碰撞效果
        [self.collision addItem:imageView];
        self.dynamicItem.elasticity = .7;
        // 添加动力学属性
        [self.dynamicItem addItem:imageView];
    }

    // 开始监听
    [self.motionManager startDeviceMotionUpdatesToQueue:NSOperationQueue.mainQueue withHandler:^(CMDeviceMotion * _Nullable motion, NSError * _Nullable error) {
        // 设置重力方向
        self.gravity.gravityDirection = CGVectorMake(motion.gravity.x * 3, -motion.gravity.y * 3);
    }];
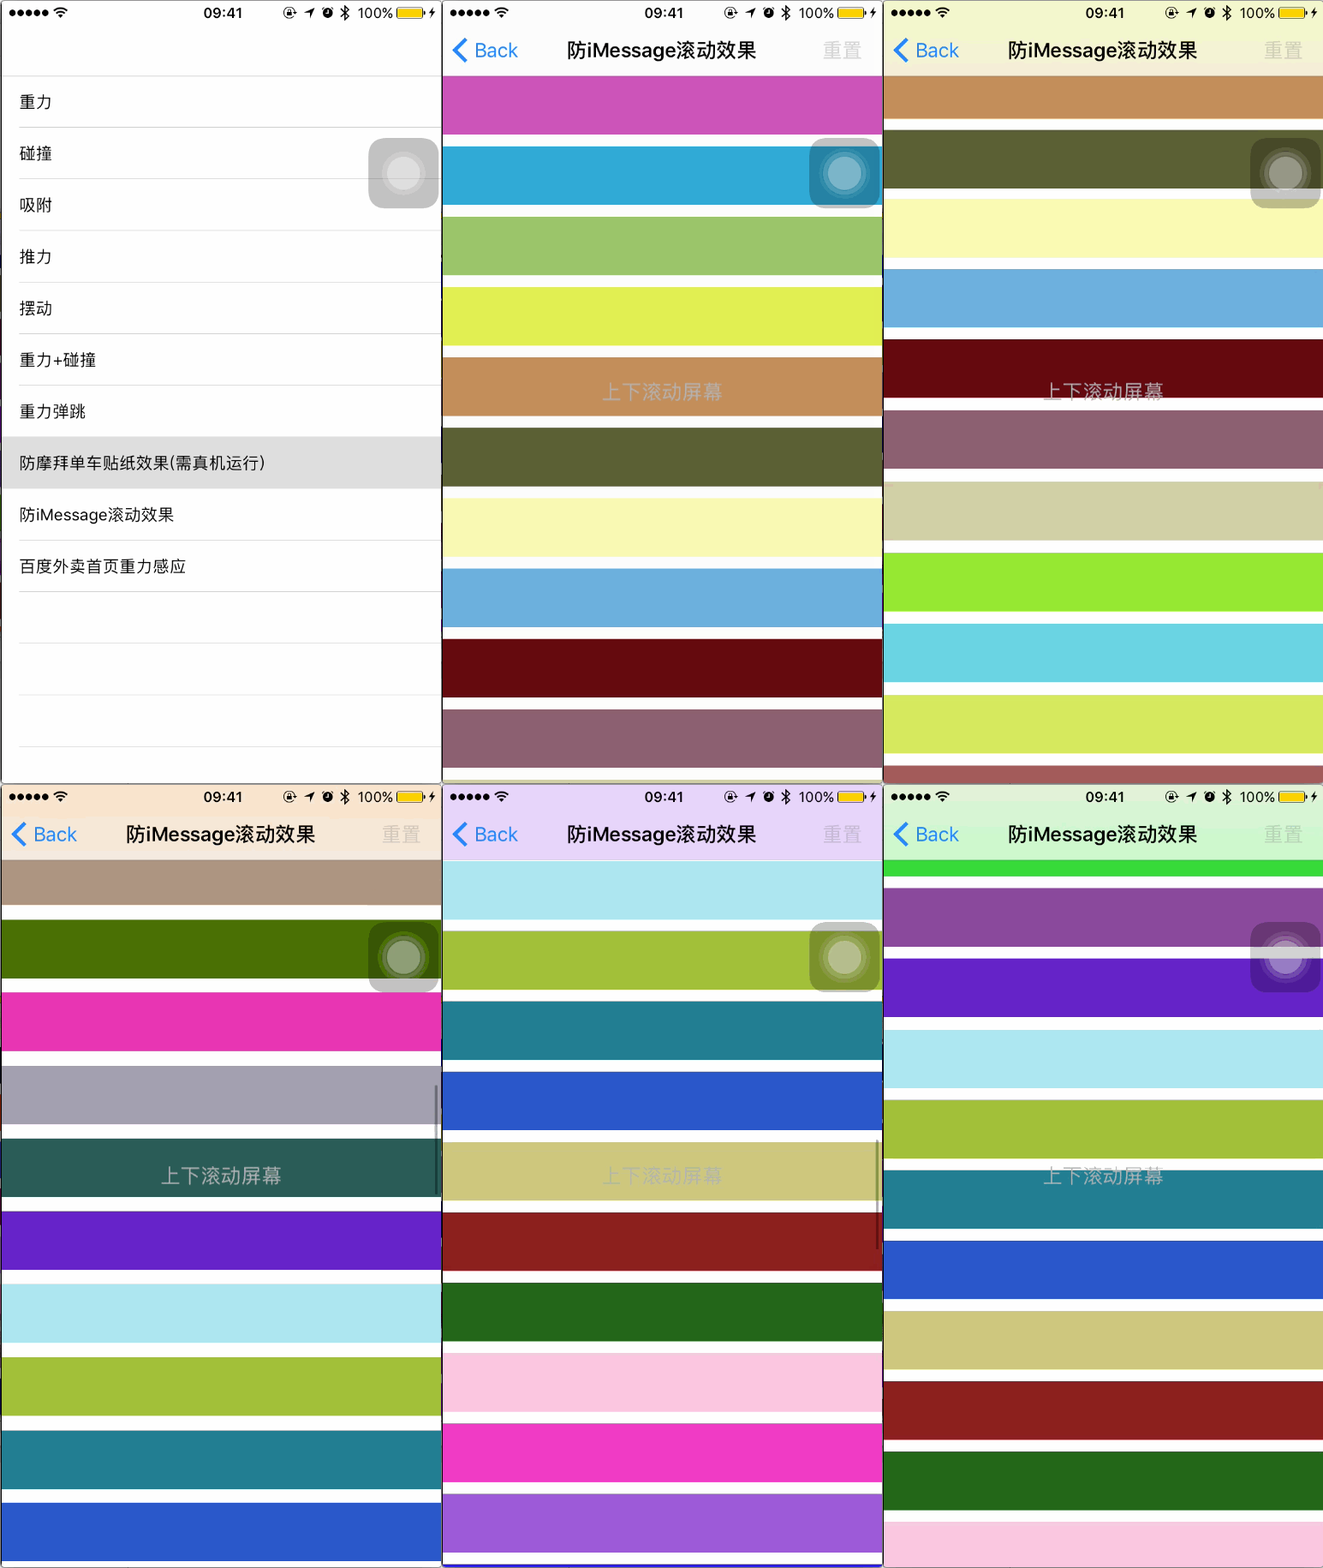
2、防iMessage滚动效果
另外iPhone系统应用iMessage中消息滑动的时候添加了一个动画效果,其实是利用吸附效果实现的,这个实现参考了喵神的博客,在自定义collectionViewLayout中重写prepareLayout方法并为每个item添加吸附行为,再重写shouldInvalidateLayoutForBoundsChange方法,根据滚动的位移,改变吸附行为的anchorPoint:
- (void)prepareLayout
{
    [super prepareLayout];

    if (!_animator) {
        _animator = [[UIDynamicAnimator alloc] initWithCollectionViewLayout:self];
        CGSize contentSize = [self collectionViewContentSize];
        NSArray *items = [super layoutAttributesForElementsInRect:CGRectMake(0, 0, contentSize.width, contentSize.height)];
        for (UICollectionViewLayoutAttributes *item in items) {
            UIAttachmentBehavior *spring = [[UIAttachmentBehavior alloc] initWithItem:item attachedToAnchor:item.center];
            spring.length = 0;
            spring.damping = .8;
            spring.frequency = .5;
            [_animator addBehavior:spring];
        }
    }
}


- (BOOL)shouldInvalidateLayoutForBoundsChange:(CGRect)newBounds {
    UIScrollView *scrollView = self.collectionView;
    CGFloat scrollDeltaY = newBounds.origin.y - scrollView.bounds.origin.y;
    CGFloat scrollDeltaX = newBounds.origin.x - scrollView.bounds.origin.x;
    CGPoint touchLocation = [scrollView.panGestureRecognizer locationInView:scrollView];
    for (UIAttachmentBehavior *spring in _animator.behaviors) {
        CGPoint anchorPoint = spring.anchorPoint;
        CGFloat distanceFromTouch = fabs(touchLocation.y - anchorPoint.y);
        CGFloat scrollResistance = distanceFromTouch / 2000;
        UICollectionViewLayoutAttributes *item = (id)[spring.items firstObject];
        CGPoint center = item.center;
        center.y += (scrollDeltaY > 0) ? MIN(scrollDeltaY, scrollDeltaY * scrollResistance)
        : MAX(scrollDeltaY, scrollDeltaY * scrollResistance);

        CGFloat distanceFromTouchX = fabs(touchLocation.x - anchorPoint.x);
        center.x += (scrollDeltaX > 0) ? MIN(scrollDeltaX, scrollDeltaX * distanceFromTouchX / 2000)
        : MAX(scrollDeltaX, scrollDeltaX * distanceFromTouchX / 2000);

        item.center = center;
        [_animator updateItemUsingCurrentState:item];
    }
    return NO;
}
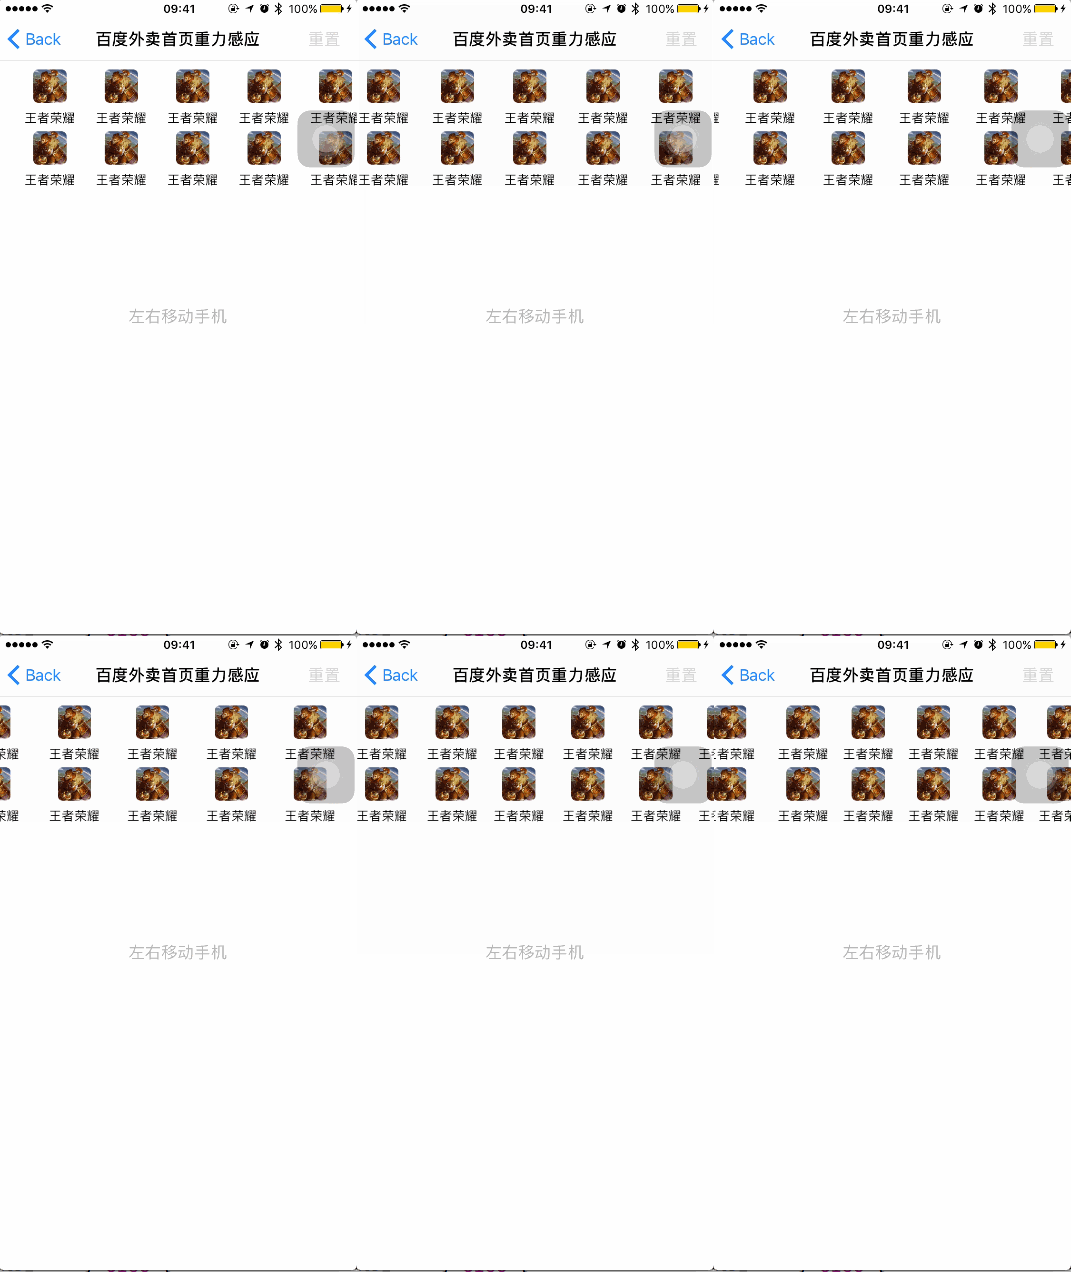
3、百度外卖首页重力感应
用过百度外卖的可能都注意到了,在它的首页,有个collectionView可以根据重力去滚动,我这里简单实现了下:
// 加速计更新频率,我这里设置每隔0.06s更新一次,也就是说,每隔0.06s会调用一次下边这个监听的block
    self.motionManager.accelerometerUpdateInterval = 0.06;
    // 开始监听
    [self.motionManager startAccelerometerUpdatesToQueue:NSOperationQueue.mainQueue withHandler:^(CMAccelerometerData * _Nullable accelerometerData, NSError * _Nullable error) {
        // 获取加速计在x方向上的加速度
        CGFloat x = accelerometerData.acceleration.x;

        // collectionView的偏移量
        CGFloat offSetX = self.collectionView.contentOffset.x;
        CGFloat offSetY = self.collectionView.contentOffset.y;

        // 动态修改偏移量
        offSetX -= 15 * x;
        CGFloat maxOffset = self.collectionView.contentSize.width + 15 - self.view.frame.size.width;

        // 判断最大和最小的偏移量
        if (offSetX > maxOffset) {
            offSetX = maxOffset;
        } else if (offSetX < -15) {
            offSetX = -15;
        }

        // 动画修改collectionView的偏移量
        [UIView animateWithDuration:0.06 animations:^{
            [self.collectionView setContentOffset:CGPointMake(offSetX, offSetY) animated:NO];
        }];
    }];
三、运行效果
1、用Xcode8打开demo,然后按快捷键command+r运行
2、运行时截图
1、重力行为
2、碰撞行为
3、吸附行为
4、推力行为
5、摆动行为
6、重力+碰撞
7、酷炫的重力弹跳
8、防摩拜单车贴纸效果
9、防iMessage滚动效果
10、防百度外卖首页重力感应
四、其他补充
1、最后几张GIF压缩之后有点失真,真实效果可以下载demo来看。
2、下载这个demo,绝对能玩一天。