上一节我们学的API操作HDFS系统都是框架封装好的,这一节,我们将自己实现上诉的API操作。
1、获取文件系统
/**
     * 获取FileSystem对象
     * @return
     * @throws URISyntaxException
     * @throws IOException
     * @throws InterruptedException
     */
    private FileSystem getFs(Configuration configuration) throws URISyntaxException, IOException, InterruptedException {
        return FileSystem.get(new URI("hdfs://k8smaster:9000"),configuration,"root");
    }
2、文件上传
   /**
     * 将本地磁盘的文件上传到HDFS的根目录
     */
    @Test
    public void putFileToHDFS(){
        //获取文件系统->创建输入流->获取输出流->流对拷->关闭资源
        Configuration configuration = new Configuration();
        try(FileSystem fs = getFs(configuration);
            InputStream in = new FileInputStream("C:\Users\12163\Desktop\1.txt");
            FSDataOutputStream out = fs.create(new Path("/1.txt"))) {
            IOUtils.copyBytes(in,out,configuration);
        } catch (Exception e) {
            e.printStackTrace();
        }
    }
3、文件下载
    /**
     * 将HDFS路径/test/2.txt的文件下载到本地磁盘
     */
    @Test
    public void getFileFromHDFS(){
        //获取文件系统->获取输入流->获取输出流->流对拷->关闭资源
        Configuration configuration = new Configuration();
        try (FileSystem fs = getFs(configuration);
             InputStream in = fs.open(new Path("/test/2.txt"));
             OutputStream out = new FileOutputStream("C:\Users\12163\Desktop\2.txt")){
            IOUtils.copyBytes(in,out,configuration);
        }catch (Exception e){
            e.printStackTrace();
        }
    }
}
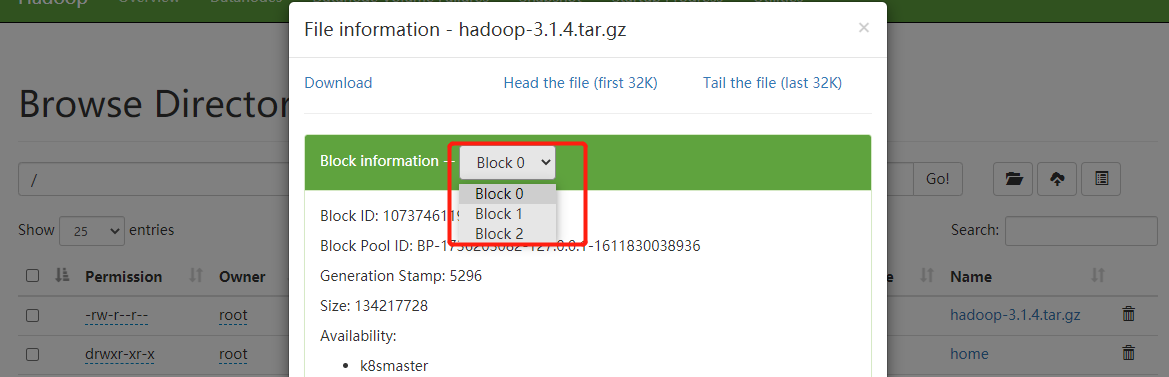
4、定位文件读取
将hadoop-3.1.4.tar.gz上传到HDFS的根目录。
hadoop fs -put hadoop-3.1.4.tar.gz /
下载0-100M的文件
    /**
     * 将HDFS路径/hadoop-3.1.4.tar.gz指定下载0-100M到本地磁盘
     */
    @Test
    public void readFileSeek1(){
        //获取文件系统->获取输入流->获取输出流->流对拷->关闭资源
        Configuration configuration = new Configuration();
        try (FileSystem fs = getFs(configuration);
             InputStream in = fs.open(new Path("/hadoop-3.1.4.tar.gz"));
             OutputStream out = new FileOutputStream("C:\Users\12163\Desktop\hadoop-3.1.4.tar.gz")){
            //每次读取1024个字节
             byte[] bytes = new byte[1024];
             //总共读取128M
            for (int i = 0; i < 1024 * 100; i++) {
                in.read(bytes);
                out.write(bytes);
            }
        }catch (Exception e){
            e.printStackTrace();
        }
    }

从100M开始读取数据
   /**
     * 指定读取数据的开始位置
     */
    @Test
    public void readFileSeek2(){
        Configuration configuration = new Configuration();
        try (FileSystem fs = getFs(configuration);
             FSDataInputStream in = fs.open(new Path("/hadoop-3.1.4.tar.gz"));
             OutputStream out = new FileOutputStream("C:\Users\12163\Desktop\hadoop-2.tar.gz")){
            //设置读取的开始位置(100M)
            in.seek(1024*1024*100);
            //流拷贝
            IOUtils.copyBytes(in,out,configuration);
        }catch (Exception e){
            e.printStackTrace();
        }
    }
将两个文件合并
type hadoop-2.tar.gz >> hadoop-3.1.4.tar.gz