Sentry(直译为:哨兵)是一个开源错误跟踪服务,帮助开发人员实时监控和修复崩溃
Sentry本质上是一种帮助您实时监控和修复崩溃的服务
1. 安装客户端SDK
这里我们安装Java平台的SDK,而且使用logback的方式集成
https://docs.sentry.io/clients/java/
1.1. Logback
https://docs.sentry.io/clients/java/modules/logback/
首先,引入maven依赖
<dependency>
    <groupId>io.sentry</groupId>
    <artifactId>sentry-logback</artifactId>
    <version>1.7.16</version>
</dependency>
接着,添加logback.xml文件
<?xml version="1.0" encoding="UTF-8"?>
<configuration>
    <!-- Configure the Console appender -->
    <appender name="Console" class="ch.qos.logback.core.ConsoleAppender">
        <encoder>
            <pattern>%d{HH:mm:ss.SSS} [%thread] %-5level %logger{36} - %msg%n</pattern>
        </encoder>
    </appender>

    <!-- Configure the Sentry appender, overriding the logging threshold to the WARN level -->
    <appender name="Sentry" class="io.sentry.logback.SentryAppender">
        <filter class="ch.qos.logback.classic.filter.ThresholdFilter">
            <level>WARN</level>
        </filter>
    </appender>

    <root level="INFO">
        <appender-ref ref="Console" />
        <appender-ref ref="Sentry" />
    </root>
</configuration>
最后,添加sentry.properties配置
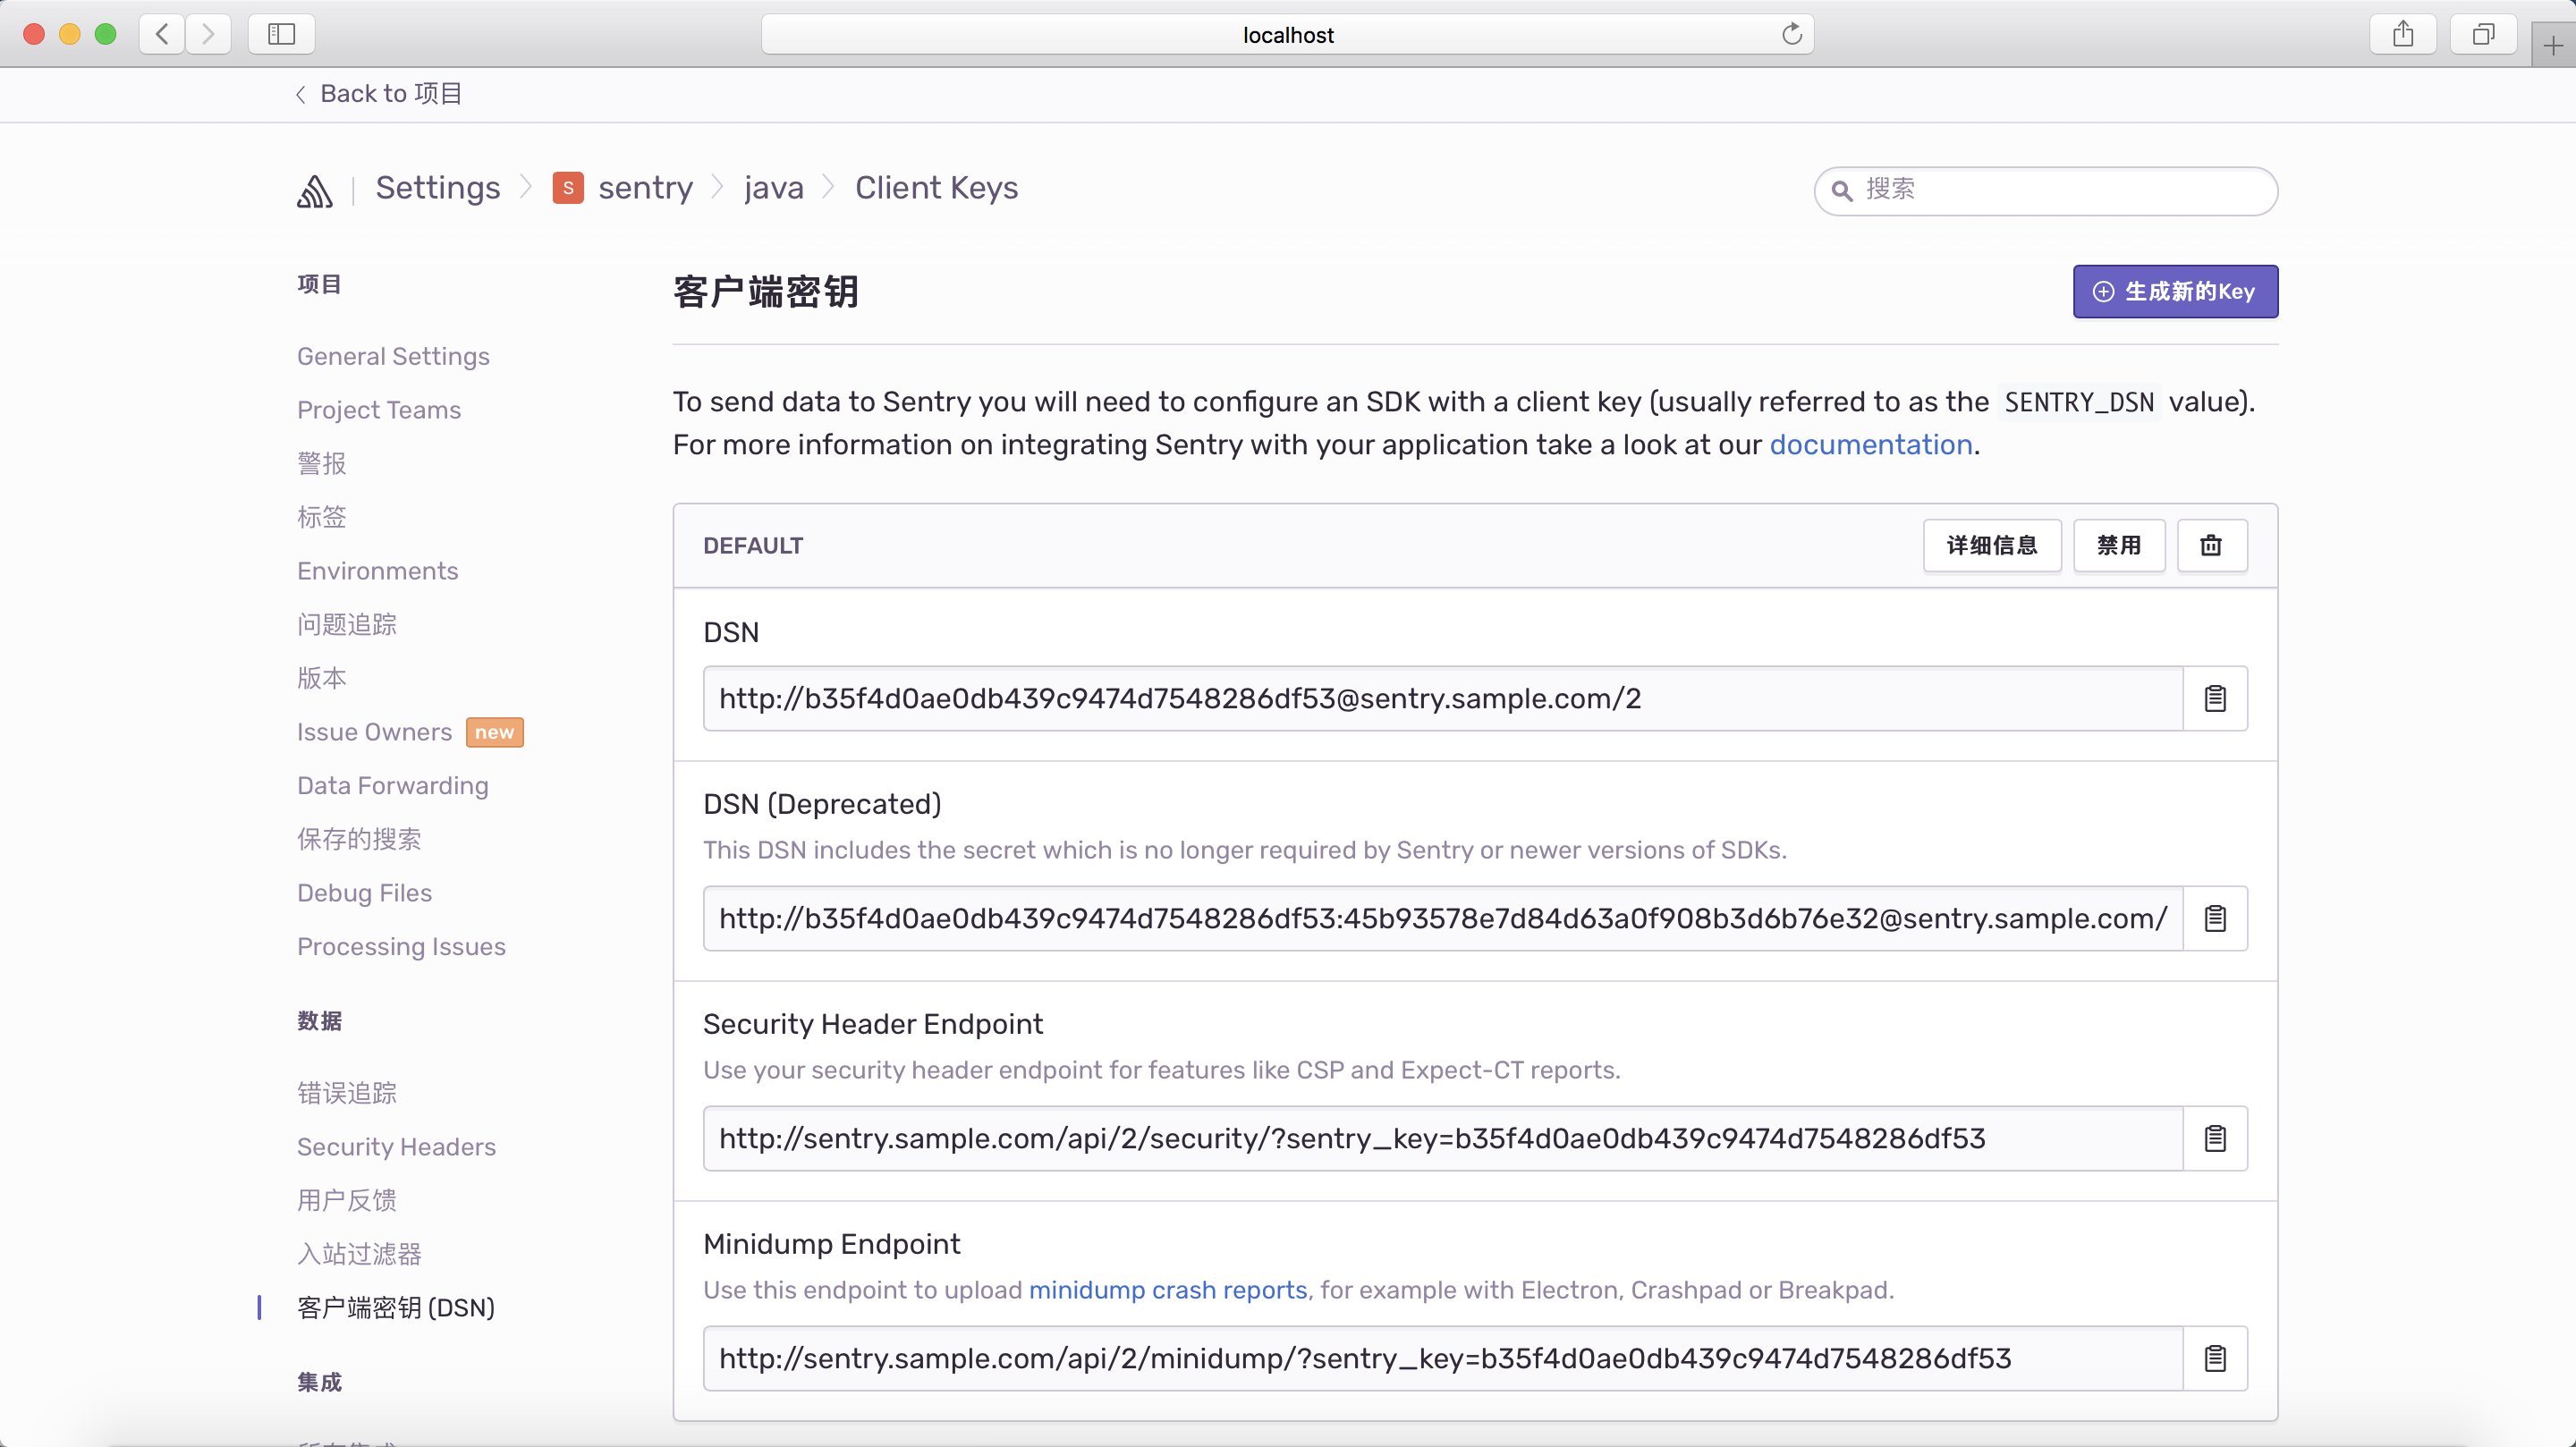
主要是设置DSN(Data Source Name)
设置DSN的方式有多种(比如:sentry.properties,或者环境变量SENTRY_DSN,或者运行时参数)
具体参见 https://docs.sentry.io/clients/java/config/#setting-the-dsn
1.2. Spring
https://docs.sentry.io/clients/java/modules/spring/
用Spring Boot的话这样写即可
@Bean
public ServletContextInitializer sentryServletContextInitializer() {
    return new io.sentry.spring.SentryServletContextInitializer();
}
1.3. 示例配置
配置项很多,在此不一一列举,更多请参见 https://docs.sentry.io/clients/java/config/#setting-the-dsn
有两个必须配置的选项:dsn 和 stacktrace.app.packages
https://docs.sentry.io/clients/java/config/#in-application-stack-frames
工程结构
pom.xml

logback.xml

sentry.properties

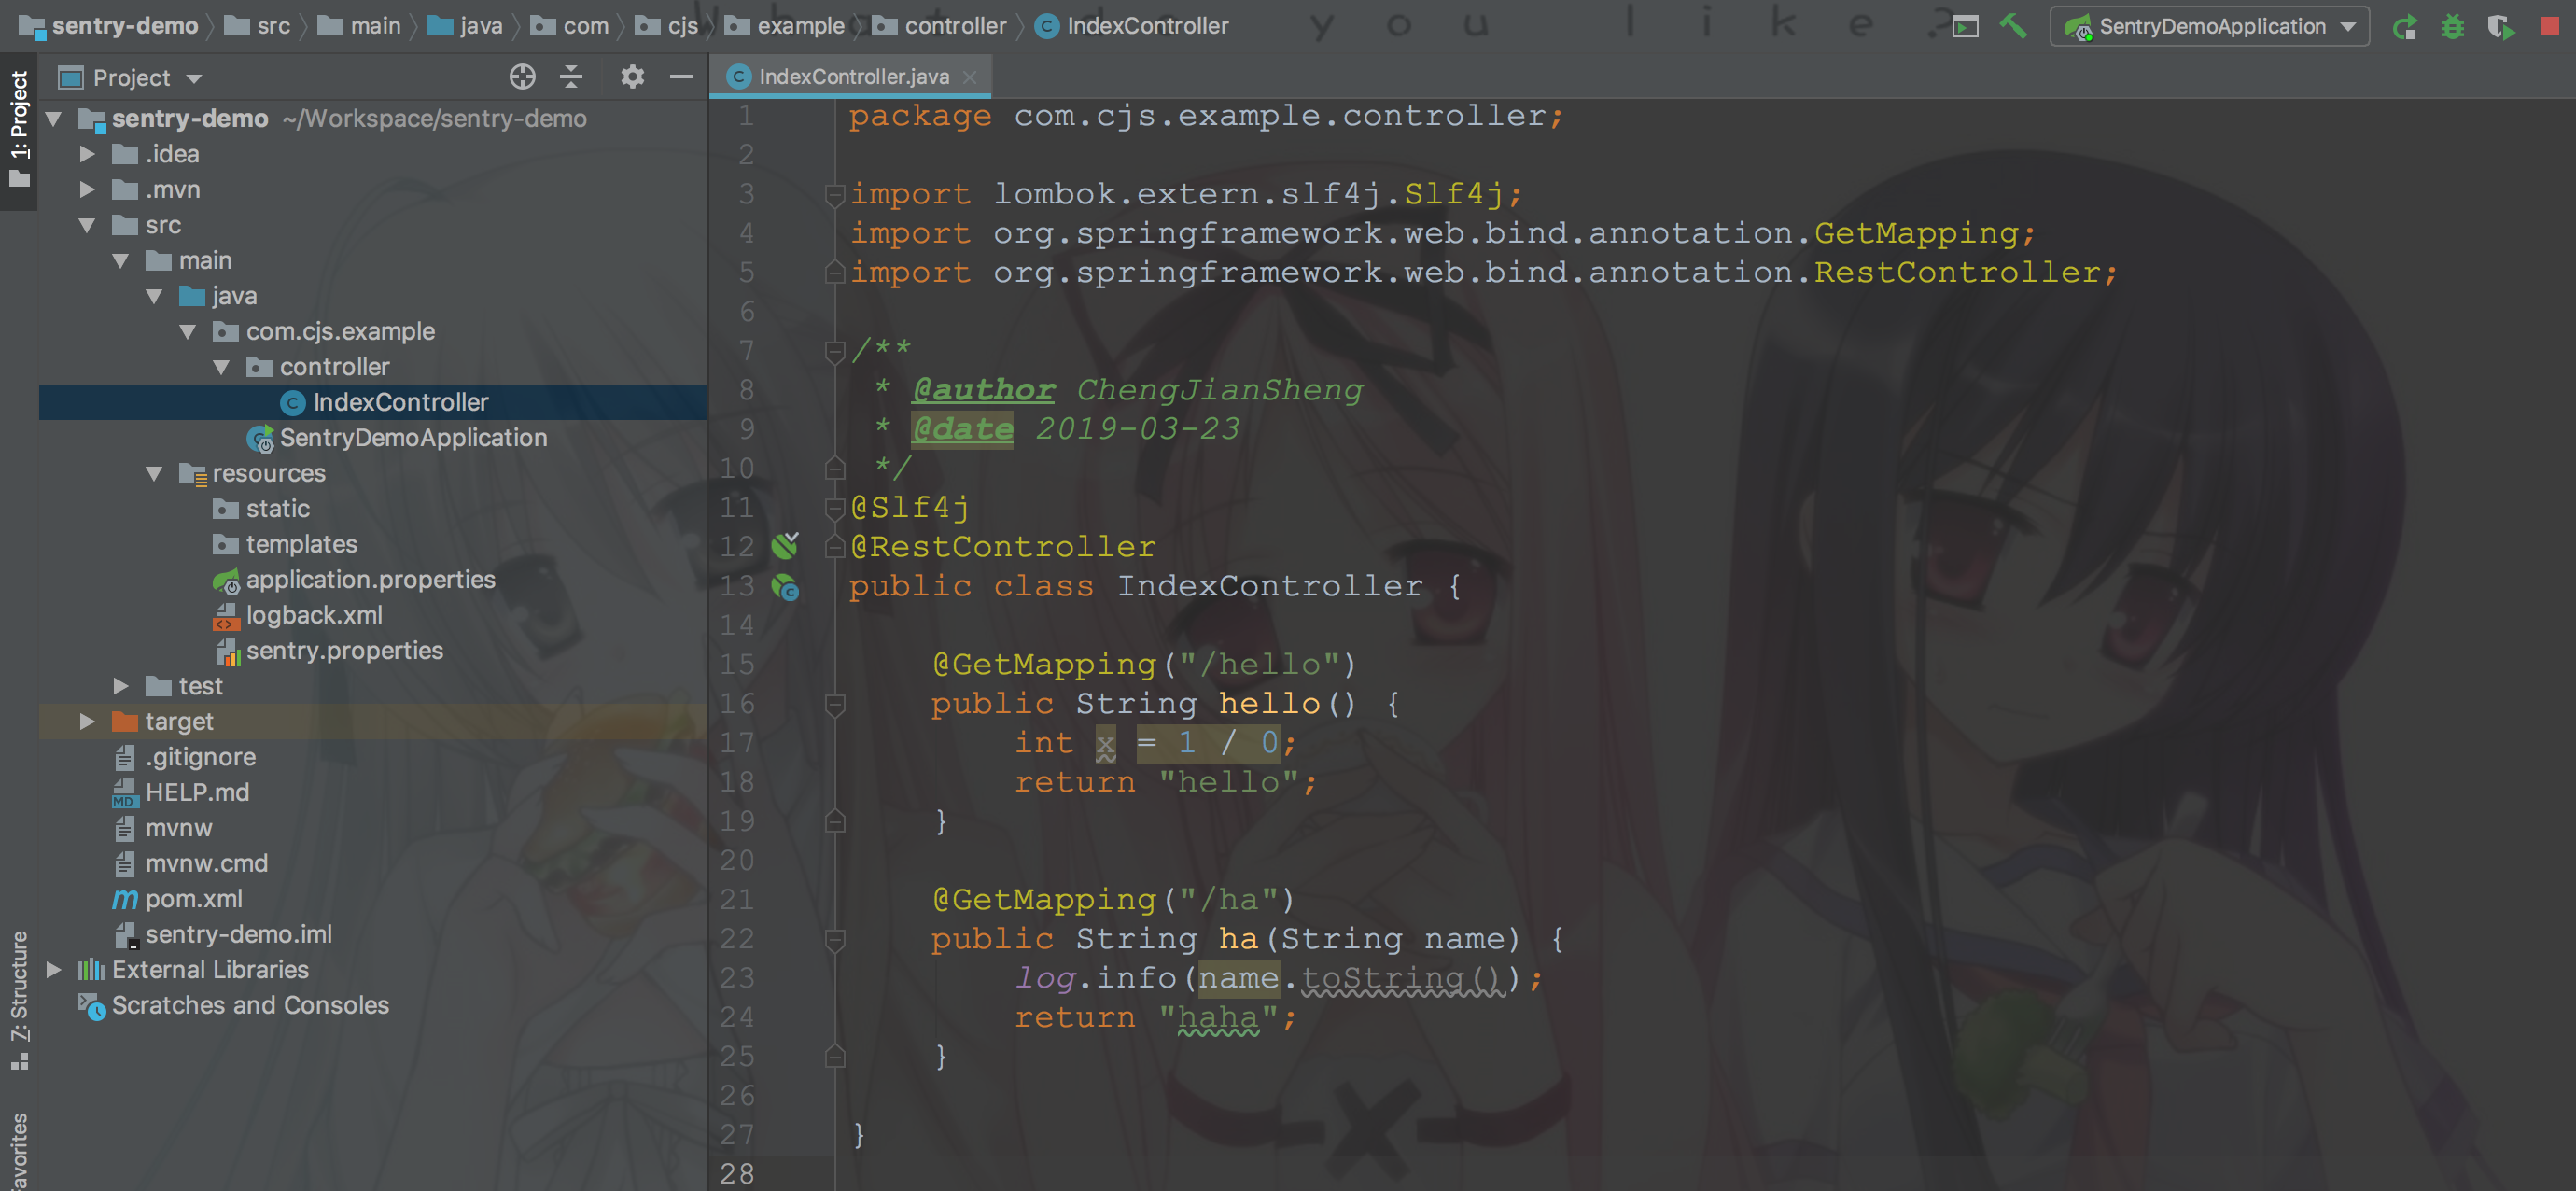
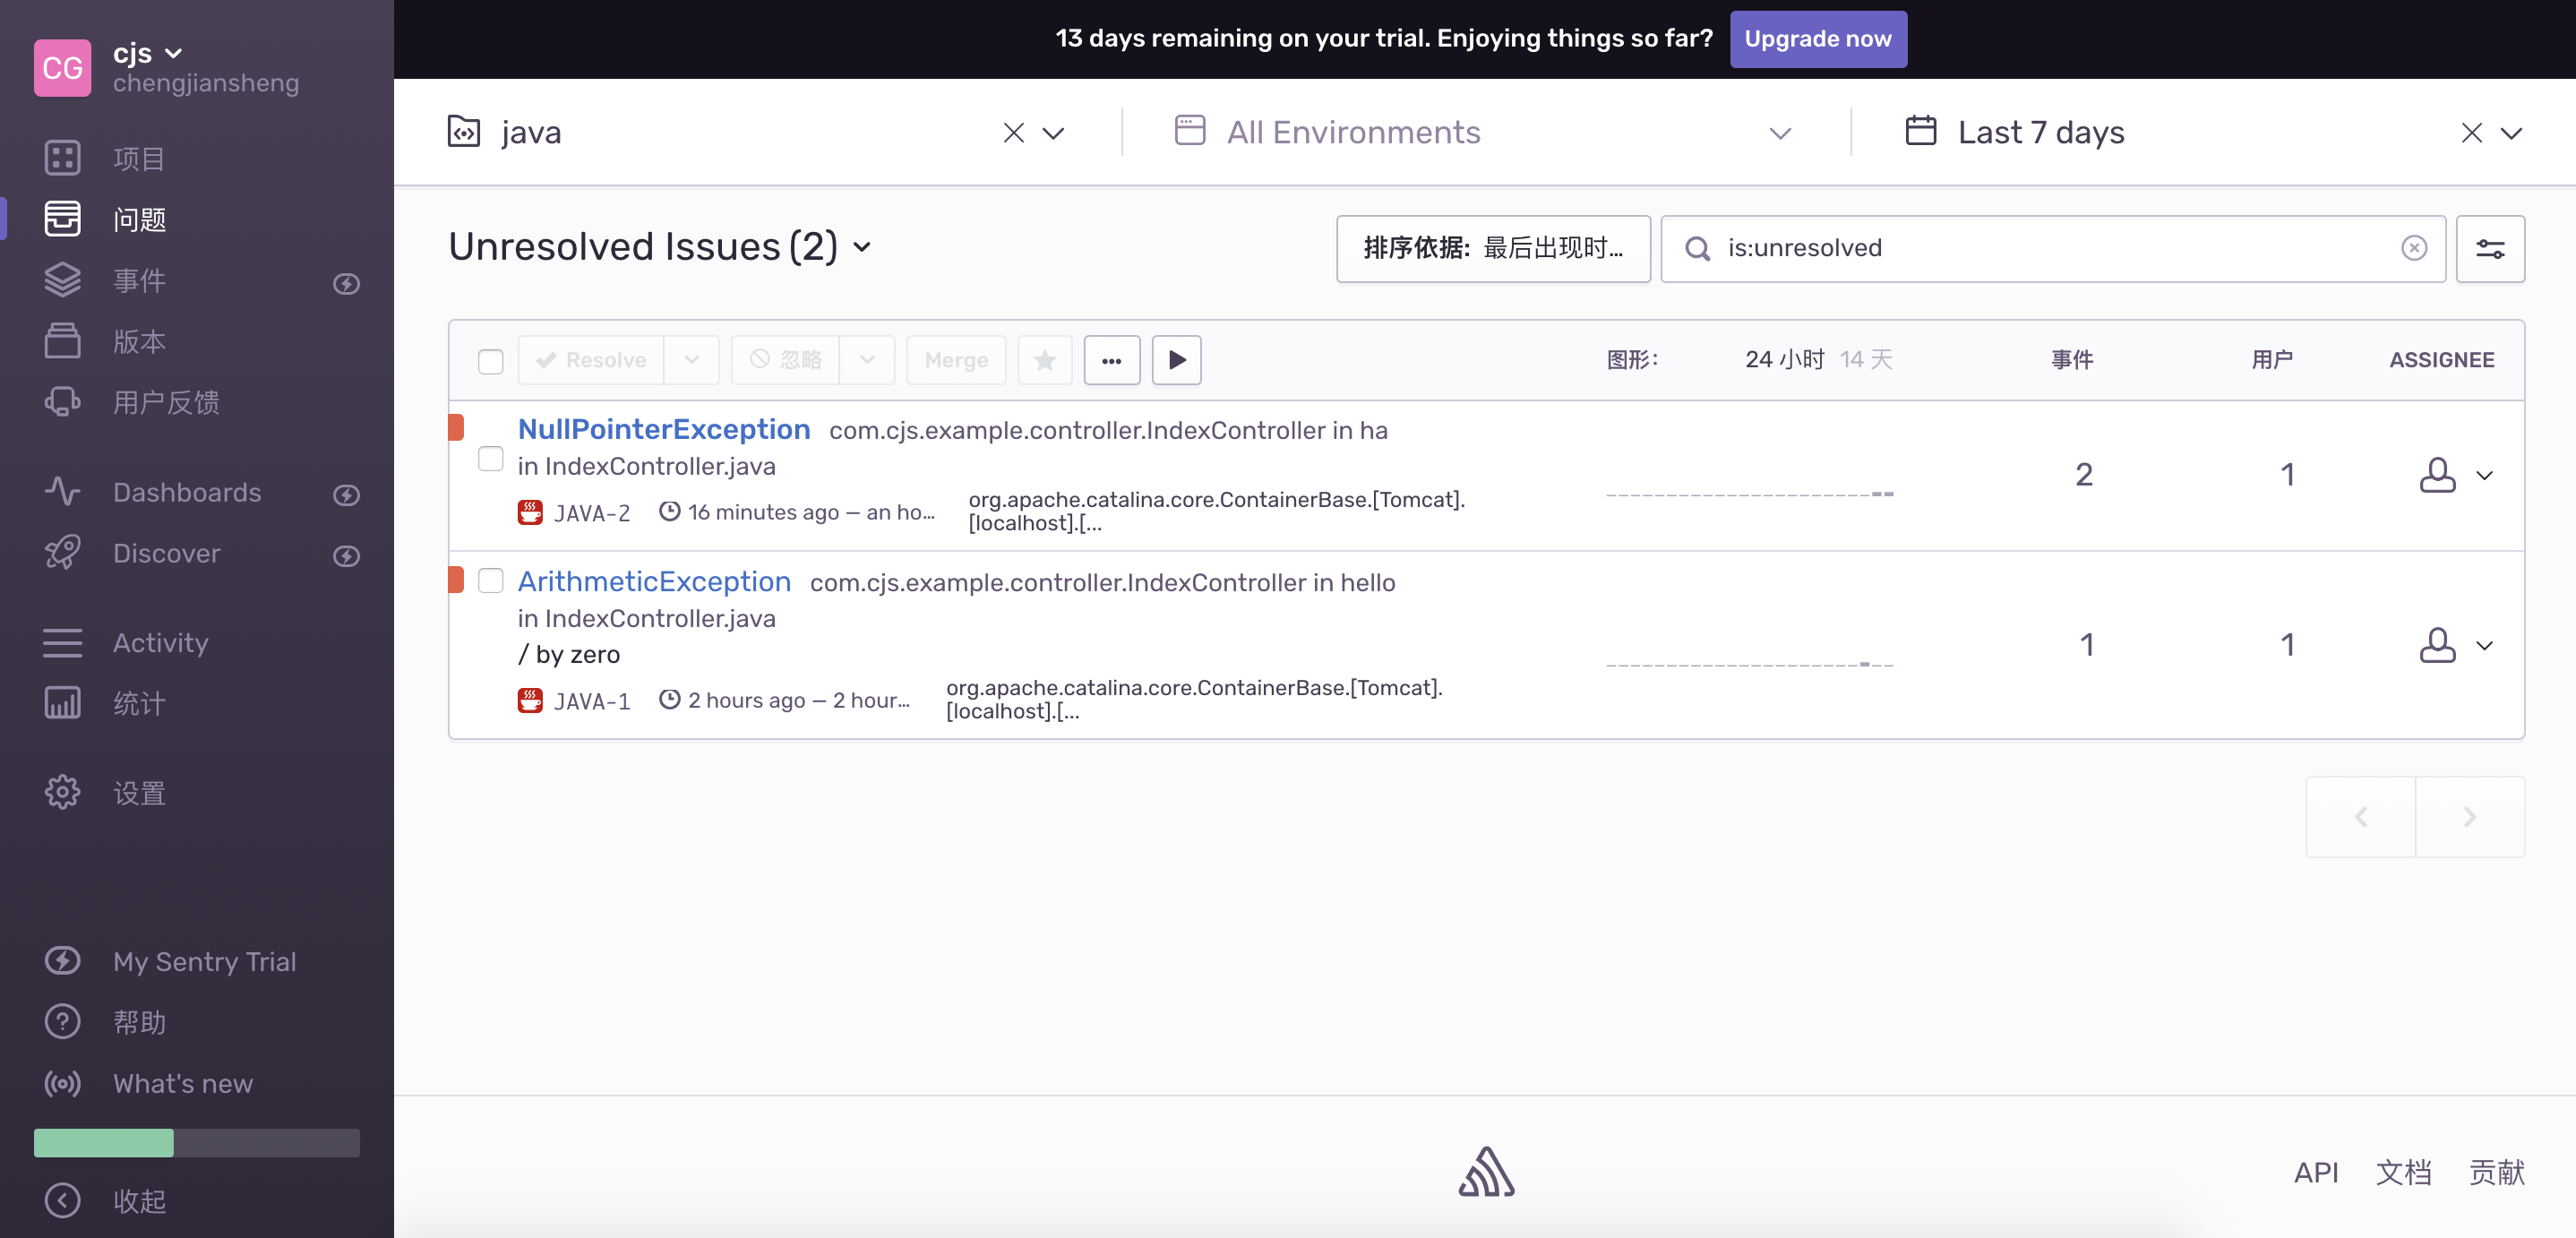
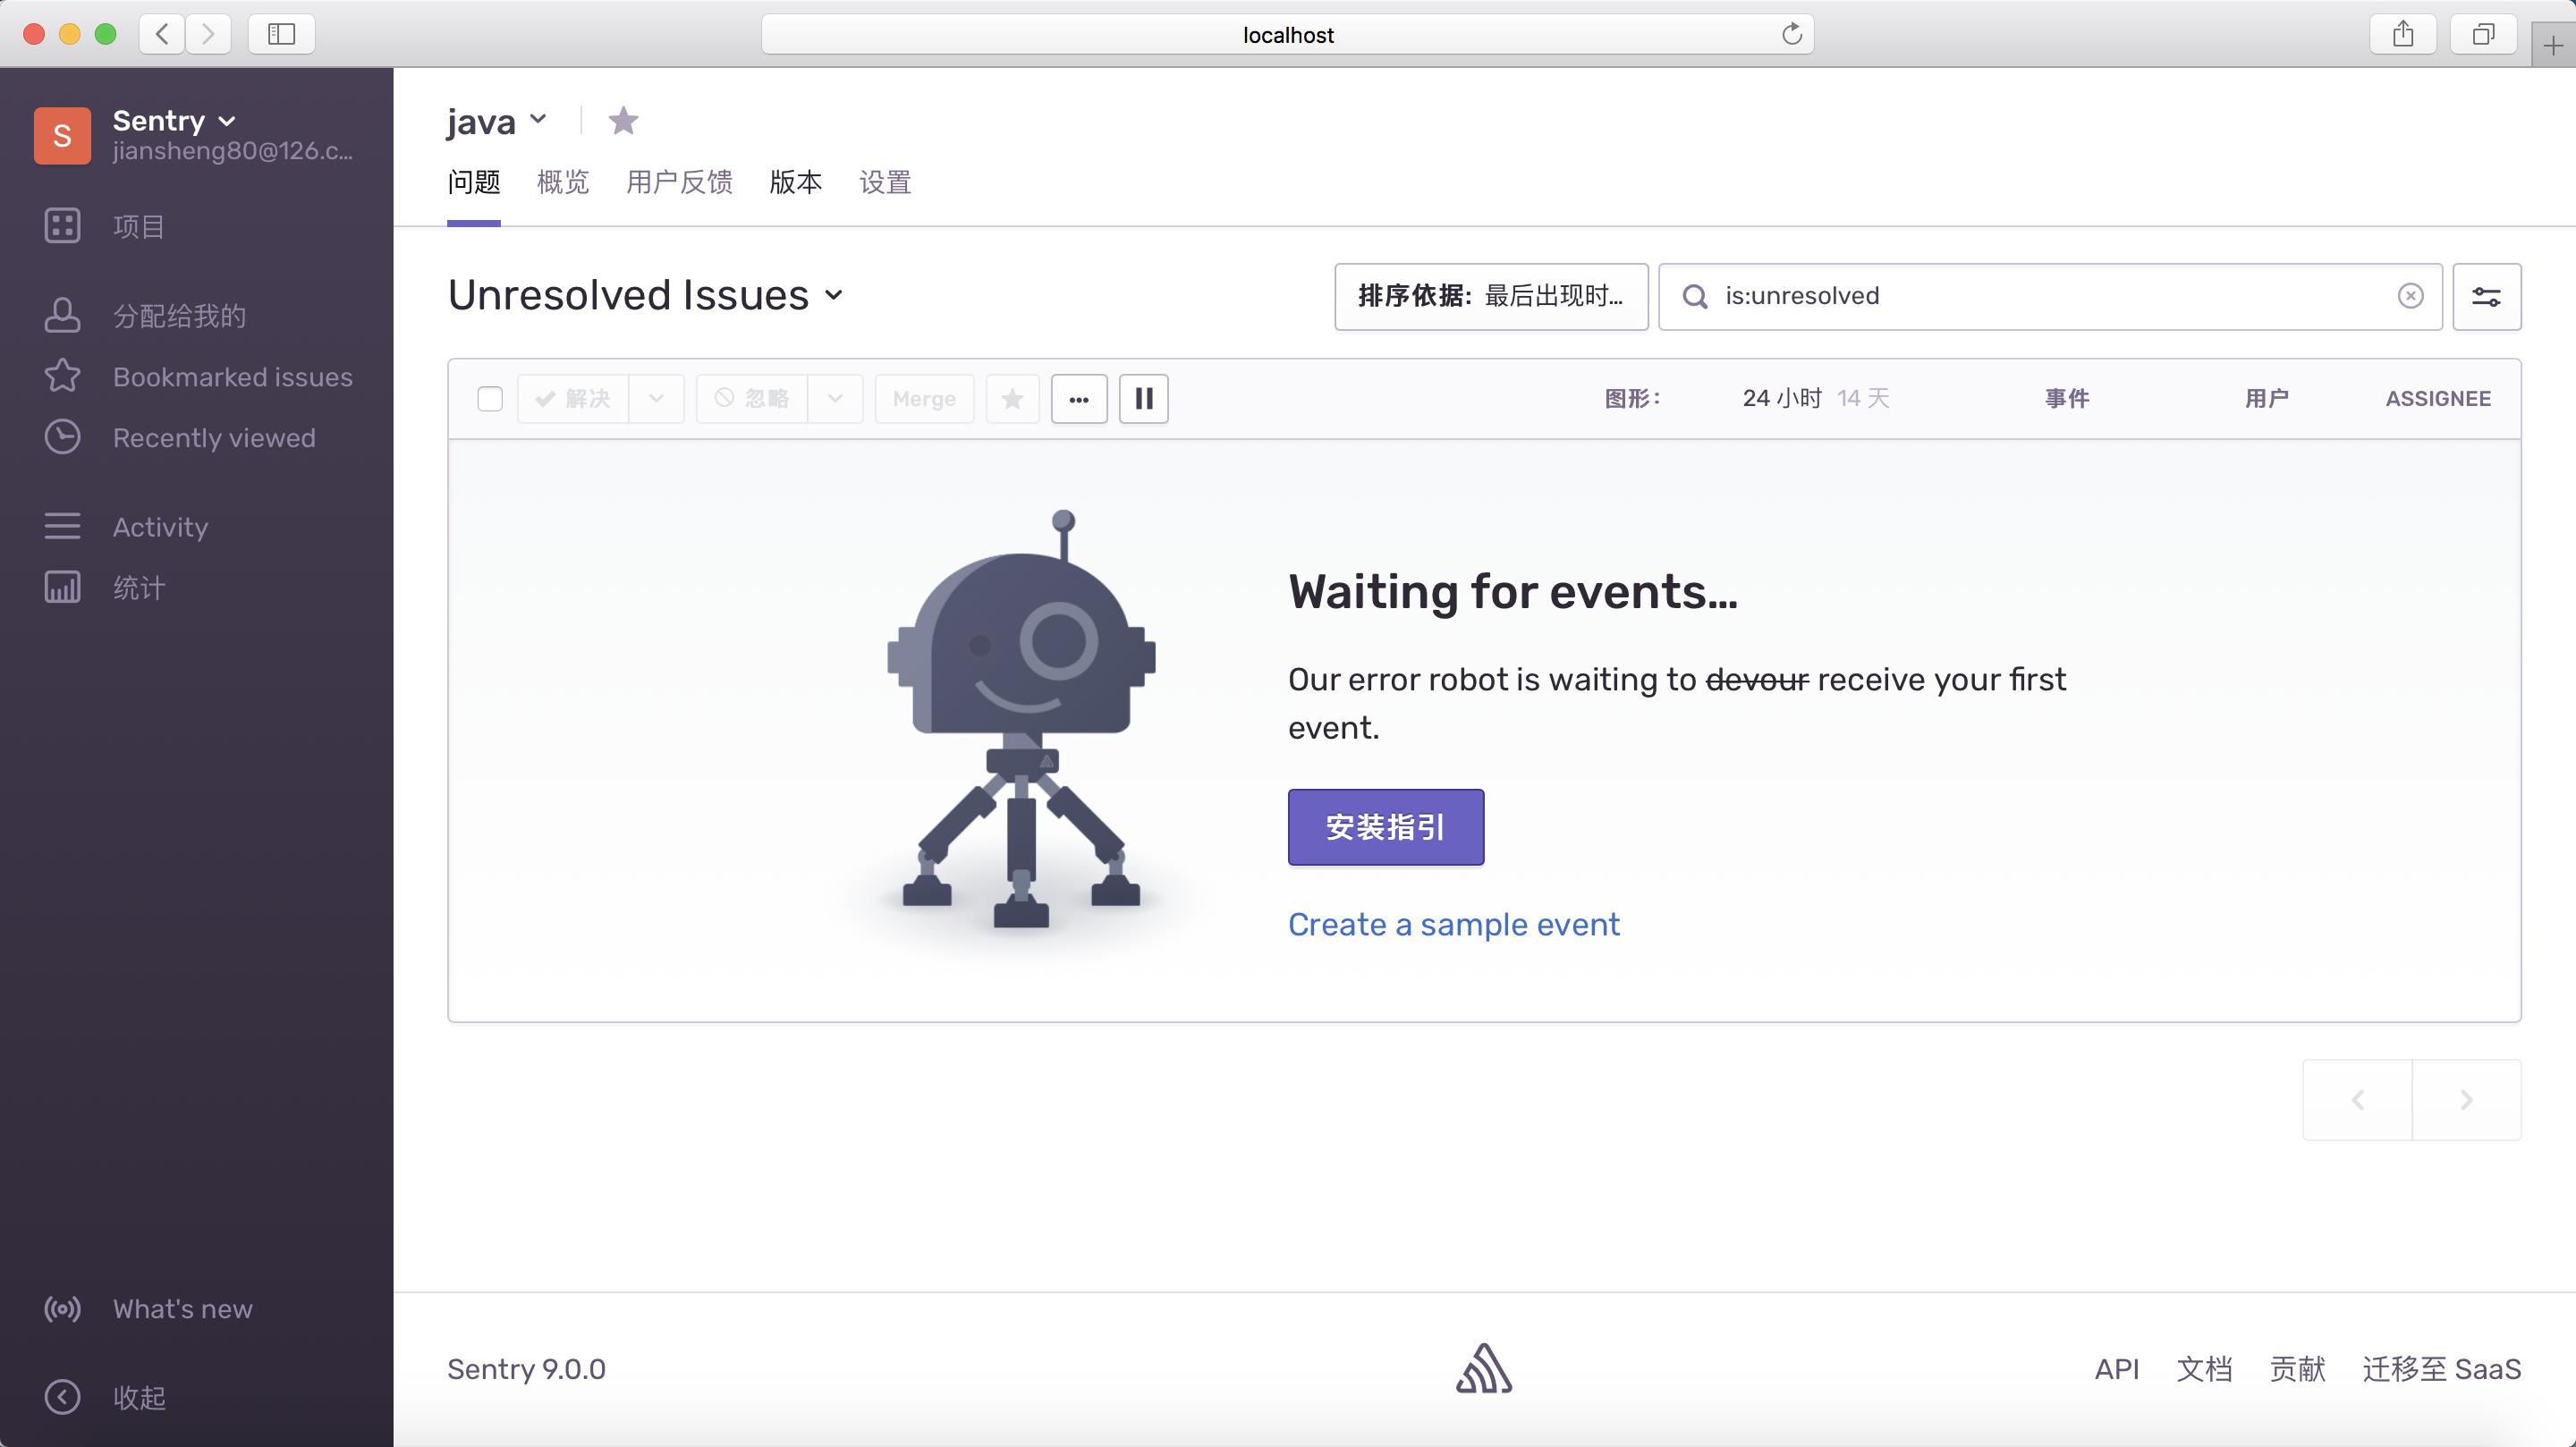
接下来,启动项目,并访问,令其报错,然后通过Web管理后台查看
同时,也收到了邮件

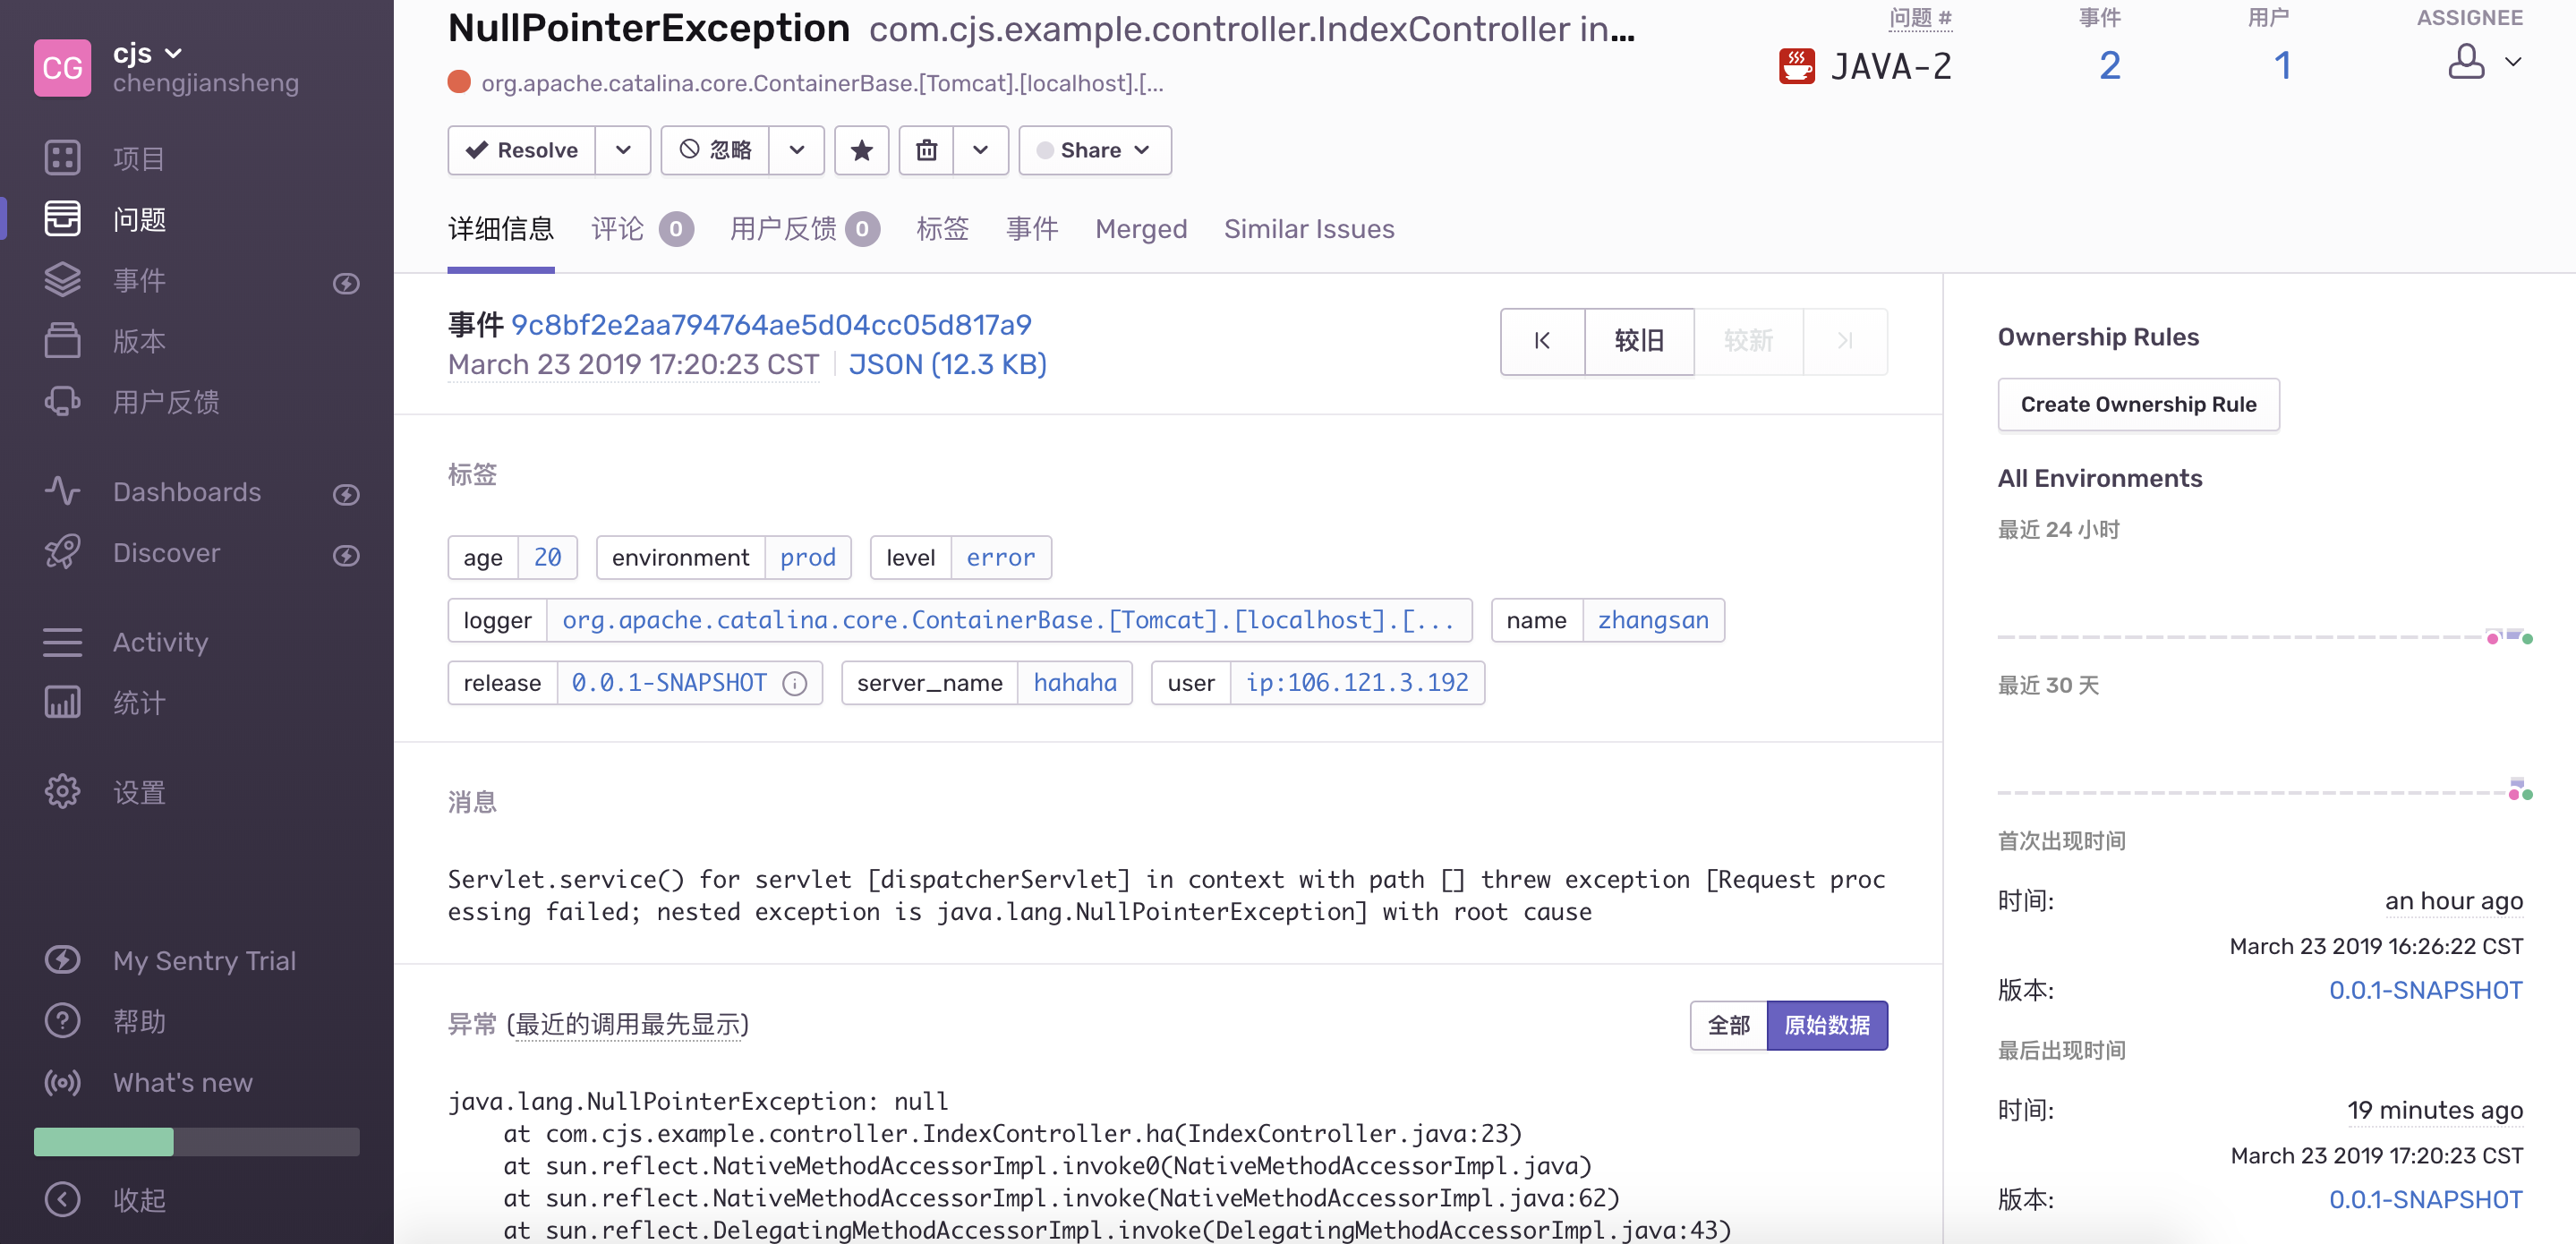
点进去,查看详情,可以看到异常信息,还可以看到配置文件中我们带的参数,还可以对异常进行处理
1.4. 手动捕获异常
/**
  * An example method that throws an exception.
  */
void unsafeMethod() {
    throw new UnsupportedOperationException("You shouldn't call this!");
}

/**
  * Examples using the (recommended) static API.
  */
void logWithStaticAPI() {
    // Note that all fields set on the context are optional. Context data is copied onto
    // all future events in the current context (until the context is cleared).

    // Record a breadcrumb in the current context. By default the last 100 breadcrumbs are kept.
    Sentry.getContext().recordBreadcrumb(
        new BreadcrumbBuilder().setMessage("User made an action").build()
    );

    // Set the user in the current context.
    Sentry.getContext().setUser(
        new UserBuilder().setEmail("hello@sentry.io").build()
    );

    // Add extra data to future events in this context.
    Sentry.getContext().addExtra("extra", "thing");

    // Add an additional tag to future events in this context.
    Sentry.getContext().addTag("tagName", "tagValue");

    /*
     This sends a simple event to Sentry using the statically stored instance
     that was created in the ``main`` method.
     */
    Sentry.capture("This is a test");

    try {
        unsafeMethod();
    } catch (Exception e) {
        // This sends an exception event to Sentry using the statically stored instance
        // that was created in the ``main`` method.
        Sentry.capture(e);
    }
}

/**
  * Examples that use the SentryClient instance directly.
  */
void logWithInstanceAPI() {
    // Retrieve the current context.
    Context context = sentry.getContext();

    // Record a breadcrumb in the current context. By default the last 100 breadcrumbs are kept.
    context.recordBreadcrumb(new BreadcrumbBuilder().setMessage("User made an action").build());

    // Set the user in the current context.
    context.setUser(new UserBuilder().setEmail("hello@sentry.io").build());

    // This sends a simple event to Sentry.
    sentry.sendMessage("This is a test");

    try {
        unsafeMethod();
    } catch (Exception e) {
        // This sends an exception event to Sentry.
        sentry.sendException(e);
    }
}
1.5. 文档
Sentry还有很多很多配置,更多请参见 https://docs.sentry.io/
错误数据 https://docs.sentry.io/enriching-error-data/context/?platform=electron
集成 https://docs.sentry.io/workflow/releases/?platform=electron
用户和组 https://docs.sentry.io/accounts/membership/
好,接下来说重点
在刚才的告警中,仅仅只是使用邮件的方式进行通知,这是不够的,因为你会发现在平时的工作中很少有人去实时关注邮件,因为实在是太多了(GitLab、Jira、Wiki、还有各种会议邮件抄送,都懒得打开),这还是上班时间,下班以后就更不好说了,因此,更通常的做法是采用钉钉群机器人通知。每当出现异常告警,钉钉群机器人都会@指定的负责人,这样效率更高,能够更快速的响应线上问题,其实最主要是一般钉钉都是随时在线的。
很可惜!Sentry默认的服务中是不支持钉钉的,它并没有集成钉钉。我也是找到好久才发现的
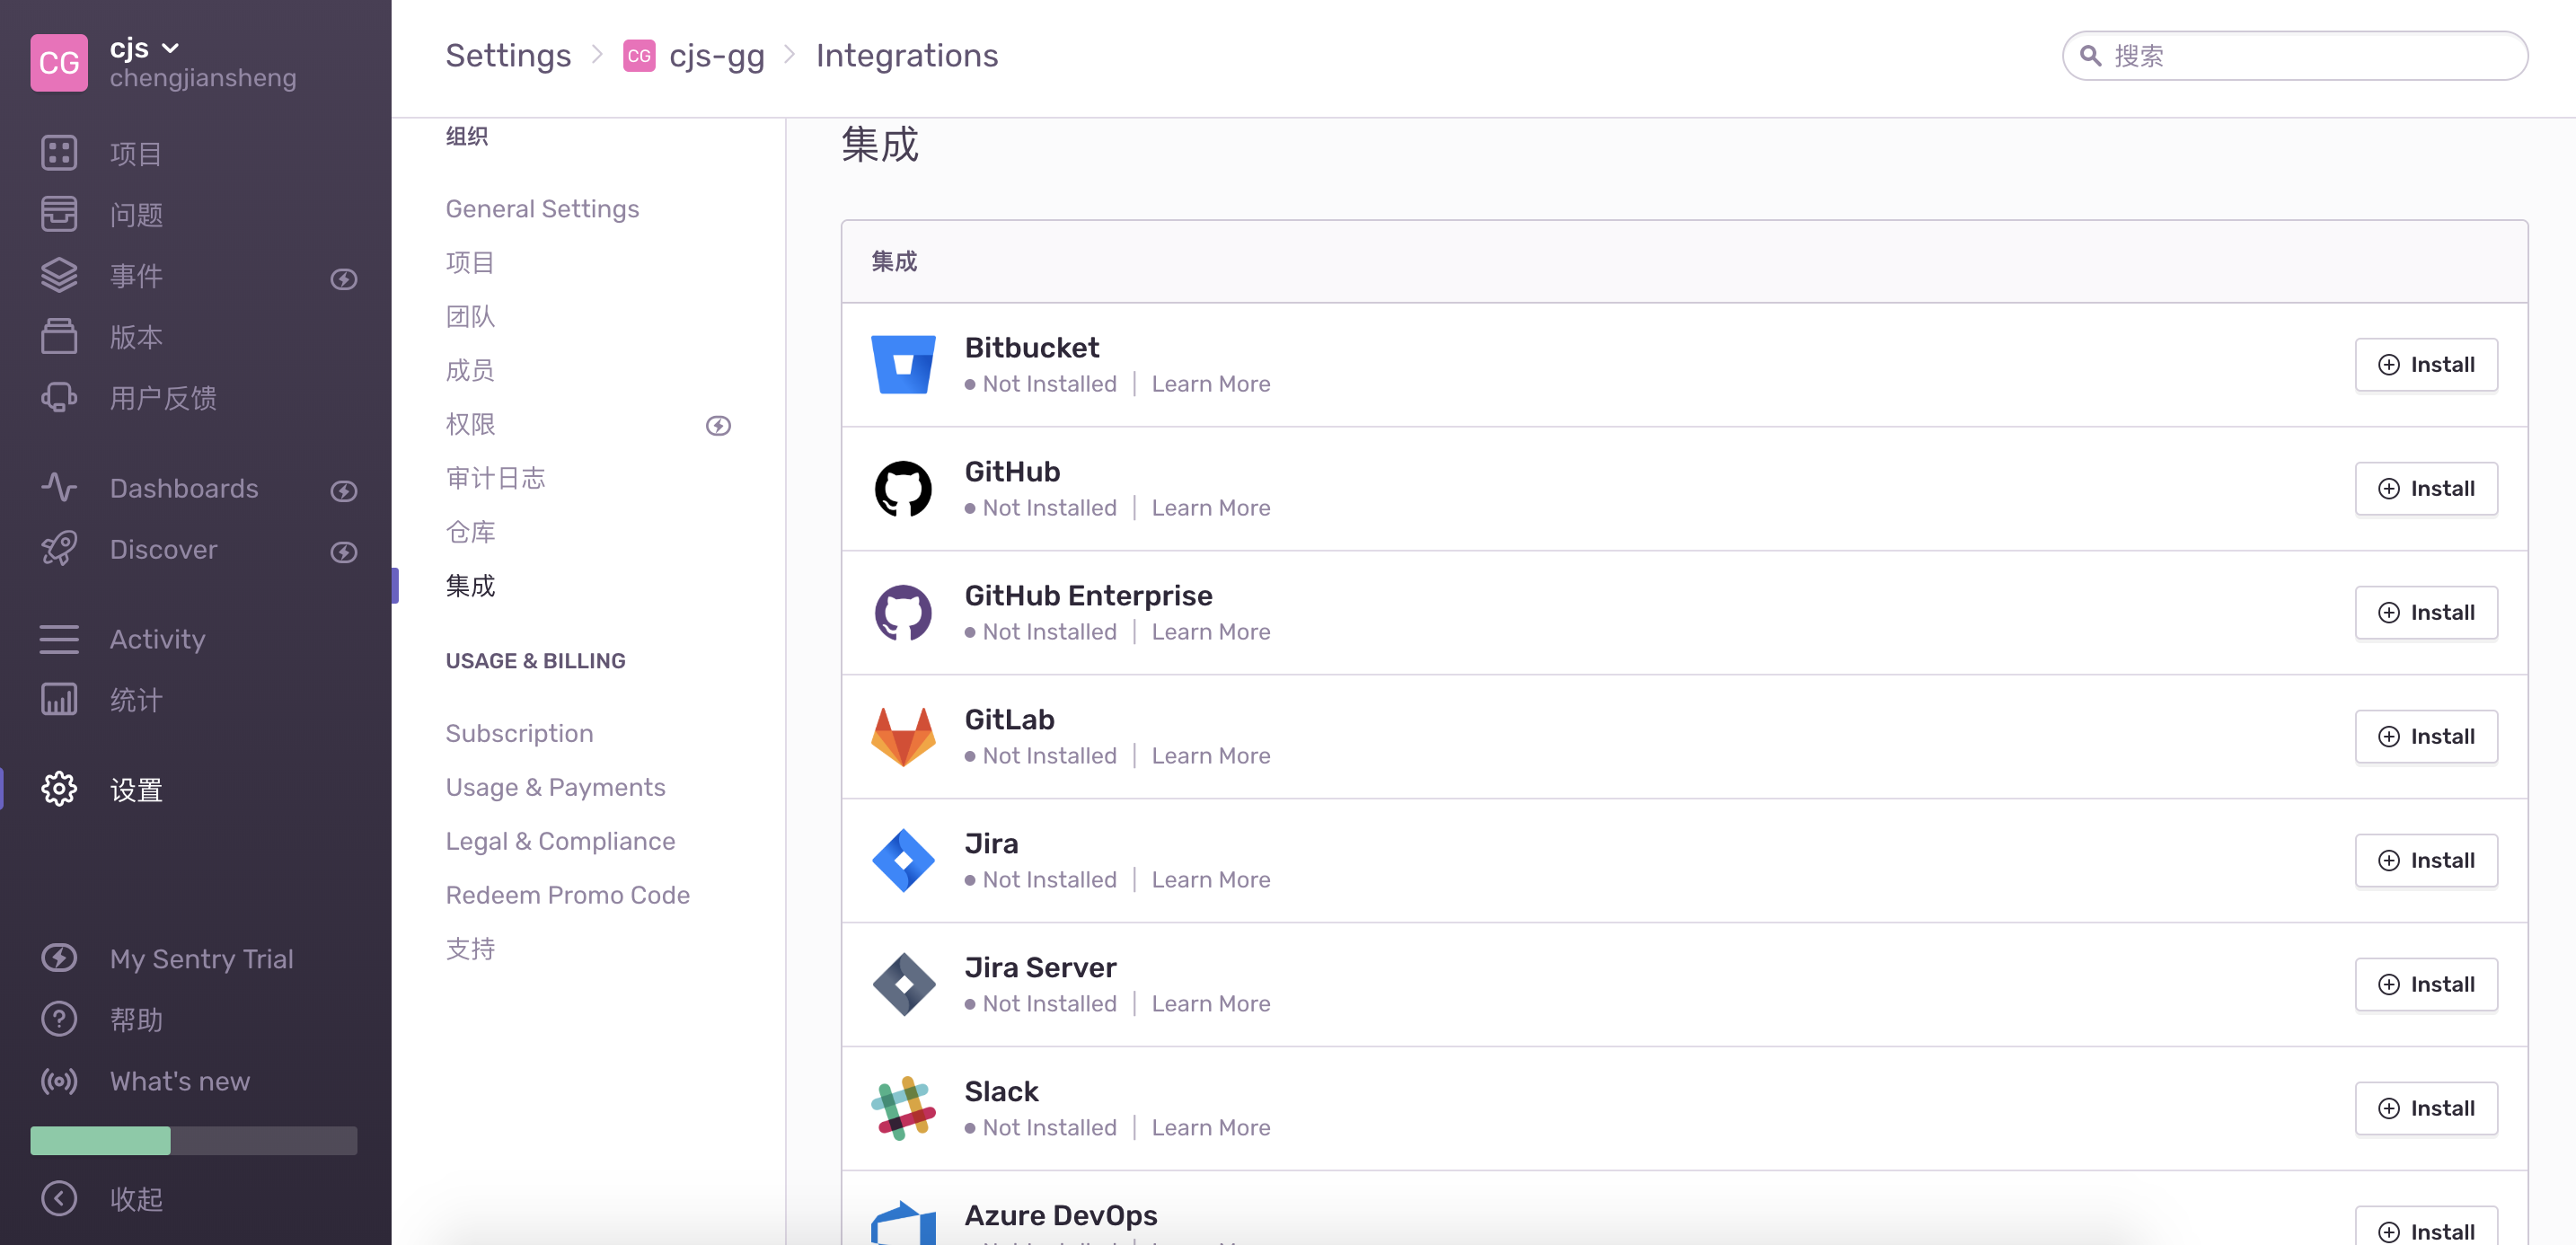
项目告警里面的集成也没有

后来,我看到有一个 WebHooks ,于是我就把钉钉群机器人的回调地址填到这里,发现不行
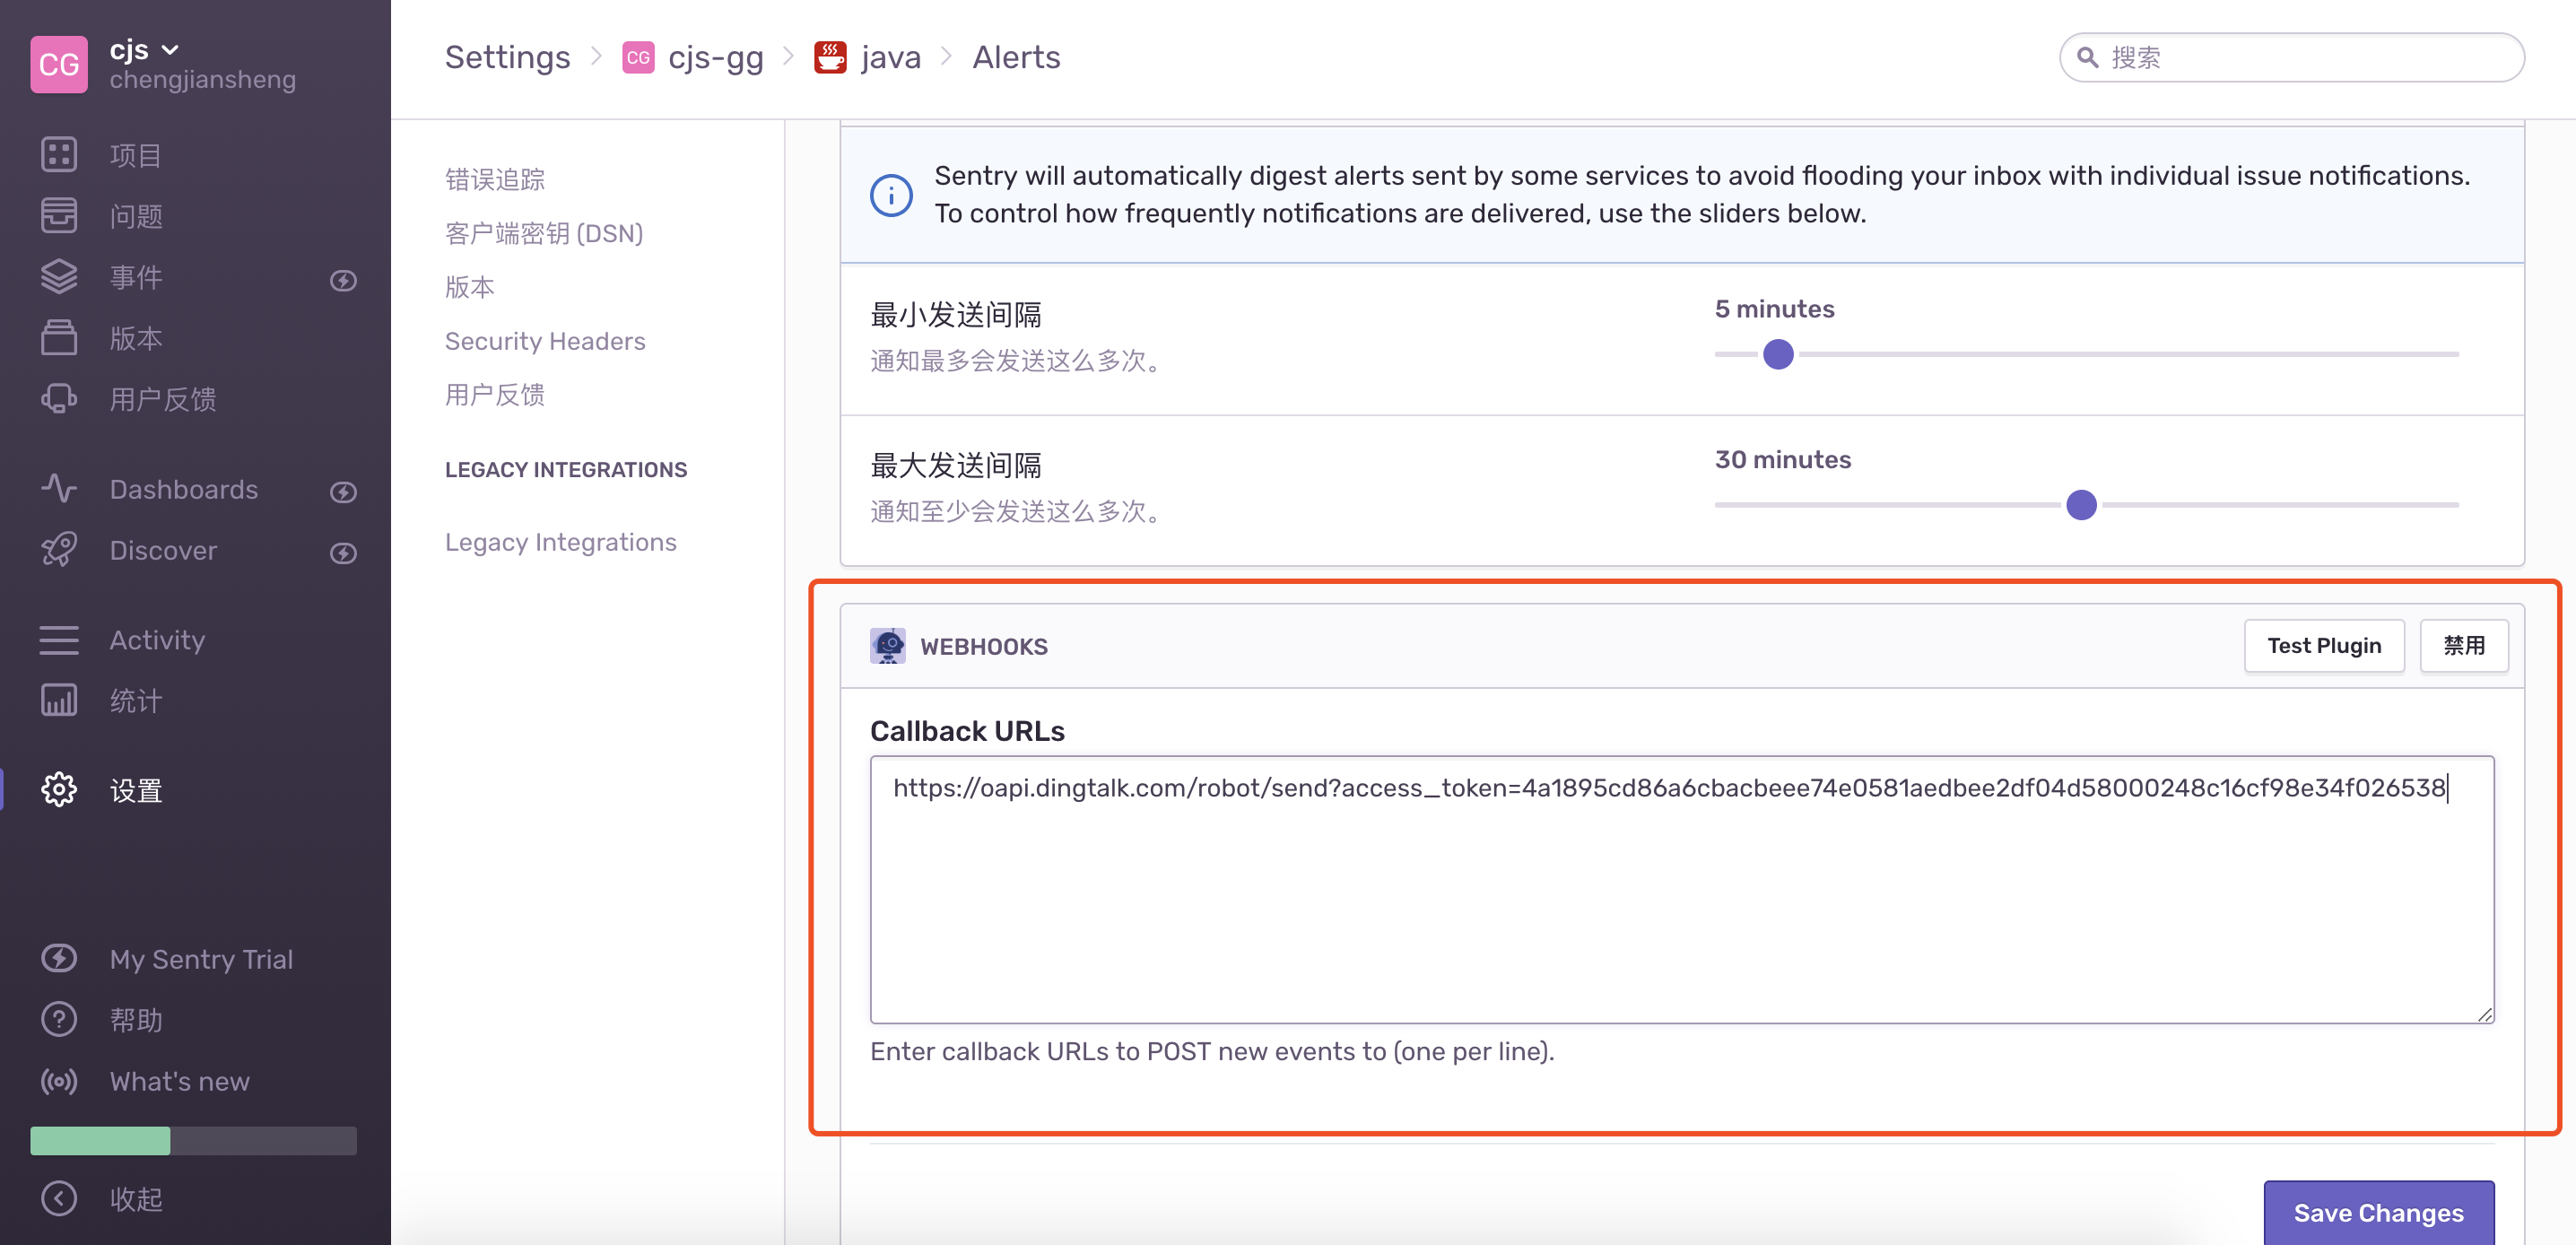
后来,我猜测应该是数据格式不对,但又不支持自定义发送的数据格式

没有办法,最后我决定不用Sentry的服务器,自己搭建服务端,自定义的应该能够支持钉钉
2. 搭建Sentry服务端
https://docs.sentry.io/server/installation/
2.1. 安装前的准备
PostgreSQL : 需要 postgres:9.5
https://www.postgresql.org/download/
https://www.enterprisedb.com/downloads/postgres-postgresql-downloads
Redis : 需要2.8.9以上的版本
brew install redis
2.2. 采用Python安装
官方提供两种安装方式:Docker 和 Python,这里我采用Python方式安装
https://docs.sentry.io/server/installation/python/
2.2.1. 安装Python 2.7
brew install python2
2.2.2. 设置虚拟环境
pip install -U virtualenv
virtualenv /www/sentry/
source /www/sentry/bin/activate
2.2.3. 安装Sentry
pip install -U sentry
git地址:https://github.com/getsentry/sentry
初始化配置
sentry init /etc/sentry
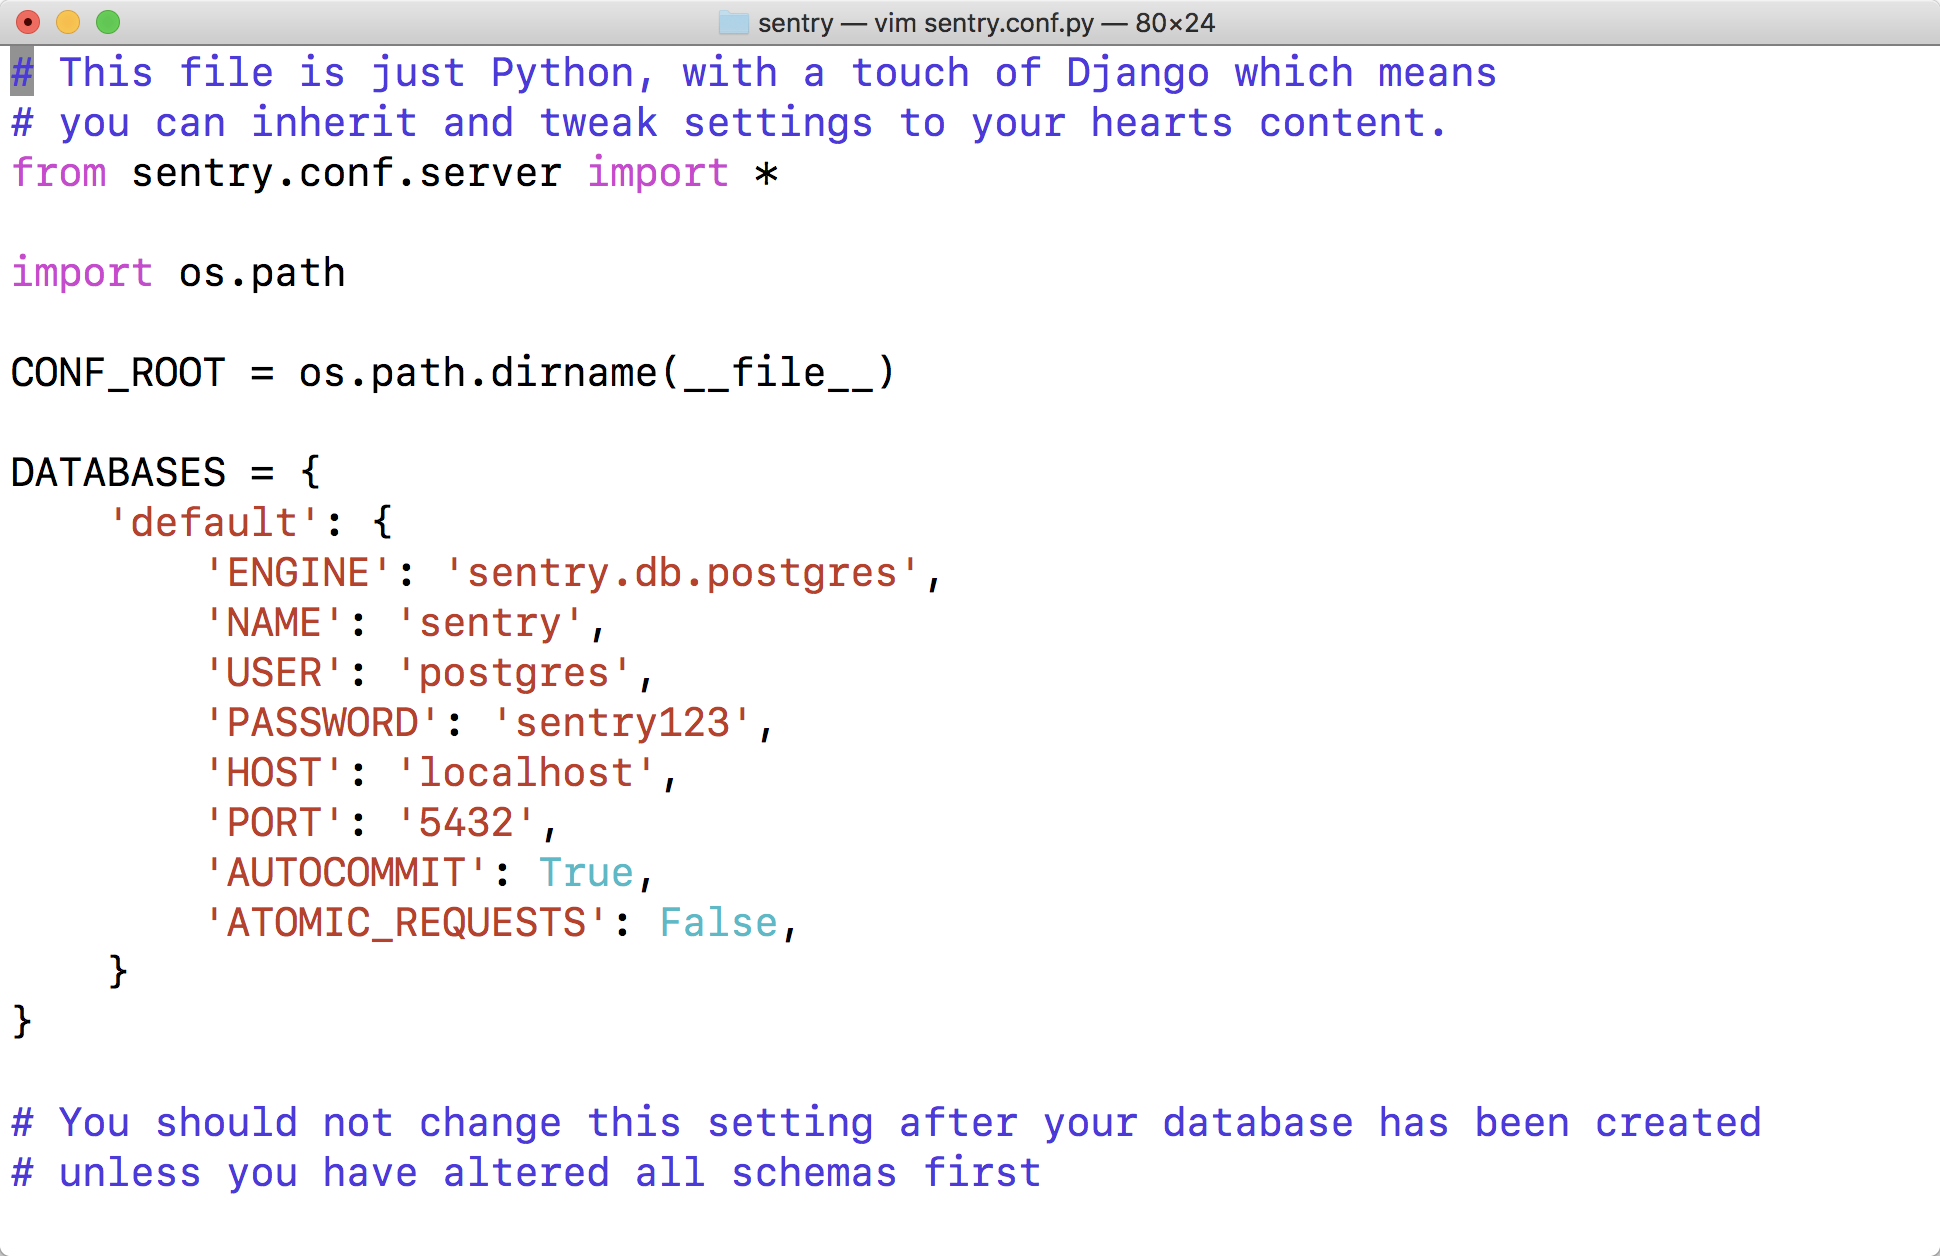
配置postgressql
sentry.conf.py
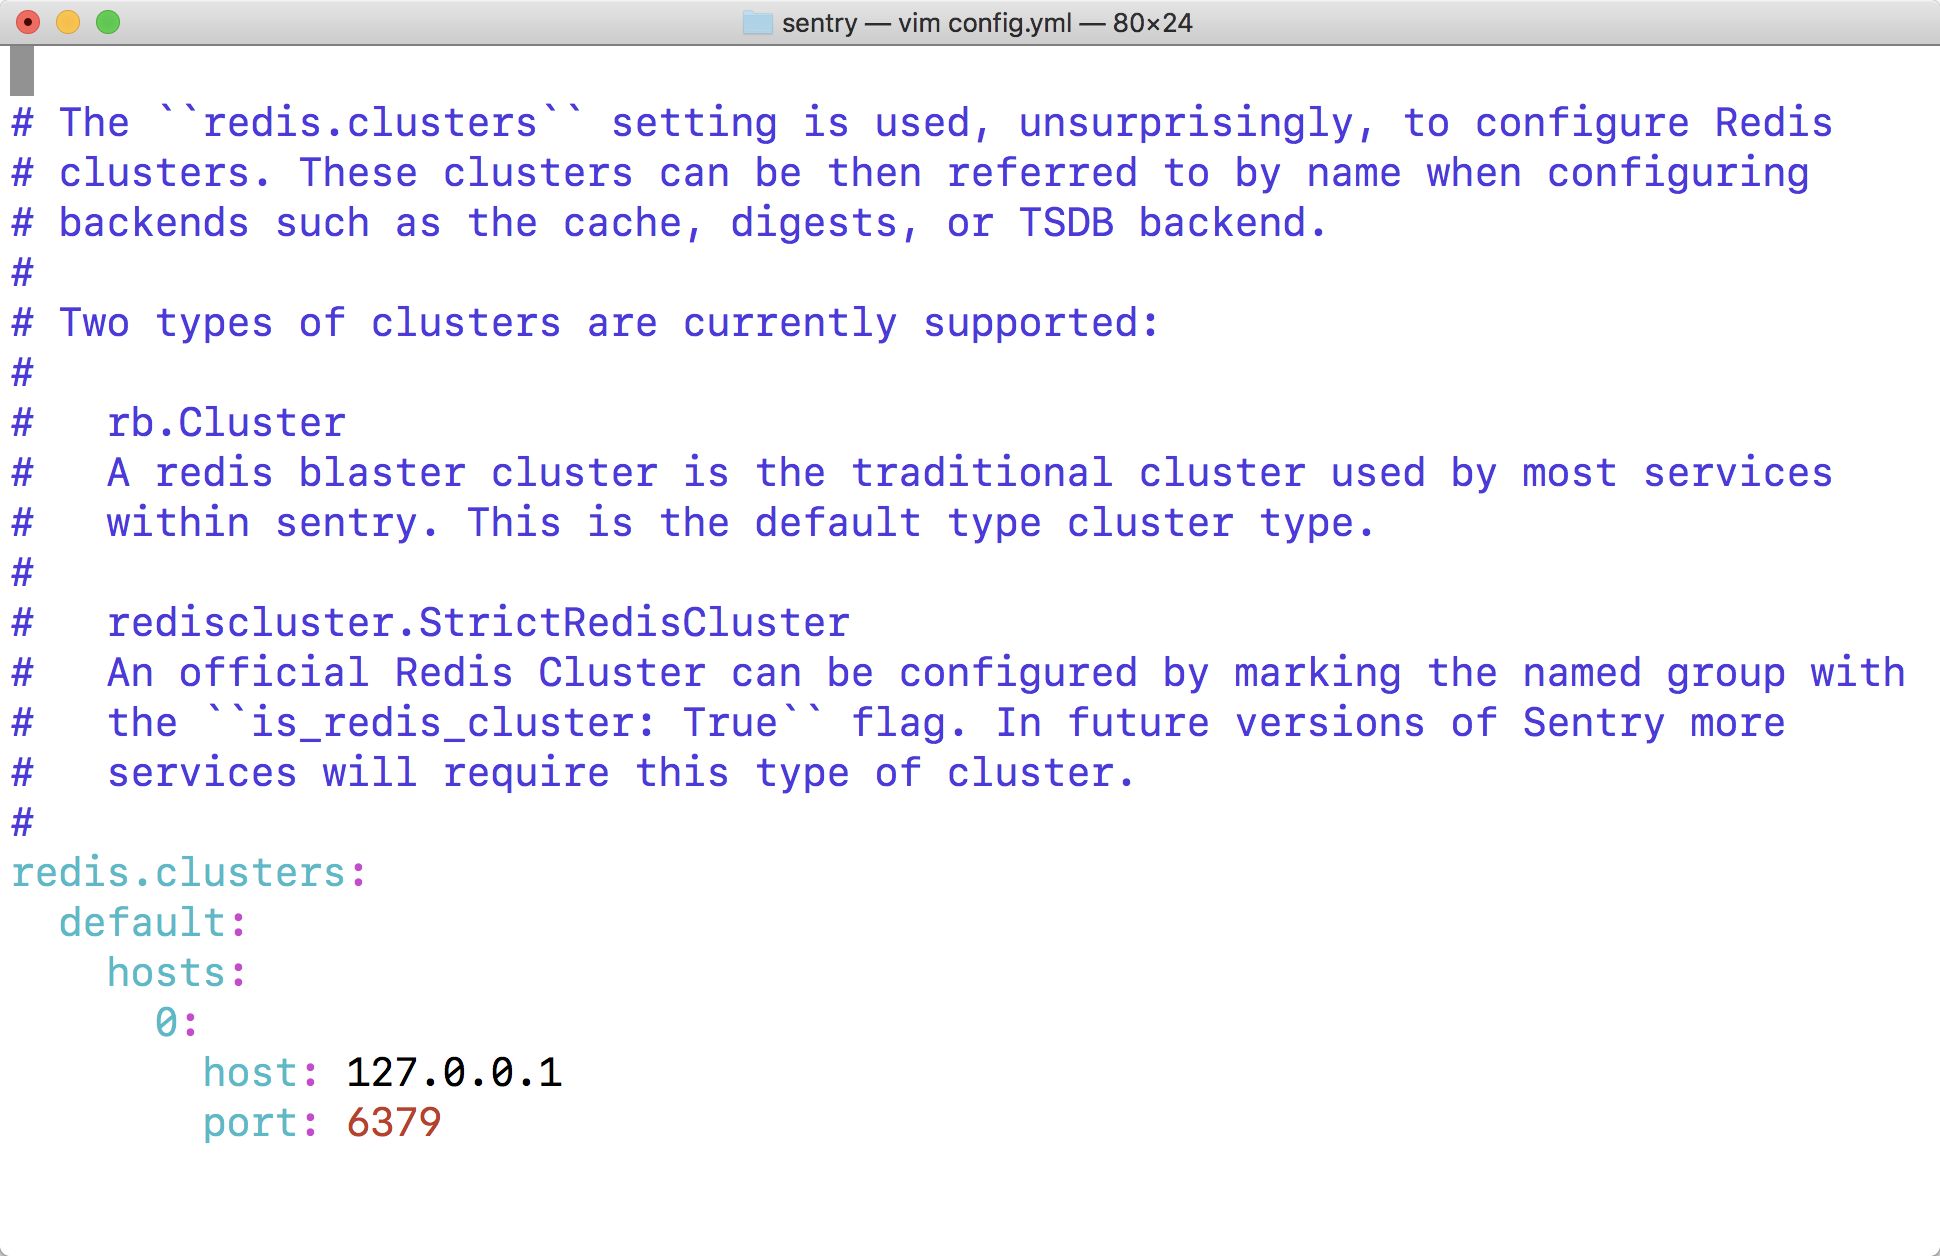
配置Redis
配置邮件

创建数据库
接下来的三条命令在我们刚才设置的虚拟环境下执行
# If you kept the database ``NAME`` as ``sentry``
$ createdb -E utf-8 sentry

$ SENTRY_CONF=/etc/sentry sentry upgrade

# create a new user
$ SENTRY_CONF=/etc/sentry sentry createuser
2.2.4. 启动Web服务
SENTRY_CONF=/etc/sentry sentry run web
2.2.5. 启动后台Worker进程
SENTRY_CONF=/etc/sentry sentry run worker
2.2.6. 启动Cron进程
SENTRY_CONF=/etc/sentry sentry run cron
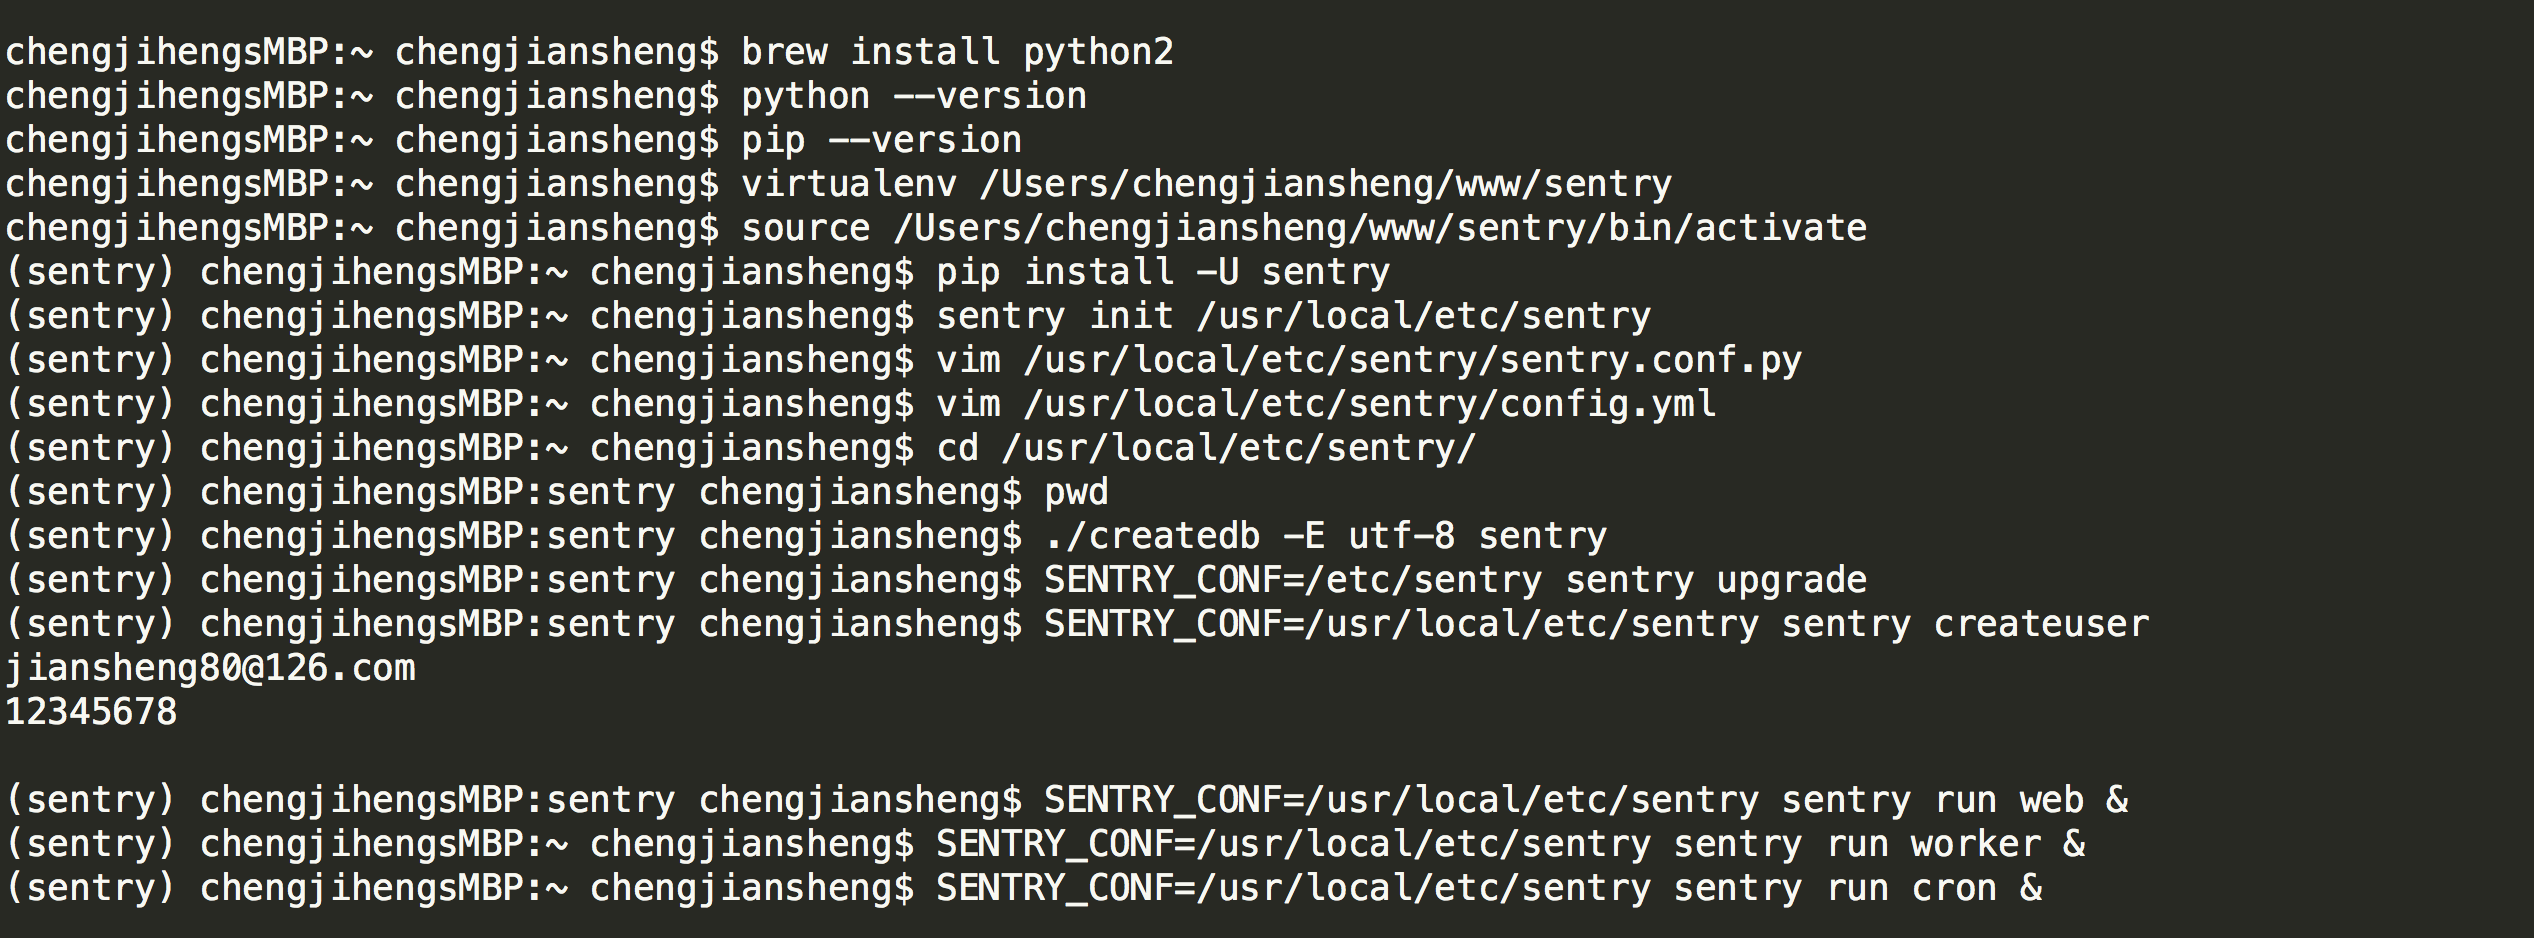
以下是我安装过程中执行的一些命令
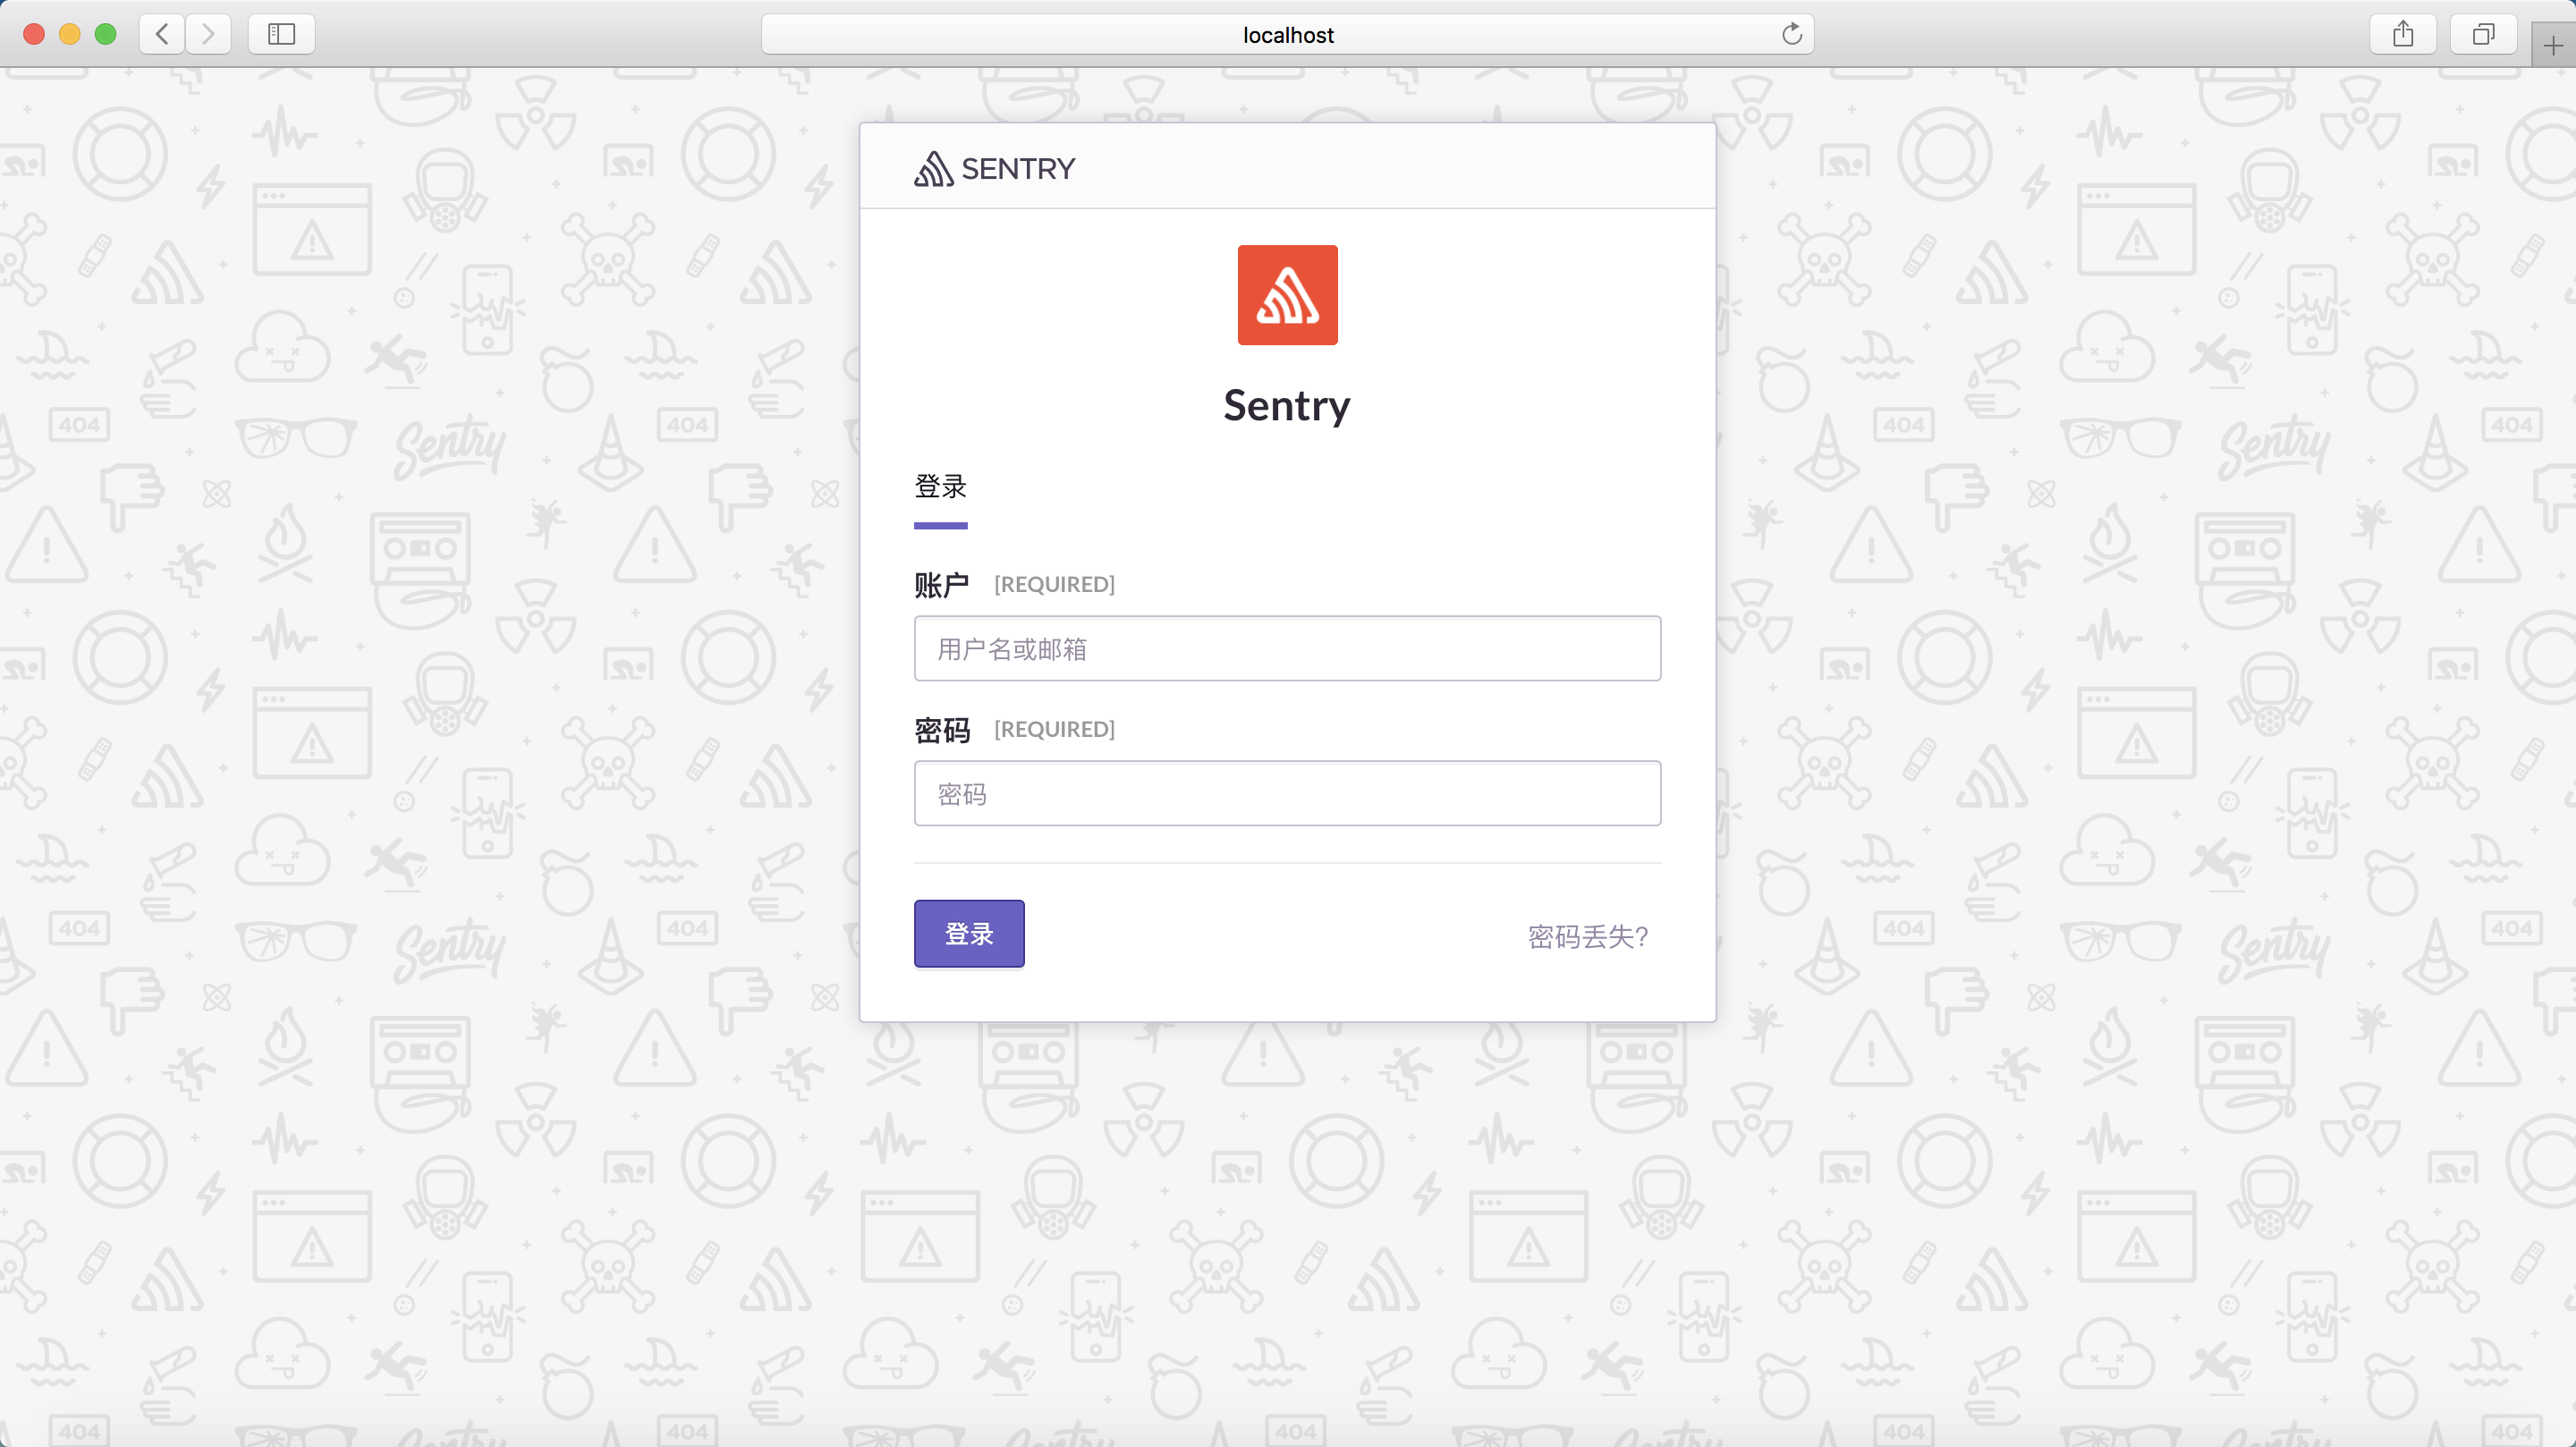
2.2.7. 访问 http://localhost:9000/
登录(PS:用户名和密码就是我们在安装Sentry的时候设置的用户名和密码,这里我设置用户名和密码分别是:jiansheng80@126.com/12345678)
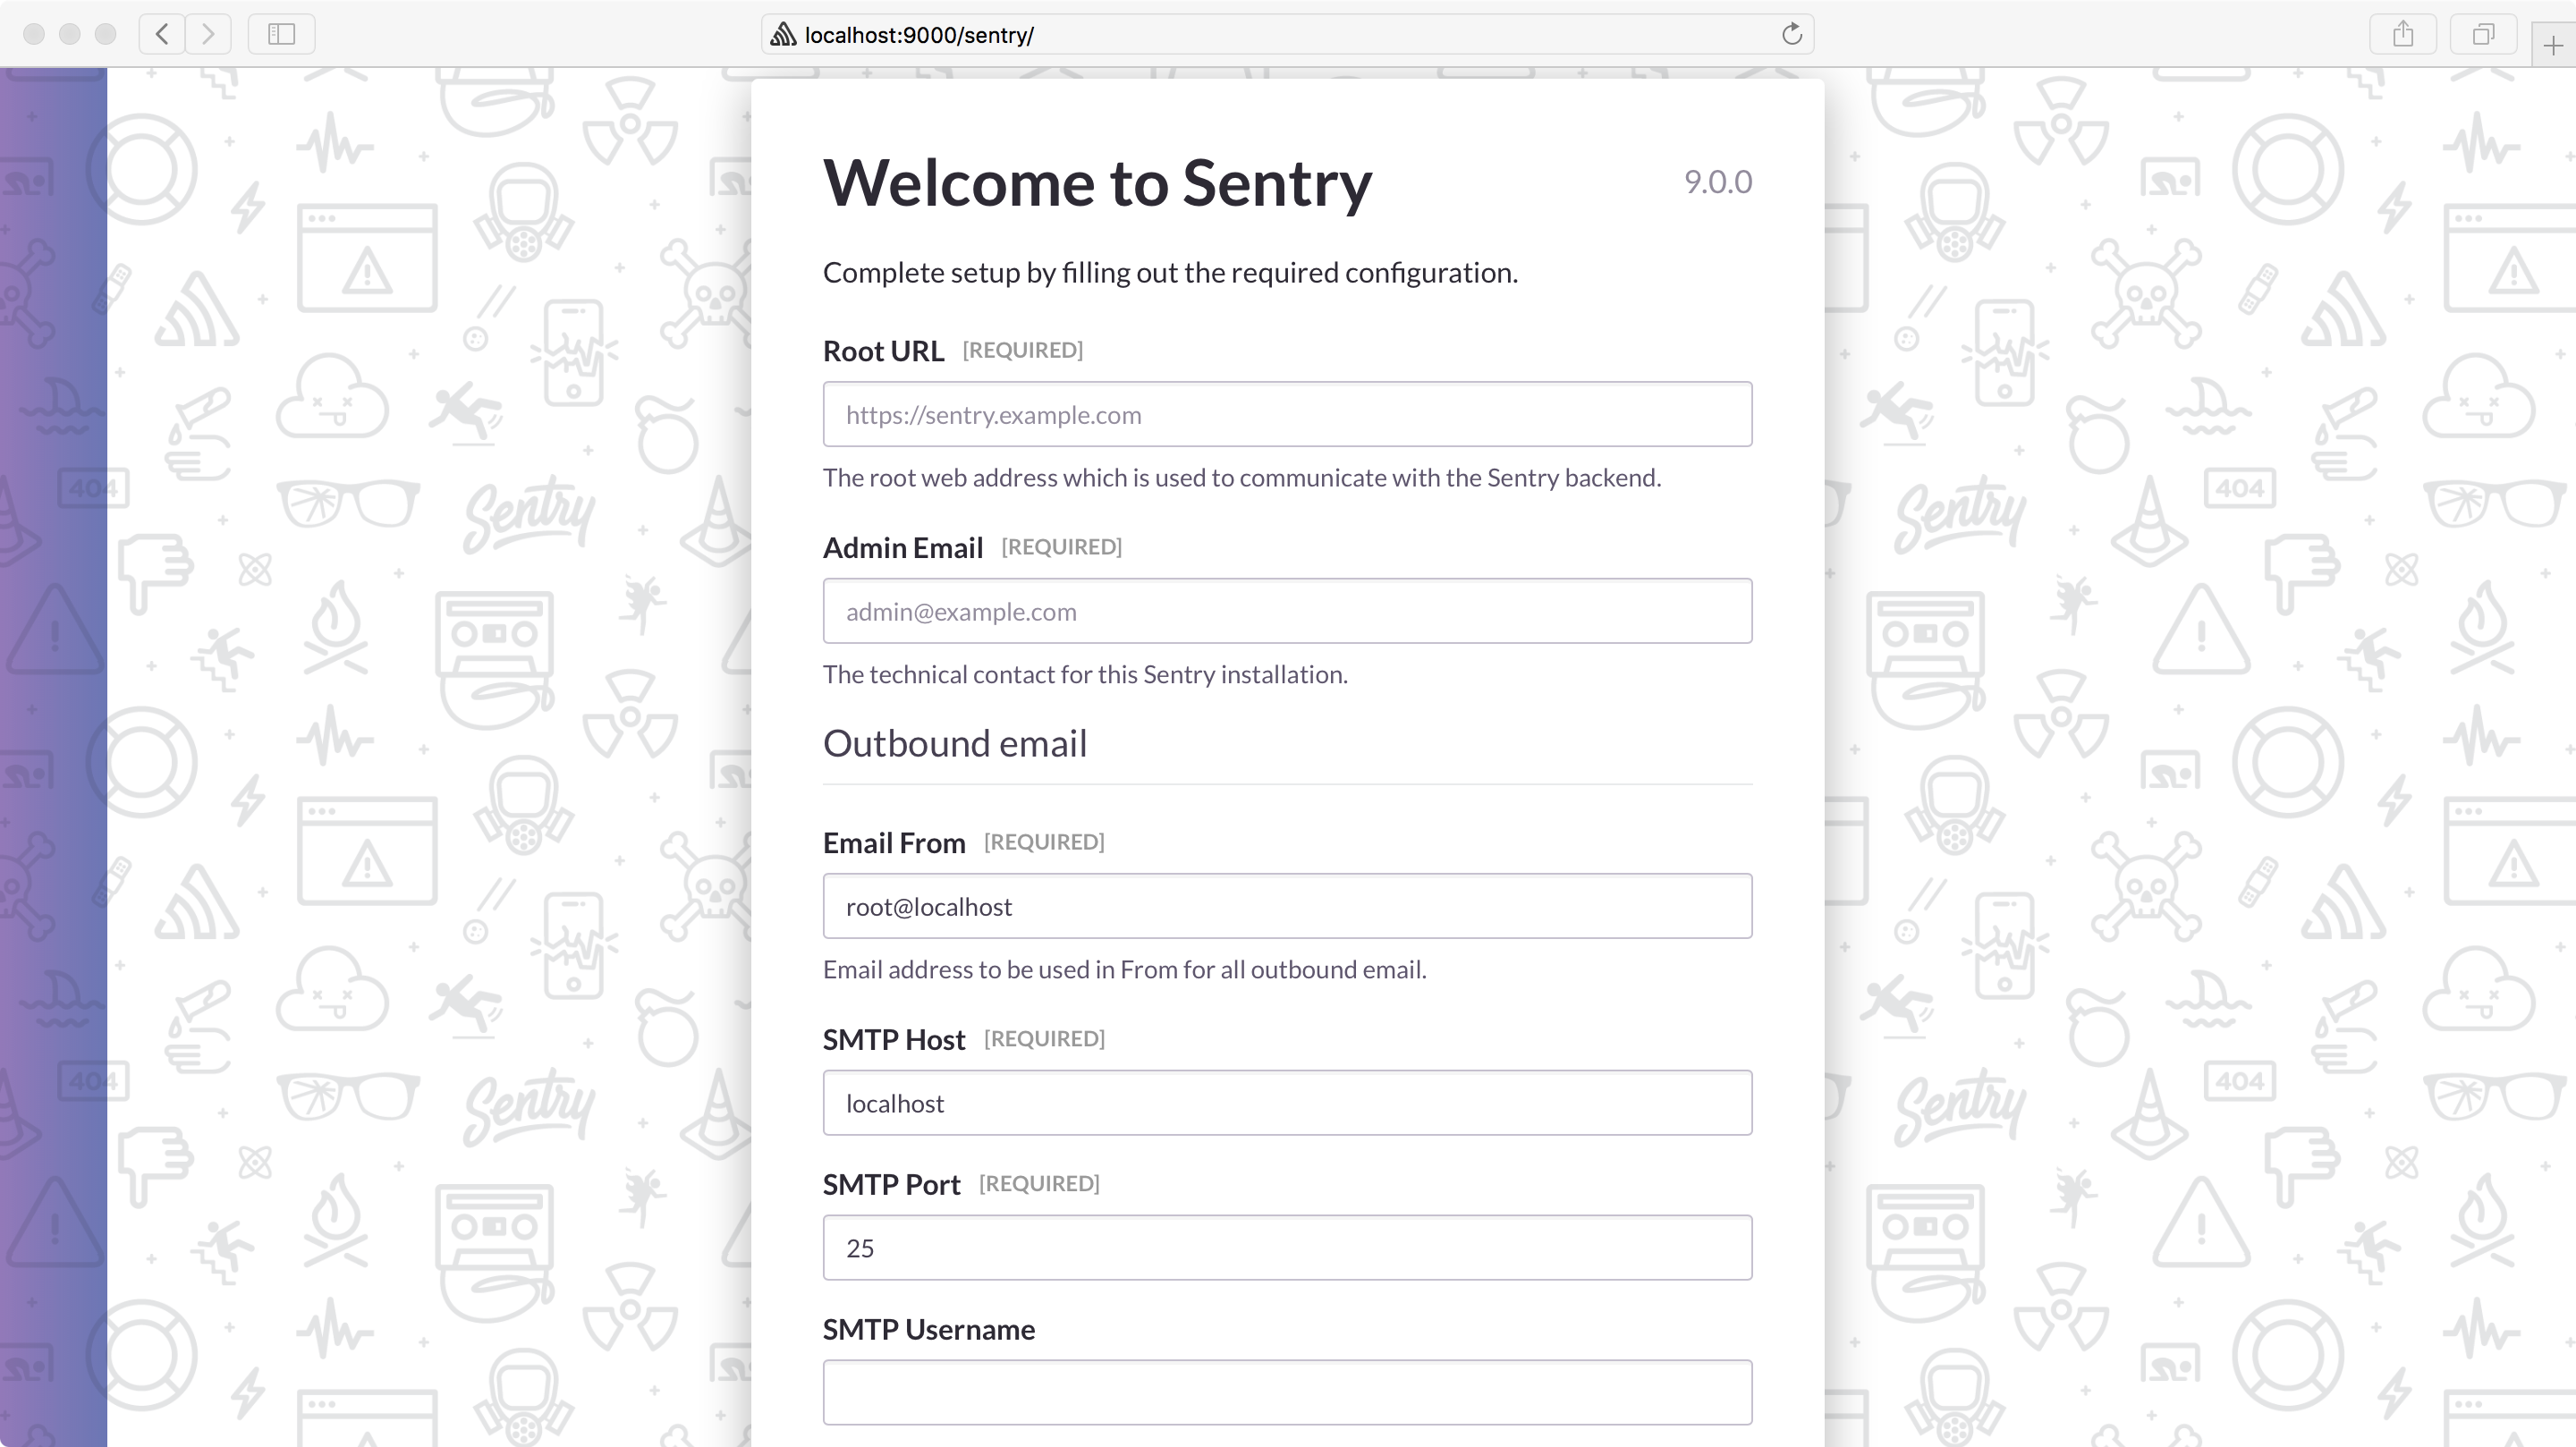
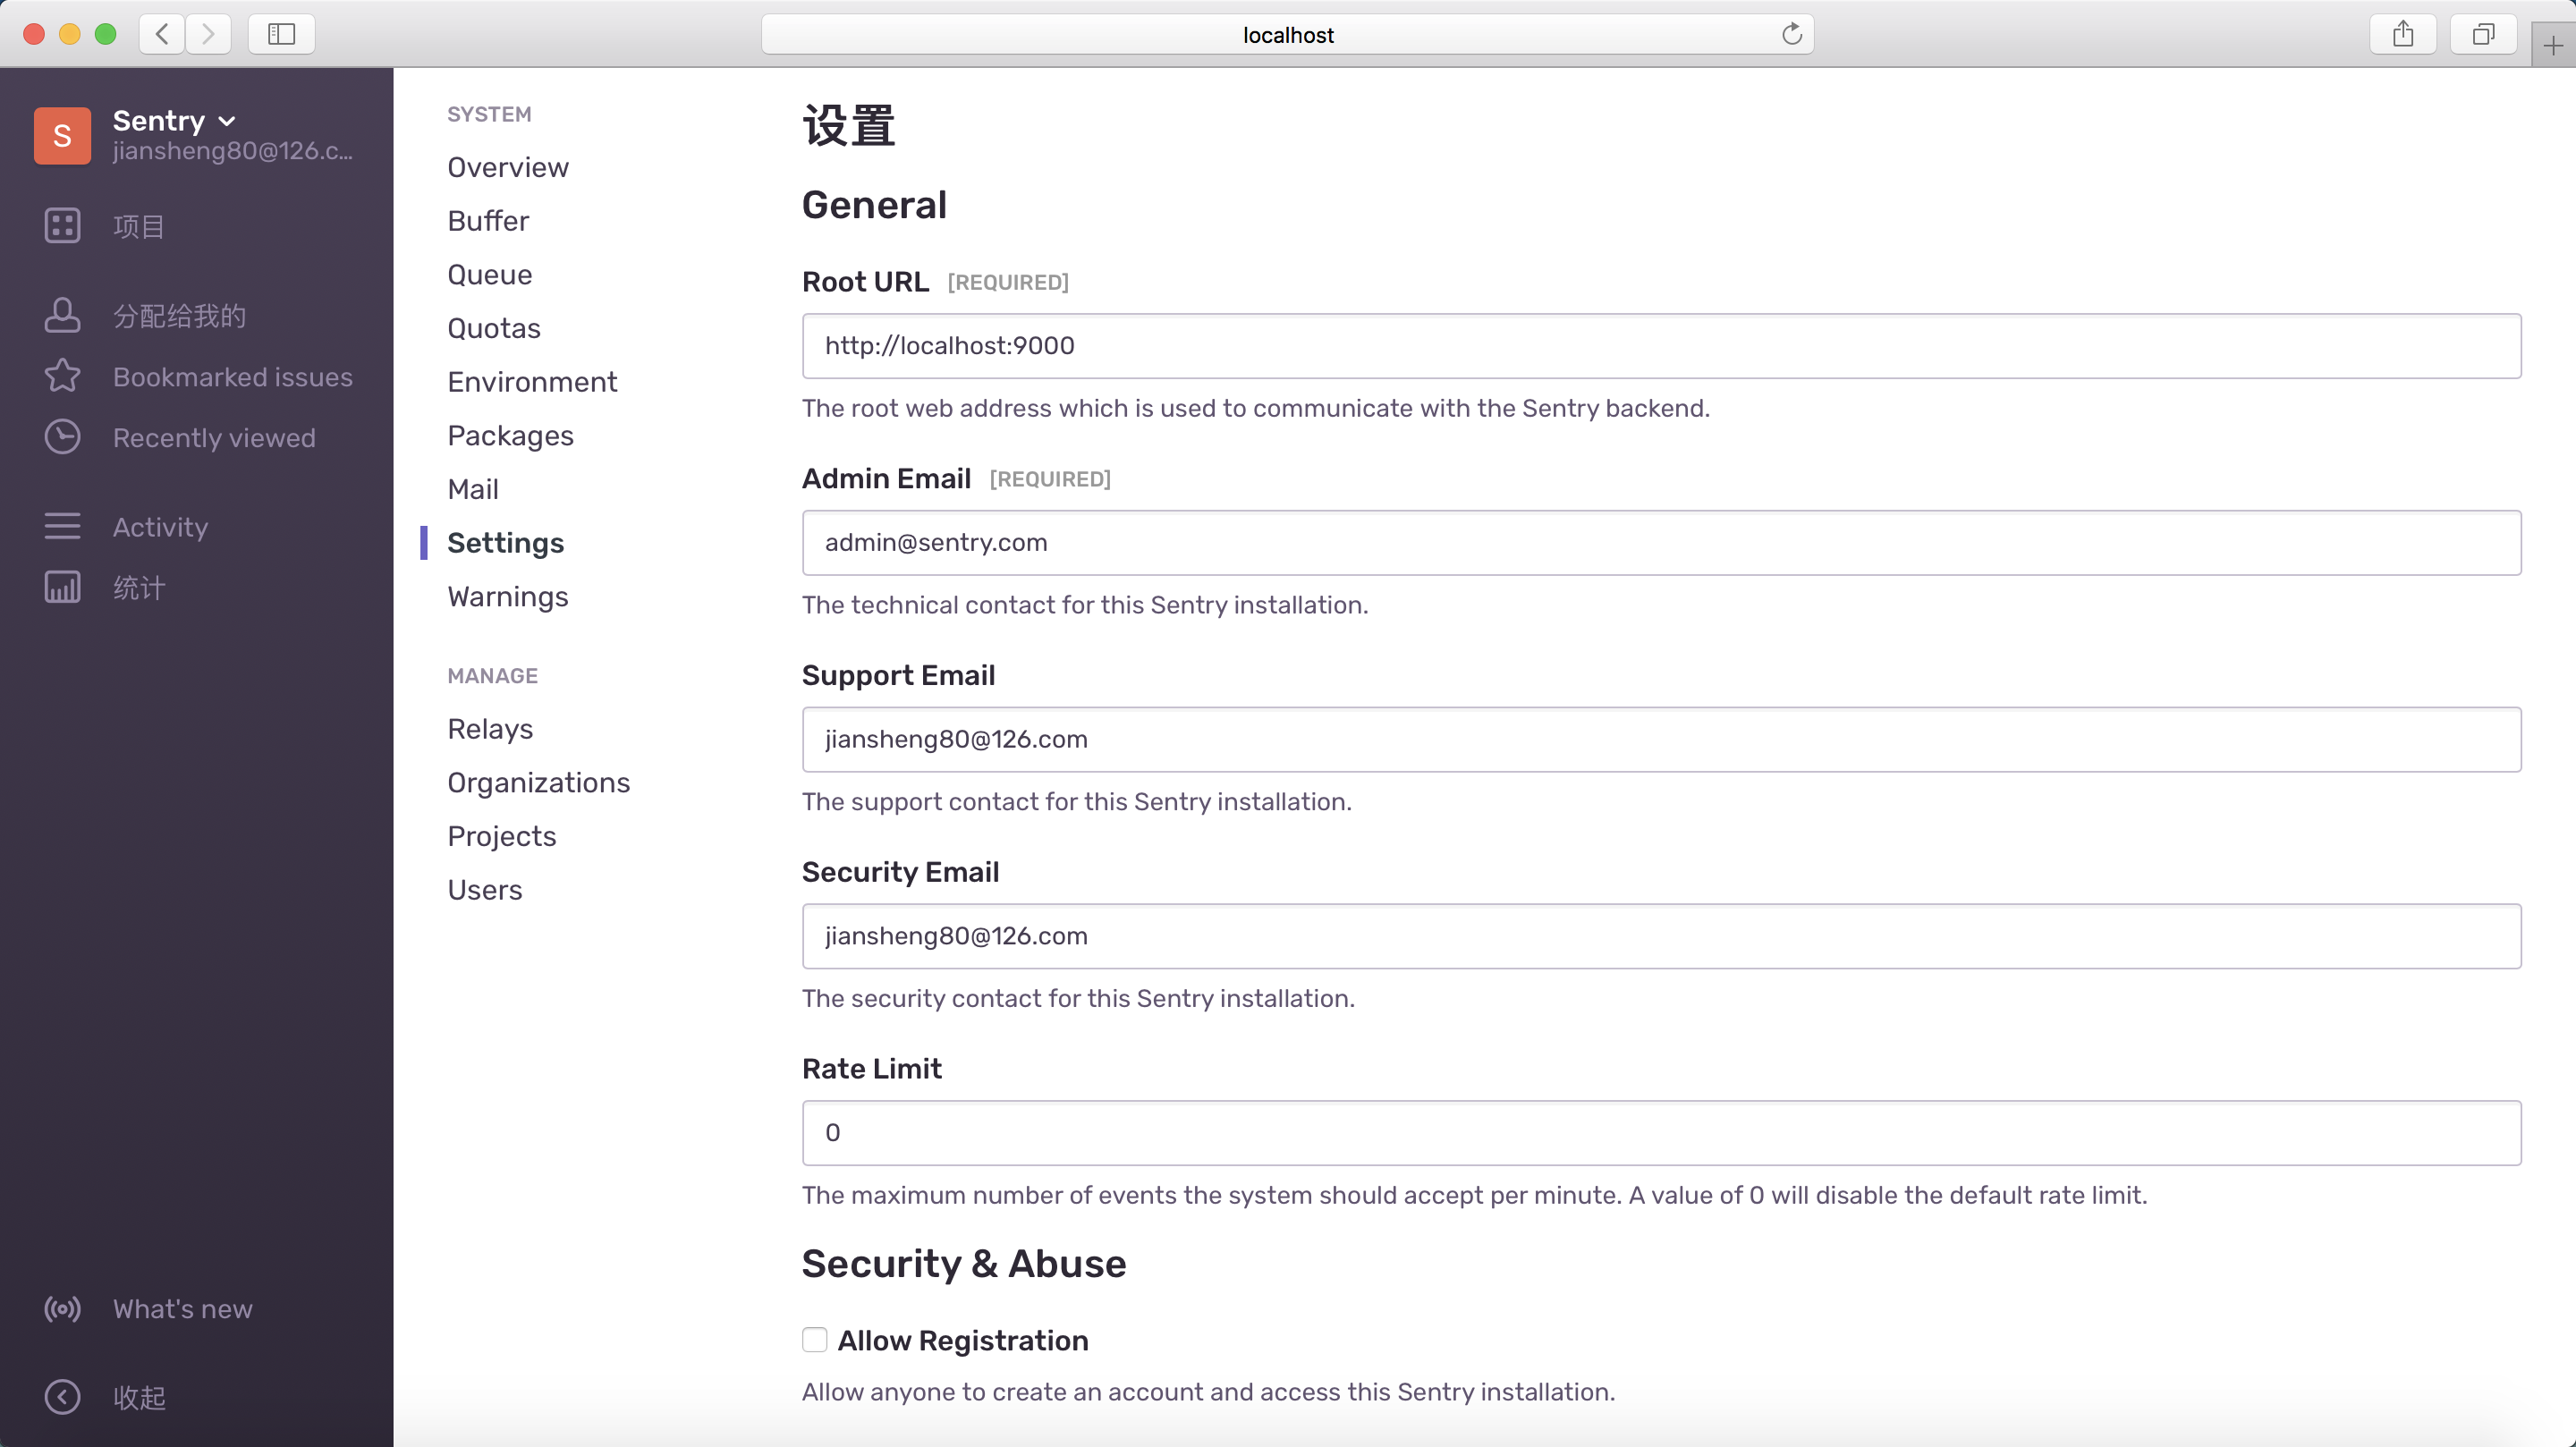
设置(Root URL是将来上报事件的服务器地址,没有域名的话可以就写localhost:9000)
进入主界面,可以先设置一下语言和时区
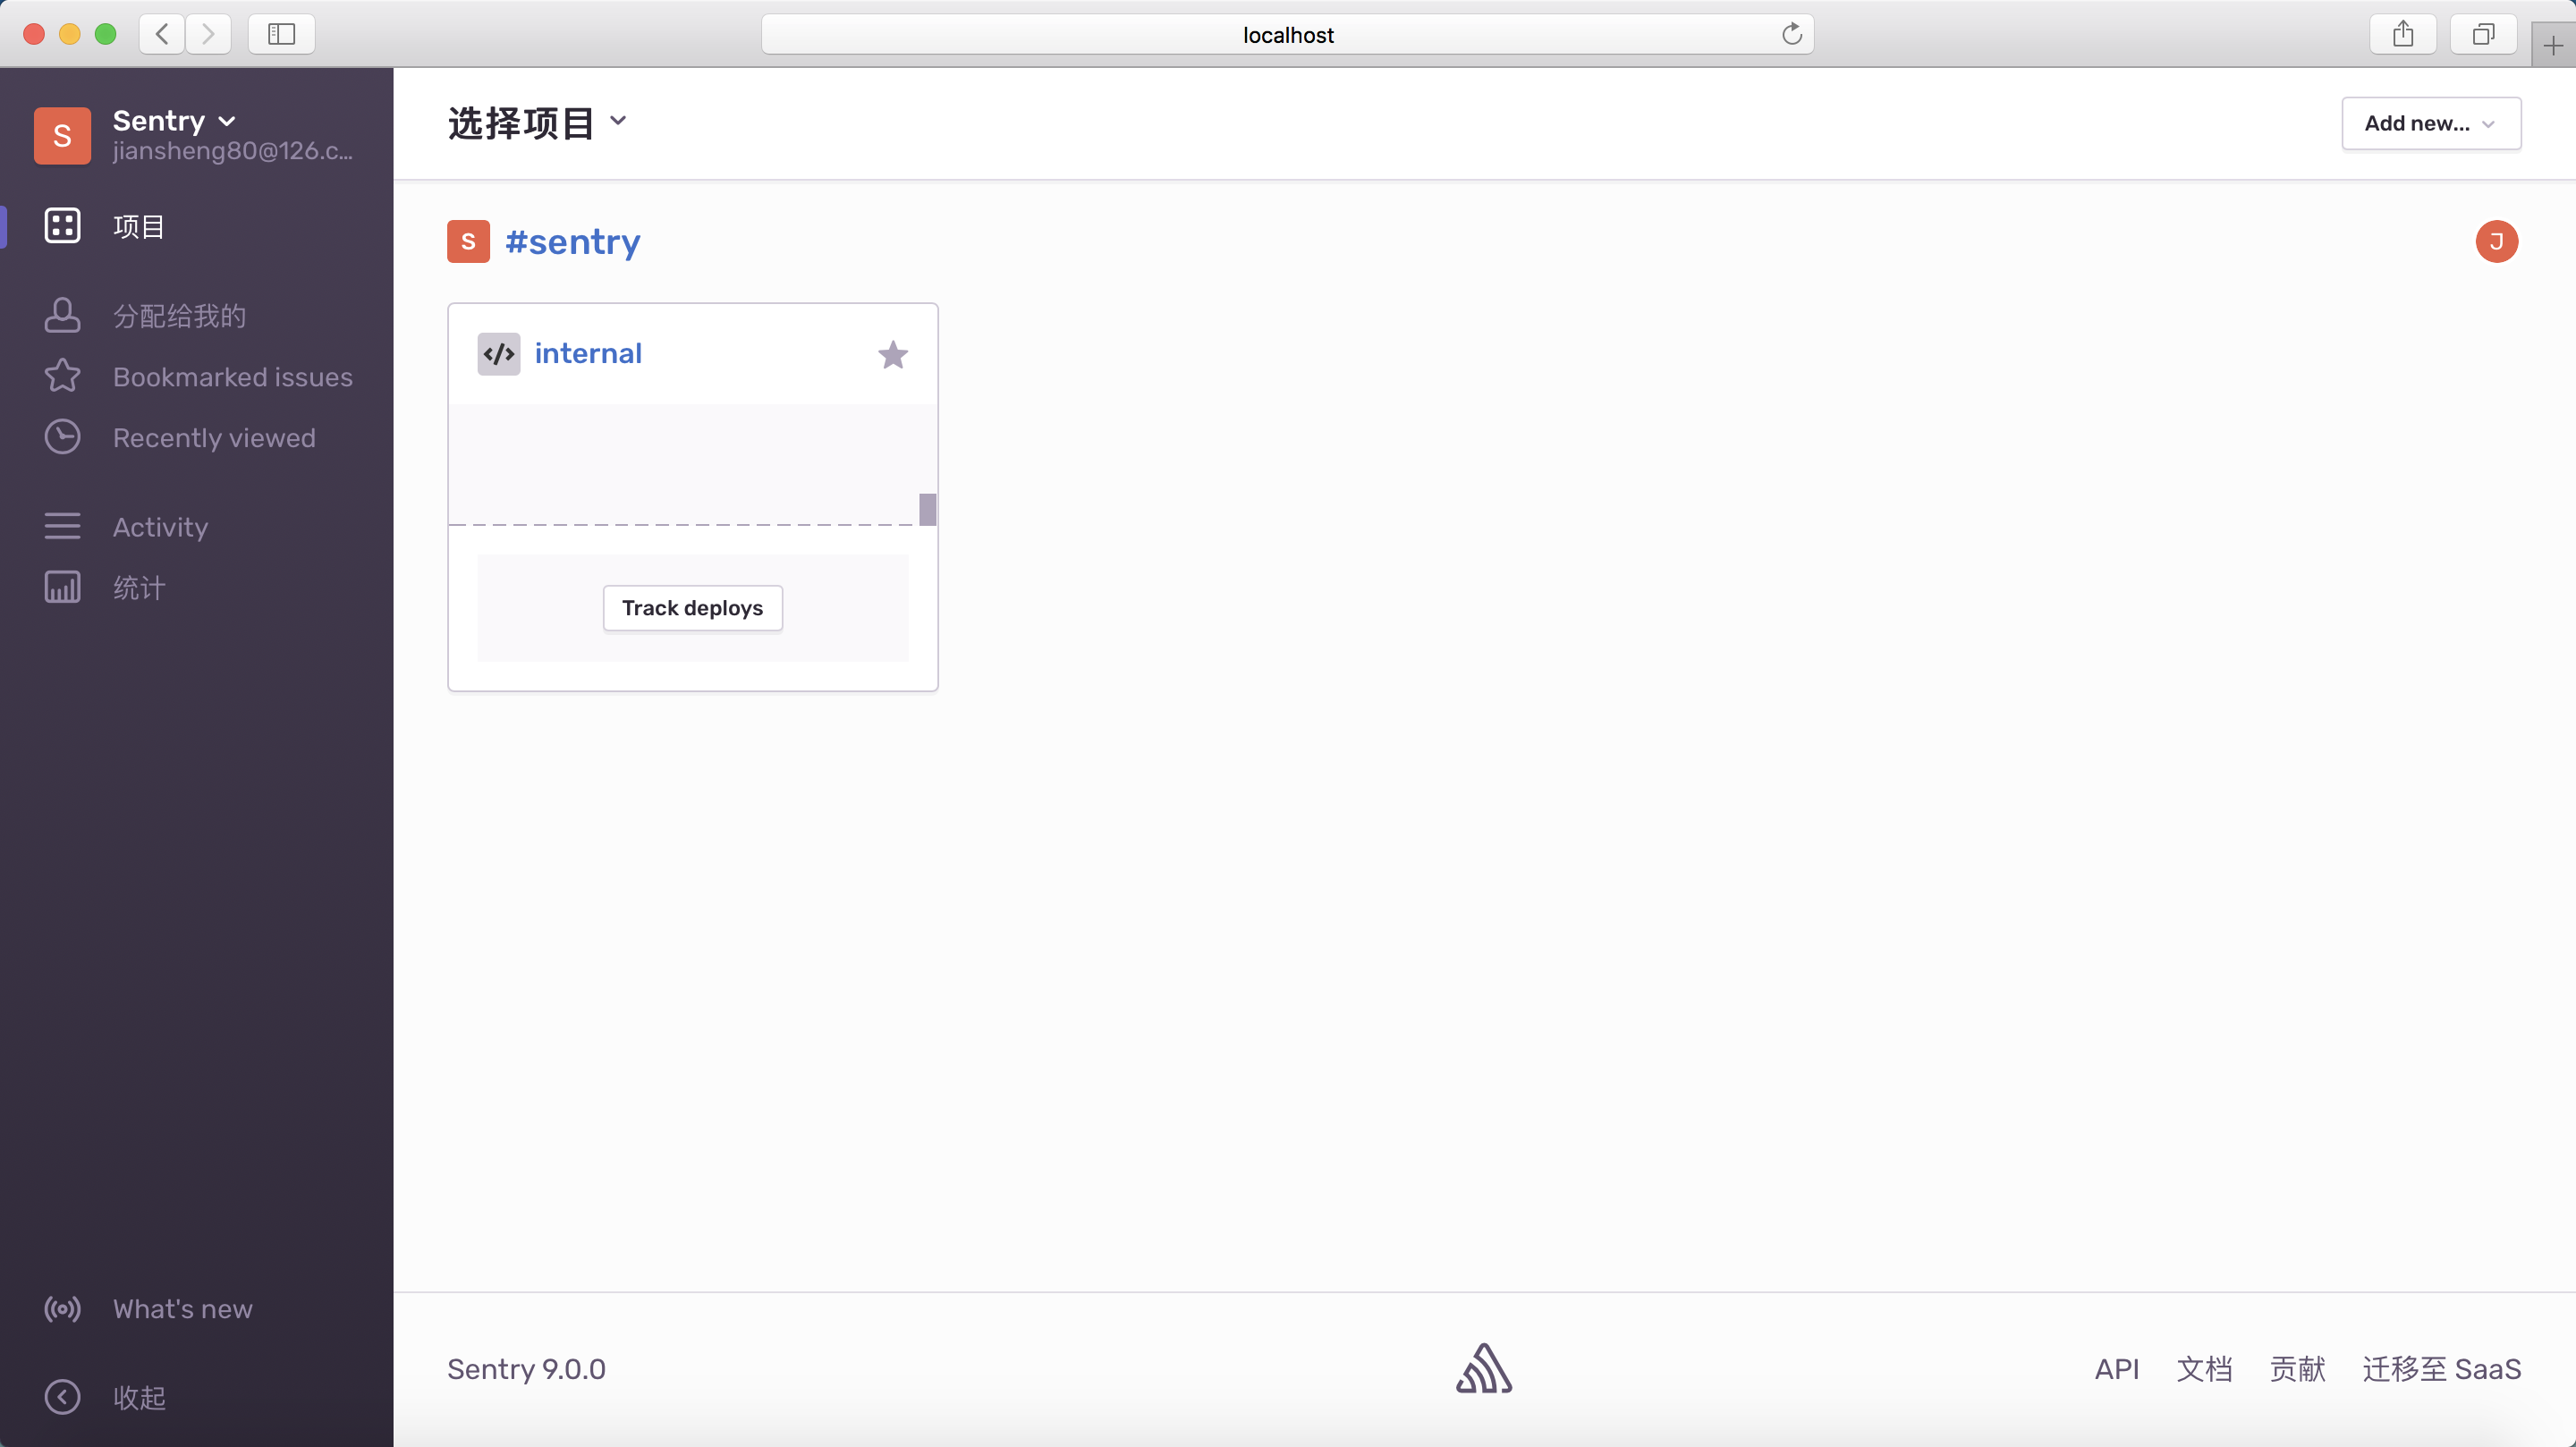
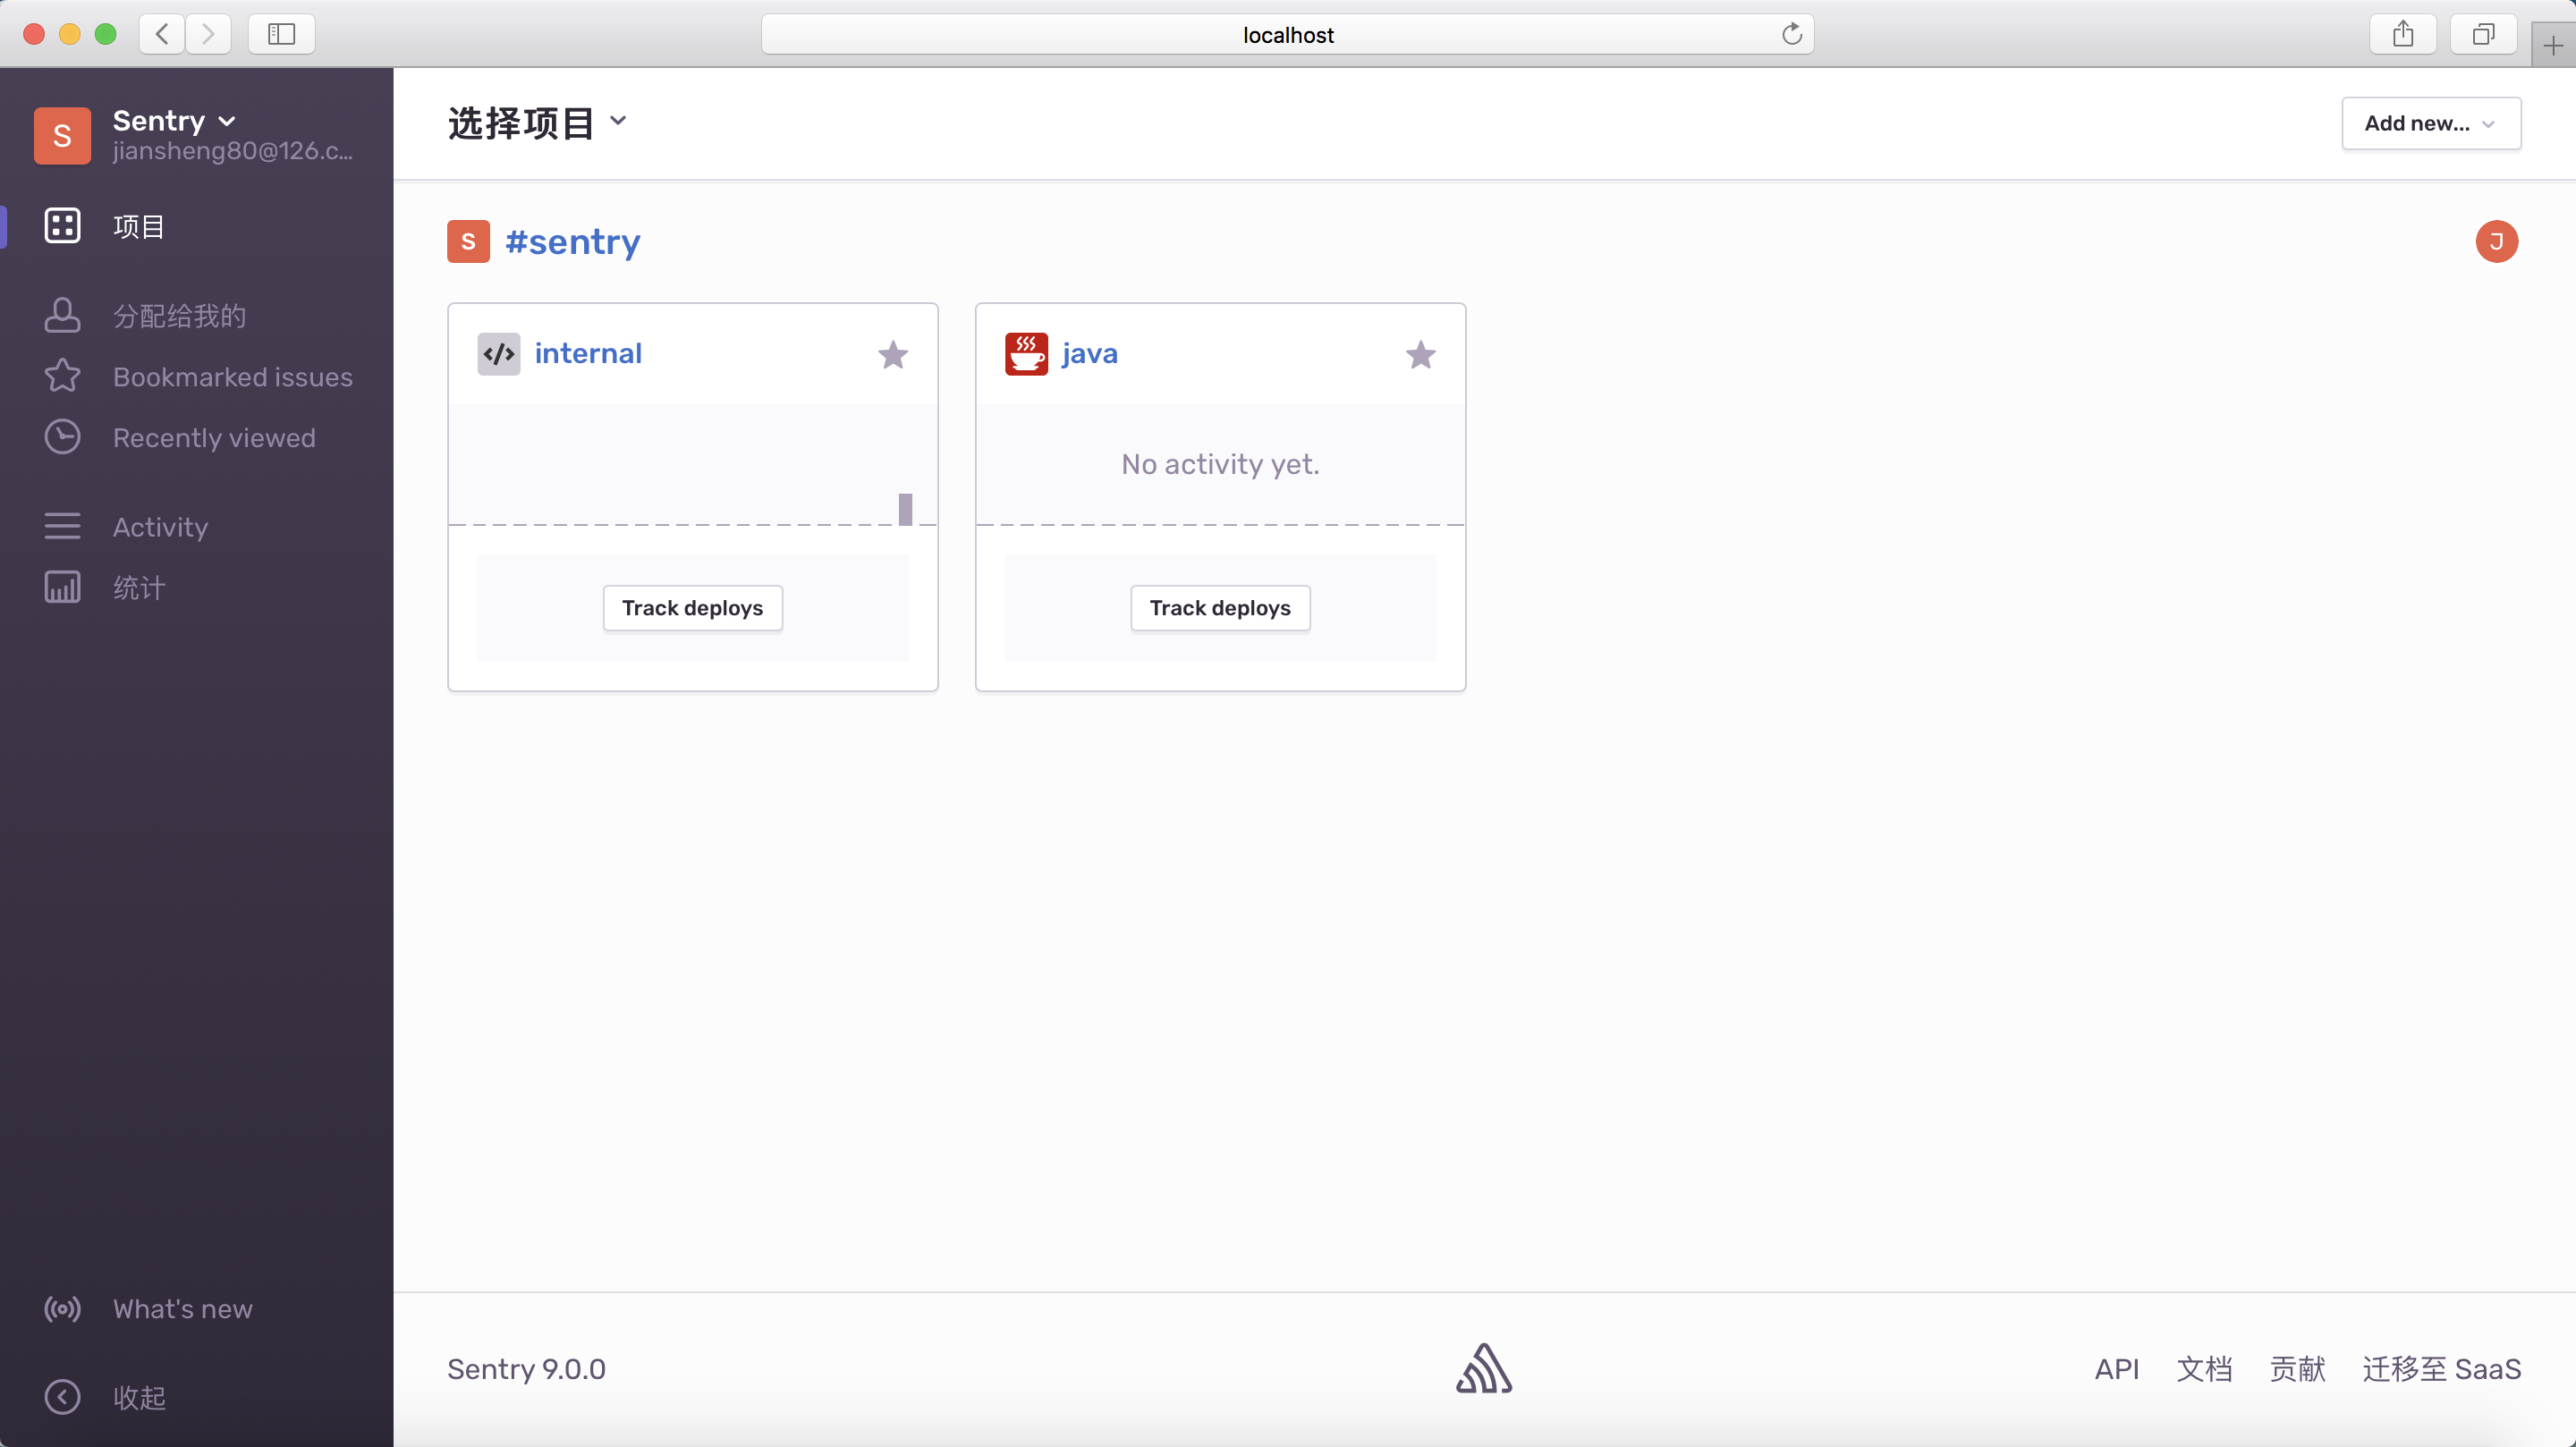
新建一个项目
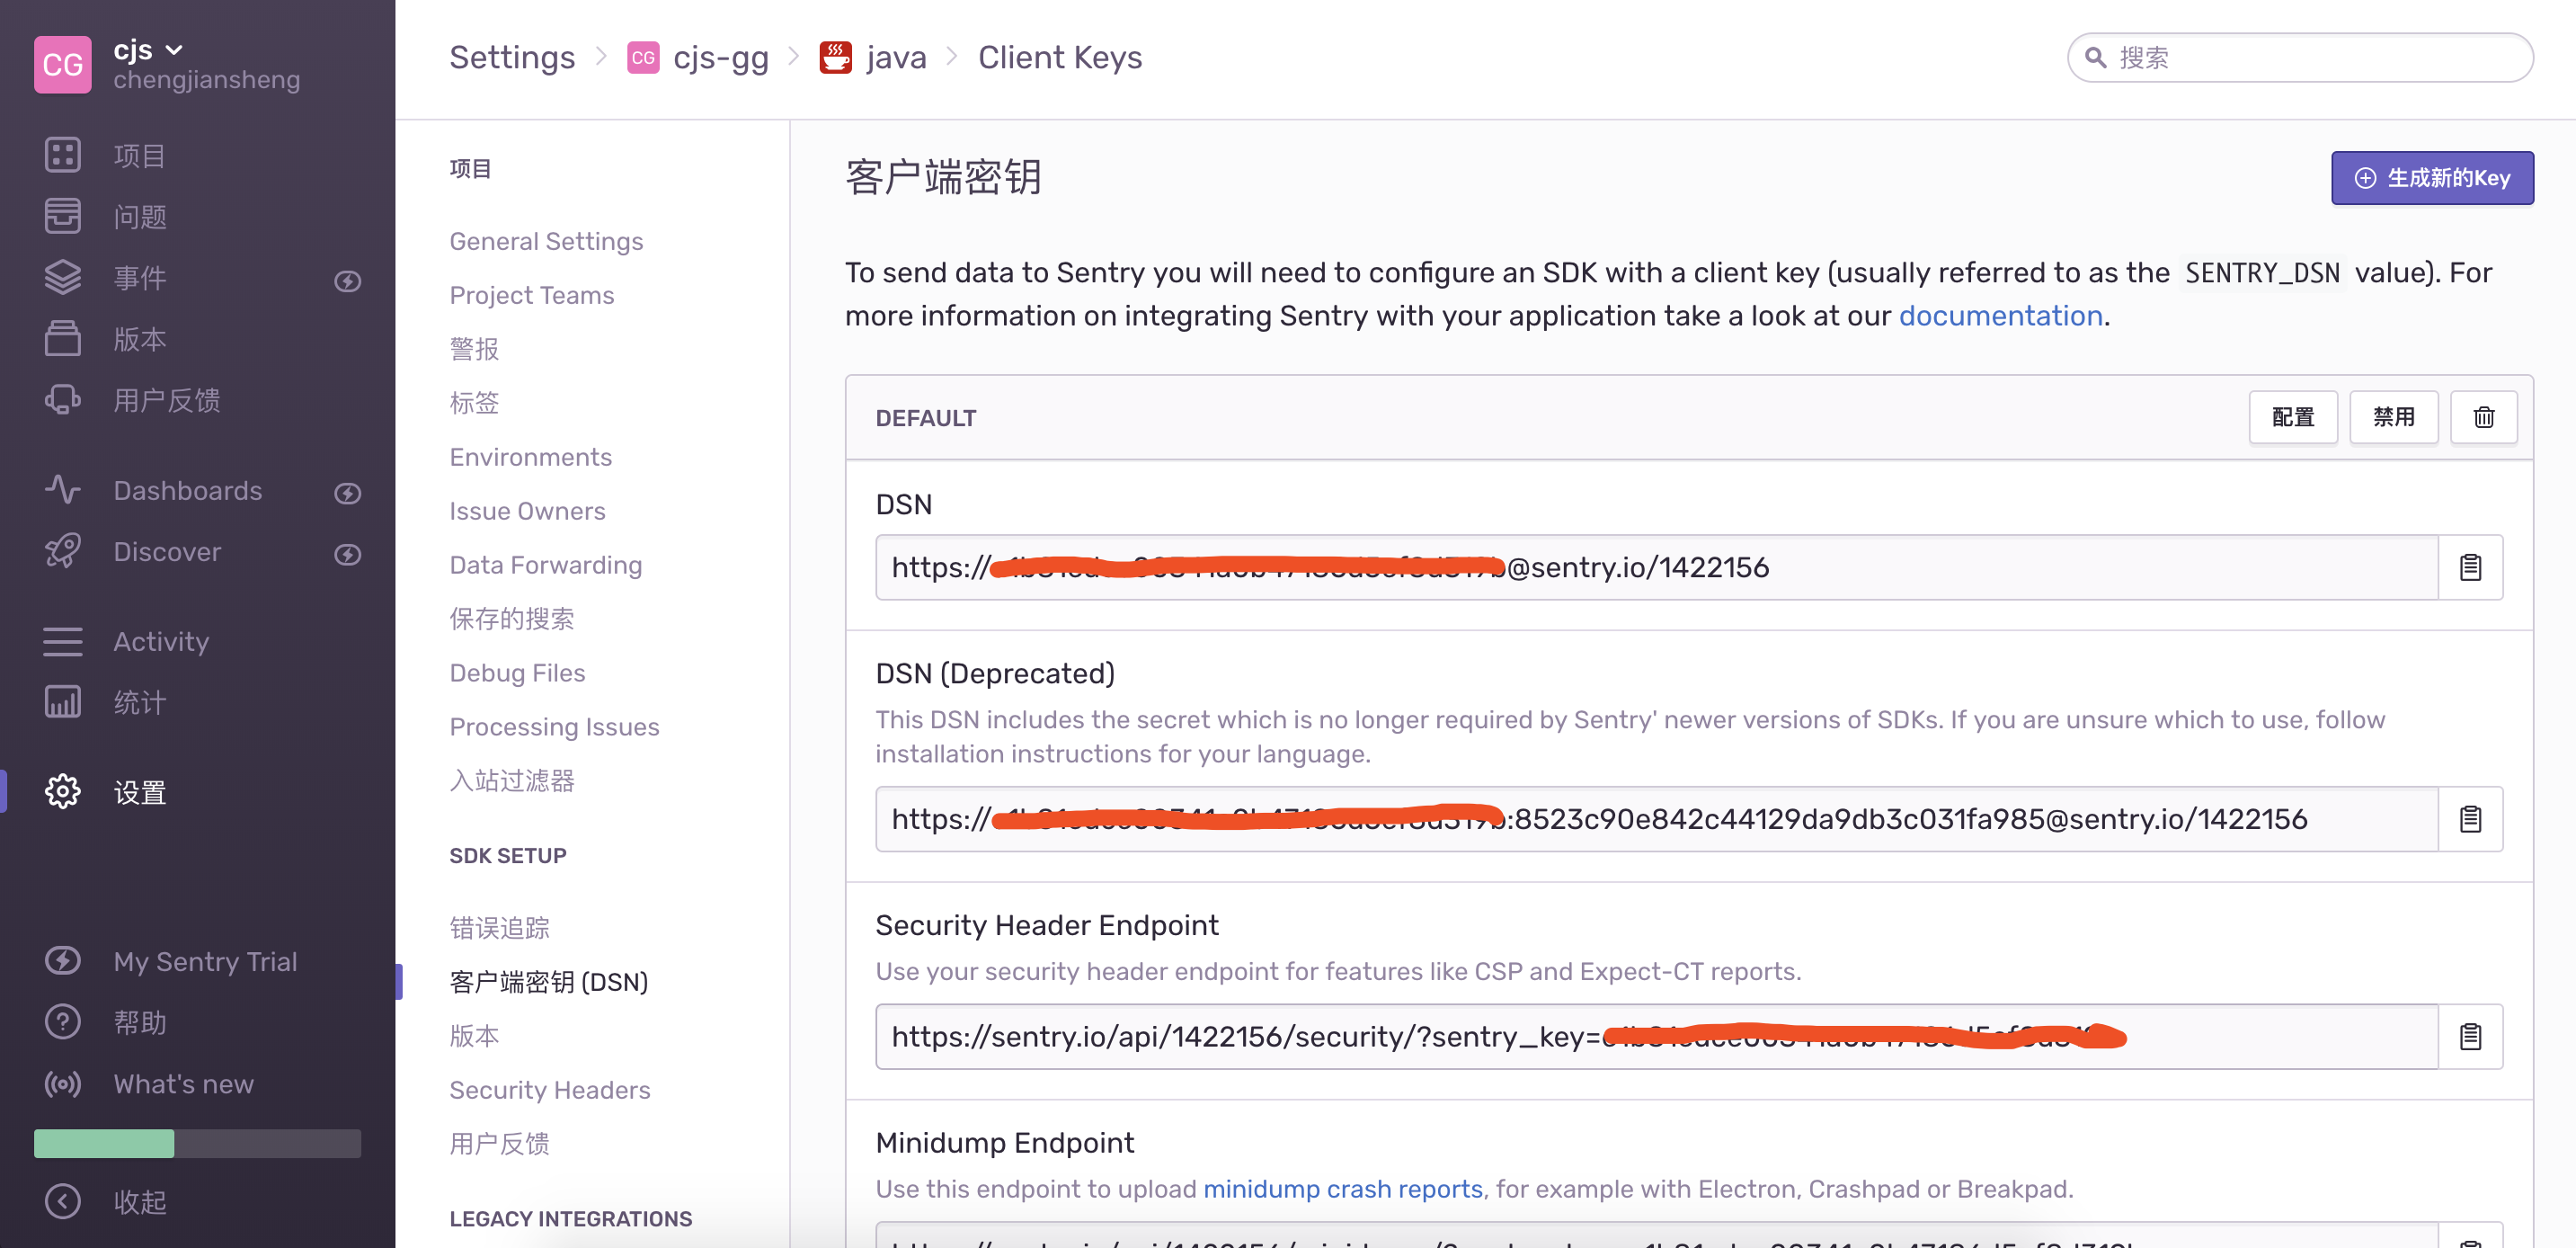
查看客户端秘钥
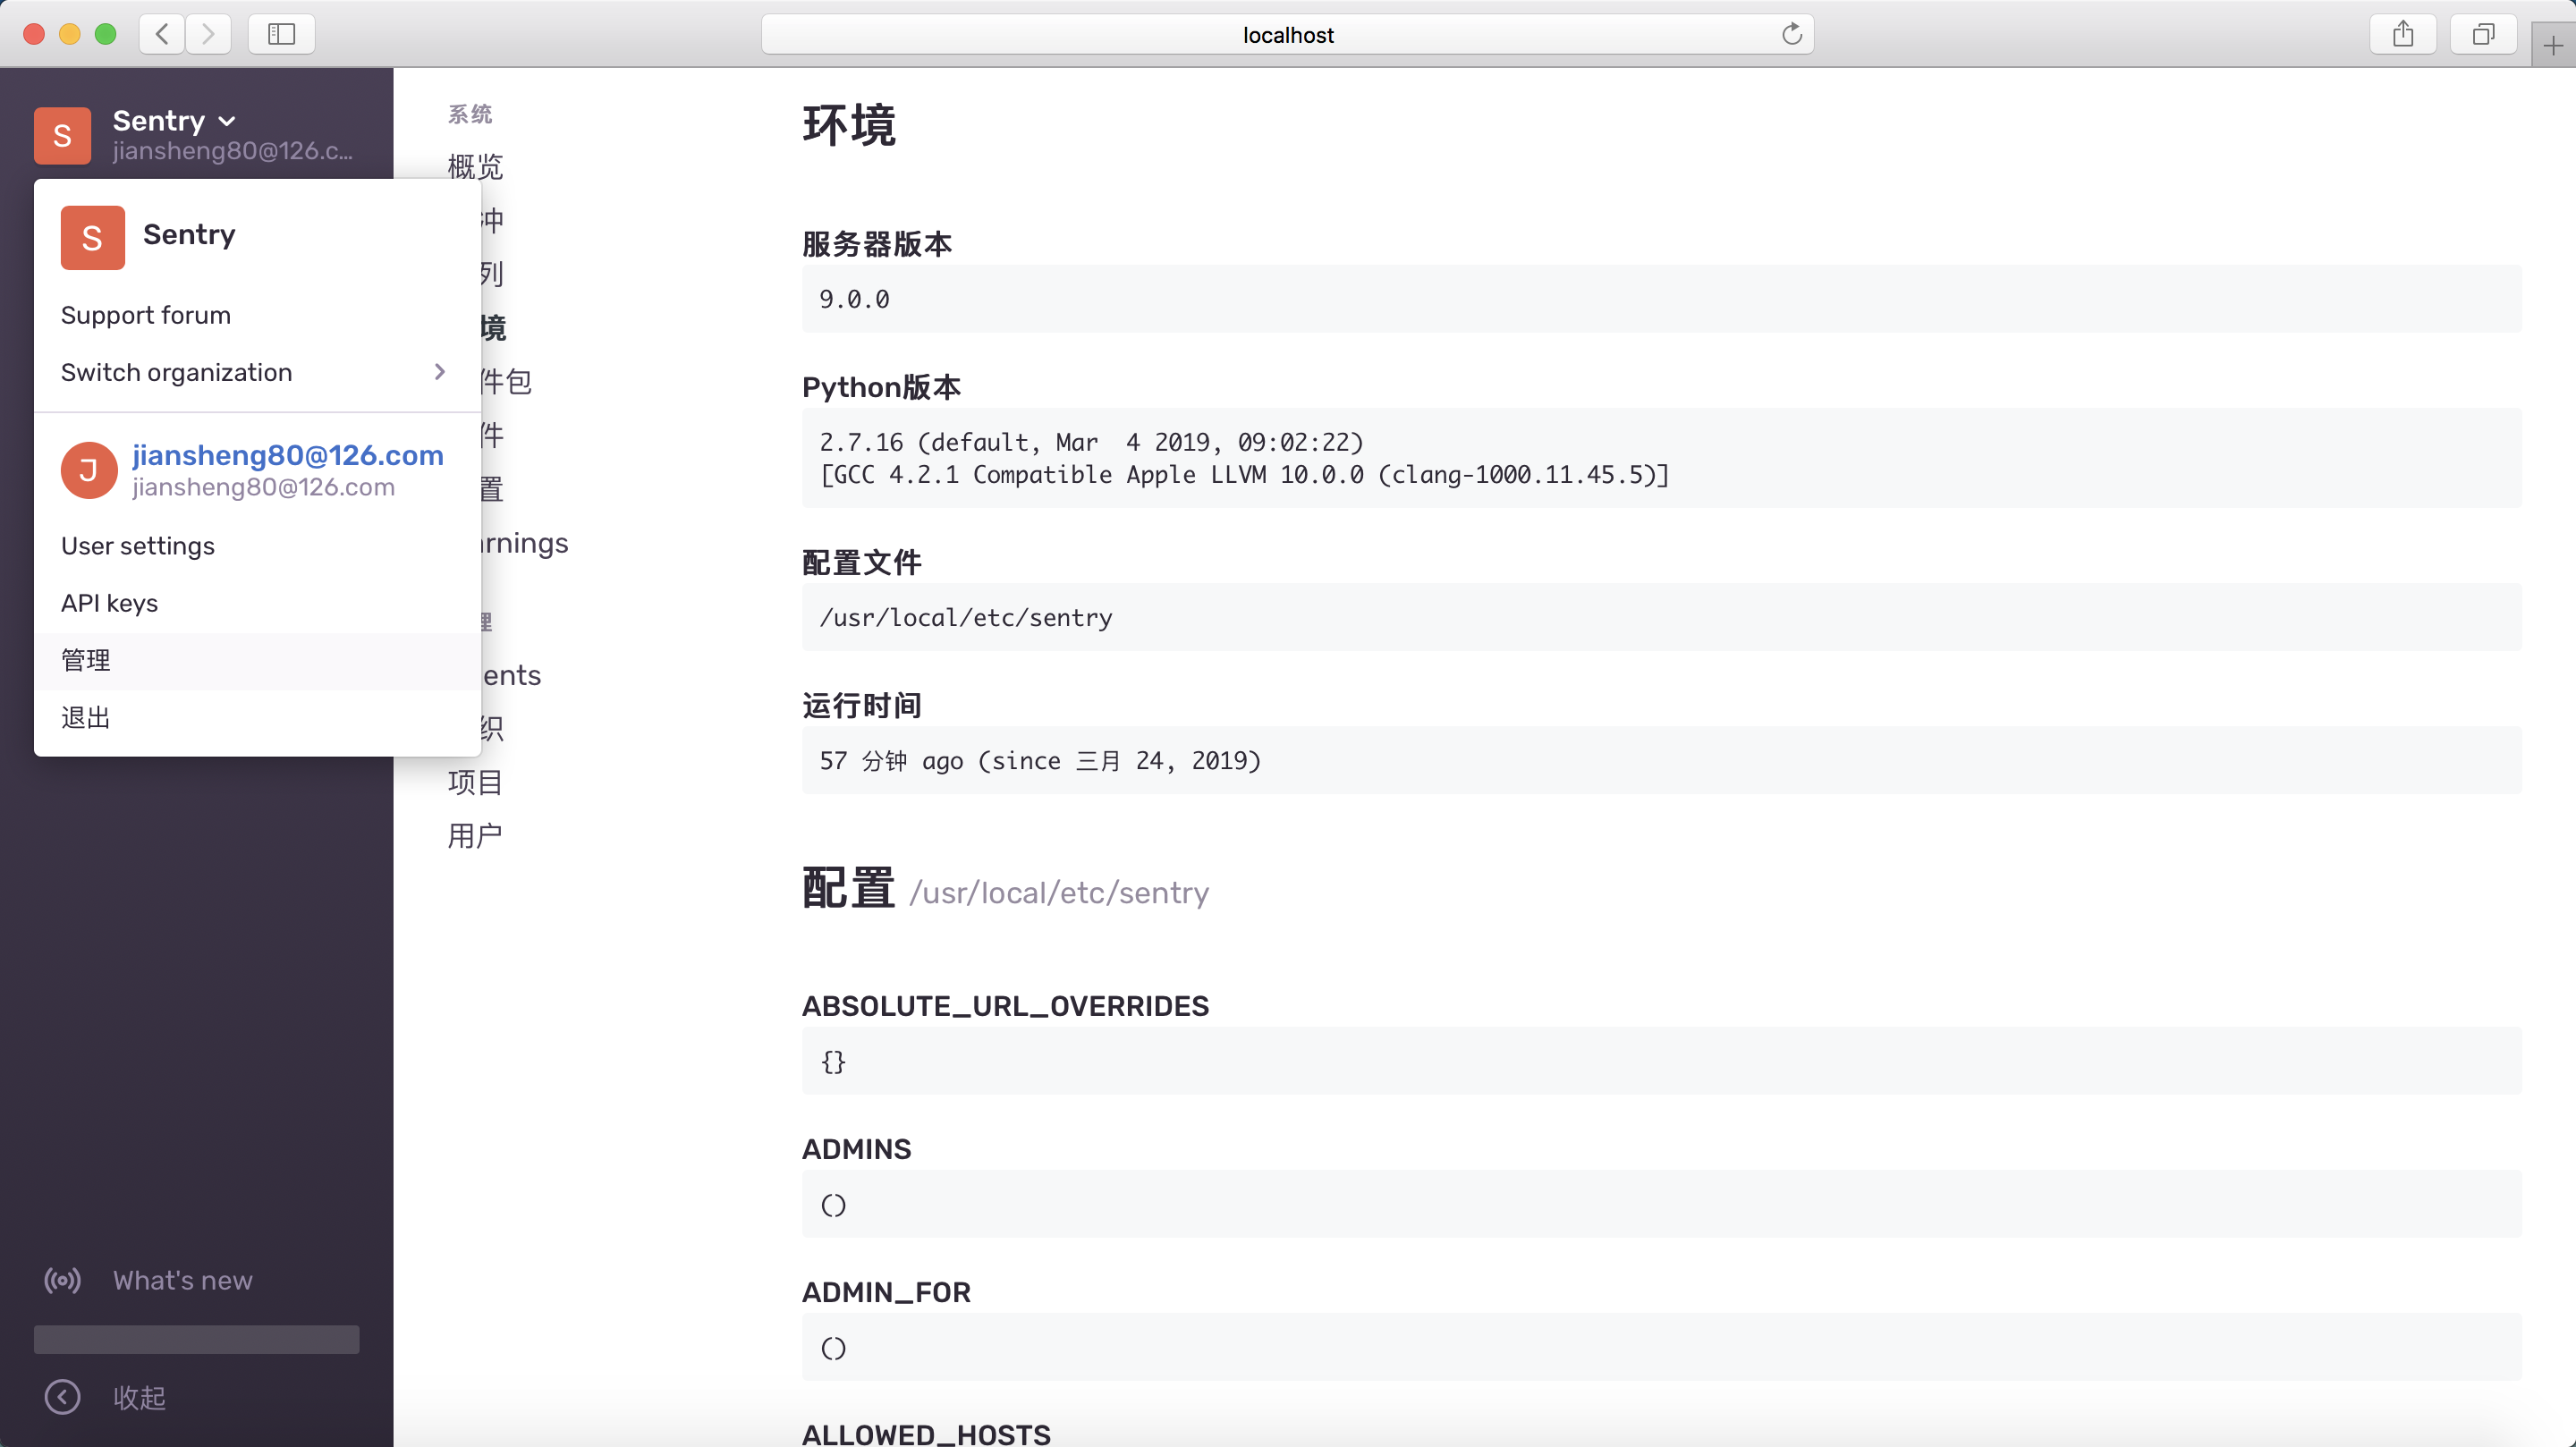
接下来可以查看并修改系统设置
3. 钉钉群机器人
Webhook可以理解为是一种回调机制,一个回调地址
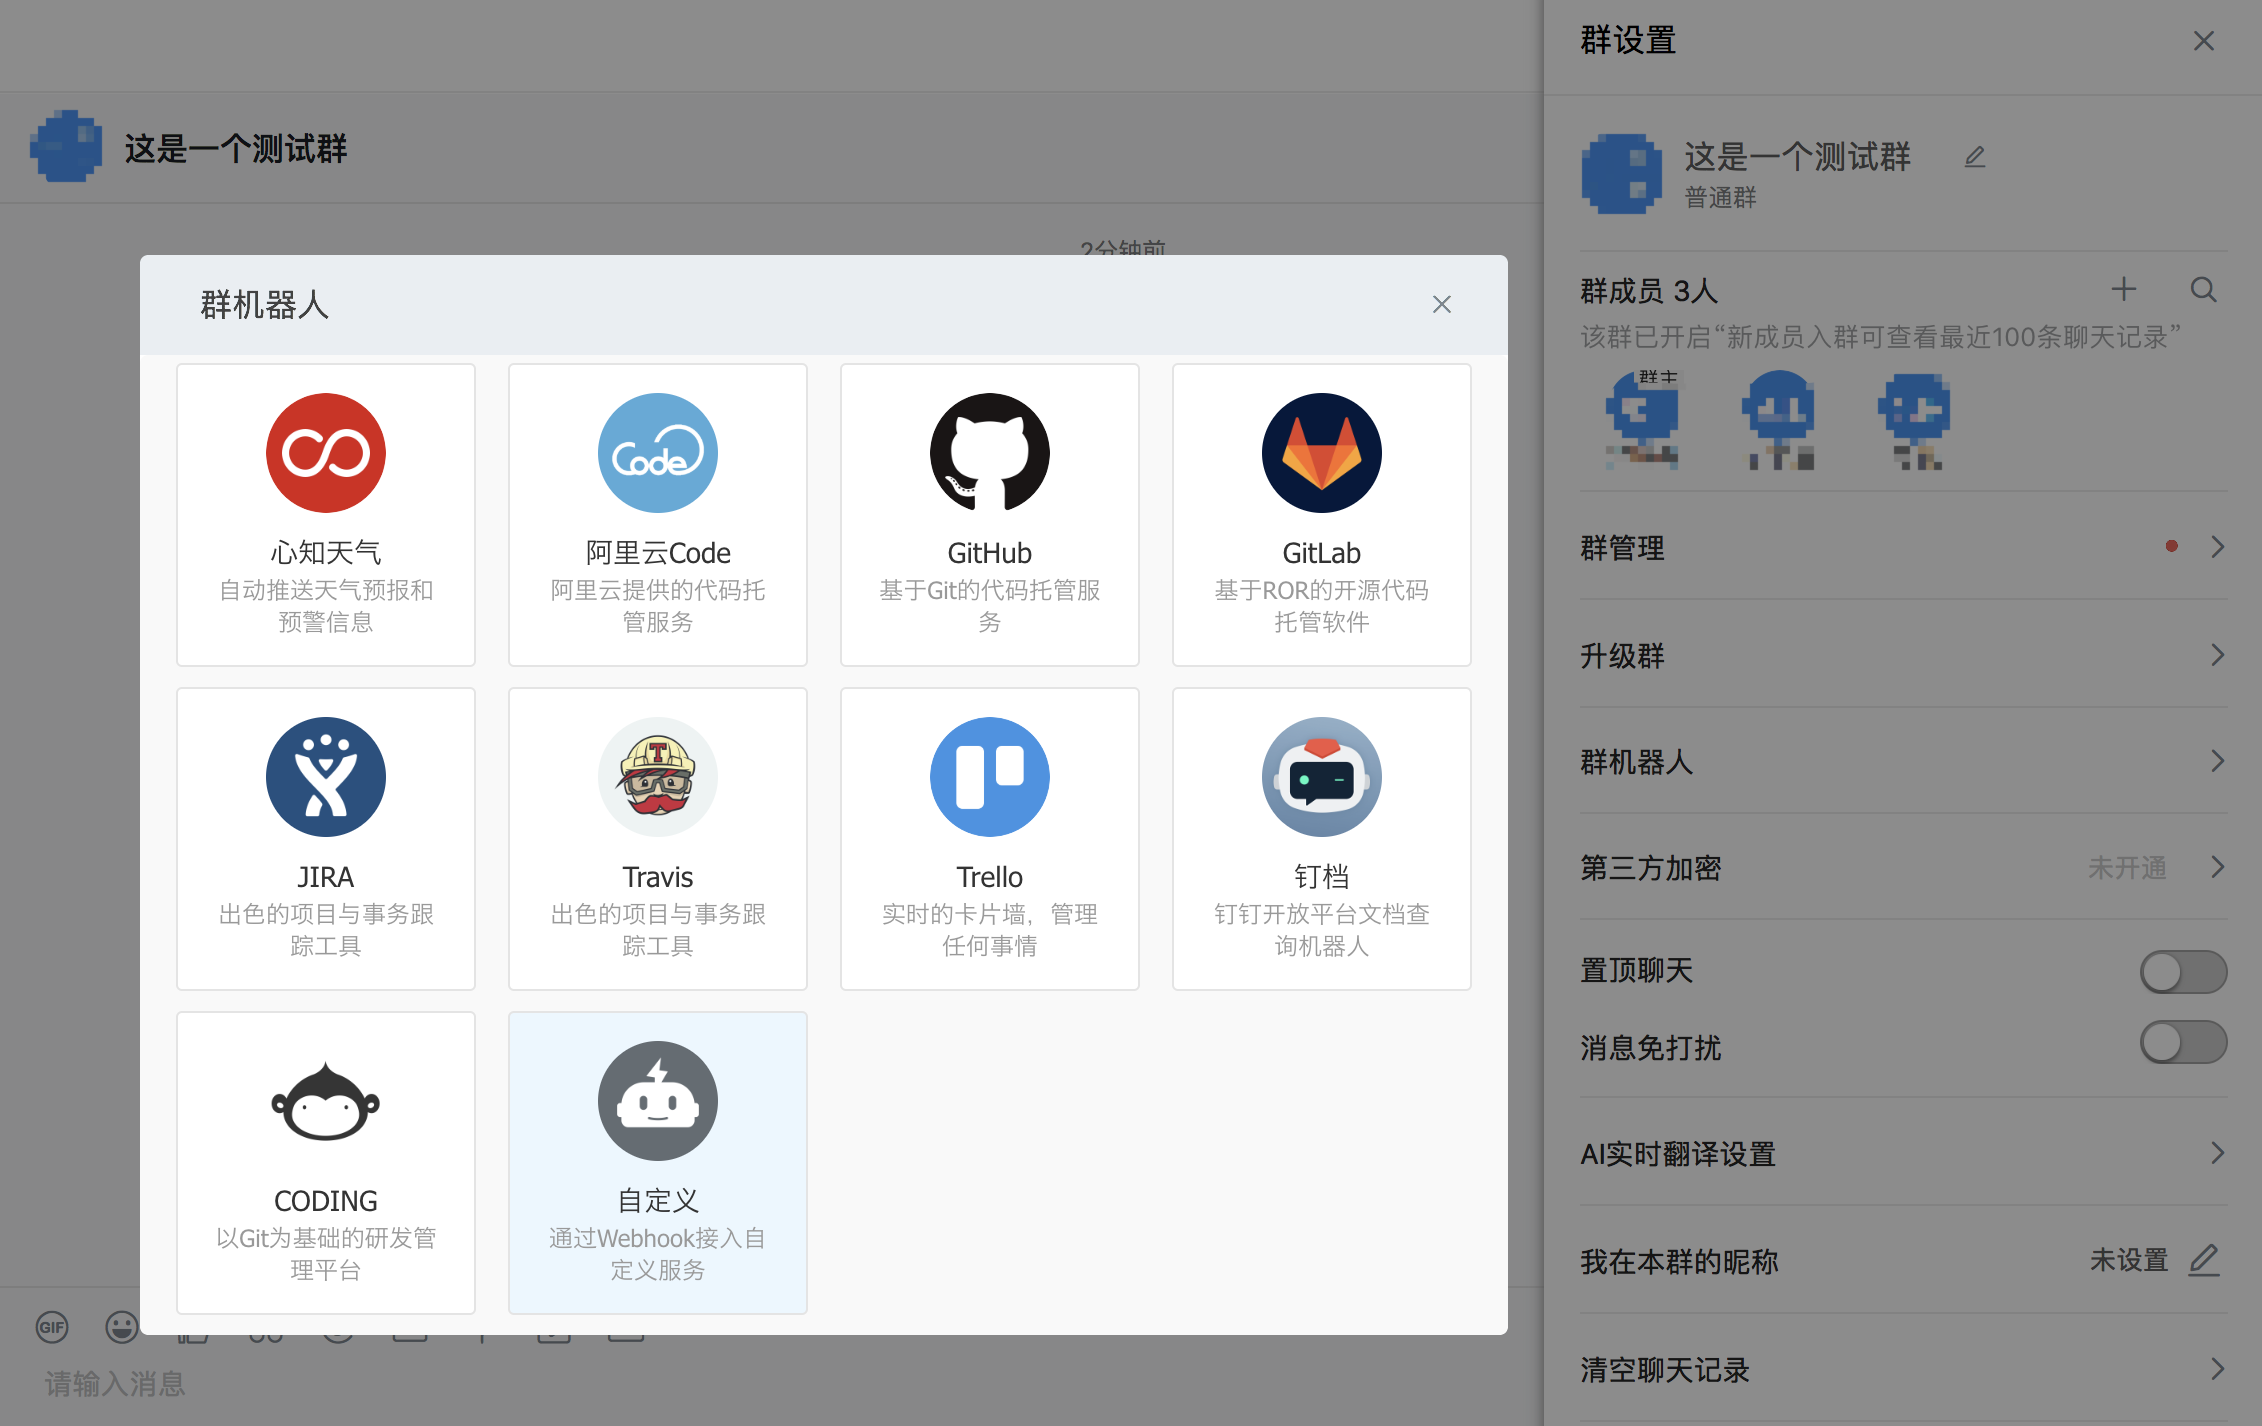
添加一个自定义的机器人
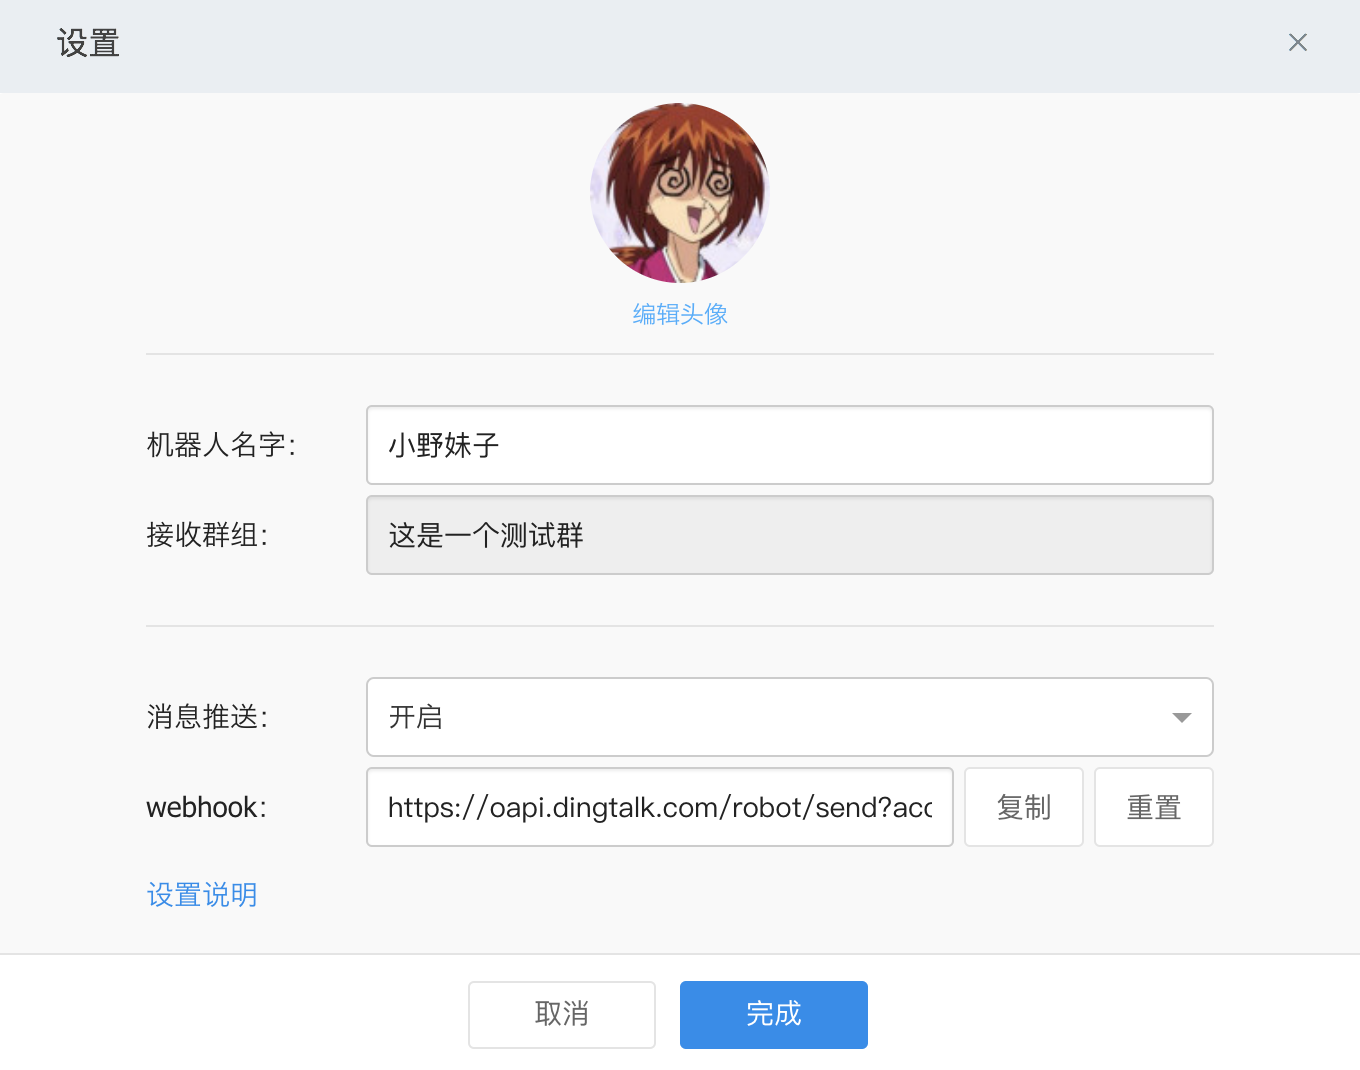

于是我们就可以拿到一个webhook地址,这个地址里面带着access_token
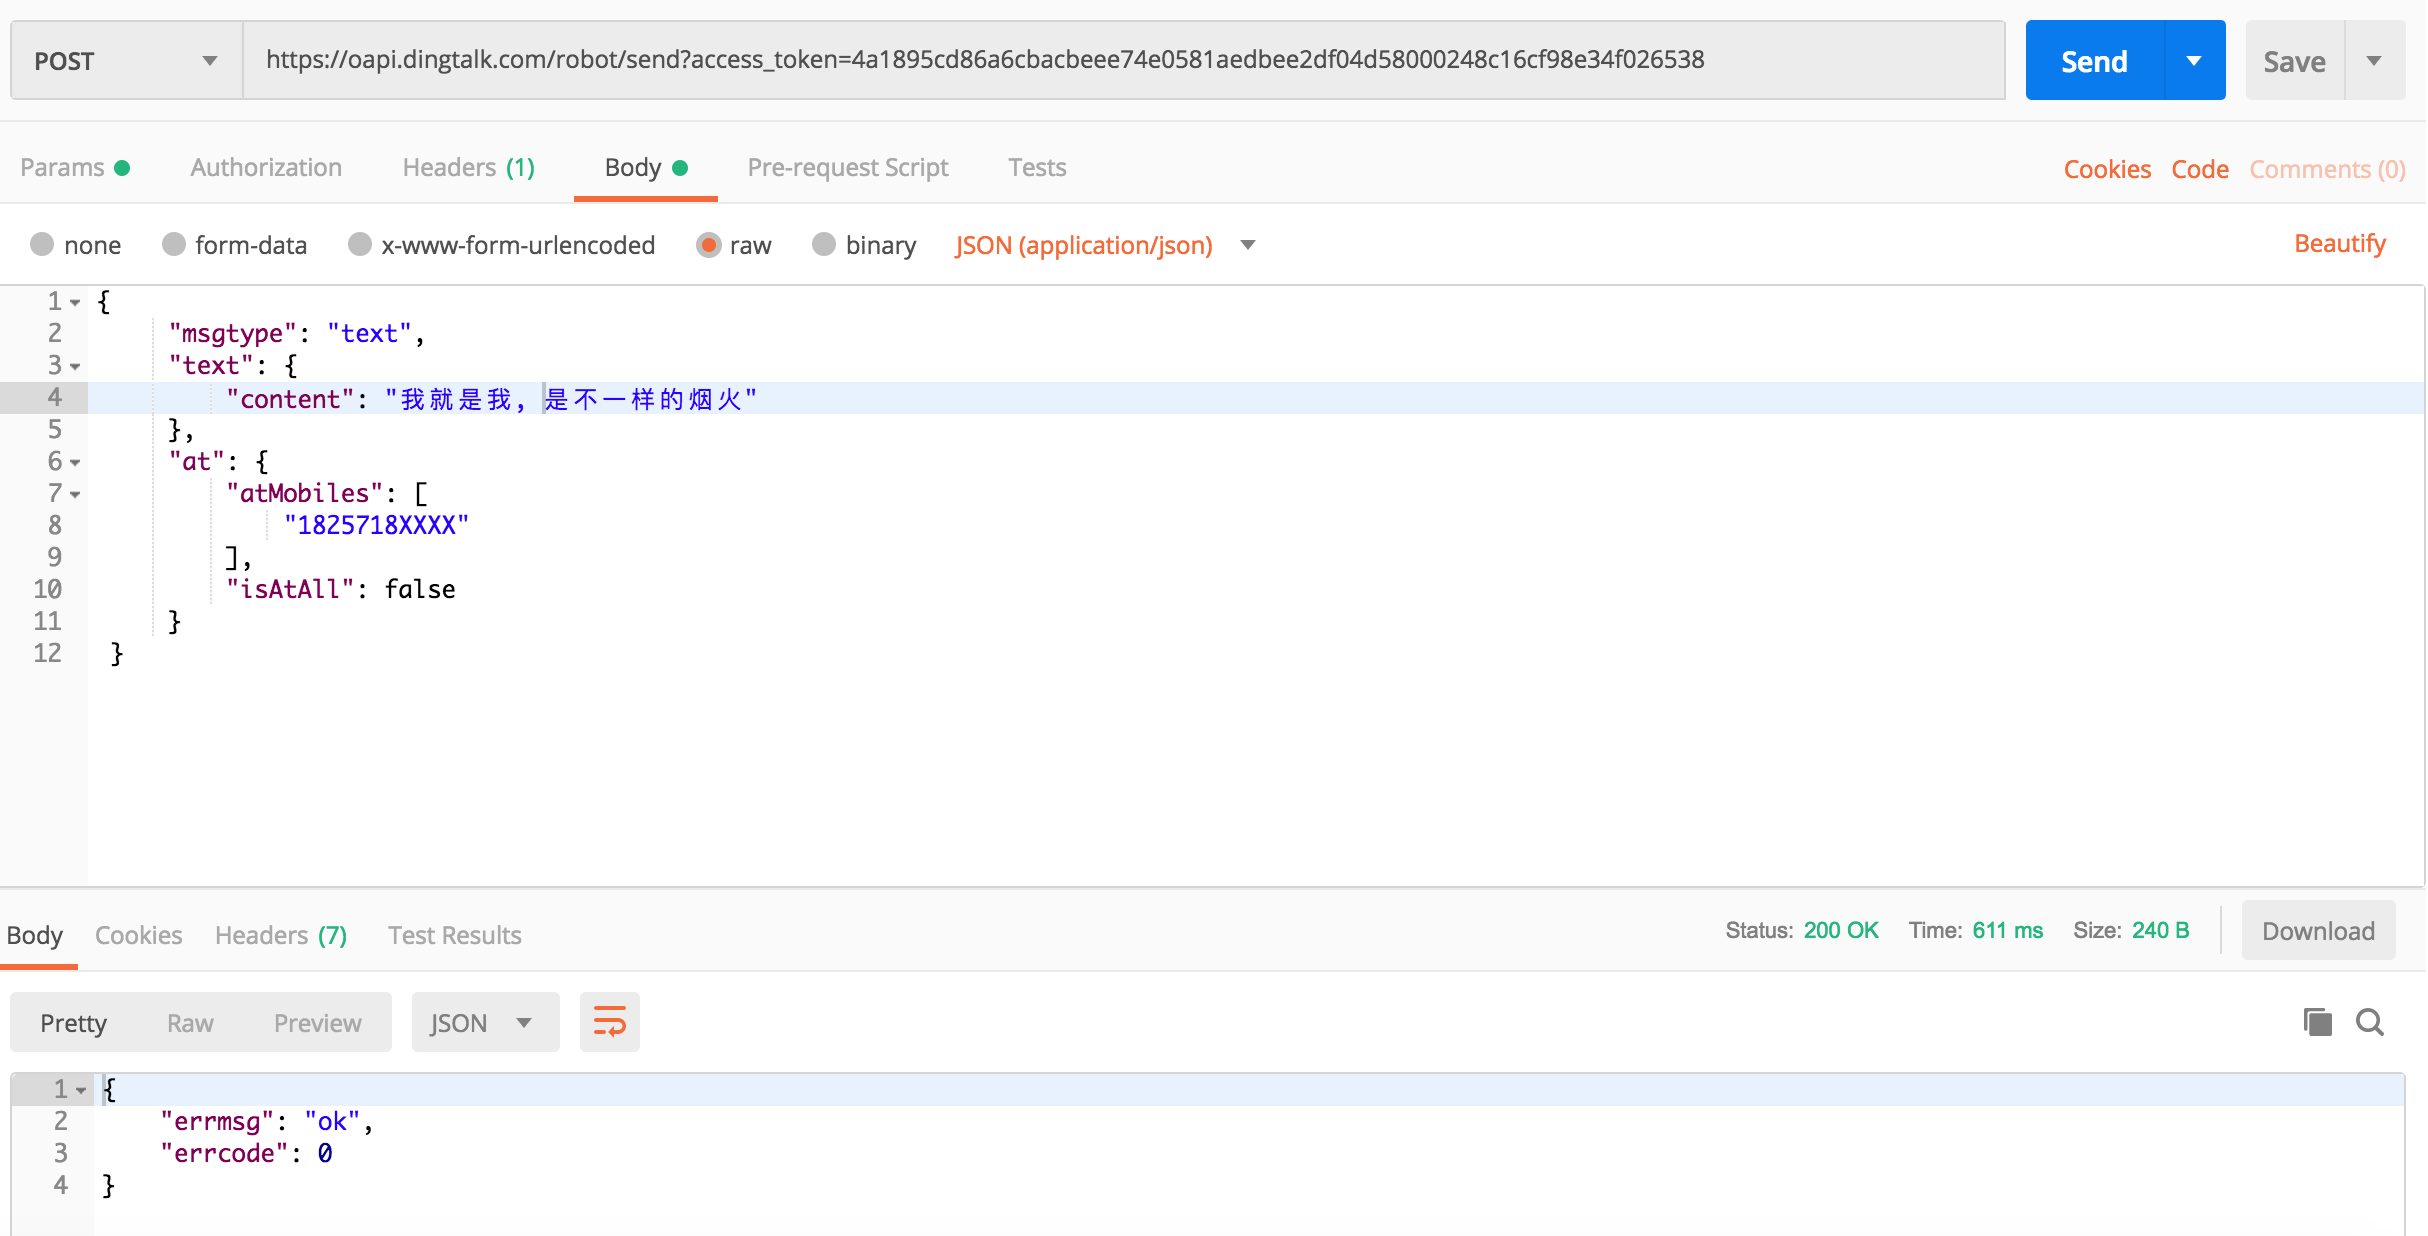
按照钉钉的消息格式,我们就可以给这个群发消息

4. Sentry集成钉钉插件
4.1. 安装sentry_dingding插件
我找到两个相似的插件
插件一:https://github.com/anshengme/sentry-dingding
这个插件相对新一点儿,最近一次提交是5个月前
安装方式有两种,
第一种: pip install sentry-dingding
第二种: pip install git+https://github.com/anshengme/sentry-dingding.git
插件二:https://github.com/evilbs/sentry-dingtalk
安装方式也有两种,
第一种: pip install git+https://github.com/evilbs/sentry-dingtalk.git
第二中: 先git clone到本地,然后执行 pip install 本地目录
最后,无论哪个插件,无论哪种方式,这条命令必须在虚拟路径下执行

安装完成后可以通过sentry plugins list命令查看

接下来,安装完了还不算完,最重要的是检查一下有没有错误
同样,在虚拟路径下执行 sentry upgrade

但是,当你执行以后,你会发现报错了

redis版本冲突是什么鬼?意思是,Python2.7需要的redis版本是2.10.5,而redis-py-cluster需要依赖的redis版本最新是2.10.6
怎么办呢?重新安装一下吧
pip uninstall redis
pip install redis==2.10.5
再执行 sentry upgrade,还是版本冲突,于是又改redis-py-cluster的版本
pip uninstall redis-py-cluster
pip install redis-py-cluster==1.3.5
问题又来了,说Sentry 9.0.0需要的redis-py-cluster版本最小是1.3.4,不能大于或等于1.4.0


几经折腾,终于找到一个既满足sentry 9.0.0,又满足python2.7对redis的版本要求,就是1.3.4版本


再次执行sentry upgrade成功
重启Web服务
lsof -i tcp:9000
kill -9
sentry run web
sentry run worker
刷新页面,终于看到了

填写token
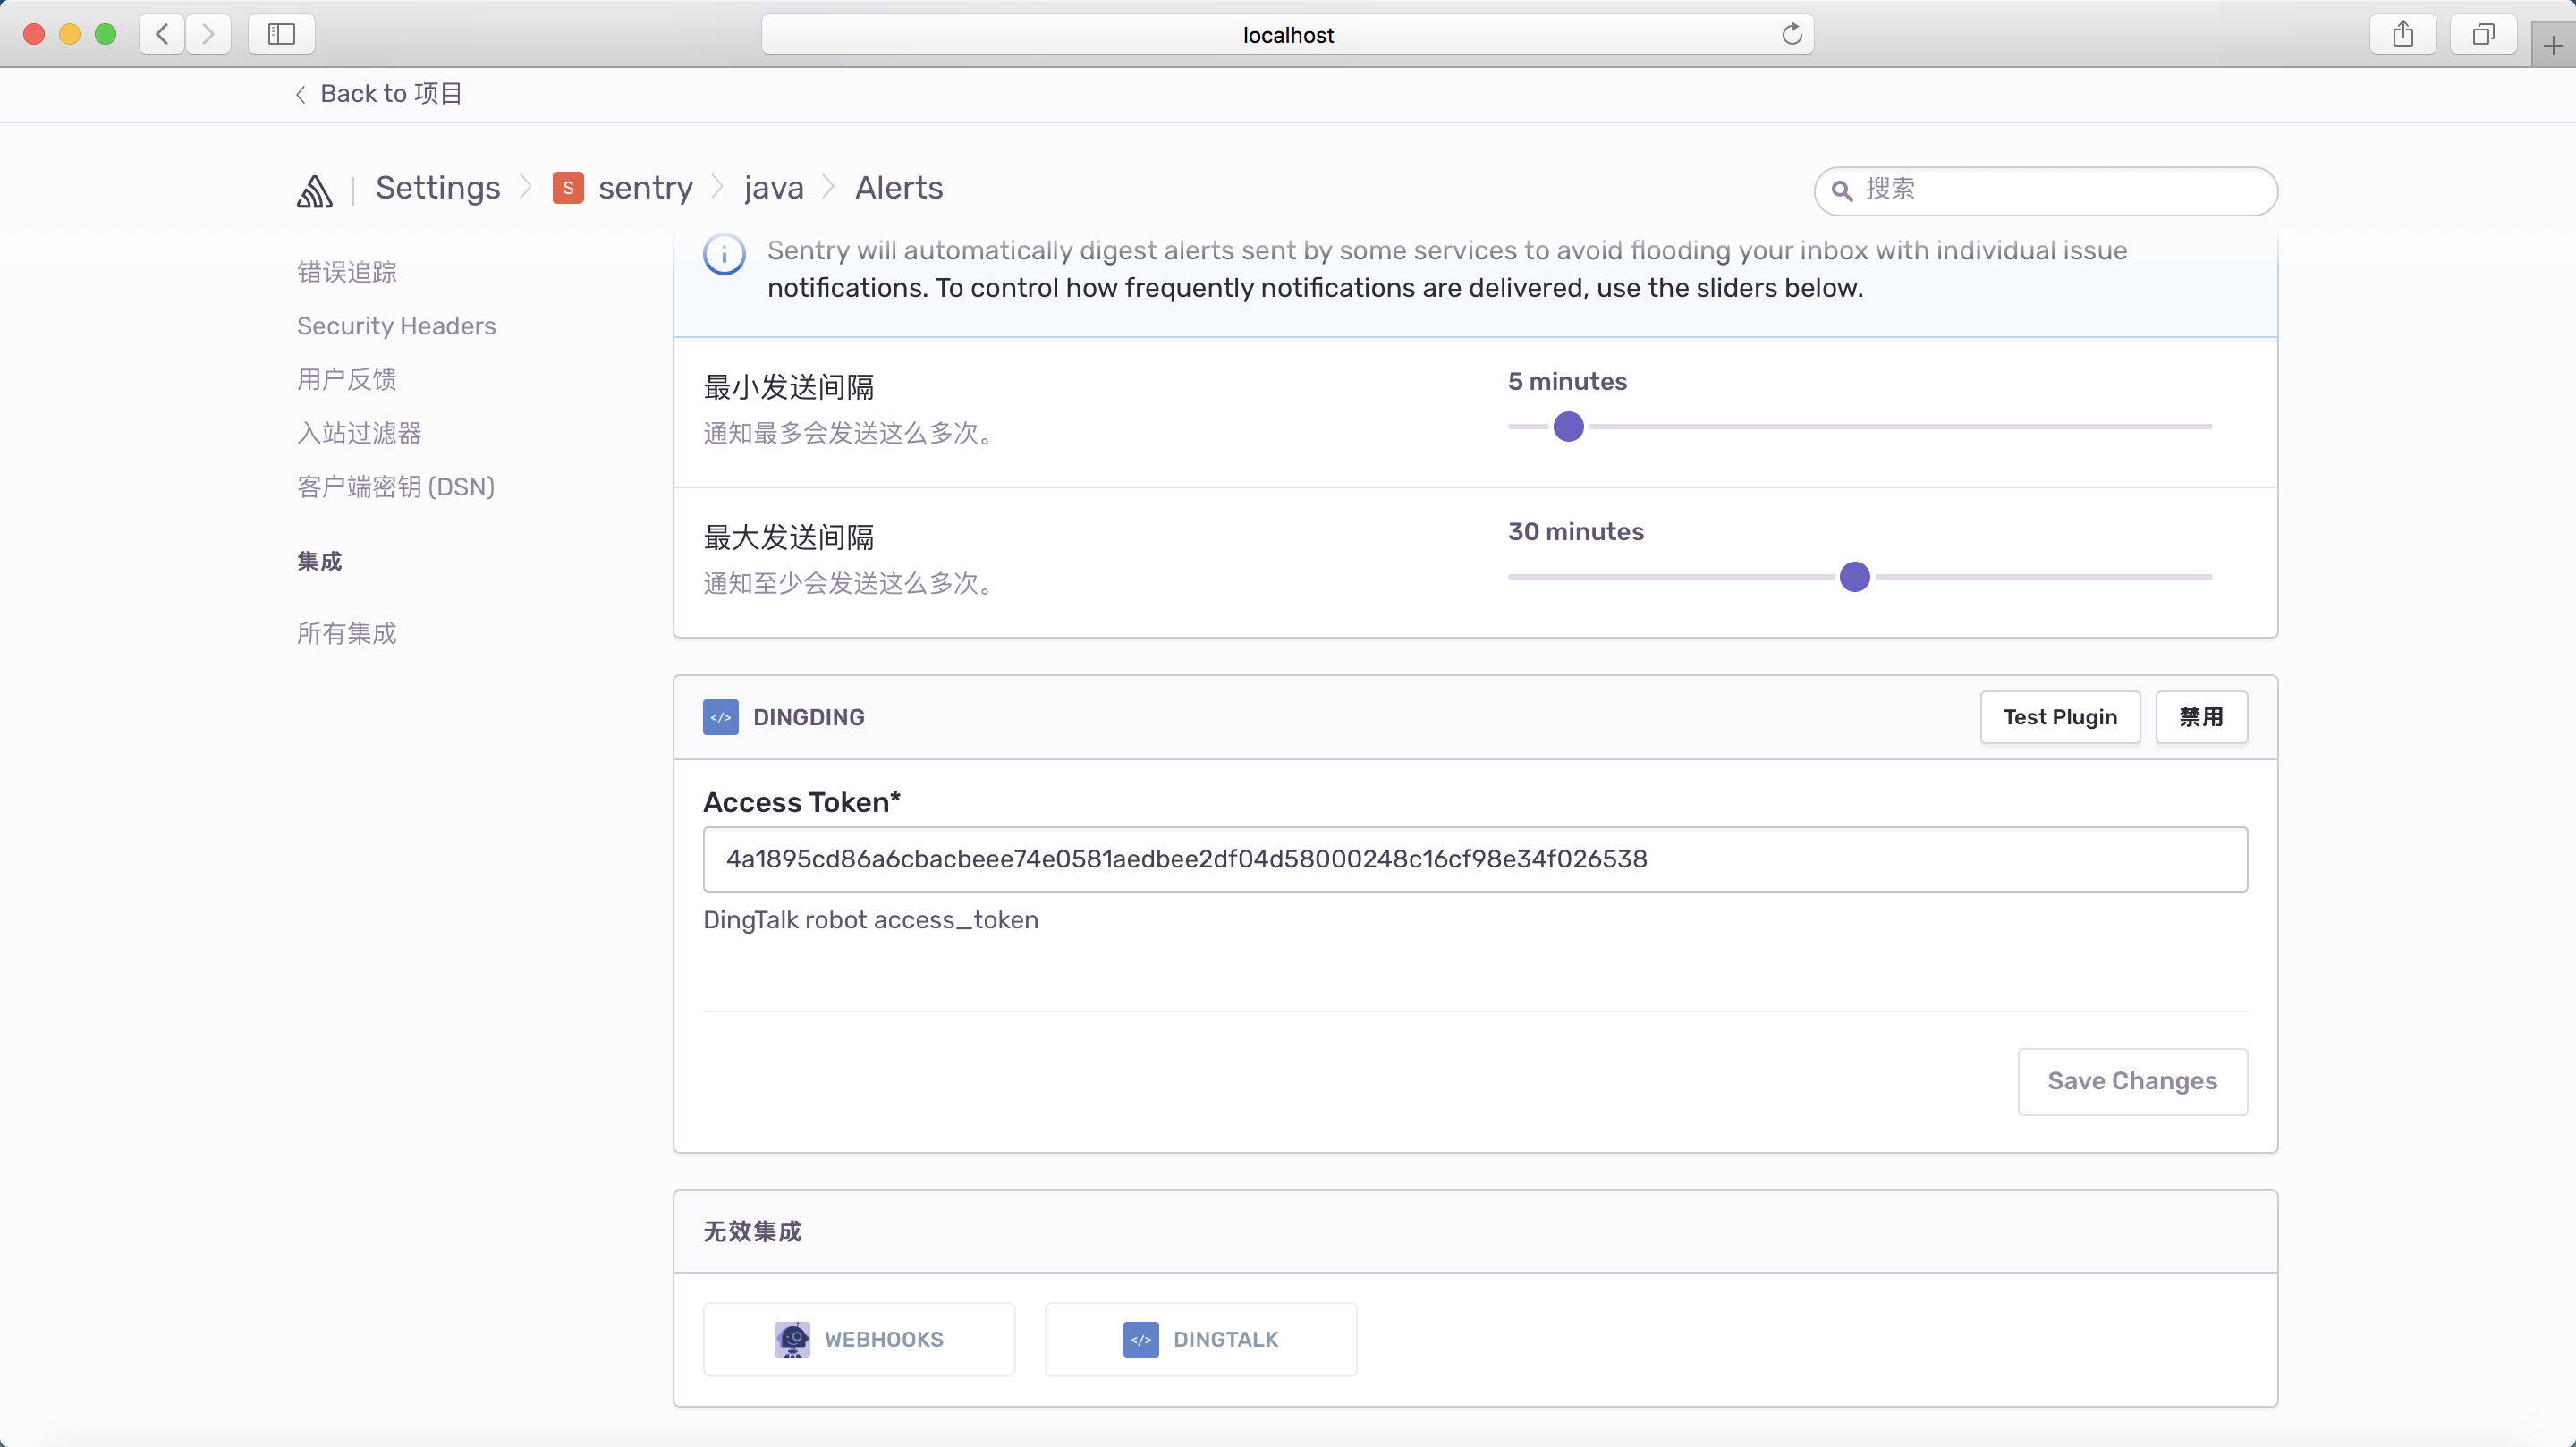
发个消息看看效果
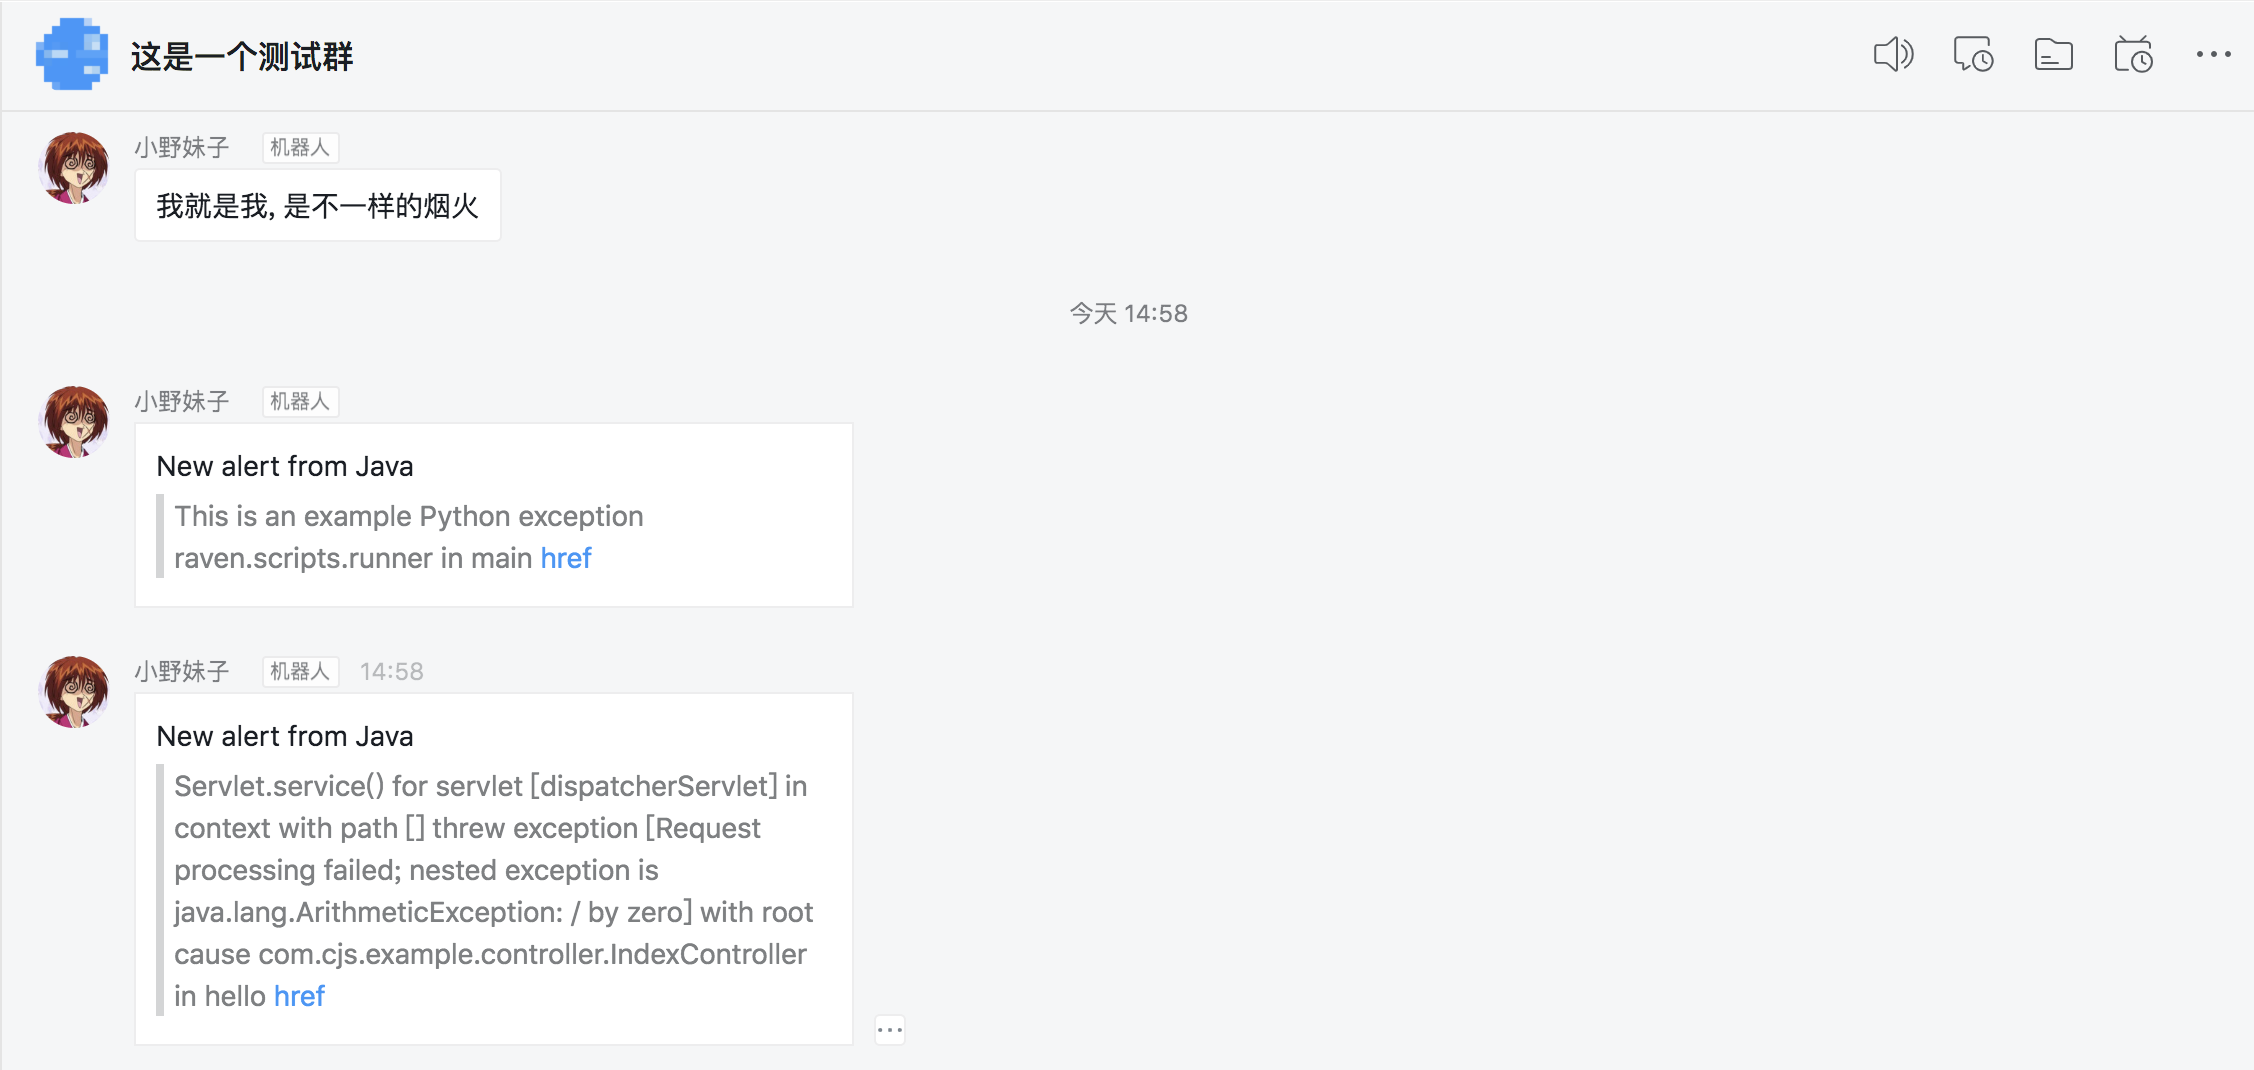
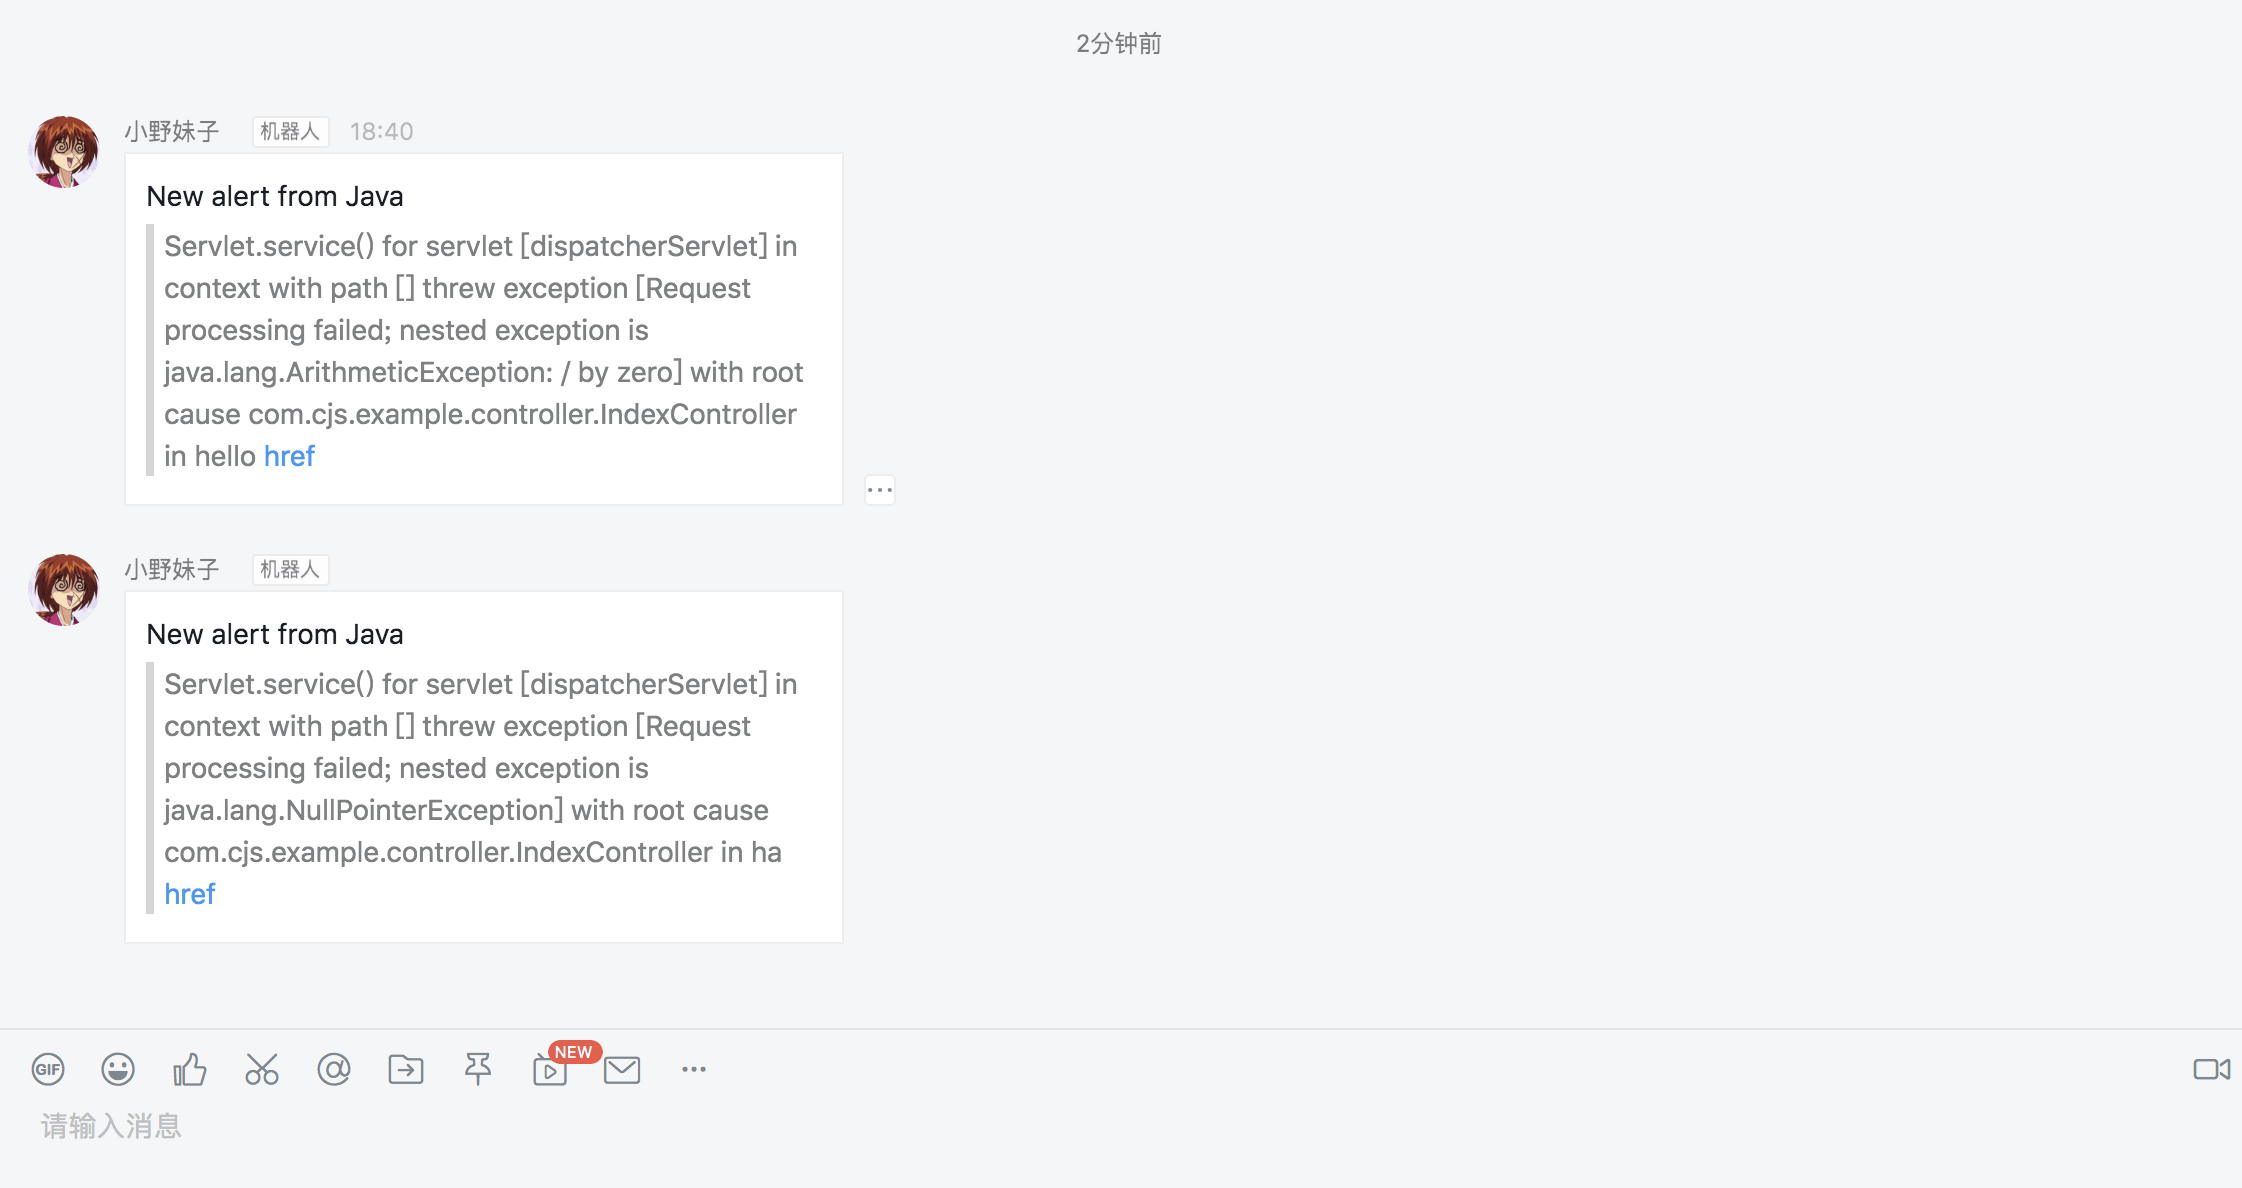
此处应有掌声,啊哈哈哈~~
5. 参考文档
https://docs.sentry.io/server/
https://docs.sentry.io/server/installation/python/