1、概述
我们一般是在k8s里面部署一些简单的应用,比如用deployment,daemonset,statefuleset的方式来部署应用,但是如果要部署一些复杂的应用,那么整个配置的编写、部署的过程就会变的更加的复杂,那么helm这个工具就可以来帮助解决这个复杂应用的部署问题。
helm可以类比与linux环境下yum部署应用的方式,只需要执行几条命令,就可以将应用需要的配置、依赖都部署到环境中。同样,helm也是通过几条简单的命令,将某个应用需要的配置、依赖都部署到了k8s集群上。
本文档就通过helm的安装和使用的角度来介绍下helm这个k8s的应用包管理工具。
2、helm中基本概念
在helm这个工具的使用中,主要有3个基本的概念需要了解:
Chart: chart就是helm中的包。类似yum安装中使用的rpm包。chart安装到k8s之后就是一个应用,那么chart中就包含了所有需要的资源的定义。
Repository: chart存放的位置。类似yum源的概念。
Release: chart在k8s集群中运行起来之后形成的实例。就类似与部署一个deployment要给一个名字一样。一个chart可以在同一个集群中被安装很多次,每一次的安装,都会创建一个新的release。就和拿一个redis的安装包可以安装很多次一样的。每次安装都有一个实例对应有自己的端口号,配置一样的。
那么针对以上的概念的说明,针对helm可以有如下的表述:
helm在chart仓库中获得chart,然后将chart安装到k8s集群中,每次安装都创建一个release.
3、helm的安装
可以通过预编译的二进制文件来安装helm的客户端命令,具体的版本可以到helm的github上去下载:
https://github.com/helm/helm/releases
本文档使用的版本:
https://get.helm.sh/helm-v3.7.2-linux-amd64.tar.gz
注意:安装在包含kubeconfig的主机上,这样helm就可以操作k8s集群来部署对应的应用,helm默认去"~/.kube/config"目录下获取kubeconfig来连接k8s集群。
安装过程
(1)先上传helm的压缩包到服务器
(2)解压并且复制helm命令
tar -zxf helm-v3.7.2-linux-amd64.tar.gz \
&& cd linux-amd64 \
cp helm /usr/local/bin/
(3)验证helm命令
输入helm命令,如果输出如下,则表示helm安装成功
[root@nccztsjb-node-11 linux-amd64]# helm
The Kubernetes package manager

Common actions for Helm:

- helm search:    search for charts
- helm pull:      download a chart to your local directory to view
- helm install:   upload the chart to Kubernetes
- helm list:      list releases of charts

Environment variables:

| Name                               | Description                                                                       |
|------------------------------------|-----------------------------------------------------------------------------------|
| $HELM_CACHE_HOME                   | set an alternative location for storing cached files.                             |
| $HELM_CONFIG_HOME                  | set an alternative location for storing Helm configuration.                       |
| $HELM_DATA_HOME                    | set an alternative location for storing Helm data.                                |
| $HELM_DEBUG                        | indicate whether or not Helm is running in Debug mode                             |
| $HELM_DRIVER                       | set the backend storage driver. Values are: configmap, secret, memory, sql.       |
| $HELM_DRIVER_SQL_CONNECTION_STRING | set the connection string the SQL storage driver should use.                      |
| $HELM_MAX_HISTORY                  | set the maximum number of helm release history.                                   |
| $HELM_NAMESPACE                    | set the namespace used for the helm operations.                                   |
| $HELM_NO_PLUGINS                   | disable plugins. Set HELM_NO_PLUGINS=1 to disable plugins.                        |
| $HELM_PLUGINS                      | set the path to the plugins directory                                             |
| $HELM_REGISTRY_CONFIG              | set the path to the registry config file.                                         |
| $HELM_REPOSITORY_CACHE             | set the path to the repository cache directory                                    |
| $HELM_REPOSITORY_CONFIG            | set the path to the repositories file.                                            |
| $KUBECONFIG                        | set an alternative Kubernetes configuration file (default "~/.kube/config")       |
| $HELM_KUBEAPISERVER                | set the Kubernetes API Server Endpoint for authentication                         |
| $HELM_KUBECAFILE                   | set the Kubernetes certificate authority file.                                    |
| $HELM_KUBEASGROUPS                 | set the Groups to use for impersonation using a comma-separated list.             |
| $HELM_KUBEASUSER                   | set the Username to impersonate for the operation.                                |
| $HELM_KUBECONTEXT                  | set the name of the kubeconfig context.                                           |
| $HELM_KUBETOKEN                    | set the Bearer KubeToken used for authentication.                                 |

Helm stores cache, configuration, and data based on the following configuration order:

- If a HELM_*_HOME environment variable is set, it will be used
- Otherwise, on systems supporting the XDG base directory specification, the XDG variables will be used
- When no other location is set a default location will be used based on the operating system

By default, the default directories depend on the Operating System. The defaults are listed below:

| Operating System | Cache Path                | Configuration Path             | Data Path               |
|------------------|---------------------------|--------------------------------|-------------------------|
| Linux            | $HOME/.cache/helm         | $HOME/.config/helm             | $HOME/.local/share/helm |
| macOS            | $HOME/Library/Caches/helm | $HOME/Library/Preferences/helm | $HOME/Library/helm      |
| Windows          | %TEMP%\helm               | %APPDATA%\helm                 | %APPDATA%\helm          |

Usage:
  helm [command]

Available Commands:
  completion  generate autocompletion scripts for the specified shell
  create      create a new chart with the given name
  dependency  manage a chart's dependencies
  env         helm client environment information
  get         download extended information of a named release
  help        Help about any command
  history     fetch release history
  install     install a chart
  lint        examine a chart for possible issues
  list        list releases
  package     package a chart directory into a chart archive
  plugin      install, list, or uninstall Helm plugins
  pull        download a chart from a repository and (optionally) unpack it in local directory
  repo        add, list, remove, update, and index chart repositories
  rollback    roll back a release to a previous revision
  search      search for a keyword in charts
  show        show information of a chart
  status      display the status of the named release
  template    locally render templates
  test        run tests for a release
  uninstall   uninstall a release
  upgrade     upgrade a release
  verify      verify that a chart at the given path has been signed and is valid
  version     print the client version information

Flags:
      --debug                       enable verbose output
  -h, --help                        help for helm
      --kube-apiserver string       the address and the port for the Kubernetes API server
      --kube-as-group stringArray   group to impersonate for the operation, this flag can be repeated to specify multiple groups.
      --kube-as-user string         username to impersonate for the operation
      --kube-ca-file string         the certificate authority file for the Kubernetes API server connection
      --kube-context string         name of the kubeconfig context to use
      --kube-token string           bearer token used for authentication
      --kubeconfig string           path to the kubeconfig file
  -n, --namespace string            namespace scope for this request
      --registry-config string      path to the registry config file (default "/root/.config/helm/registry.json")
      --repository-cache string     path to the file containing cached repository indexes (default "/root/.cache/helm/repository")
      --repository-config string    path to the file containing repository names and URLs (default "/root/.config/helm/repositories.yaml")

Use "helm [command] --help" for more information about a command.
4、helm的使用
那么这里就要介绍在如何使用helm来安装和管理应用包了。
4.1、获取应用的repository
比如我们要安装一个nginx应用,那么我们首先要知道哪些库,类似于哪些yum源中有这个包,那么方法就是登录如下的地址:
这个中包含了所有的有这个应用包的一个汇总
在其中搜索“nginx”
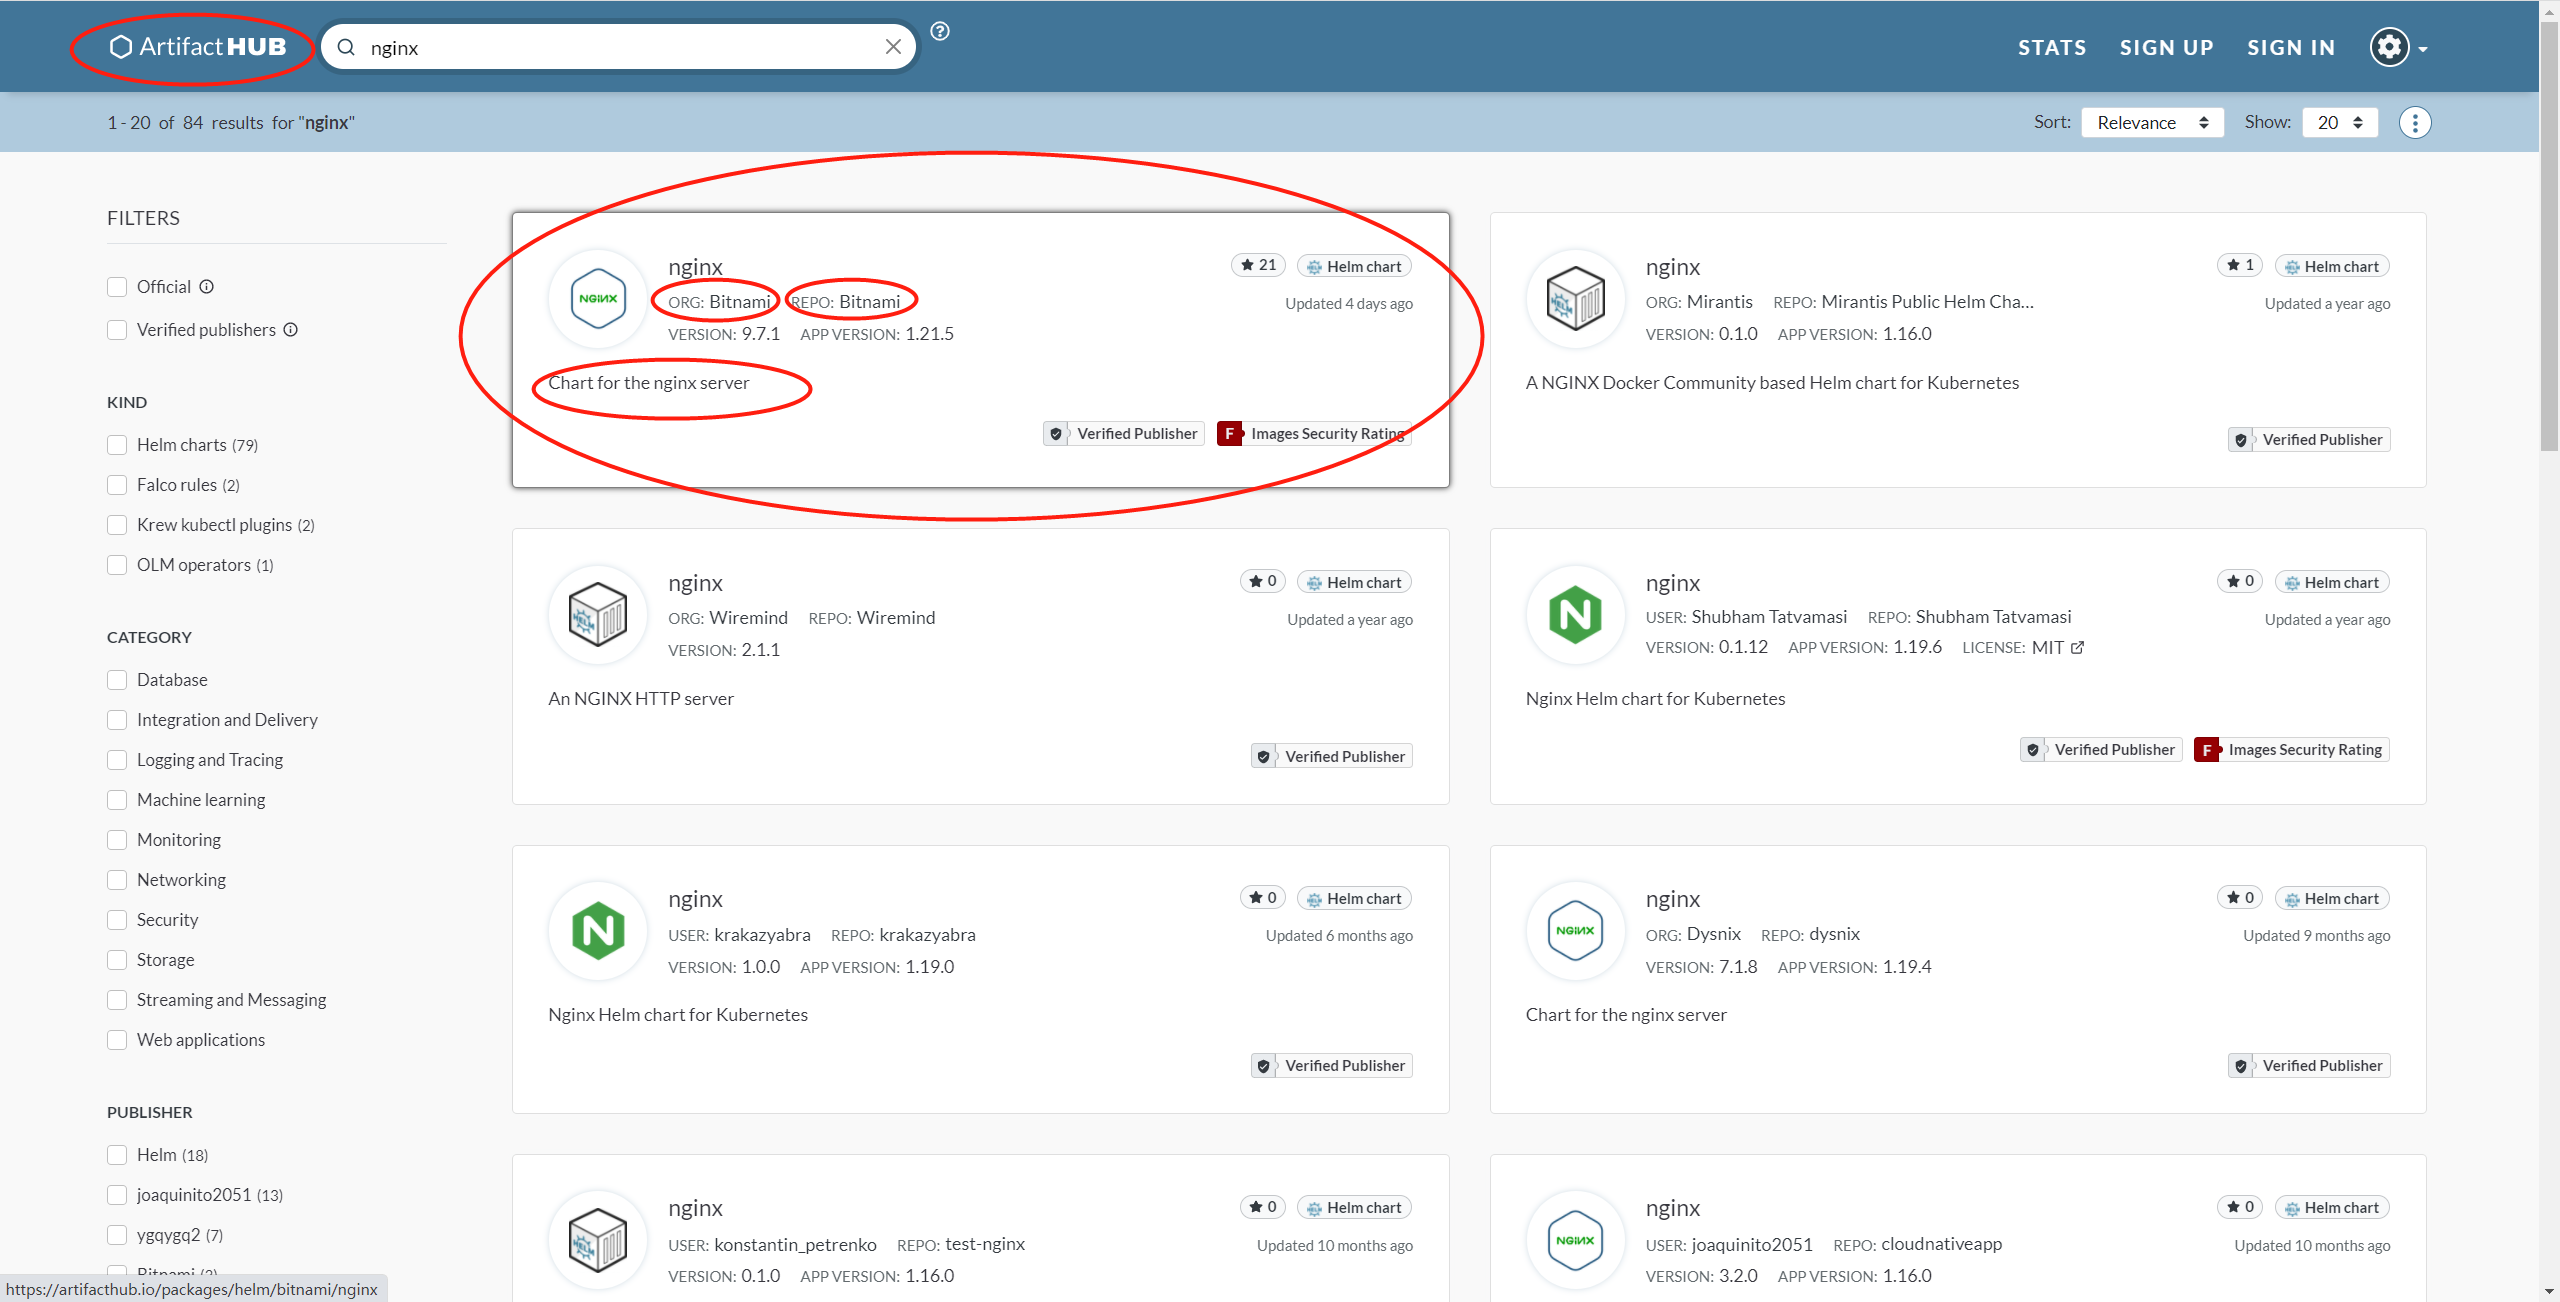
就会有各种组织发布的不同的功能的包含nginx的包。
点开第一个,就会有相关的使用的说明
那么这个https://charts.bitnami.com/bitnami URL就是包含这个chart的仓库。
4.2、helm添加仓库和删除
4.2.1、添加
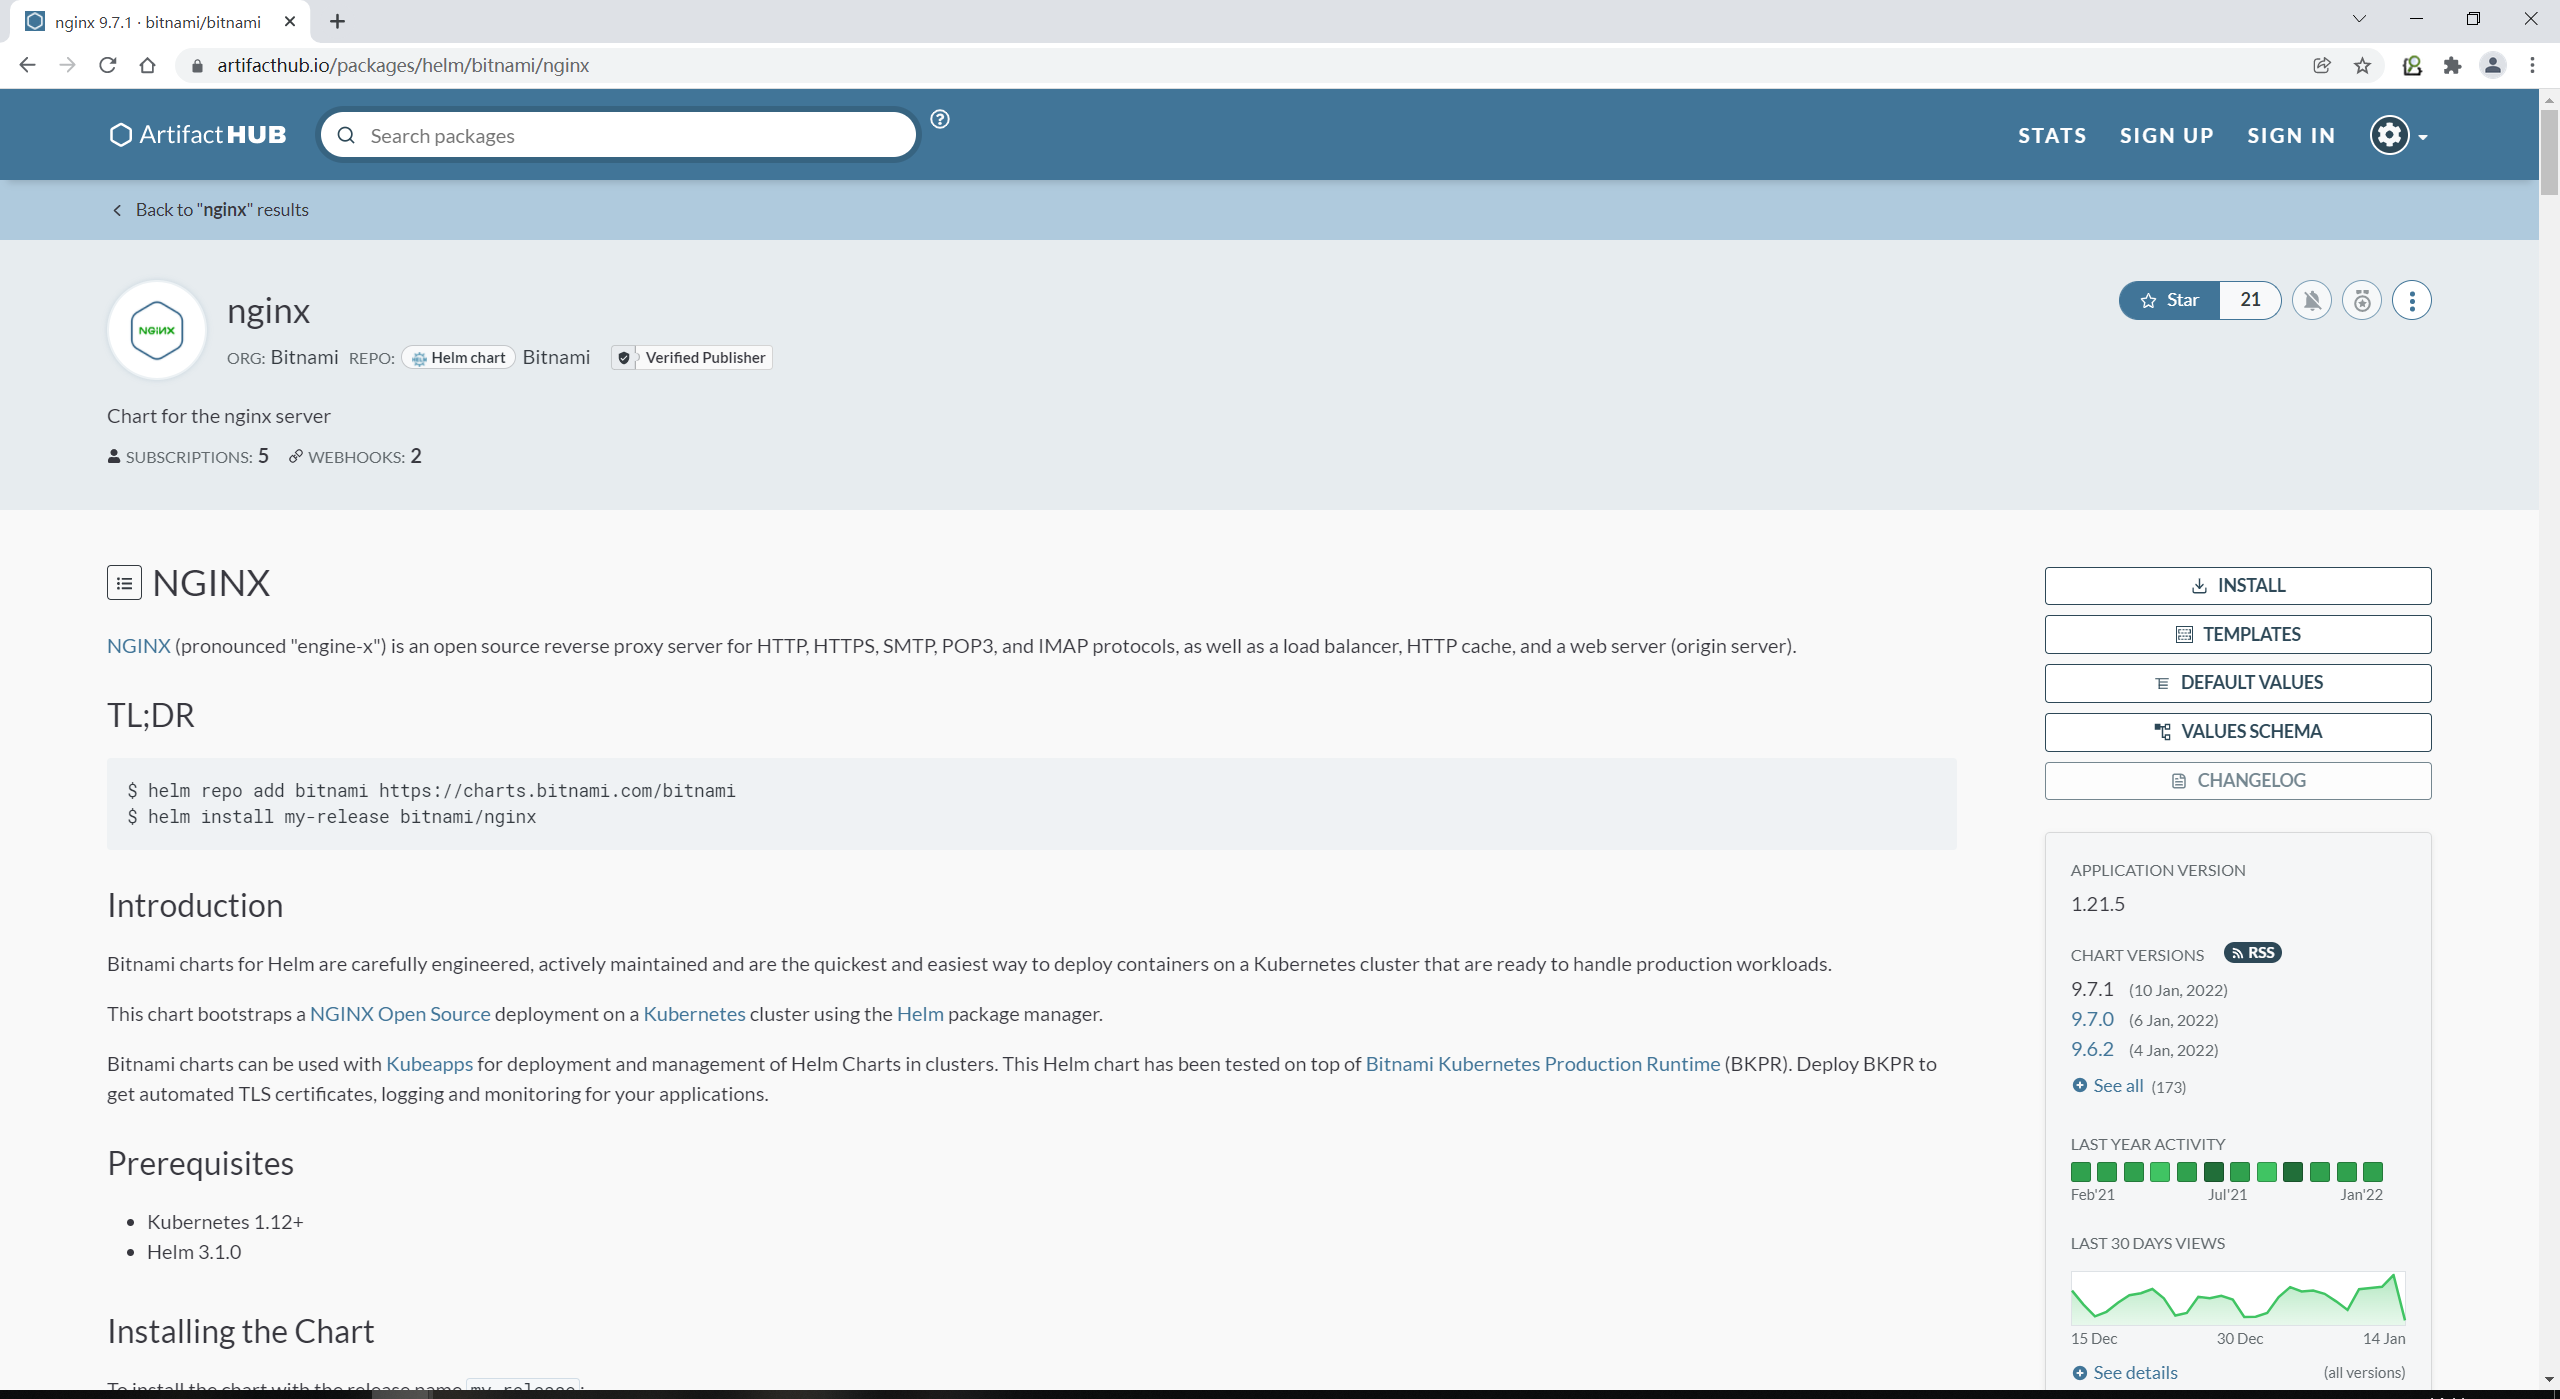
OK,基于4.1中找到了包含需要的nginx的仓库,那么就要把他加入到helm的repo中,也可以按照上面的查找的nginx的repo页面的描述来添加和安装。
https://artifacthub.io/packages/helm/bitnami/nginx这个页面就有关于这个chart如何安装和使用的具体的说明。
helm repo add bitnami https://charts.bitnami.com/bitnami其中bitnami是定义的仓库的名字,由于是要加入到本地的,可自行的定义。
执行过程
[root@nccztsjb-node-11 ~]# helm repo add bitnami https://charts.bitnami.com/bitnami
"bitnami" has been added to your repositories
查看仓库列表
[root@nccztsjb-node-11 ~]# helm repo list
NAME   	URL
bitnami	https://charts.bitnami.com/bitnami
[root@nccztsjb-node-11 ~]#
可以看到仓库和对应的URL信息。
4.2.1、删除
可以通过如下的命令进行仓库的删除
helm repo remove bitnami执行过程
[root@nccztsjb-node-11 ~]# helm repo remove bitnami
"bitnami" has been removed from your repositories
[root@nccztsjb-node-11 ~]# helm repo list
Error: no repositories to show
[root@nccztsjb-node-11 ~]#
可以看到在helm中没有任何的仓库的信息了。
通过以上的库的增加和删除可以看到,就是对helm进行配置将包含chart的url地址添加为helm的仓库。后续helm命令就去这些仓库对应的url中去找需要的chart,获取chart的包,然后部署到k8s上。
4.3、chart的查找
在已经添加的本地库中查找需需要的char即应用包
[root@nccztsjb-node-11 ~]# helm search repo nginx
NAME                            	CHART VERSION	APP VERSION	DESCRIPTION
bitnami/nginx                   	9.7.1        	1.21.5     	Chart for the nginx server
bitnami/nginx-ingress-controller	9.1.2        	1.1.1      	Chart for the nginx Ingress controller
bitnami/kong                    	5.0.1        	2.7.0      	Kong is a scalable, open source API layer (aka ...
[root@nccztsjb-node-11 ~]#
从输出中可以看到软件包的名字,其中的应用的版本信息,chart的版本信息,具体的chart的描述
4.4、chart安装和卸载
4.4.1、安装
以安装nginx的chart为例
helm install helm-nginx bitnami/nginxinstall后面就是release的名字,可根据需要自行的定义。
安装过程
[root@nccztsjb-node-11 ~]# helm install helm-nginx bitnami/nginx
NAME: helm-nginx
LAST DEPLOYED: Mon Jan 17 10:33:26 2022
NAMESPACE: default
STATUS: deployed
REVISION: 1
TEST SUITE: None
NOTES:
CHART NAME: nginx
CHART VERSION: 9.7.1
APP VERSION: 1.21.5

** Please be patient while the chart is being deployed **

NGINX can be accessed through the following DNS name from within your cluster:

    helm-nginx.default.svc.cluster.local (port 80)

To access NGINX from outside the cluster, follow the steps below:

1. Get the NGINX URL by running these commands:

  NOTE: It may take a few minutes for the LoadBalancer IP to be available.
        Watch the status with: 'kubectl get svc --namespace default -w helm-nginx'

    export SERVICE_PORT=$(kubectl get --namespace default -o jsonpath="{.spec.ports[0].port}" services helm-nginx)
    export SERVICE_IP=$(kubectl get svc --namespace default helm-nginx -o jsonpath='{.status.loadBalancer.ingress[0].ip}')
    echo "http://${SERVICE_IP}:${SERVICE_PORT}"
安装是异步的,也就是这里提示的只是成功的将chart发布到了k8s中,应用的部署还需要时间。
从其他的信息中也可以知道,如果要访问其中的服务的方法是什么。
    export SERVICE_PORT=$(kubectl get --namespace default -o jsonpath="{.spec.ports[0].port}" services helm-nginx)
    export SERVICE_IP=$(kubectl get svc --namespace default helm-nginx -o jsonpath='{.status.loadBalancer.ingress[0].ip}')
    echo "http://${SERVICE_IP}:${SERVICE_PORT}"
查看部署的状态
[root@nccztsjb-node-11 ~]# helm status helm-nginx
NAME: helm-nginx
LAST DEPLOYED: Mon Jan 17 10:33:26 2022
NAMESPACE: default
STATUS: deployed
REVISION: 1
TEST SUITE: None
NOTES:
CHART NAME: nginx
CHART VERSION: 9.7.1
APP VERSION: 1.21.5

** Please be patient while the chart is being deployed **

NGINX can be accessed through the following DNS name from within your cluster:

    helm-nginx.default.svc.cluster.local (port 80)

To access NGINX from outside the cluster, follow the steps below:

1. Get the NGINX URL by running these commands:

  NOTE: It may take a few minutes for the LoadBalancer IP to be available.
        Watch the status with: 'kubectl get svc --namespace default -w helm-nginx'

    export SERVICE_PORT=$(kubectl get --namespace default -o jsonpath="{.spec.ports[0].port}" services helm-nginx)
    export SERVICE_IP=$(kubectl get svc --namespace default helm-nginx -o jsonpath='{.status.loadBalancer.ingress[0].ip}')
    echo "http://${SERVICE_IP}:${SERVICE_PORT}"
查看具体的pod的运行状态
[root@nccztsjb-node-11 ~]# kubectl get pod | grep helm-nginx
helm-nginx-5756488bdb-vvp9g   1/1     Running     0          3m1s
[root@nccztsjb-node-11 ~]#
pod已经正常的处于Running的状态了。
4.4.2、卸载
如果要卸载应用,方法如下
[root@nccztsjb-node-11 ~]# helm uninstall helm-nginx
release "helm-nginx" uninstalled
[root@nccztsjb-node-11 ~]# helm status helm-nginx
Error: release: not found
[root@nccztsjb-node-11 ~]# helm list
NAME	NAMESPACE	REVISION	UPDATED	STATUS	CHART	APP VERSION
[root@nccztsjb-node-11 ~]#
OK,这样就完成了应用的卸载。
4.5、查看chart的信息
和yum中的rpm包一样,我们也可以查看chart中的描述信息
[root@nccztsjb-node-11 ~]# helm inspect

This command consists of multiple subcommands to display information about a chart

Usage:
  helm show [command]

Aliases:
  show, inspect

Available Commands:
  all         show all information of the chart
  chart       show the chart's definition
  crds        show the chart's CRDs
  readme      show the chart's README
  values      show the chart's values

Flags:
  -h, --help   help for show

Global Flags:
      --debug                       enable verbose output
      --kube-apiserver string       the address and the port for the Kubernetes API server
      --kube-as-group stringArray   group to impersonate for the operation, this flag can be repeated to specify multiple groups.
      --kube-as-user string         username to impersonate for the operation
      --kube-ca-file string         the certificate authority file for the Kubernetes API server connection
      --kube-context string         name of the kubeconfig context to use
      --kube-token string           bearer token used for authentication
      --kubeconfig string           path to the kubeconfig file
  -n, --namespace string            namespace scope for this request
      --registry-config string      path to the registry config file (default "/root/.config/helm/registry.json")
      --repository-cache string     path to the file containing cached repository indexes (default "/root/.cache/helm/repository")
      --repository-config string    path to the file containing repository names and URLs (default "/root/.config/helm/repositories.yaml")

Use "helm show [command] --help" for more information about a command.
其中,all是所有的信息,配置的默认值使用value命令。
查看nginx chart的安装使用的默认值
[root@nccztsjb-node-11 ~]# helm inspect values bitnami/nginx
## @section Global parameters
## Global Docker image parameters
## Please, note that this will override the image parameters, including dependencies, configured to use the global value
## Current available global Docker image parameters: imageRegistry, imagePullSecrets and storageClass

## @param global.imageRegistry Global Docker image registry
## @param global.imagePullSecrets Global Docker registry secret names as an array
##
global:
  imageRegistry: ""
  ## E.g.
  ## imagePullSecrets:
  ##   - myRegistryKeySecretName
  ##
  imagePullSecrets: []

## @section Common parameters

## @param nameOverride String to partially override nginx.fullname template (will maintain the release name)
##
nameOverride: ""
## @param fullnameOverride String to fully override nginx.fullname template
##
fullnameOverride: ""
## @param kubeVersion Force target Kubernetes version (using Helm capabilities if not set)
##
kubeVersion: ""
## @param clusterDomain Kubernetes Cluster Domain
##
clusterDomain: cluster.local
## @param extraDeploy Extra objects to deploy (value evaluated as a template)
##
extraDeploy: []
## @param commonLabels Add labels to all the deployed resources
##
commonLabels: {}
## @param commonAnnotations Add annotations to all the deployed resources
##
commonAnnotations: {}

## @section NGINX parameters

## Bitnami NGINX image version
## ref: https://hub.docker.com/r/bitnami/nginx/tags/
## @param image.registry NGINX image registry
## @param image.repository NGINX image repository
## @param image.tag NGINX image tag (immutable tags are recommended)
## @param image.pullPolicy NGINX image pull policy
## @param image.pullSecrets Specify docker-registry secret names as an array
## @param image.debug Set to true if you would like to see extra information on logs
##
image:
  registry: docker.io
  repository: bitnami/nginx
... 以下的内容省略...
这些就是一些默认的配置项,在安装的时候可以通过yaml或者--set来进行指定修改默认的配置,比如使用的镜像的信息,版本等。
4.6、chart导出为本地压缩包
chart就是部署应用时需要的配置,那么可以将这些配置都拉取到本地,和rpm一样。
使用如下的命令来获取
[root@nccztsjb-node-11 ~]# helm pull bitnami/nginx .
Error: non-absolute URLs should be in form of repo_name/path_to_chart, got: .
[root@nccztsjb-node-11 ~]# ls -l
total 24376
-rw-------. 1 root root       1396 Jun 22  2018 anaconda-ks.cfg
-rw-r--r--  1 root root       3485 Aug 10  2013 cloud-set-guest-password
-rw-r--r--  1 root root   13870692 Jan 14 14:02 helm-v3.7.2-linux-amd64.tar.gz
-rw-r--r--  1 root root    9080681 Jan 14 14:55 kubectl-df-pv_v0.3.0_linux_amd64.tar.gz
-rw-r--r--  1 root root    1870468 Jan 14 14:45 kubectl-example_1.1.0_Linux_x86_64.tar.gz
-rw-r--r--  1 1001 docker    11343 Jul 27 22:05 LICENSE
drwxr-xr-x  2 3434   3434     4096 Dec  9 04:31 linux-amd64
-rw-r--r--  1 root root       1021 Jan 14 09:45 ncc-sysconfig-ing.yaml
-rw-r--r--  1 root root      38340 Jan 17 11:32 nginx-9.7.1.tgz
-rw-r--r--  1 root root      48556 Jan 13 16:47 rabbitmq-8.26.1.tgz
-rw-r--r--  1 1001 docker     6154 Jul 27 22:05 README.md
-rwxr-xr-x  1 root root       4220 Dec  6 15:33 update_image
[root@nccztsjb-node-11 ~]# ls -l nginx-9.7.1.tgz
-rw-r--r-- 1 root root 38340 Jan 17 11:32 nginx-9.7.1.tgz
这样就把nginx的char下载到了本地。其中9.7.1是chart的版本信息。
4.7、查看本地chart包
对于本地的chart来说就是一个目录
[root@nccztsjb-node-11 ~]# tar -zxf nginx-9.7.1.tgz
[root@nccztsjb-node-11 ~]# ls -ltr
total 60
-rw-r--r--  1 root root  3485 Aug 10  2013 cloud-set-guest-password
-rw-------. 1 root root  1396 Jun 22  2018 anaconda-ks.cfg
-rwxr-xr-x  1 root root  4220 Dec  6 15:33 update_image
-rw-r--r--  1 root root 38340 Jan 17 11:32 nginx-9.7.1.tgz
drwxr-xr-x  5 root root  4096 Jan 17 11:35 nginx
chart目录结构如下:
[root@nccztsjb-node-11 ~]# tree nginx
nginx
├── Chart.lock
├── charts
│   └── common
│       ├── Chart.yaml
│       ├── README.md
│       ├── templates
│       │   ├── _affinities.tpl
│       │   ├── _capabilities.tpl
│       │   ├── _errors.tpl
│       │   ├── _images.tpl
│       │   ├── _ingress.tpl
│       │   ├── _labels.tpl
│       │   ├── _names.tpl
│       │   ├── _secrets.tpl
│       │   ├── _storage.tpl
│       │   ├── _tplvalues.tpl
│       │   ├── _utils.tpl
│       │   ├── validations
│       │   │   ├── _cassandra.tpl
│       │   │   ├── _mariadb.tpl
│       │   │   ├── _mongodb.tpl
│       │   │   ├── _postgresql.tpl
│       │   │   ├── _redis.tpl
│       │   │   └── _validations.tpl
│       │   └── _warnings.tpl
│       └── values.yaml
├── Chart.yaml
├── ci
│   ├── ct-values.yaml
│   └── values-with-ingress-metrics-and-serverblock.yaml
├── README.md
├── templates
│   ├── deployment.yaml
│   ├── extra-list.yaml
│   ├── health-ingress.yaml
│   ├── _helpers.tpl
│   ├── hpa.yaml
│   ├── ingress.yaml
│   ├── ldap-daemon-secrets.yaml
│   ├── NOTES.txt
│   ├── pdb.yaml
│   ├── prometheusrules.yaml
│   ├── server-block-configmap.yaml
│   ├── serviceaccount.yaml
│   ├── servicemonitor.yaml
│   ├── svc.yaml
│   └── tls-secrets.yaml
├── values.schema.json
└── values.yaml

6 directories, 43 files
[root@nccztsjb-node-11 ~]#
主要的目录结构
[root@nccztsjb-node-11 ~]# tree -L 1 nginx
nginx
├── Chart.lock
├── charts
├── Chart.yaml
├── ci
├── README.md
├── templates
├── values.schema.json
└── values.yaml

3 directories, 5 files
[root@nccztsjb-node-11 ~]#
4.8、chart安装时使用自定义的配置
在安装chart的时候,如果不进行指定,那么就会使用默认的配置,比如,默认的镜像版本,镜像仓库,启动命令等等,这个可以根据实际的需要进行修改。
安装时使用自定义的配置的方式有2种,一种是在命令行中使用--set命令,一种是使用yaml配置文件。
4.8.1、--set的方式
--set 后面设置key1=value1,key2=value2,多个值之间用逗号隔开,再有,层级关系的用.(点)间隔
helm install helm-nginx bitnami/nginx --set resources.limits.cpu=2,resources.limits.memory=2048Mi,resources.requests.cpu=1,resources.requests.memory=1024Mi安装后,查看具体的pod的资源情况
[root@nccztsjb-node-11 ~]# kubectl get deployment helm-nginx -o yaml | grep -A 6 resources
                f:resources:
                  .: {}
                  f:limits:
                    .: {}
                    f:cpu: {}
                    f:memory: {}
                  f:requests:
--
        resources:
          limits:
            cpu: "2"
            memory: 2Gi
          requests:
            cpu: "1"
            memory: 1Gi
[root@nccztsjb-node-11 ~]#
可以看到resources部分,cpu和memory的值都已经被修改了。
如果不加任何的参数,默认的值:
[root@nccztsjb-node-11 ~]# kubectl get deployment helm-nginx -o yaml | grep -A 6 resources
                f:resources: {}
                f:terminationMessagePath: {}
                f:terminationMessagePolicy: {}
            f:dnsPolicy: {}
            f:restartPolicy: {}
            f:schedulerName: {}
            f:securityContext: {}
--
        resources: {}
        terminationMessagePath: /dev/termination-log
        terminationMessagePolicy: File
      dnsPolicy: ClusterFirst
      restartPolicy: Always
      schedulerName: default-scheduler
      securityContext: {}
[root@nccztsjb-node-11 ~]#
默认是 resources: {}即没有资源的限制。
具体的怎么查找值,可以参考4.5中values的部分
resources:
  ## Example:
  ## limits:
  ##    cpu: 100m
  ##    memory: 128Mi
  limits: {}
  ## Examples:
  ## requests:
  ##    cpu: 100m
  ##    memory: 128Mi
  requests: {}
## NGINX containers' liveness probe.
## ref: https://kubernetes.io/docs/concepts/workloads/pods/pod-lifecycle/#container-probes
## @param livenessProbe.enabled Enable livenessProbe
## @param livenessProbe.initialDelaySeconds Initial delay seconds for livenessProbe
## @param livenessProbe.periodSeconds Period seconds for livenessProbe
## @param livenessProbe.timeoutSeconds Timeout seconds for livenessProbe
## @param livenessProbe.failureThreshold Failure threshold for livenessProbe
## @param livenessProbe.successThreshold Success threshold for livenessProbe
##
OK,以上就是通过--set在命令行中以key-value的方式进行设置。
4.8.2、-f config.yaml的方式
另外的一种方式就是通过yaml配置文件来进行设置,可以指定多个yaml文件
将配置都写入到yaml文件中去
resource.yaml(对资源配置的修改)
[root@nccztsjb-node-11 ~]# cat resource.yaml
resources:
  limits:
    cpu: 2
    memory: 2048Mi
  requests:
    cpu: 1
    memory: 1024Mi
健康检查配置调整
[root@nccztsjb-node-11 ~]# cat healthCheck.yaml
livenessProbe:
  enabled: true
  initialDelaySeconds: 20
  timeoutSeconds: 5
  periodSeconds: 10
  failureThreshold: 6
  successThreshold: 1
readinessProbe:
  enabled: true
  initialDelaySeconds: 15
  timeoutSeconds: 3
  periodSeconds: 5
  failureThreshold: 3
  successThreshold: 1
[root@nccztsjb-node-11 ~]#
通过以上的配置文件进行安装
helm install helm-nginx bitnami/nginx -f resource.yaml -f healthCheck.yaml查看安装之后的配置
[root@nccztsjb-node-11 ~]# kubectl get deployment helm-nginx -o yaml | grep -A 6 resources
                f:resources:
                  .: {}
                  f:limits:
                    .: {}
                    f:cpu: {}
                    f:memory: {}
                  f:requests:
--
        resources:
          limits:
            cpu: "2"
            memory: 2Gi
          requests:
            cpu: "1"
            memory: 1Gi
[root@nccztsjb-node-11 ~]#
[root@nccztsjb-node-11 ~]# kubectl get deployment helm-nginx -o yaml | grep -A 6 livenessProbe
f:livenessProbe:
.: {}
f:failureThreshold: {}
f:periodSeconds: {}
f:successThreshold: {}
f:tcpSocket:
.: {}
--
livenessProbe:
failureThreshold: 6
periodSeconds: 10
successThreshold: 1
tcpSocket:
port: http
timeoutSeconds: 5
[root@nccztsjb-node-11 ~]# kubectl get deployment helm-nginx -o yaml | grep -A 6 readinessProbe
f:readinessProbe:
.: {}
f:failureThreshold: {}
f:initialDelaySeconds: {}
f:periodSeconds: {}
f:successThreshold: {}
f:tcpSocket:
--
readinessProbe:
failureThreshold: 3
initialDelaySeconds: 15
periodSeconds: 5
successThreshold: 1
tcpSocket:
port: http
[root@nccztsjb-node-11 ~]# 通过以上的输出可以看到,通过在安装时指定配置文件已经将pod的资源、健康检查的配置进行了调整为非默认值。
4.9、创建本地的Chart仓库
以上的chart都是通过远程仓库的URL中拉取使用的,那么对于helm来说,也可以使用类似于yum建立本地仓库源一样建立chart的自定义的本地仓库。
方法如下。
4.9.1、部署nginx或者apache服务
此处的目的就是将仓库暴露为http的服务。本例使用nginx作为映射,具体部署的过程不赘述。
4.9.2、映射目录
该目录将作为chart的本地目录
        location / {
          alias /data/;
          autoindex on;
          autoindex_format html;
          autoindex_exact_size off;
          autoindex_localtime on;
        }
4.9.3、上传chart包
将4.6中的chart包,或者自己修改的chart包上传到该目录中
[root@node142 repo]# pwd
/data/kubernetes/helm/repo
[root@node142 repo]# ls -l
total 44
-rw-r--r-- 1 root root 38340 Jan 17 11:32 nginx-9.7.1.tgz
-rw-r--r-- 1 root root  4011 Jan 13 16:22 tomcat-0.4.0.tgz
[root@node142 repo]#
4.9.4、创建索引文件
为了能够通过目录找到需要的chart包就需要一个索引文件,通过helm命令创建这个索引文件(注意:文件服务器中也需要安装helm命令)
创建索引文件:
helm repo index /data/kubernetes/helm/repo/ --url http://172.20.56.117/kubernetes/helm/repo最后面的是具体http访问的url,前面是要在哪个目录中创建索引文件
[root@node142 repo]# helm repo index /data/kubernetes/helm/repo/ --url http://172.20.56.117/kubernetes/helm/repo
[root@node142 repo]# ls
index.yaml  nginx-9.7.1.tgz  tomcat-0.4.0.tgz
[root@node142 repo]#
OK,索引文件已经创建完成。
4.9.4、使用本地仓库部署chart
将刚建立的仓库添加到helm中
[root@nccztsjb-node-11 ~]# helm repo add local http://172.20.56.117/kubernetes/helm/repo
"local" has been added to your repositories
[root@nccztsjb-node-11 ~]# helm repo list
NAME 	URL
local	http://172.20.56.117/kubernetes/helm/repo
[root@nccztsjb-node-11 ~]#
本地仓库中查找chart
[root@nccztsjb-node-11 ~]# helm search repo nginx
NAME       	CHART VERSION	APP VERSION	DESCRIPTION
local/nginx	9.7.1        	1.21.5     	Chart for the nginx server
[root@nccztsjb-node-11 ~]#
使用本地的仓库进行安装
[root@nccztsjb-node-11 ~]# helm install local-nginx local/nginx
NAME: local-nginx
LAST DEPLOYED: Mon Jan 17 14:13:29 2022
NAMESPACE: default
STATUS: deployed
REVISION: 1
TEST SUITE: None
NOTES:
CHART NAME: nginx
CHART VERSION: 9.7.1
APP VERSION: 1.21.5

** Please be patient while the chart is being deployed **

NGINX can be accessed through the following DNS name from within your cluster:

    local-nginx.default.svc.cluster.local (port 80)

To access NGINX from outside the cluster, follow the steps below:

1. Get the NGINX URL by running these commands:

  NOTE: It may take a few minutes for the LoadBalancer IP to be available.
        Watch the status with: 'kubectl get svc --namespace default -w local-nginx'

    export SERVICE_PORT=$(kubectl get --namespace default -o jsonpath="{.spec.ports[0].port}" services local-nginx)
    export SERVICE_IP=$(kubectl get svc --namespace default local-nginx -o jsonpath='{.status.loadBalancer.ingress[0].ip}')
    echo "http://${SERVICE_IP}:${SERVICE_PORT}"
[root@nccztsjb-node-11 ~]#
OK,已经可以获取到chart包进行安装。
以上就是helm的安装和基本使用。