SpringBoot是什么?
Spring Boot它本身并不提供Spring框架的核心特性以及扩展功能,只是用于快速、敏捷地开发新一代基于Spring框架的应用程序。也就是说,它并不是用来替代Spring的解决方案,而是和Spring框架紧密结合用于提升Spring开发者体验的工具。
同时它集成了大量常用的第三方库配置(例如Jackson, JDBC, Mongo, Redis, Mail等等),Spring Boot应用中这些第三方库几乎可以零配置的开箱即用(out-of-the-box),大部分的Spring Boot应用都只需要非常少量的配置代码,开发者能够更加专注于业务逻辑
注1:敏捷式开发
注2:spring boot其实不是什么新的框架,它默认配置了很多框架的使用方式,
就像maven整合了所有的jar包,spring boot整合了所有的框架
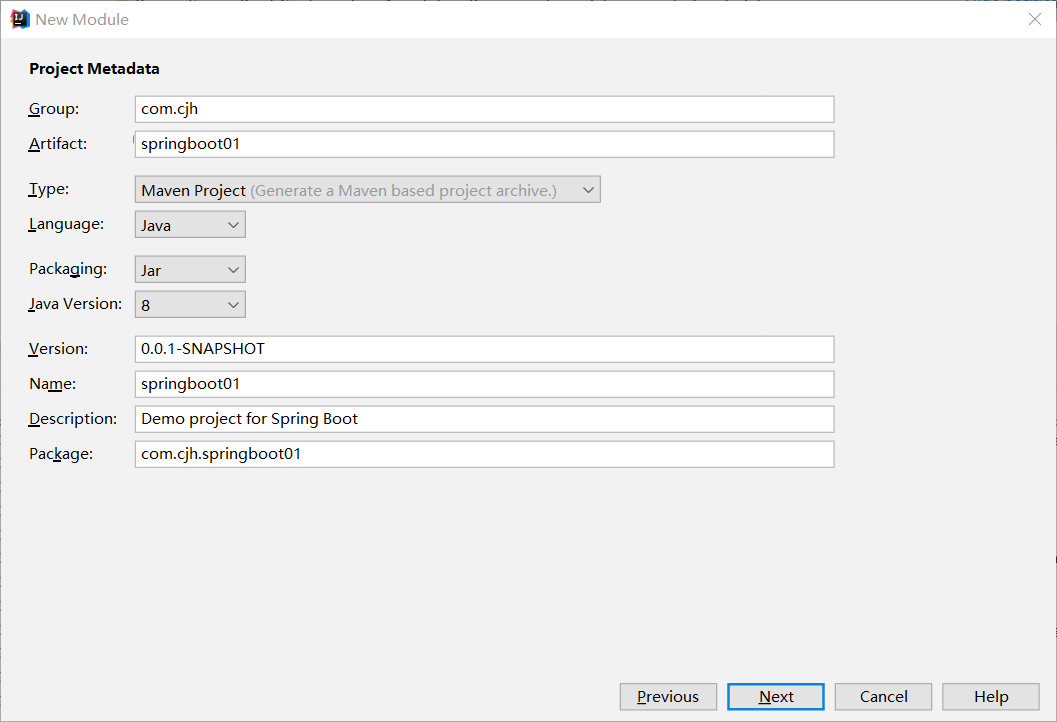
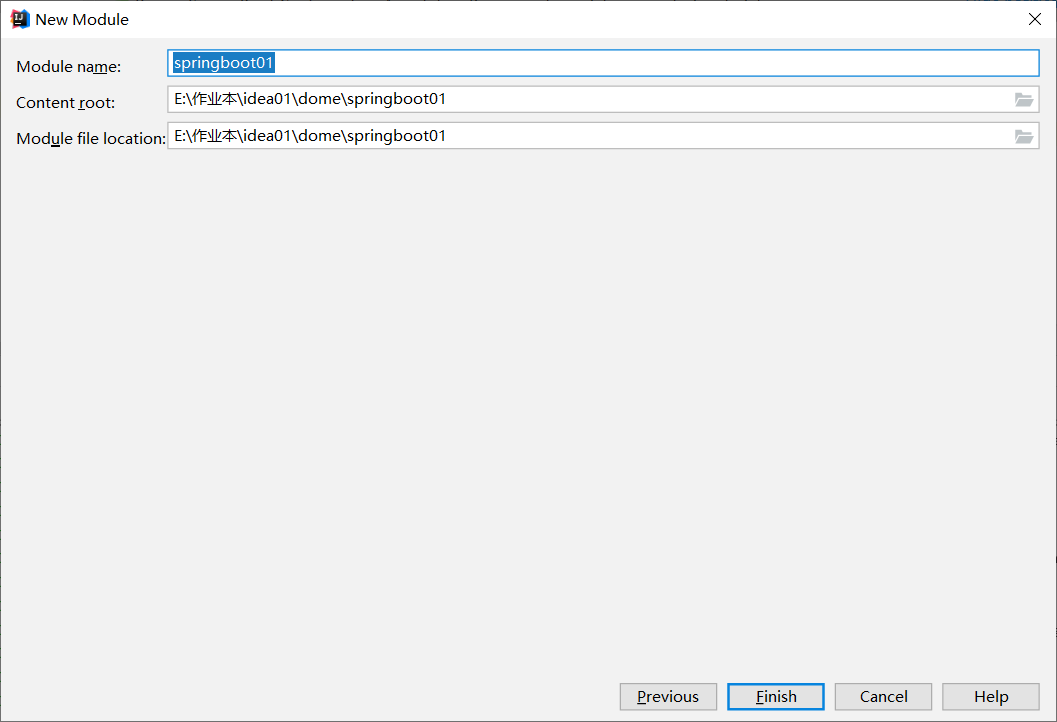
使用Idea配置SpringBoot项目

提示:这里的Artifact不能出现大写字母:

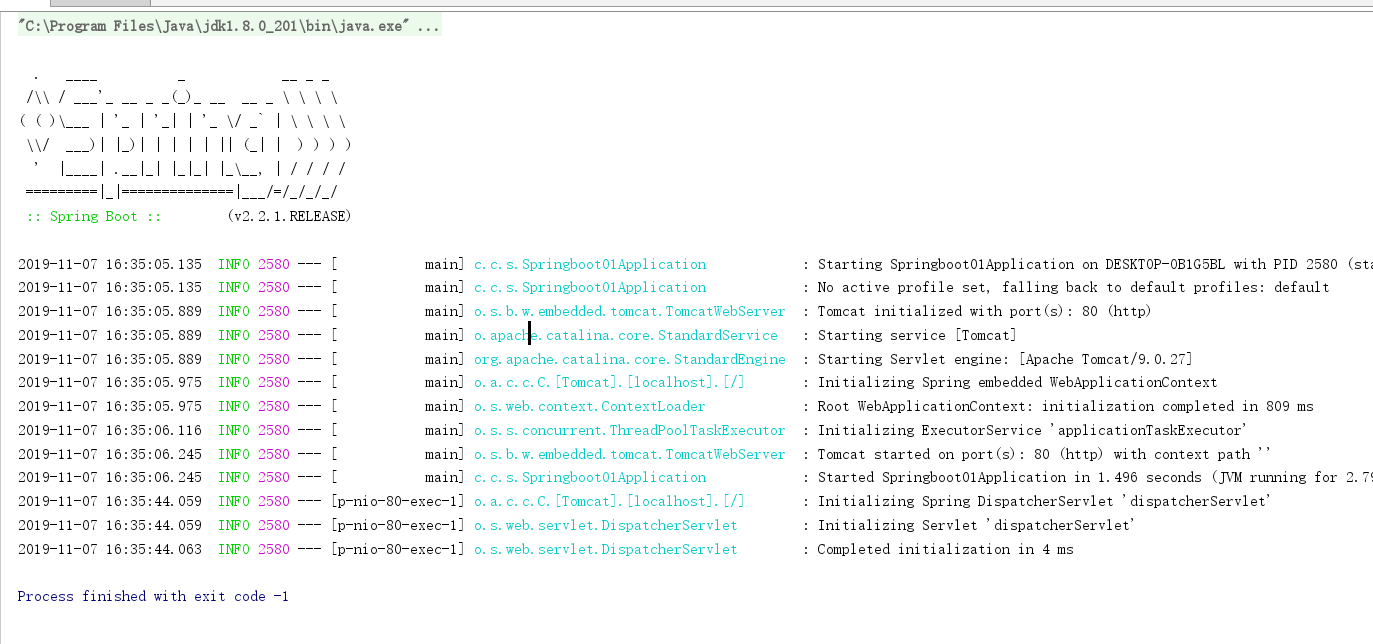
项目运行(它不像maven项目需要tomcat,它是用main方法启动项目的)
项目目录:
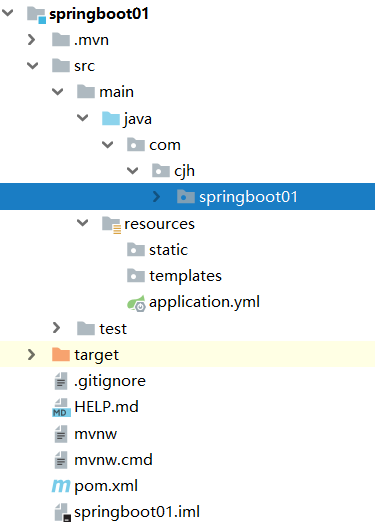
java源文件夹中的Springboot01Application.java 是整个项目的启动类
static:存放的是静态资源的文件
templetes:存放的项目所需的页面
application.properties里面存放的是项目的全局配置信息(这里我改后缀名为yml因为这样有层次感)
项目启动成功访问的界面:

测试代码:
package com.cjh.springboot01.Controller;

import com.cjh.springboot01.entity.User;
import org.springframework.beans.factory.annotation.Autowired;
import org.springframework.beans.factory.annotation.Value;
import org.springframework.web.bind.annotation.RequestMapping;
import org.springframework.web.bind.annotation.RestController;

import java.util.HashMap;
import java.util.Map;

/**
 * @author
 * @site
 * @company
 * @create 2019-11-07 15:54
 *
 */
@RestController
public class HelloController {

  @RequestMapping("/hello1")
    public String hello1(){
        return "hellowrod springboot !!!";
    }

    @RequestMapping("/hello2")
    public Map hello2(){
        Map map = new HashMap();
        map.put("code",200);
        map.put("msg","Spring boot");
        return map;
    }
}
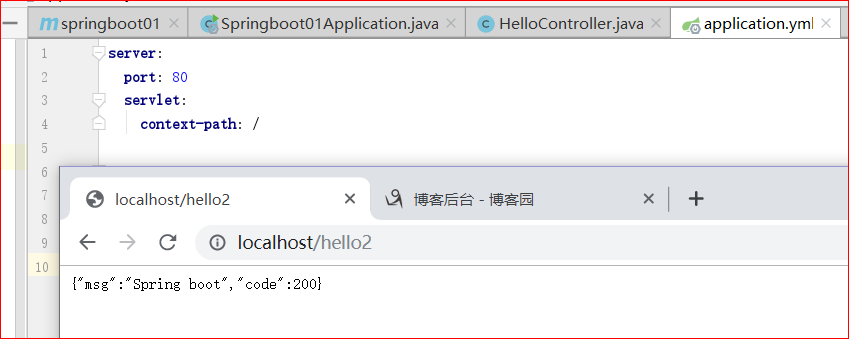
Springboot配置文件
内置属性
注意:实际项目开发的时候Port=80,Context-path=/,以下配置只为讲解相关知识点
自定义属性
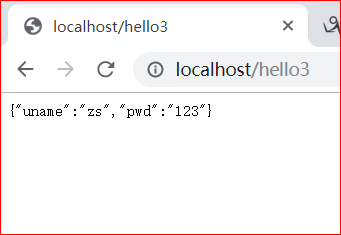
Application.yml中配置
user:
  uname: zs
  pwd : 123
controler对应的Java代码
    @Value("${user.uname}")
    private String uname;
   @Value("${user.pwd}")
    private String pwd;

 @RequestMapping("/hello3")
    public Map hello3(){
        Map map = new HashMap();
        map.put("uname",uname);
        map.put("pwd",pwd);
        return map;
    }
测试结果:
属性封装类
定义属性封装类
package com.cjh.springboot01.entity;

import lombok.Data;
import org.springframework.boot.context.properties.ConfigurationProperties;
import org.springframework.stereotype.Component;

/**
 * @author
 * @site
 * @company
 * @create 2019-11-07 16:16
 */
@ConfigurationProperties(
        prefix = "user"
)
@Component
@Data
public class User {
    private  String uname;
    private  String pwd ;
    private  Integer age;
    private  String sex;


}
添加pom依赖,解决报红问题
<dependency>
    <groupId>org.springframework.boot</groupId>
    <artifactId>spring-boot-configuration-processor</artifactId>
    <optional>true</optional>
</dependency>
添加controler层的Java代码进行测试
  @Autowired
   private User user;
 @RequestMapping("/hello4")
    public User hello4(){

        return user;
    }
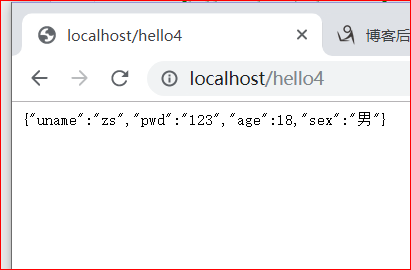
结果: