IdentServer2 使用不同方式实现(swagger+client+html+postman)
IdentServer登陆校验
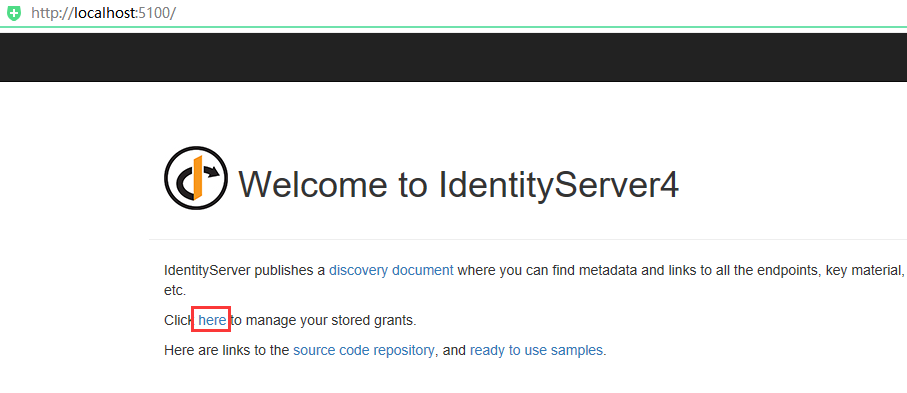
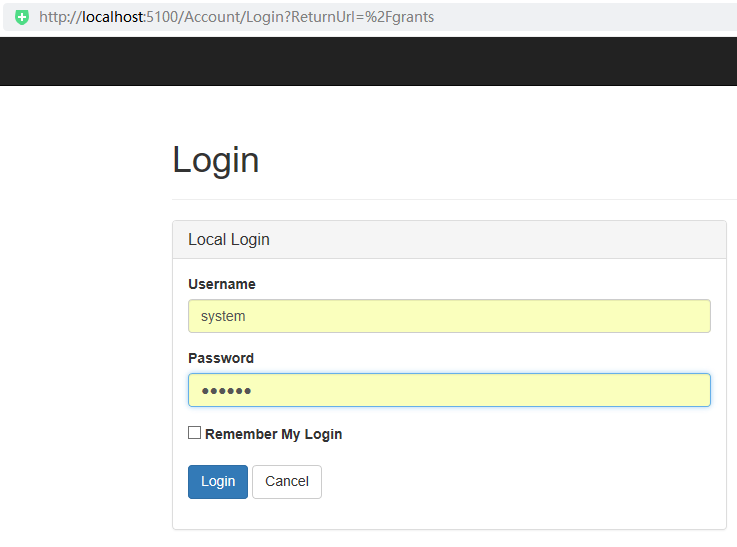
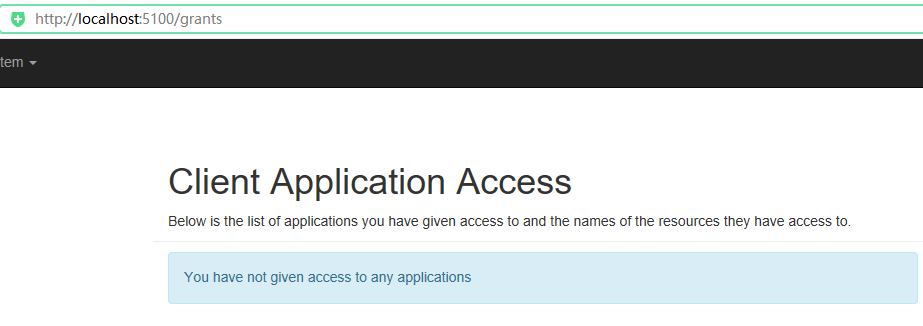

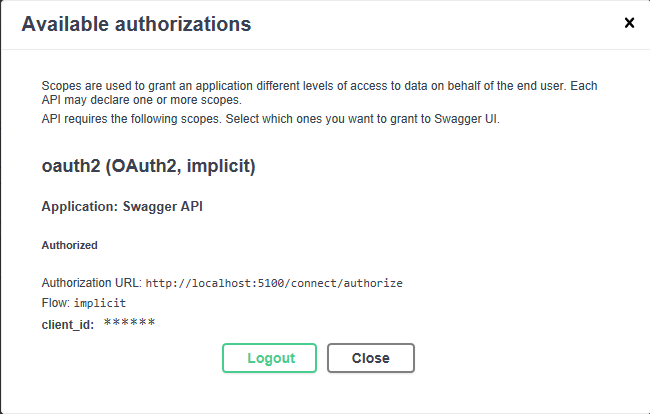
Swagger 校验登陆方式
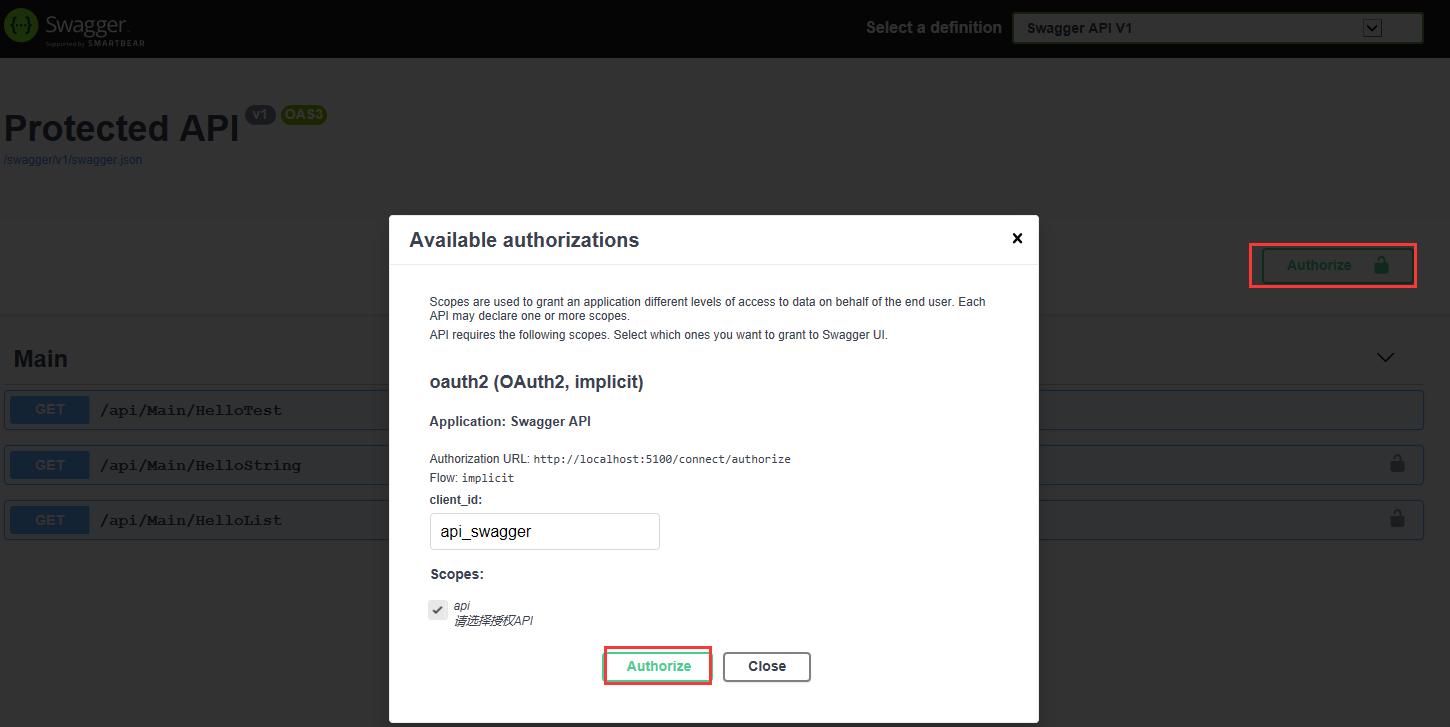
1. Implicit
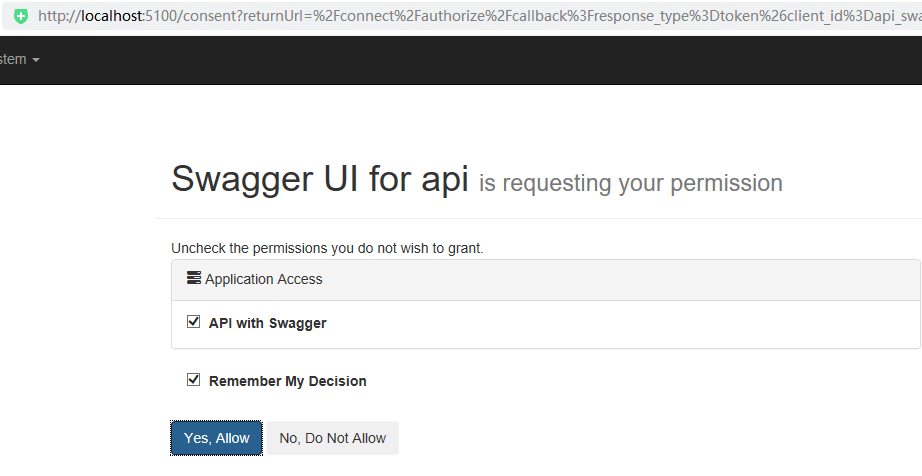
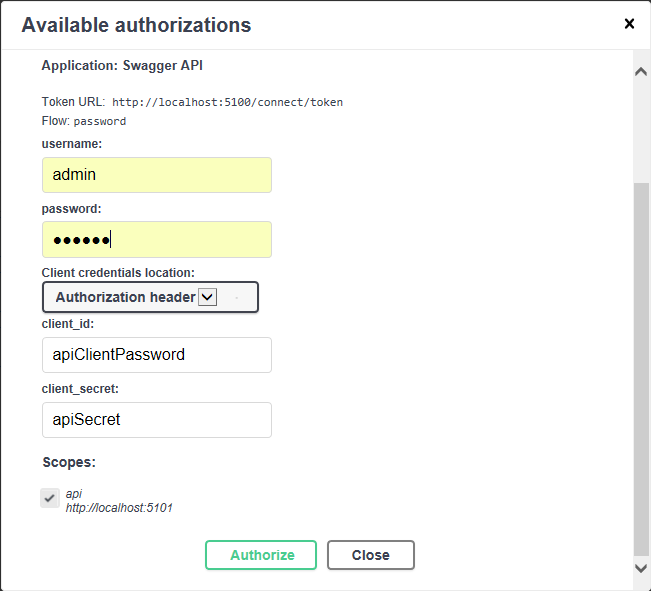
2. Password

C#使用IdentServer例子
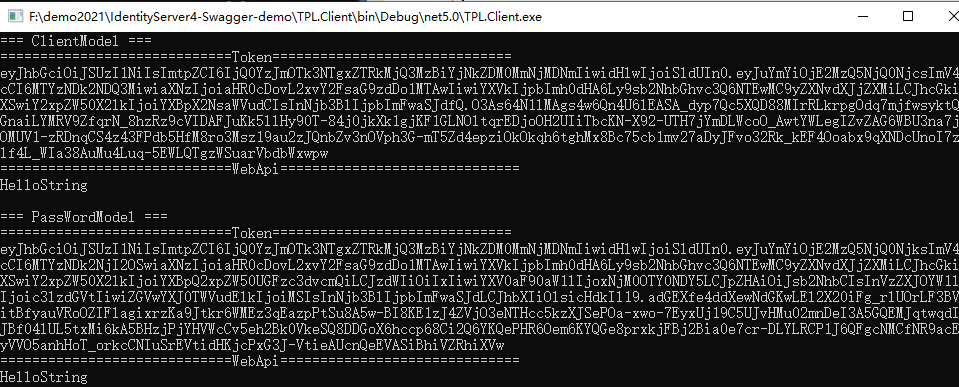
using IdentityModel.Client;
using System;
using System.Net.Http;

namespace TPL.Client
{
    class Program
    {
        static void Main(string[] args)
        {
            ClientModel();

            Console.WriteLine();

            PassWordModel();

            Console.ReadKey();
        }

        /// <summary>
        /// 客户端模式
        /// </summary>
        static void ClientModel()
        {
            Console.WriteLine("=== ClientModel === ");

            var client = new HttpClient();

            var response_token = client.RequestClientCredentialsTokenAsync(new ClientCredentialsTokenRequest
            {
                Address = "http://localhost:5100/connect/token",
                ClientId = "api_client",
                ClientSecret = "secret",
                Scope = "api"
            }).Result;

            Console.WriteLine("=============================Token==============================");

            Console.WriteLine(response_token.AccessToken ?? response_token.Error);

            Console.WriteLine("=============================WebApi==============================");

            // 调用API
            client.SetBearerToken(response_token.AccessToken);

            var responses_api1 = client.GetAsync("http://localhost:5001/api/Main/HelloString").Result;
            var content1 = responses_api1.Content.ReadAsStringAsync().Result;
            Console.WriteLine(content1);

            //var responses_api2 = client.GetAsync("http://localhost:5001/api/Main/HelloString").Result;
            //var content2 = responses_api2.Content.ReadAsStringAsync().Result;
            //Console.WriteLine(content2);
        }

        static void PassWordModel()
        {
            Console.WriteLine("=== PassWordModel === ");

            var client = new HttpClient();

            var response = client.RequestPasswordTokenAsync(new PasswordTokenRequest
            {
                Address = "http://localhost:5100/connect/token",
                ClientId = "apiClientPassword",
                ClientSecret = "apiSecret",
                Scope = "api",
                UserName = "system",
                Password = "system"
            }).Result;

            Console.WriteLine("=============================Token==============================");

            Console.WriteLine(response.AccessToken ?? response.Error);

            Console.WriteLine("=============================WebApi==============================");

            // 调用API
            client.SetBearerToken(response.AccessToken);

            var responses = client.GetAsync("http://localhost:5001/api/Main/HelloString").Result;
            if (response.IsError)
            {
                Console.WriteLine(response.HttpStatusCode);
            }
            else
            {
                //Console.WriteLine("=============================服务返回值==============================");
                var content = responses.Content.ReadAsStringAsync().Result;

                Console.WriteLine(content);
            }
        }
    }
}
Html使用IdentServer例子


<html>
  <head>
    <title>identsever_test</title>
  </head>
  <body>
	<div id="newplay"></div>
	<script src="jquery-1.10.2.min.js"></script>
    <script type="text/javascript">
		// localStorage.setItem('uid','10001');
		// var uid = localStorage.getItem('uid');
		// localStorage.removeItem('uid');
		// localStorage.clear();
		// 遍历
		// localStorage.uid = 1;
		// localStorage.sex='nan';
		// localStorage.age = 23;
		// for ( var i = 0, len = localStorage.length; i < len; ++i ) {
		// console.log( localStorage.key( i ) +':' + localStorage.getItem(localStorage.key( i ))  );
		//}

		var token = "http://localhost:5100/connect/token";
		var siteinfo = "http://localhost:5001/api/";

		identity_init();

		function identity_init() {

			var data = {
                username: "system",
                password: "system",
                grant_type: 'password',
                client_id: 'apiClientPassword',
                client_secret: 'apiSecret'
            };

			$.ajax({
				url: token,
				method: 'POST',
				data: data,
				header: { "content-type": "application/x-www-form-urlencoded" },
				success(res) {
					console.log("get token success:");
					console.log(res);
					var access_token = res.access_token;
					localStorage.setItem('access_token', access_token);
				},
				fail(res) {
					console.log(res);
				},
				complete(res) {
					console.log(res);
				}
			})

			var access_token = localStorage.getItem('access_token');
			$.ajax({
				url: siteinfo +  "Main/HelloString",
				method: 'GET',
				beforeSend: function (request) {
					request.setRequestHeader("Authorization", "Bearer " + access_token);
				},
				success(res) {
					console.log("get webapi success:");
					console.log(res);
				},
				fail(res) {
					console.log(res)
				},
				complete(res) {
					console.log(res);
				}
			})
		}
    </script>
  </body>
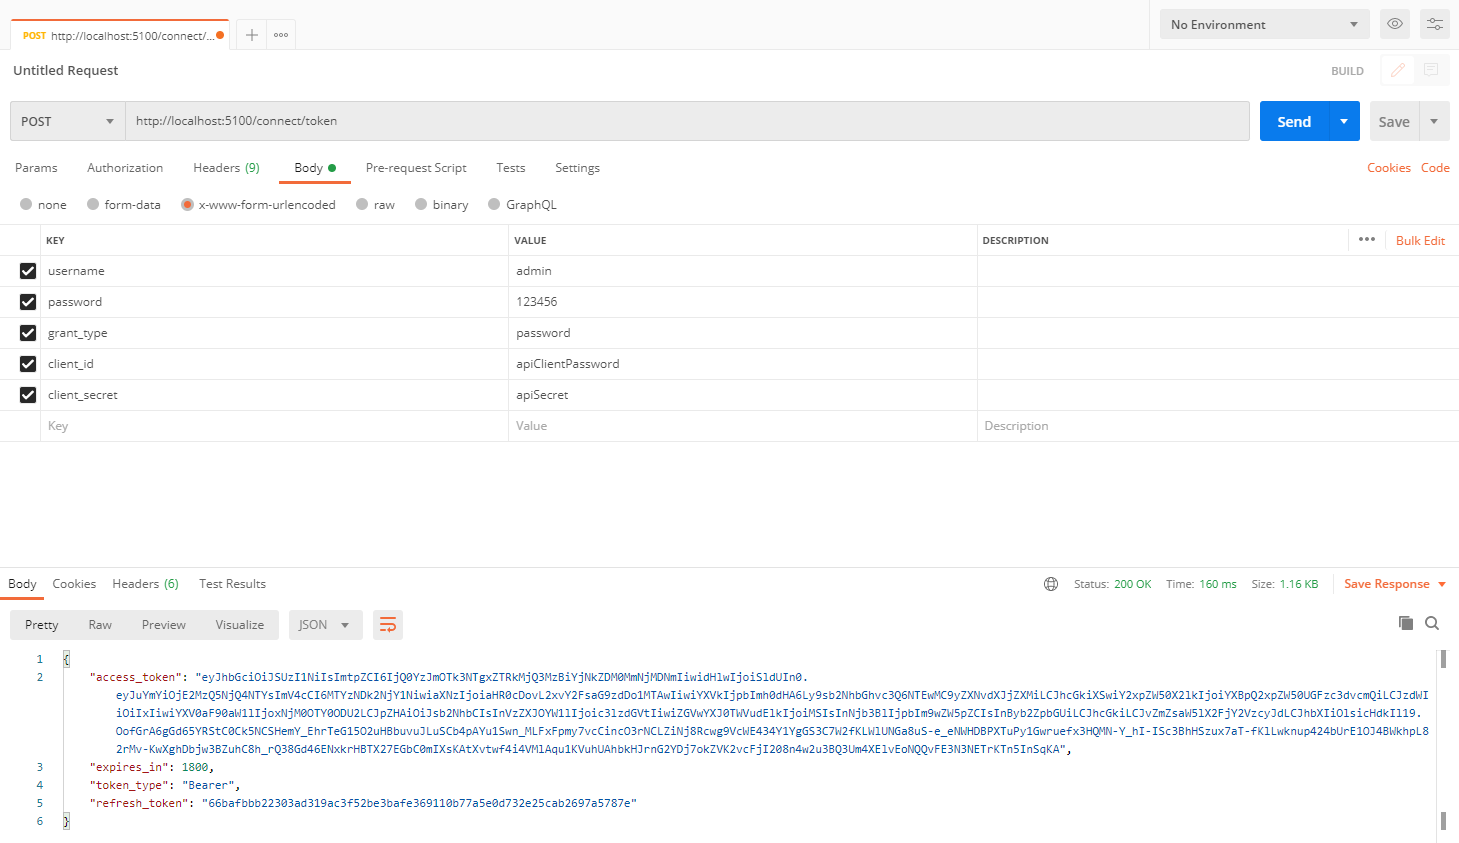
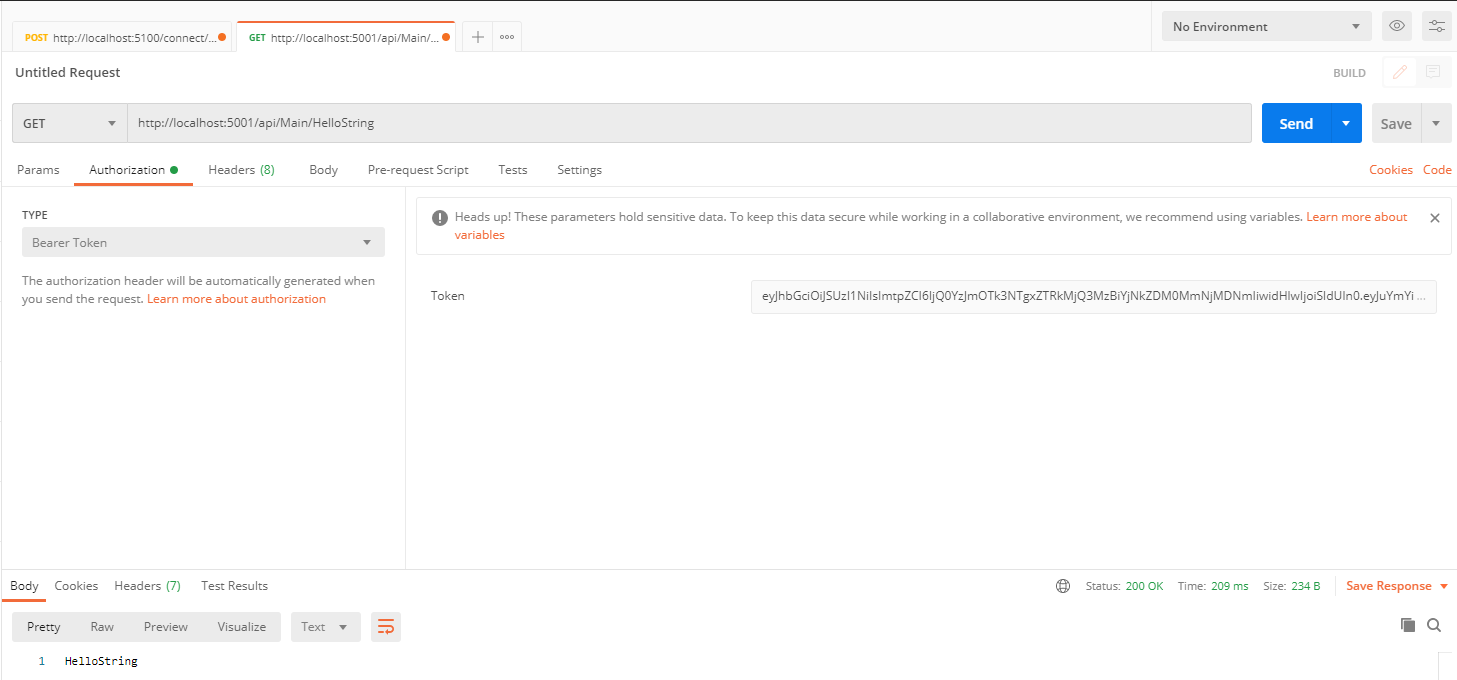
PostMan使用IdentServer例子
代码结构
