1.首先连接数据库
2.

点击图中的红圈里的按钮,新建一个Schema,即数据库(个人理解。。),修改一下Name 的值,如 mydatabase ,点击apply,再点apply,然后点finish 如下图所示
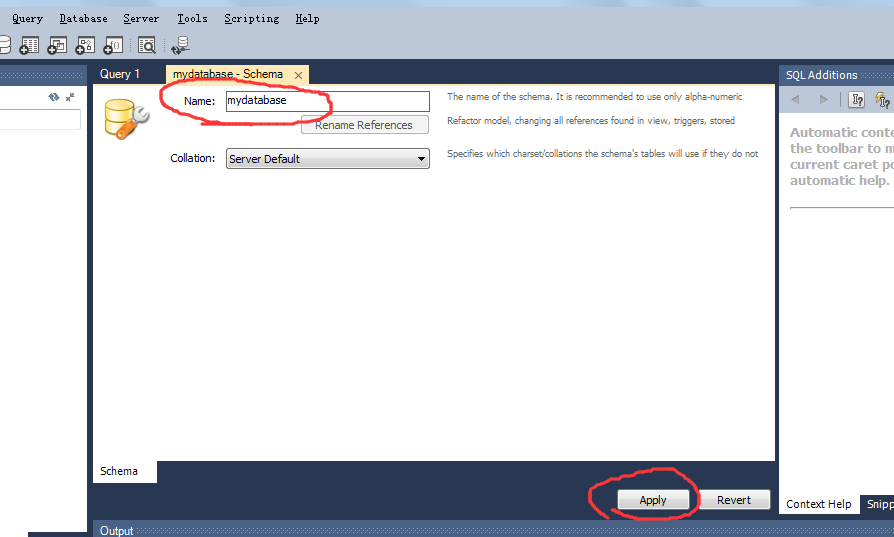


数据库就建好了!!! 如图

接下来就是如何创建表,

首先要 !!!双击!!! 一下刚刚建立好的数据库mydatabase,然后再创建表,不然会出错,右键点击Tables 然后点击Create new tables ,填写表名,以及表列的信息,之后点击 apply ,一张表就建完
PK: primary key (column is part of a pk) 主键
NN: not null (column is nullable) 是否为空
-UQ: unique (column is part of a unique key) 外键
AI: auto increment (the column is auto incremented when rows are inserted) 自动增加
BIN: binary (if dt is a blob or similar, this indicates that is binary data, rather than text) 二进制
UN: unsigned (for integer types, see docs: “10.2. Numeric Types”)
- ZF: zero fill (rather a display related flag, see docs: “10.2. Numeric Types”)
出现如下页面
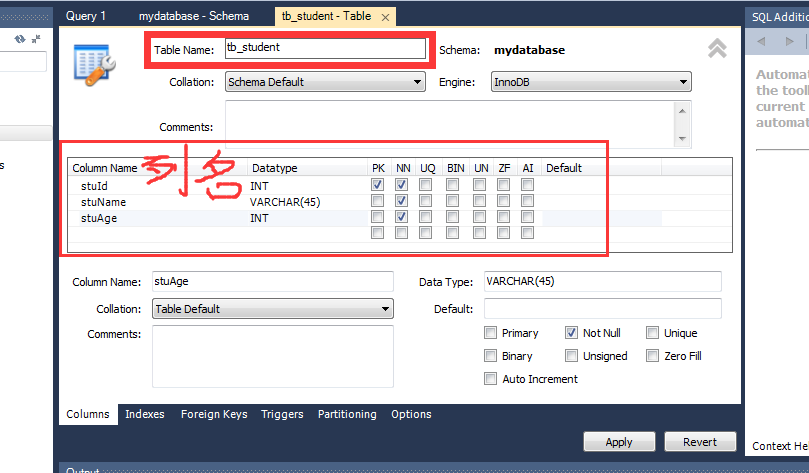
注意:添加表列信息点击上图的右上角的箭头(两个往上的箭头)
接下来向建好的tb_student表中添加数据

右键点击tb_student,再点击select rows limit 1000
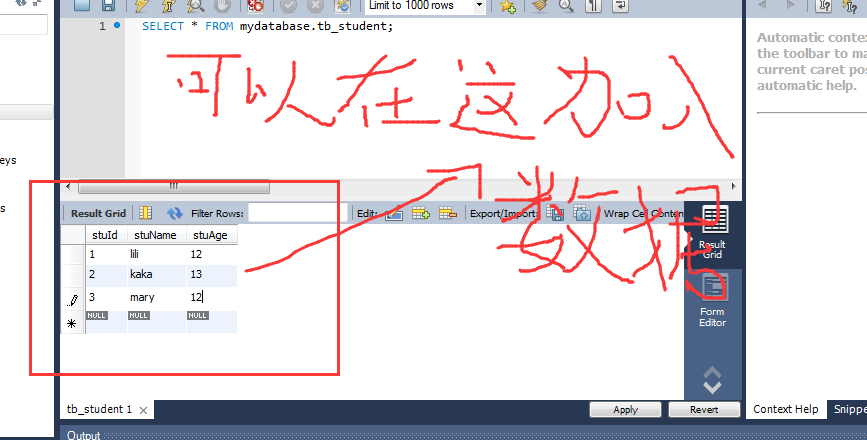
在mysql workbench中向数据库中的表中添加数据大致就是这个样子。
以上有什么说的不对的地方,还请大神多多指教。