今天通过查询网上的资料,使用idea,通过maven搭建了一个最简单的springboot,我把它记录下来!!
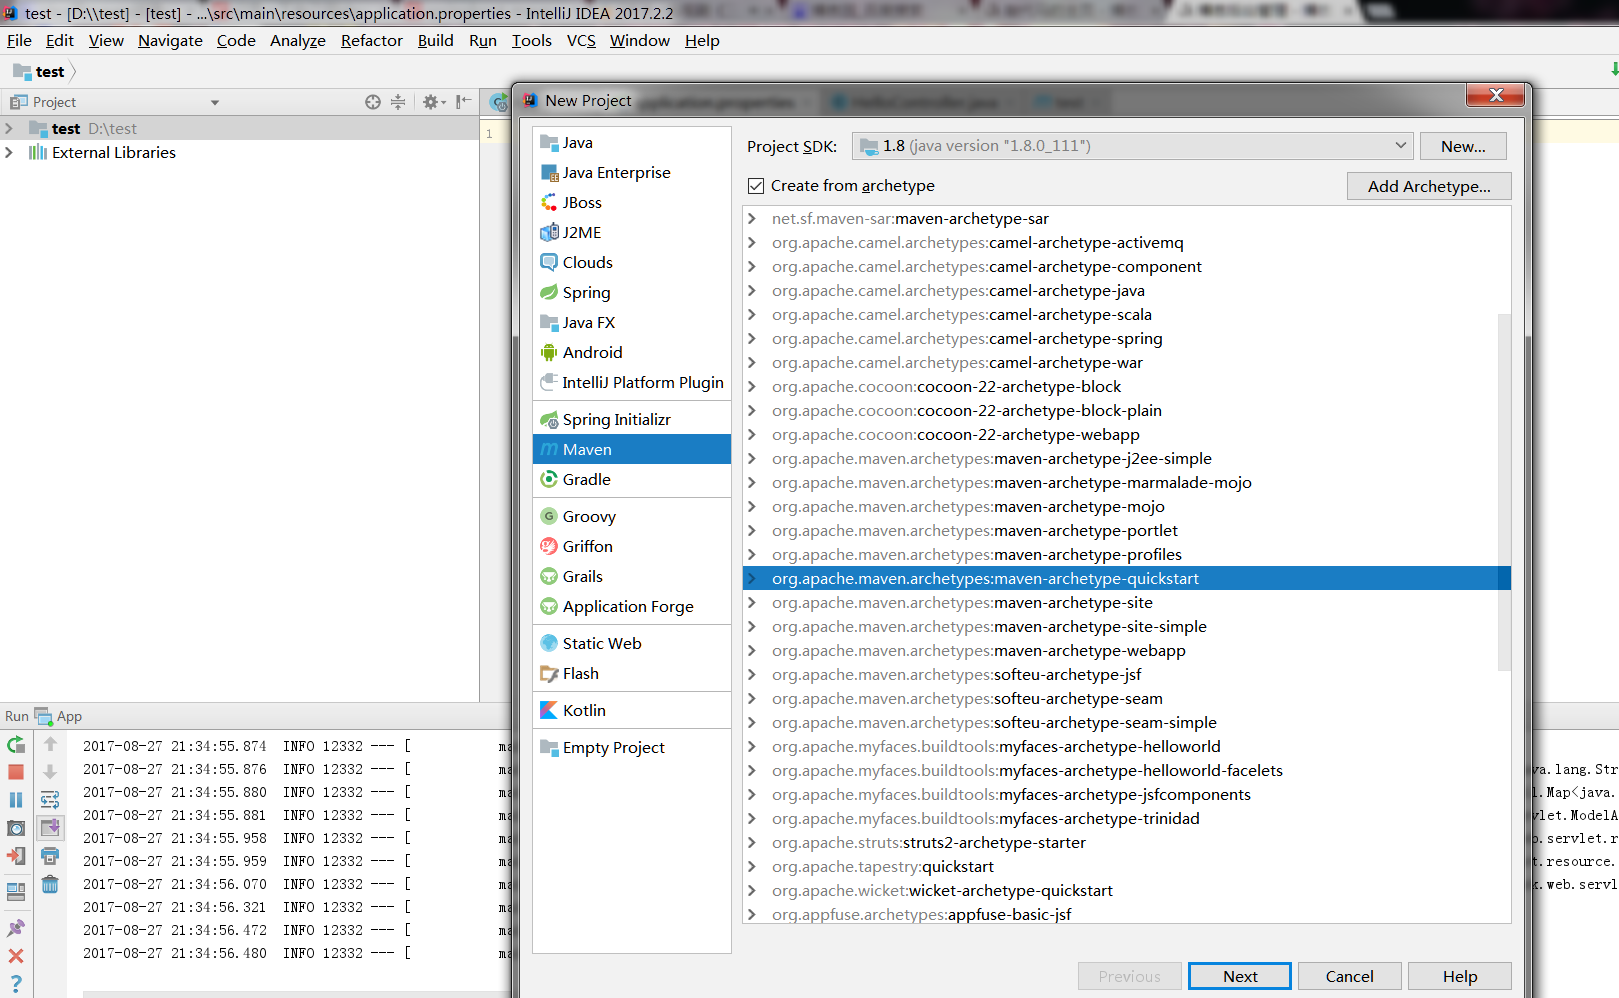
第一步:new project 选择maven ,按照步骤创建一个maven项目
第二步:项目构建完成之后,打开pom.xml文件
<parent>
<groupId>org.springframework.boot</groupId>
<artifactId>spring-boot-starter-parent</artifactId>
<version>1.5.1.RELEASE</version>
</parent>
<name>test</name>
<url>http://maven.apache.org</url>
<properties>
<project.build.sourceEncoding>UTF-8</project.build.sourceEncoding>
</properties>
<dependencies>
<!-- 核心模块,包括自动配置支持、日志和YAML -->
<dependency>
<groupId>org.springframework.boot</groupId>
<artifactId>spring-boot-starter</artifactId>
</dependency>
<!-- 测试模块,包括JUnit、Hamcrest、Mockito -->
<dependency>
<groupId>org.springframework.boot</groupId>
<artifactId>spring-boot-starter-test</artifactId>
<scope>test</scope>
</dependency>
<!-- 引入Web模块 -->
<dependency>
<groupId>org.springframework.boot</groupId>
<artifactId>spring-boot-starter-web</artifactId>
</dependency>
<dependency>
<groupId>org.springframework</groupId>
<artifactId>spring-web</artifactId>
<version>4.3.4.RELEASE</version>
</dependency>
</dependencies>
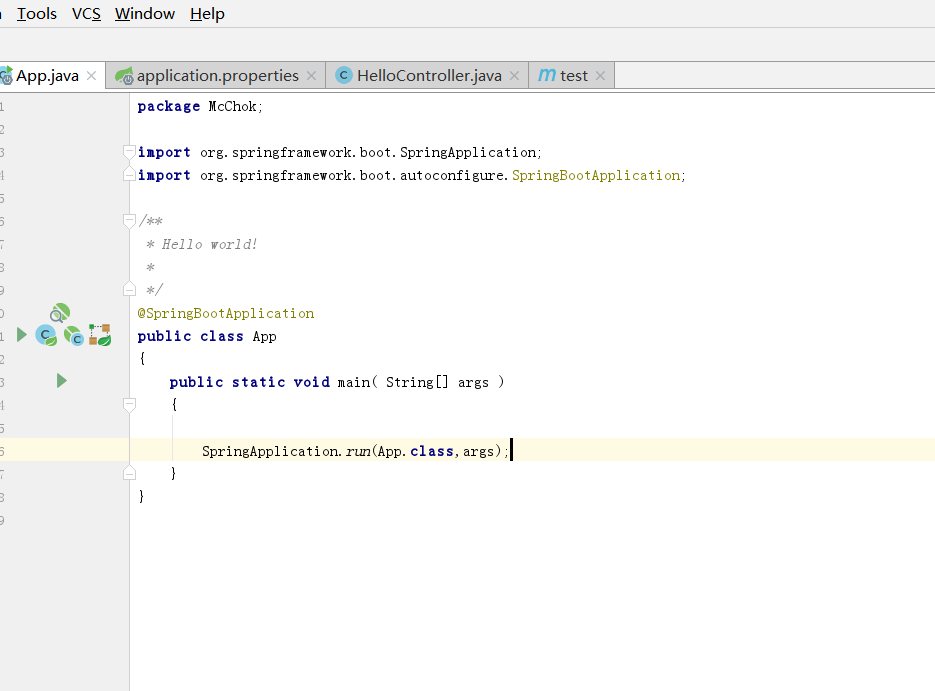
第三步:启动类的创建 ,注意不要忘记注解
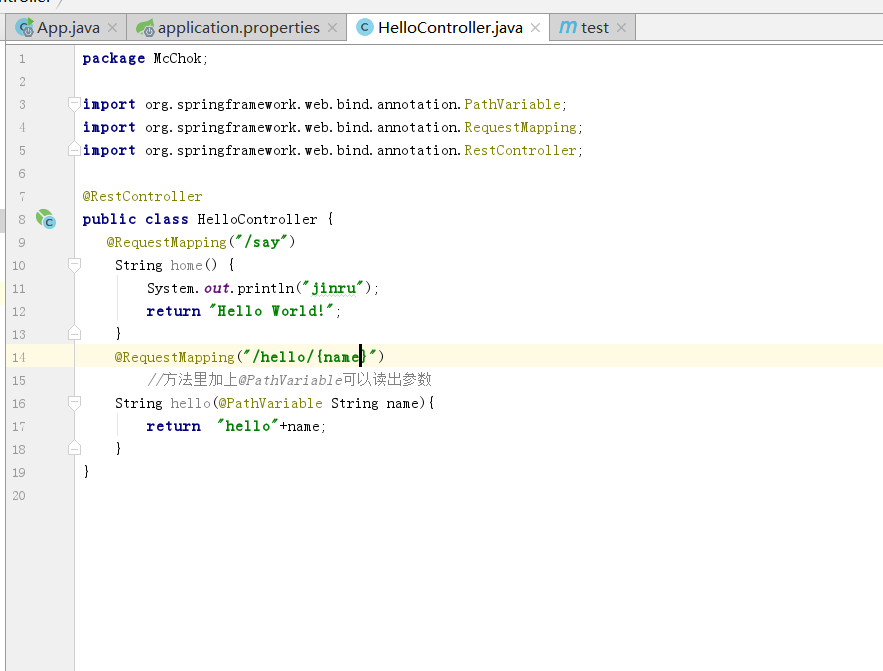
第四步:helloController类
第五步:application.properties配置文件,只要配置一下访问端口就好了

整个项目目录结构

注意:如果你的application.properties在输入的时候没有自动提示 那么按照这个步骤设置一下
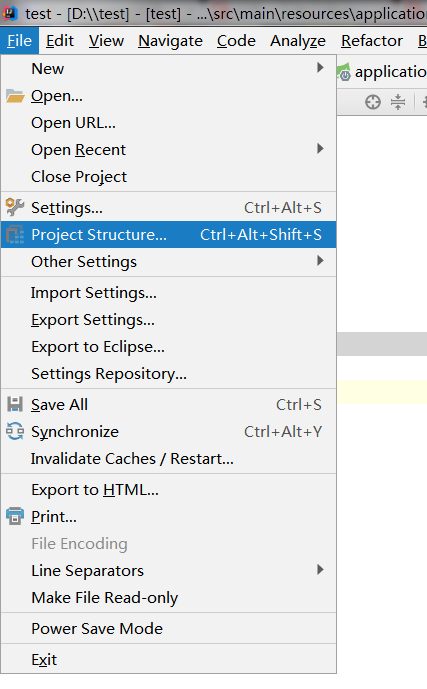
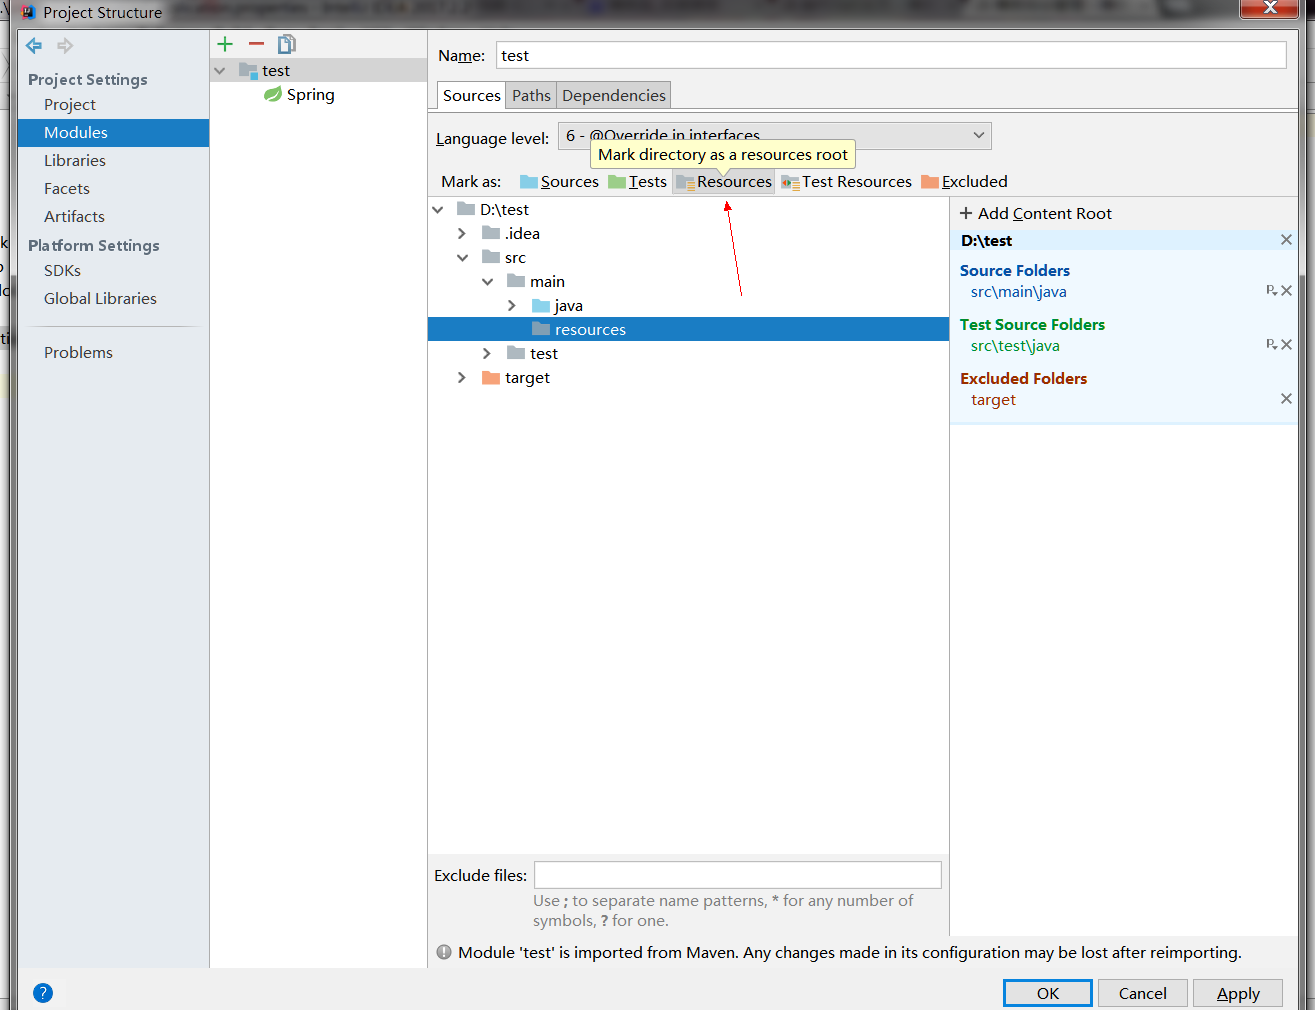
之后 应该就会出现提示了 !!