最近在学习WebService
开始了:
一:服务端的编写与发布
1. 工具准备: java的开发环境(这里就不多说了)。
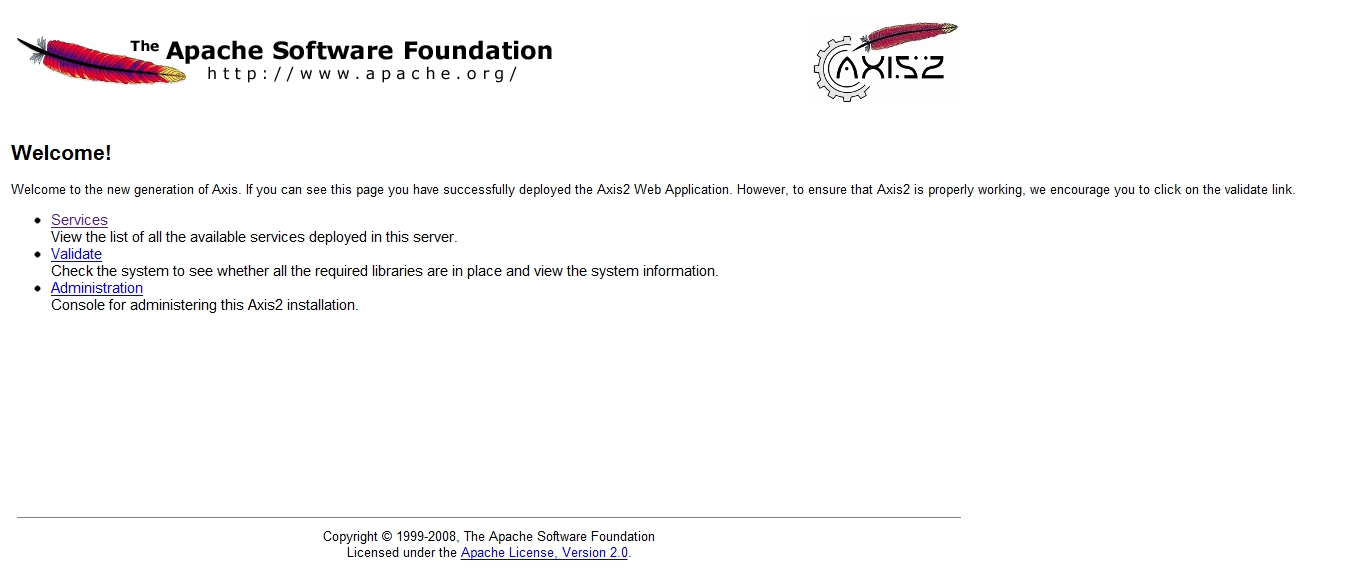
axis2官网上下载最新的就可以了(我这里用的是axis2-1.4.1-war)把文件解压,然后把axis2.war文件放到apache-tomcat-7.0.26webapps目录下。并启动 tomcat,启动完成后可以在webapps目录中看到axis2这个目录;并在浏览器中输入:http://localhost:8080/axis2/ 地址后显示如下页面说明成功了
axis2-1.6.2-bin.zip(解压)。写客户端要用。
axis2-eclipse-codegen-plugin-1.6.2(生成客户端代码工具):解压文件把jar包放到eclipse3.7.2plugins目录。
axis2-eclipse-service-plugin-1.6.2(服务端代码打包工具):同上
2. 建一个 java Project工程并建一个类命名为WebService
public class WebService {
    public String Hello(String str) {
        return str + " Hello ";
    }
}
然后生成aar服务文件:菜单栏File - >Axis2 Wizards ->Axis2 Service Archiver如图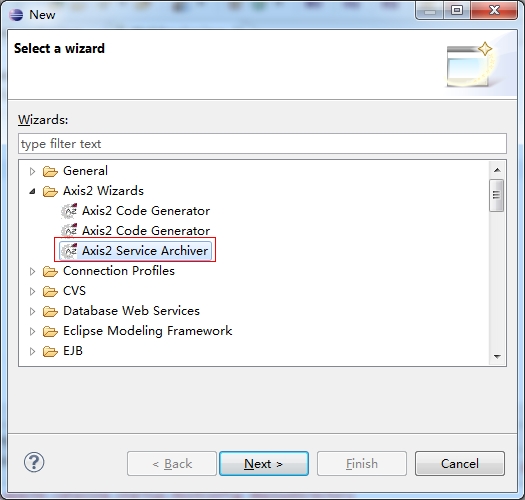
NEXT

NEXT
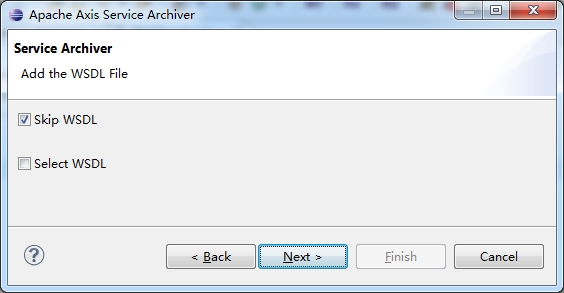
NEXT
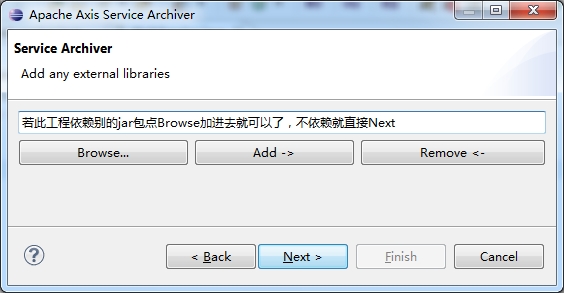
例如webservice需要连接数据的话那么就需要把连接数据库的jar包添加进去,先browse->add即可;有次打aar包的时候没有加上jar包,client死活调不成功。就是这个原因
NEXT
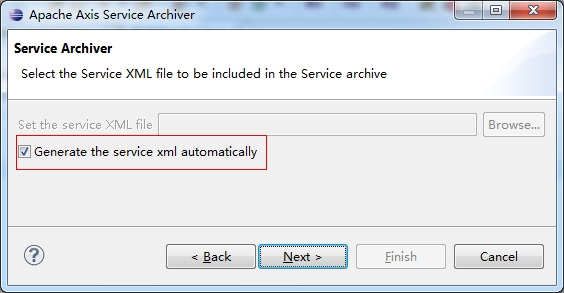
自动创建此webService的xml文件 NEXT
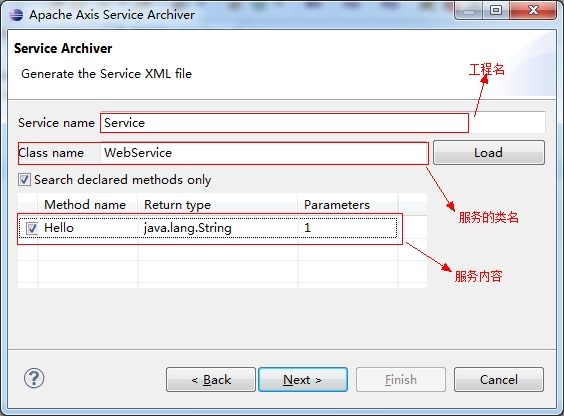
next

Finish成功后到桌面上去找找是不是有Serverce.aar文件; 可以解压出来看看,有新的发现哦!
3. WebService服务发布:把生成好的Serverce.aar文件放到apache-tomcat-7.0.26webappsaxis2WEB-INFservices目录下然后重新启动Tomcat。再在浏览器中输入http://localhost:8080/axis2/ 地址然后点击页面中的Services链接。后如图

此Hello就是刚生成的服务名了,再点Service连接,记住此URLhttp://localhost:8080/axis2/services/Service?wsdl 写客户端的时候要用的。
此刻WebService服务的编写和发布已经完成了。
二:客户端的编写
1. 建一个java Project工程命名为WebServiceClient
2. 添加Jar包;把axis2-1.6.2-bin.zip解压的lib目录下的所有jar包都添加到此工程下去
3. 生成客户端服务引用File ->New->Axis2 Code Genertor如下图
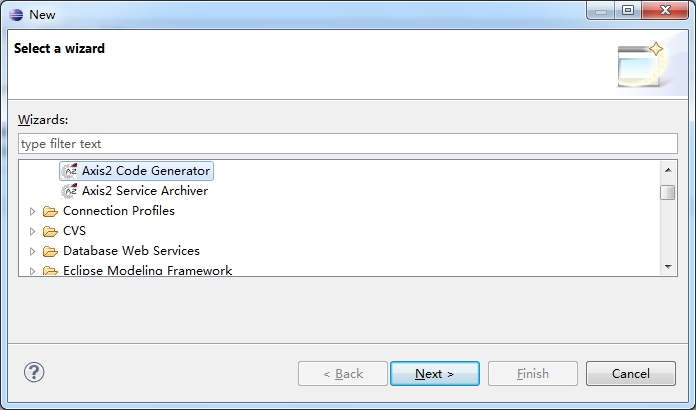
NEXT

NEXT
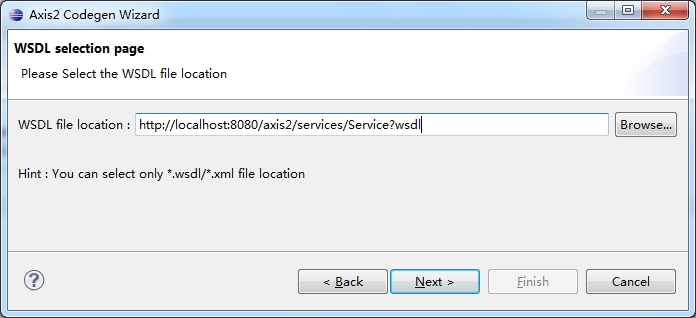
NEXT-->NEXT

Finish。 成功后刷新一下客户锻的工程,然后建一个测试类。命名为Test
import java.rmi.RemoteException;
import org.apache.ws.axis2.Hello;
import org.apache.ws.axis2.HelloResponse;
import org.apache.ws.axis2.Service;
import org.apache.ws.axis2.ServiceStub;


public class Test {

    /**
     * @param args
     * @throws RemoteException
     */
    public static void main(String[] args) throws RemoteException {
        // TODO Auto-generated method stub
        Service server = new ServiceStub();
        Hello hello = new Hello();
        //new一个调用sayHello方法需要的参数SayHello,并且设置name
        hello.setStr("Siuon");
        //调用web服务
        HelloResponse sayHelloResponse = server.hello(hello);
        //拿到返回结果
        System.out.println(sayHelloResponse.get_return());
    }

}
运行后如下图则成功了。
