场景
Nginx搭建RTMP服务器+FFmpeg实现海康威视摄像头预览:
https://blog.csdn.net/BADAO_LIUMANG_QIZHI/article/details/121202130
在上面的基础上实现Nginx搭建RTMP服务器,然后使用FFmpeg实现摄像头推流。
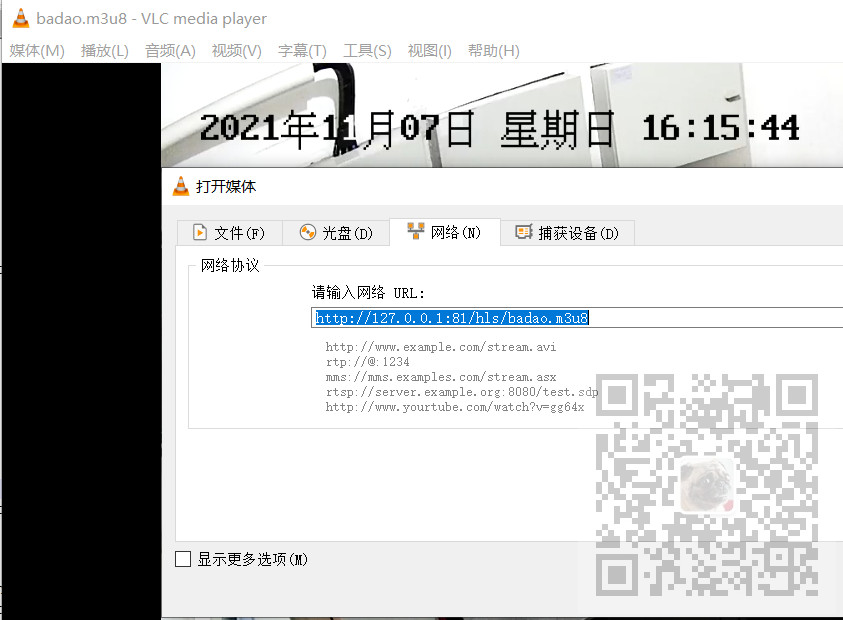
最后使用VCL打开网络串流的方式去进行摄像头预览。
如果要在前端Vue中去加载显示视频,怎么实现。
若依前后端分离版手把手教你本地搭建环境并运行项目:
https://blog.csdn.net/BADAO_LIUMANG_QIZHI/article/details/108465662
在上面搭建起来项目的基础上去实现。
注:
博客:
https://blog.csdn.net/badao_liumang_qizhi
关注公众号
霸道的程序猿
获取编程相关电子书、教程推送与免费下载。
实现
1、安装video.js相关依赖
npm install --save video.js

npm install --save videojs-contrib-hls
2、在需要播放视频的页面引入video.js相关的对象和css文件
import "video.js/dist/video-js.css";
import videojs from "video.js";
import "videojs-contrib-hls";
3、页面播放视频的元素控件
    <video
      id="my-video"
      class="video-js vjs-default-skin"
      controls
      preload="auto"
      width="500px"
    >
      <source
        src="http://127.0.0.1:81/hls/badao.m3u8"
        type="application/x-mpegURL"
      />
    </video>
注意这里的id属性,后面要用到。
然后这里的src属性对应上面使用VCL播放时的网络串流地址。
4、页面加载完成之后设置6秒的延迟播放视频
  mounted() {
    let _that = this;
    setTimeout(() => {
      _that.getVideo();
    }, 6000);
  },
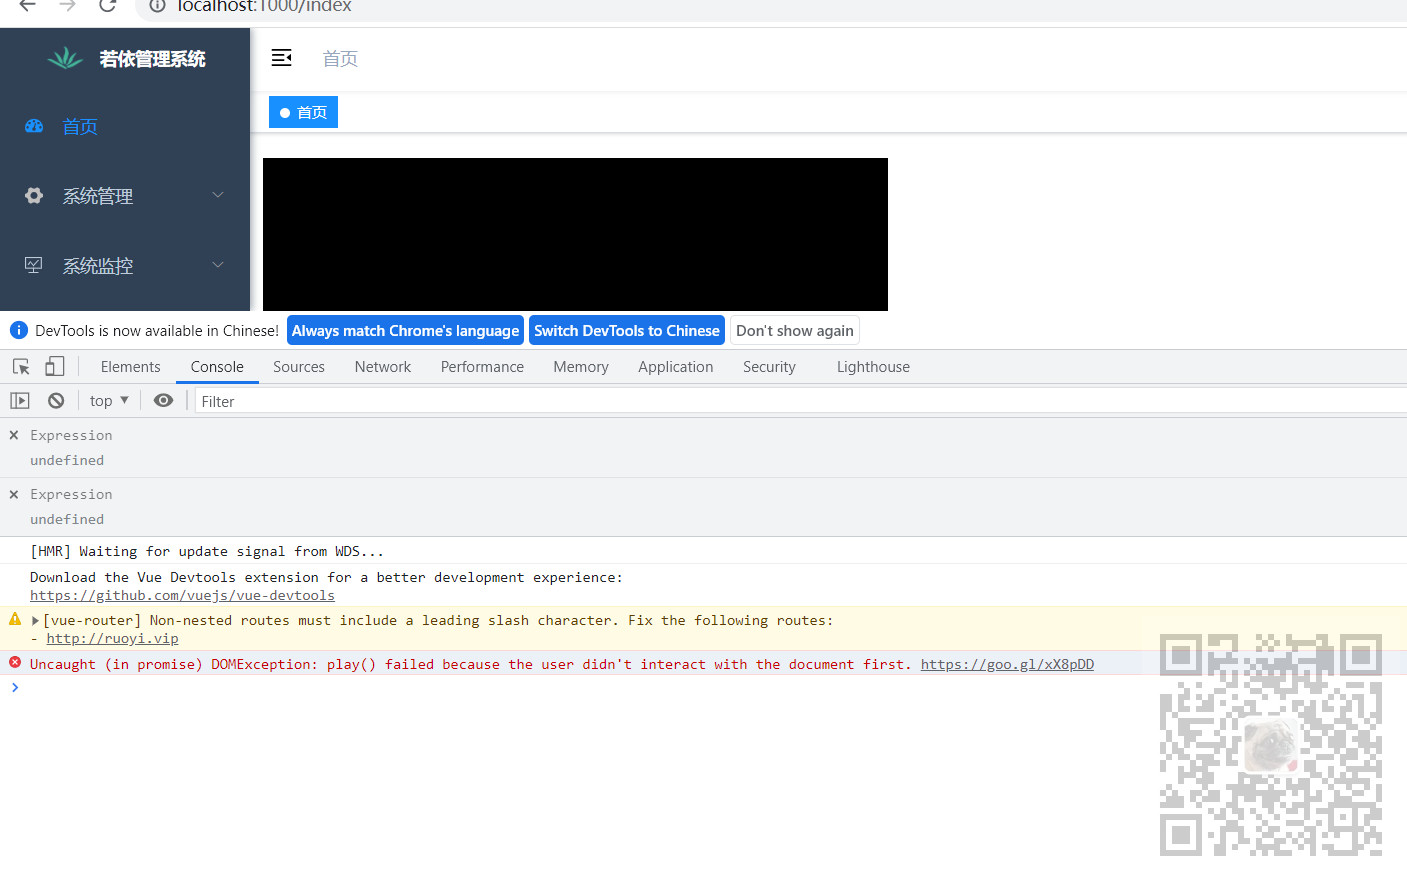
这里如果不设置延迟播放的话会提示:
Uncaught (in promise) DOMException: play() failed because the user didn't interact with the document first. https://goo.gl/xX8pDD


5、播放视频的具体实现方法
  methods: {
    getVideo() {
      videojs(
        "my-video",
        {
          bigPlayButton: false,
          textTrackDisplay: false,
          posterImage: true,
          errorDisplay: false,
          controlBar: true,
        },
        function () {
          this.play();
        }
      );
    },
  },
6、页面完整代码
<template>
  <div class="component-upload-image">
    <video
      id="my-video"
      class="video-js vjs-default-skin"
      controls
      preload="auto"
      width="500px"
    >
      <source
        src="http://127.0.0.1:81/hls/badao.m3u8"
        type="application/x-mpegURL"
      />
    </video>
  </div>
</template>
<script>
import "video.js/dist/video-js.css";
import videojs from "video.js";
import "videojs-contrib-hls";

export default {
  components: {

  },
  name: "m3u8Play",
  data() {
    return {};
  },
  mounted() {
    let _that = this;
    setTimeout(() => {
      _that.getVideo();
    }, 6000);
  },
  methods: {
    getVideo() {
      videojs(
        "my-video",
        {
          bigPlayButton: false,
          textTrackDisplay: false,
          posterImage: true,
          errorDisplay: false,
          controlBar: true,
        },
        function () {
          this.play();
        }
      );
    },
  },
  watch: {},
};
</script>

<style scoped lang="scss">
</style>
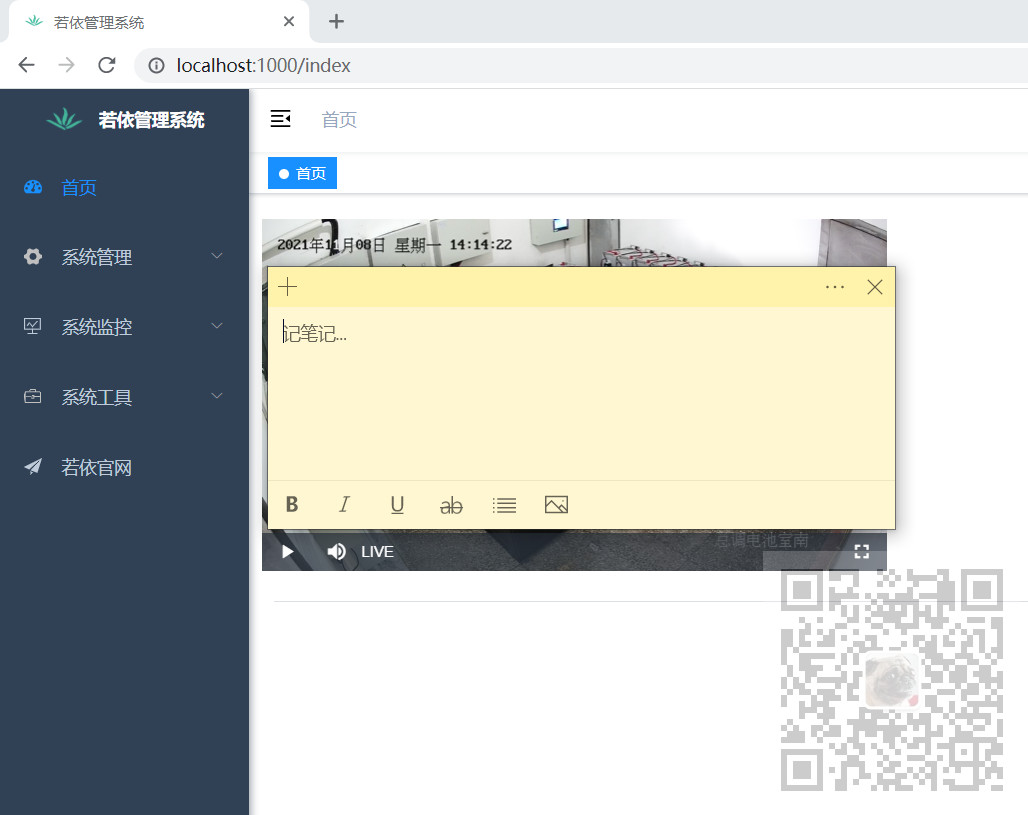
7、效果