场景
Ionic介绍以及搭建环境、新建和运行项目:
https://blog.csdn.net/BADAO_LIUMANG_QIZHI/article/details/106308166
在上面搭建起来项目的基础上,实现请求后台服务端数据并加载显示。
注:
博客:
https://blog.csdn.net/badao_liumang_qizhi
关注公众号
霸道的程序猿
获取编程相关电子书、教程推送与免费下载。
实现
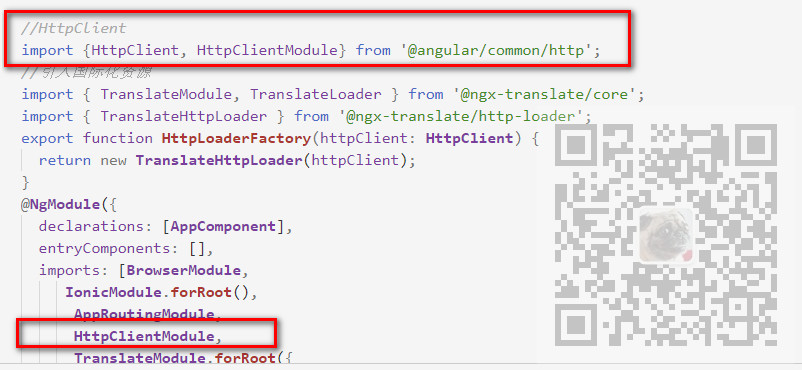
项目根模块app.module.ts中引入模块
打开app.module.ts
import {HttpClient, HttpClientModule} from '@angular/common/http';
并添加声明
  imports: [BrowserModule,
     IonicModule.forRoot(),
      AppRoutingModule,
      HttpClientModule

    })
    ],
在需要使用的组件中引入
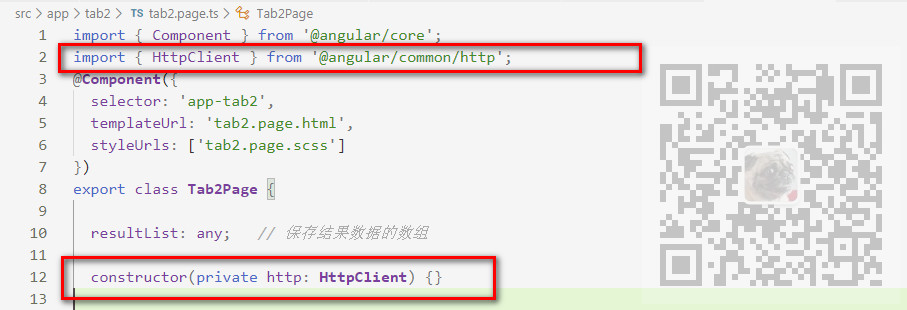
比如这里要在tab2这个组件中使用HttpClient请求数据,那么在tab2.page.ts中引入
import { HttpClient } from '@angular/common/http';
并声明
constructor(private http: HttpClient) {}
实现页面初始化后加载数据
为了实现当前tab2页面加载完成后就请求数据,所以在tab2.page.ts中添加生命周期方法
  ngOnInit() {
    //清空请求结果的list
    this.resultList = [];
    //get请求数据
    this.loadData();
  }
当前页面加载完成后就会执行ngOnInit里面的代码,首先会将存储结果的list清空,然后执行请求数据的方法。
此块的完整示例代码
resultList: any;   // 保存结果数据的数组

  constructor(private http: HttpClient) {}

  ngOnInit() {
    //清空请求结果的list
    this.resultList = [];
    //get请求数据
    this.loadData();
  }
然后在加载数据的方法loaData中
 public loadData() {
    this.getResult().then((res: any) => {
        console.log(res);
        // 把结果数据压入结果数组列表中。
        res.forEach((element: never) => {
          this.resultList.push(element);
        });

    }).catch(err => {
      console.error(err);
    });
  }
将getResult方法的返回结果存储到当前页面的resultList中,那么方法getResult方法就是具体请求数据的方法
  public getResult() {
    const url = "http://localhost:3000/news";
    const method = 'GET';
    const options = { params: { 'badao': '霸道的程序猿'} };
    return this.http.request(method, url, options).toPromise();
  }
url:请求数据的后台服务端地址
method:标识是GET请求还是POST请求
options:设置请求参数等,这里传递了一个badao参数
前端搭建完成。
运行项目
ionic serve
打开浏览器输入:
http://localhost:8100
然后点击下面导航栏的tab2
搭建Expres后台服务端程序
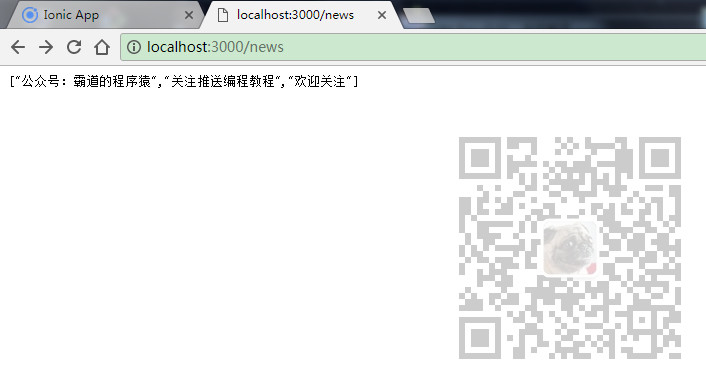
前面前端请求后台的url是http://localhost:3000/news
请求结果是返回一个数组。
新建一个文件夹nodeServe,然后在此文件夹下新建app.js和package.json两个文件
package.json
{
  "dependencies": {
    "ejs": "^2.5.6",
    "express": "^4.15.3",
    "socket.io": "^2.0.3",
    "body-parser": "~1.17.1"
  }
}
app.js
var express = require('express');

var app= express();

var bodyParser = require('body-parser');
app.use(bodyParser.json());
app.use(bodyParser.urlencoded({ extended: false }));

/*express允许跨域*/

app.all('*', function(req, res, next) {
    res.header("Access-Control-Allow-Origin", "*");
    res.header("Access-Control-Allow-Headers", "Content-Type,Content-Length, Authorization, Accept,X-Requested-With");
    res.header("Access-Control-Allow-Methods","PUT,POST,GET,DELETE,OPTIONS");
    res.header("X-Powered-By",' 3.2.1')
    if(req.method=="OPTIONS") res.send(200);
    else  next();
});


//app.use(express.static(path.join(__dirname, 'public')));

app.get('/',function(req,res){

 res.send('首页');

})

app.post('/dologin',function(req,res){

 console.log(req.body);

  res.json({"msg":'post成功'});


})

app.get('/news',function(req,res){

 //console.log(req.body);
 //res.jsonp({"msg":'这是新闻数据'});
 console.log("接收到的参数为:"+req.query.badao);
 res.send(["公众号:霸道的程序猿","关注推送编程教程","欢迎关注"])

})


app.listen(3000,'127.0.0.1');
运行后台服务端
在上面的nodeServe文件夹下打开命令行,确保电脑上已经安装node
安装依赖
npm install
或者
cnpm install
运行服务端程序
node app.js
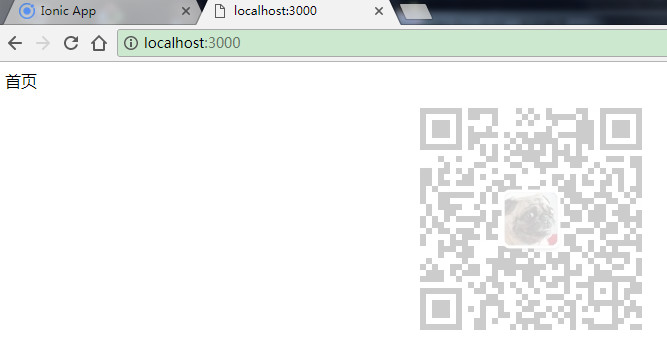
然后打开浏览器输入:
如果出现以下页面则是运行成功
然后输入上面请求的地址查看返回的数据
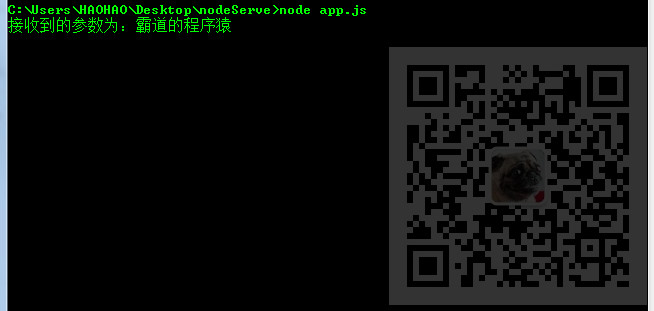
重新运行前端ionic项目然后点击tab2,查看服务端的控制台,已经接受到传递的参数。
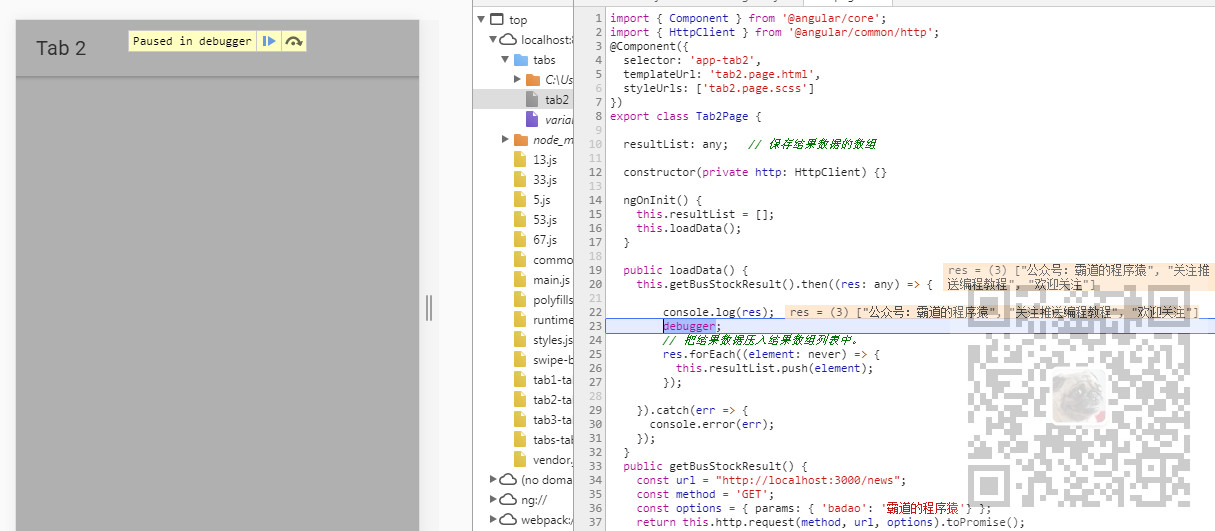
然后在前端loadData中打断点查看获取的数据
此时打开tab2.page.html将获取的后端数据显示
<ion-content [fullscreen]="true">
  <ul>
    <li *ngFor="let item of resultList">{{item}}</li>
  </ul>
</ion-content>
效果

示例代码下载
代码见下面文章末尾
https://mp.weixin.qq.com/s/Od7GWw25GUf4piQxvW3nWg