- 认识CSS的 盒子模型。
- CSS选择器的灵活使用。
- 实例:
- 图片文字用div等元素布局形成HTML文件。
- 新建相应CSS文件,并link到html文件中。
- CSS文件中定义样式
- div.img:border,margin,width,float
- div.img img:width,height
- div.desc:text-align,padding
- div.img:hover:border
- div.clearfloat:clear
HTML代码如下:
 1 <!DOCTYPE html>
 2 <html lang="en">
 3 <head>
 4     <meta charset="UTF-8">
 5     <title>img</title>
 6     <link rel="stylesheet" type="text/css" href="../static/css/20.css">
 7 </head>
 8 <body>
 9 <div class="recommend">
10     <div class="img">
11         <a hrefclas="http://www.gzcc.cn"><img src="http://static.runoob.com/images/demo/demo4.jpg" alt=""></a>
12         <div class="desc"><a href="http://www.gzcc.cn">校园风光</a></div>
13     </div>
14     <div class="img">
15         <a href="http://www.gzcc.cn"><img src="http://static.runoob.com/images/demo/demo3.jpg" alt=""></a>
16         <div class="desc"><a href="http://www.gzcc.cn">校友风采</a></div>
17     </div>
18     <div class="img">
19         <a href="http://www.gzcc.cn"><img src="http://static.runoob.com/images/demo/demo2.jpg" alt=""></a>
20         <div class="desc"><a href="http://www.gzcc.cn">学样文化</a></div>
21     </div>
22     <div class="img">
23         <a href="http://www.gzcc.cn"><img src="http://static.runoob.com/images/demo/demo1.jpg" alt=""></a>
24         <div class="desc"><a href="http://www.gzcc.cn">学生风采</a></div>
25     </div>
26 </div>
27 <br>
28 <div class="clearfolat">
29     <img src="http://static.runoob.com/images/demo/demo4.jpg" alt=""><br>
30     <img src="http://static.runoob.com/images/demo/demo3.jpg" alt=""><br>
31     <img src="http://static.runoob.com/images/demo/demo2.jpg" alt=""><br>
32     <img src="http://static.runoob.com/images/demo/demo1.jpg" alt=""><br>
33 </div>
34
35 </body>
36 </html>
CSS代码:
 1 img {
 2     width: 300px;
 3 }
 4 div.img{
 5     border:1px solid #cccccc;
 6     float: left;
 7     margin: 5px;
 8     width:180px;
 9 }
10 div.img img{
11     width:100%;
12     height:auto;
13 }
14 div.desc{
15     text-align: center;
16     padding: 5px;
17 }
18 div.img:hover{
19      border:1px solid #000000;
20 }
21 div.clearfolat{
22     clear: both;
23 }
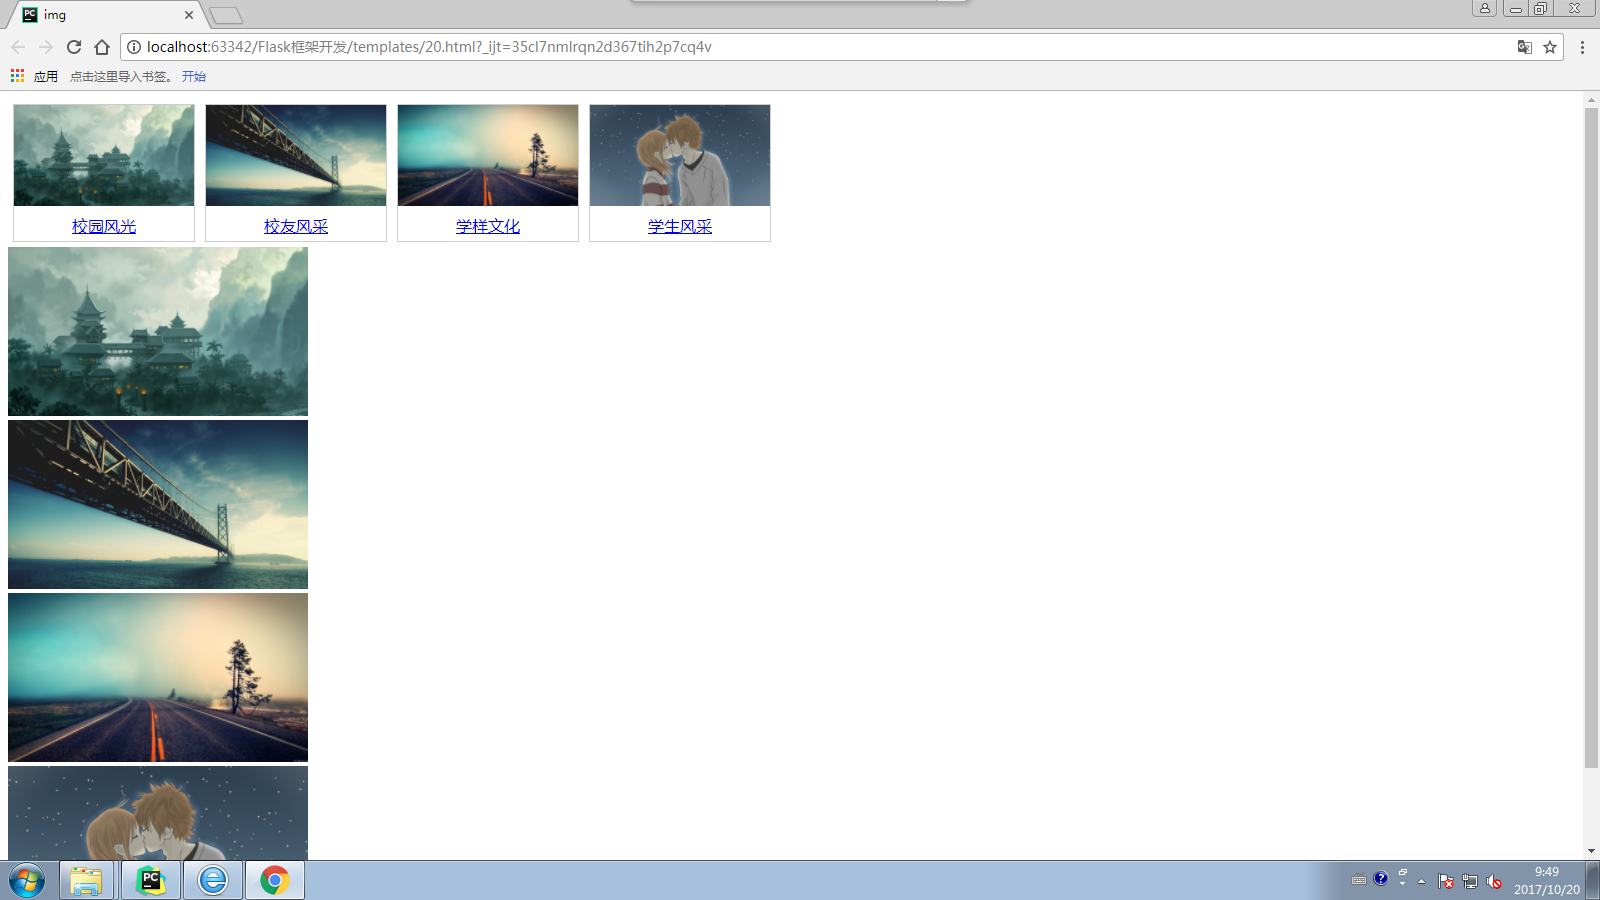
运行结果: