想要了解人工智能首先要知道“百度大脑”(https://ai.baidu.com/?track=cp:aipinzhuan|pf:pc|pp:AIpingtai|pu:title|ci:|kw:10005792),“百度大脑”是国内做人工智能比较前端的了,有很多功能都是开源的,我们这些小白可以直接拿来用。这篇主要说一下我自己学到的东西和后面做的一个小程序。
要点:
1、需要在CMD中导入两个python第三方包【pip install pillow】、【pip install baidu-aip】
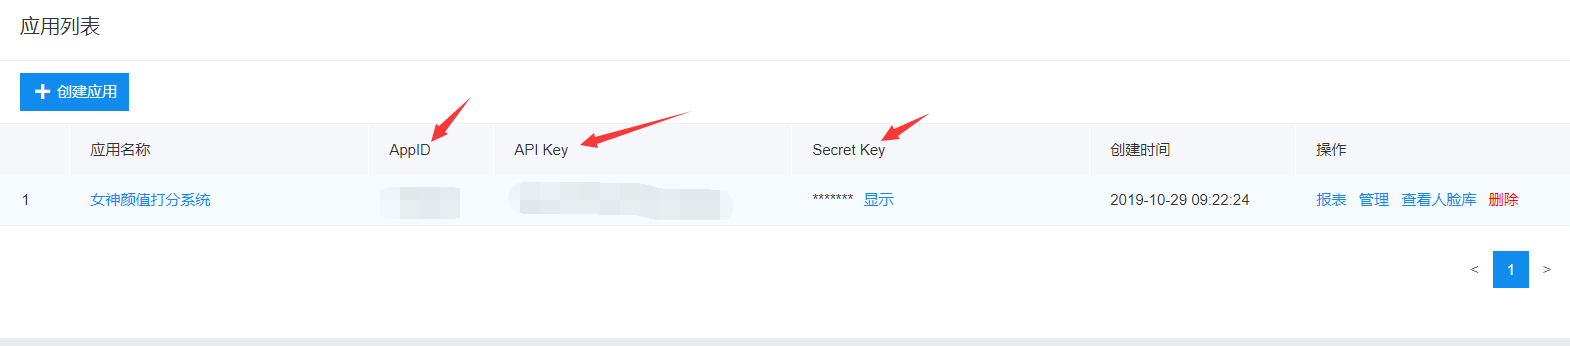
2、需要自己注册一个百度账号API登录到百度大脑来获取下面小程序用的【AppID】、【API Key】、【Secret Key】
3、百度搜索“百度大脑”进入首页→开放功能→(需要使用的模块,这里要用的是人脸识别)人脸识别→立即使用→创建应用(输入一些东西) 就创建完成了,上面会有要点2里所需要获取的三样东西
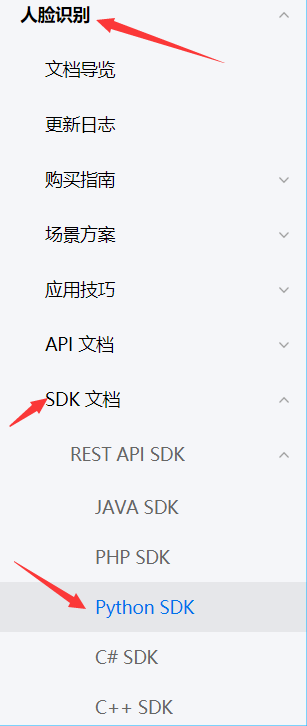
4、返回到人脸识别首页,进入技术文档界面点击人脸识别模块点击SDK文档点击REST API SDK下面会有python SDK点击进去,这个上面都有用法就不多说了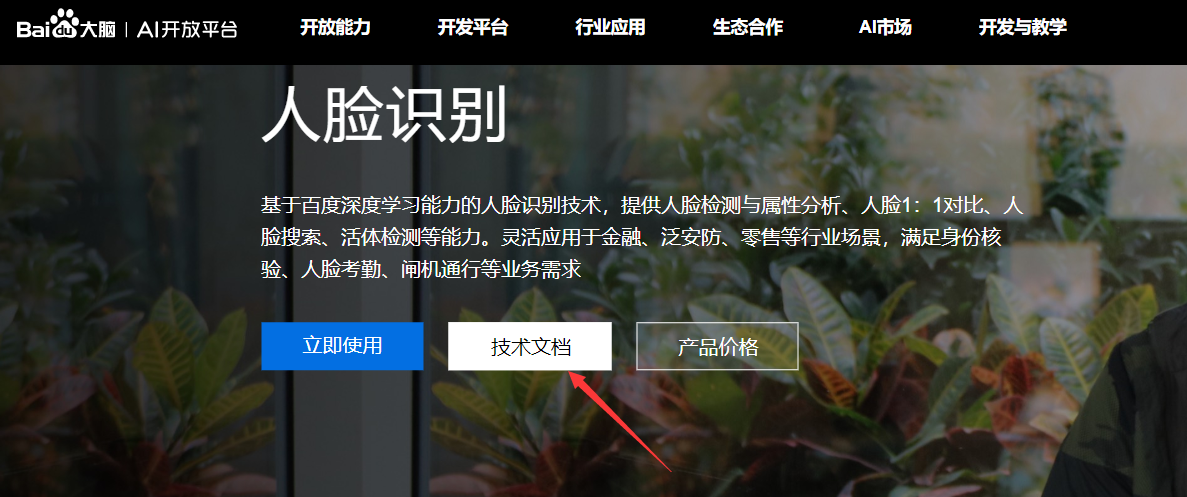
5、把上面的代码复制到pycharm新建的项目中代码如下:
#小小小小小小小小小白出品
#这个代码只显示了年龄、性别和颜值分数
from aip import AipFace
import base64

""" 你的 APPID AK SK """
APP_ID = '你的APP_ID'
API_KEY = '你的API_KEY'
SECRET_KEY = '你的SECRET_KEY'

client = AipFace(APP_ID, API_KEY, SECRET_KEY)

image = 'dili.jpg'
def set_image(file):
    with open(file, 'rb')as f:
        res = base64.b64encode(f.read())
    return res.decode('utf-8')

imageType = "BASE64"#需要将图片转换成BASE64类型
# image = set_image('你需要用的图片')
""" 调用人脸检测 """
options = {'face_field': 'age,gender,beauty'}

""" 带参数调用人脸检测 """
def face_score(image):
    results = client.detect(set_image(image), imageType, options)
    age = results['result']['face_list'][0]['age']
    gender = results['result']['face_list'][0]['gender']['type']
    beauty = results['result']['face_list'][0]['beauty']

    return age,gender,beauty
# print(results)
print(face_score(image))
6、再创建一个py文件,里面放的是小程序的代码,代码如下:
  1 """
  2 pip install pillow
  3 pip install baidu-aip
  4 pip install tkinter
  5 """
  6 import PIL
  7 import time
  8 import base64
  9 import tkinter as tk
 10 from PIL import Image
 11 from PIL import ImageTk
 12 from aip import AipFace
 13 from tkinter.filedialog import askopenfilename
 14
 15 # 配置百度aip参数
 16 APP_ID = '你的APP_ID'
 17 API_KEY = '你的API_KEY'
 18 SECRET_KEY = '你的SECRET_KEY'
 19 a_face = AipFace(APP_ID, API_KEY, SECRET_KEY)
 20 image_type = 'BASE64'
 21
 22 options = {'face_field': 'age,gender,beauty'}
 23
 24
 25 def get_file_content(file_path):
 26     """获取文件内容"""
 27     with open(file_path, 'rb') as fr:
 28         content = base64.b64encode(fr.read())
 29
 30         return content.decode('utf8')
 31
 32
 33 def face_score(file_path):
 34     """脸部识别分数"""
 35     result = a_face.detect(get_file_content(file_path), image_type, options)
 36     print(result)
 37     age = result['result']['face_list'][0]['age']
 38     beauty = result['result']['face_list'][0]['beauty']
 39     gender = result['result']['face_list'][0]['gender']['type']
 40
 41     return age, beauty, gender
 42
 43
 44 class ScoreSystem():
 45     """打分系统类"""
 46     root = tk.Tk()
 47
 48     # 修改程序框的大小
 49     root.geometry('800x500')
 50
 51     # 添加程序框标题
 52     root.title('女神颜值打分系统')
 53
 54     # 修改背景色
 55     canvas = tk.Canvas(root,
 56                        width=800,  # 指定Canvas组件的宽度
 57                        height=500,  # 指定Canvas组件的高度
 58                        bg='#E6E6FA')  # 指定Canvas组件的背景色
 59     canvas.pack()
 60
 61     def start_interface(self):
 62         """主运行函数"""
 63         self.title()
 64         self.time_component()
 65
 66         # 打开本地文件
 67         tk.Button(self.root, text='打开文件', command=self.show_original_pic).place(x=50, y=150)
 68         # 进行颜值评分
 69         tk.Button(self.root, text='运行程序', command=self.open_files2).place(x=50, y=230)
 70         # 显示帮助文档
 71         tk.Button(self.root, text='帮助文档', command=self.show_help).place(x=50, y=310)
 72         # 退出系统
 73         tk.Button(self.root, text='退出软件', command=self.quit).place(x=50, y=390)
 74         # 显示图框标题
 75         tk.Label(self.root, text='原图', font=10).place(x=380, y=120)
 76         # 修改图片大小
 77         self.label_img_original = tk.Label(self.root)
 78         # 设置显示图框背景
 79         self.cv_orinial = tk.Canvas(self.root, bg='white', width=270, height=270)
 80         # 设置显示图框边框
 81         self.cv_orinial.create_rectangle(8, 8, 260, 260, width=1, outline='red')
 82         # 设置位置
 83         self.cv_orinial.place(x=265, y=150)
 84         # 显示图片位置
 85         self.label_img_original.place(x=265, y=150)
 86
 87         # 设置评分标签
 88         tk.Label(self.root, text='性别', font=10).place(x=680, y=150)
 89         self.text1 = tk.Text(self.root, width=10, height=2)
 90         tk.Label(self.root, text='年龄', font=10).place(x=680, y=250)
 91         self.text2 = tk.Text(self.root, width=10, height=2)
 92         tk.Label(self.root, text='评分', font=10).place(x=680, y=350)
 93         self.text3 = tk.Text(self.root, width=10, height=2)
 94
 95         # 填装文字
 96         self.text1.place(x=680, y=175)
 97         self.text2.place(x=680, y=285)
 98         self.text3.place(x=680, y=385)
 99
100         # 开启循环
101         self.root.mainloop()
102
103     def show_original_pic(self):
104         """放入文件"""
105         self.path_ = askopenfilename(title='选择文件')
106         # 处理文件
107         img = Image.open(fr'{self.path_}')
108         img = img.resize((270, 270), PIL.Image.ANTIALIAS)  # 调整图片大小至270*270
109         # 生成tkinter图片对象
110         img_png_original = ImageTk.PhotoImage(img)
111         # 设置图片对象
112         self.label_img_original.config(image=img_png_original)
113         self.label_img_original.image = img_png_original
114         self.cv_orinial.create_image(5, 5, anchor='nw', image=img_png_original)
115
116     def open_files2(self):
117         # 获取百度API接口获得的年龄、分数、性别
118         age, score, gender = face_score(self.path_)
119
120         # 清楚text文本框内容并进行插入
121         self.text1.delete(1.0, tk.END)
122         self.text1.tag_config('red', foreground='RED')
123         self.text1.insert(tk.END, gender, 'red')
124
125         self.text2.delete(1.0, tk.END)
126         self.text2.tag_config('red', foreground='RED')
127         self.text2.insert(tk.END, age, 'red')
128
129         self.text3.delete(1.0, tk.END)
130         self.text3.tag_config('red', foreground='RED')
131         self.text3.insert(tk.END, score, 'red')
132
133     def show_help(self):
134         """显示帮助"""
135         pass
136
137     def quit(self):
138         """退出"""
139         self.root.quit()
140
141     def get_time(self, lb):
142         """获取时间"""
143         time_str = time.strftime("%Y-%m-%d %H:%M:%S")  # 获取当前的时间并转化为字符串
144         lb.configure(text=time_str)  # 重新设置标签文本
145         self.root.after(1000, self.get_time, lb)  # 每隔1s调用函数 get_time自身获取时间
146
147     def time_component(self):
148         """时间组件"""
149         lb = tk.Label(self.root, text='', fg='blue', font=("黑体", 15))
150         lb.place(relx=0.75, rely=0.90)
151         self.get_time(lb)
152
153     def title(self):
154         """标题设计"""
155         lb = tk.Label(self.root, text='女神颜值打分系统',
156                       bg='#6495ED',
157                       fg='lightpink', font=('华文新魏', 32),
158                       width=20,
159                       height=2,
160                       # relief=tk.SUNKEN
161                       )
162         lb.place(x=200, y=10)
163
164
165 score_system = ScoreSystem()
166 score_system.start_interface()
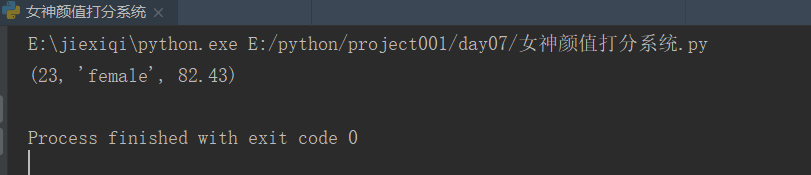
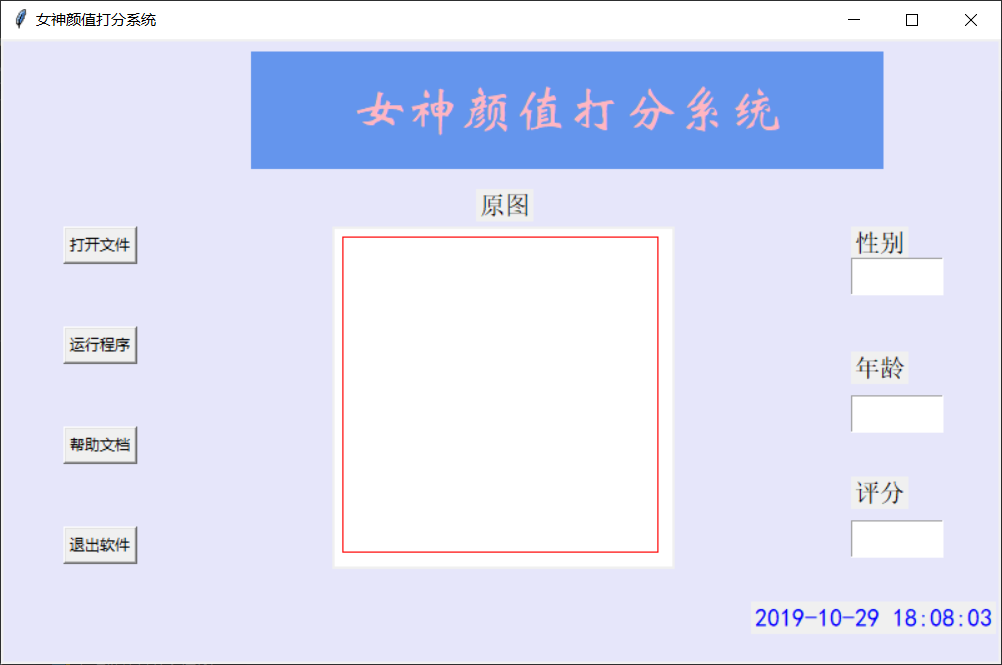
7、运行结果如下图
这就是本篇我所说的内容,如果对你有帮助,点点支持,谢谢。