一、 MDK5编译一个简单的stm32程序(LED灯闪烁)
步骤
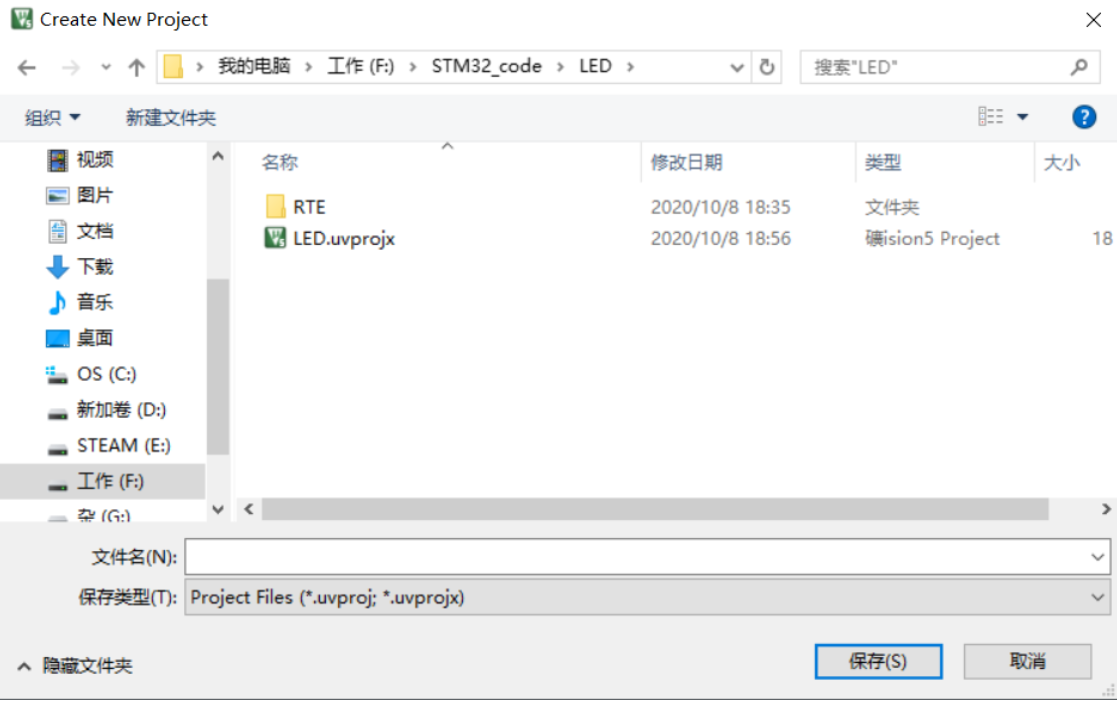
1.新建工程
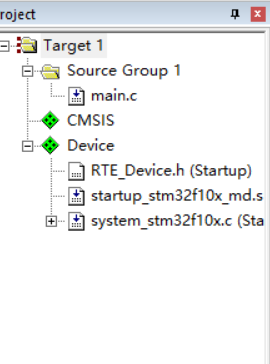
2.新建main.c文件并add进工程里
main.c源代码
 ```c
 //宏定义,用于存放stm32寄存器映射
 #define PERIPH_BASE           ((unsigned int)0x40000000)//AHB
 #define APB2PERIPH_BASE       (PERIPH_BASE + 0x10000)
 #define GPIOA_BASE            (APB2PERIPH_BASE + 0x0800)
 //GPIOA_BASE=0x40000000+0x10000+0x0800=0x40010800,该地址为GPIOA的基地址
 #define GPIOB_BASE            (APB2PERIPH_BASE + 0x0C00)
 //GPIOB_BASE=0x40000000+0x10000+0x0C00=0x40010C00,该地址为GPIOB的基地址
 #define GPIOC_BASE            (APB2PERIPH_BASE + 0x1000)
 //GPIOC_BASE=0x40000000+0x10000+0x1000=0x40011000,该地址为GPIOC的基地址
 #define GPIOD_BASE            (APB2PERIPH_BASE + 0x1400)
 //GPIOD_BASE=0x40000000+0x10000+0x1400=0x40011400,该地址为GPIOD的基地址
 #define GPIOE_BASE            (APB2PERIPH_BASE + 0x1800)
 //GPIOE_BASE=0x40000000+0x10000+0x0800=0x40011800,该地址为GPIOE的基地址
 #define GPIOF_BASE            (APB2PERIPH_BASE + 0x1C00)
 //GPIOF_BASE=0x40000000+0x10000+0x0800=0x40011C00,该地址为GPIOF的基地址
 #define GPIOG_BASE            (APB2PERIPH_BASE + 0x2000)
 //GPIOG_BASE=0x40000000+0x10000+0x0800=0x40012000,该地址为GPIOG的基地址
 #define GPIOA_ODR_Addr    (GPIOA_BASE+12) //0x4001080C
 #define GPIOB_ODR_Addr    (GPIOB_BASE+12) //0x40010C0C
 #define GPIOC_ODR_Addr    (GPIOC_BASE+12) //0x4001100C
 #define GPIOD_ODR_Addr    (GPIOD_BASE+12) //0x4001140C
 #define GPIOE_ODR_Addr    (GPIOE_BASE+12) //0x4001180C
 #define GPIOF_ODR_Addr    (GPIOF_BASE+12) //0x40011A0C
 #define GPIOG_ODR_Addr    (GPIOG_BASE+12) //0x40011E0C
 #define BITBAND(addr, bitnum) ((addr & 0xF0000000)+0x2000000+((addr &0xFFFFF)<<5)+(bitnum<<2))
 #define MEM_ADDR(addr)  *((volatile unsigned long  *)(addr))
 #define LED0  MEM_ADDR(BITBAND(GPIOA_ODR_Addr,8))
 //#define LED0 *((volatile unsigned long *)(0x422101a0)) //PA8
 //定义typedef类型别名
 typedef  struct
 {


    volatile  unsigned  int  CR;
    volatile  unsigned  int  CFGR;
    volatile  unsigned  int  CIR;
    volatile  unsigned  int  APB2RSTR;
    volatile  unsigned  int  APB1RSTR;
    volatile  unsigned  int  AHBENR;
    volatile  unsigned  int  APB2ENR;
    volatile  unsigned  int  APB1ENR;
    volatile  unsigned  int  BDCR;
    volatile  unsigned  int  CSR;
 } RCC_TypeDef;

 #define RCC ((RCC_TypeDef *)0x40021000)
 //定义typedef类型别名
 typedef  struct
 {
 volatile  unsigned  int  CRL;
 volatile  unsigned  int  CRH;
 volatile  unsigned  int  IDR;
 volatile  unsigned  int  ODR;
 volatile  unsigned  int  BSRR;
 volatile  unsigned  int  BRR;
 volatile  unsigned  int  LCKR;
 } GPIO_TypeDef;
 //GPIOA指向地址GPIOA_BASE,GPIOA_BASE地址存放的数据类型为GPIO_TypeDef
 #define GPIOA ((GPIO_TypeDef *)GPIOA_BASE)
 void  LEDInit( void )
 {


      RCC->APB2ENR|=1<<2;  //GPIOA 时钟开启
      GPIOA->CRH&=0XFFFFFFF0;
      GPIOA->CRH|=0X00000003;
 }
 //粗略延时
 void  Delay_ms( volatile  unsigned  int  t)
 {
      unsigned  int  i,n;
      for (n=0;n<t;n++)
          for (i=0;i<800;i++);
 }
 int main(void)
 {
 	 LEDInit();
      while (1)
      {
          LED0=0;//LED熄灭
          Delay_ms(500);//延时时间
          LED0=1;//LED亮
          Delay_ms(500);//延时时间
      }
 }

 ```
3.编译文件

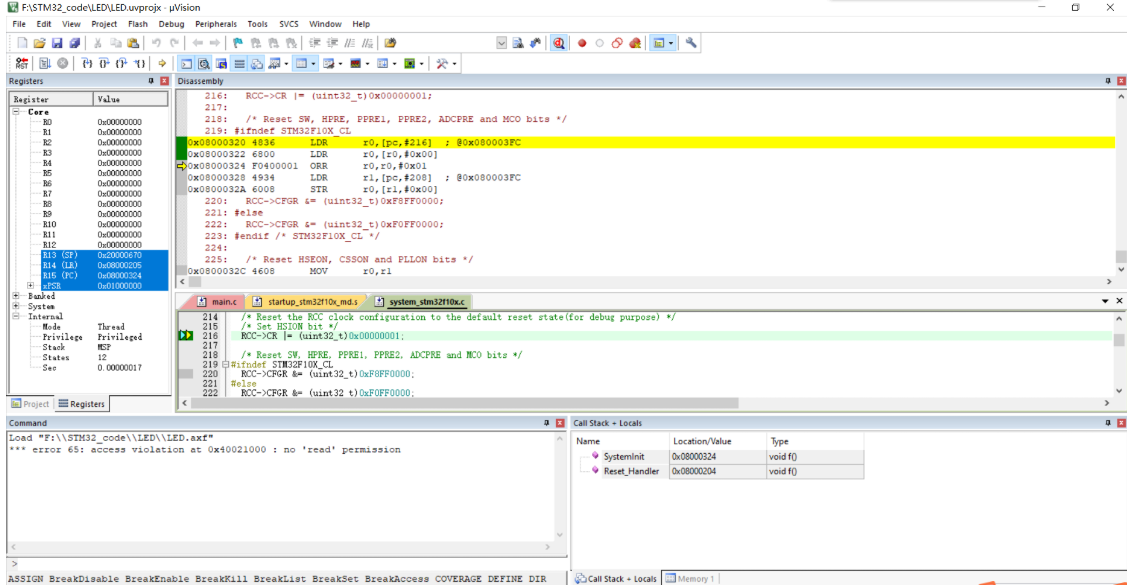
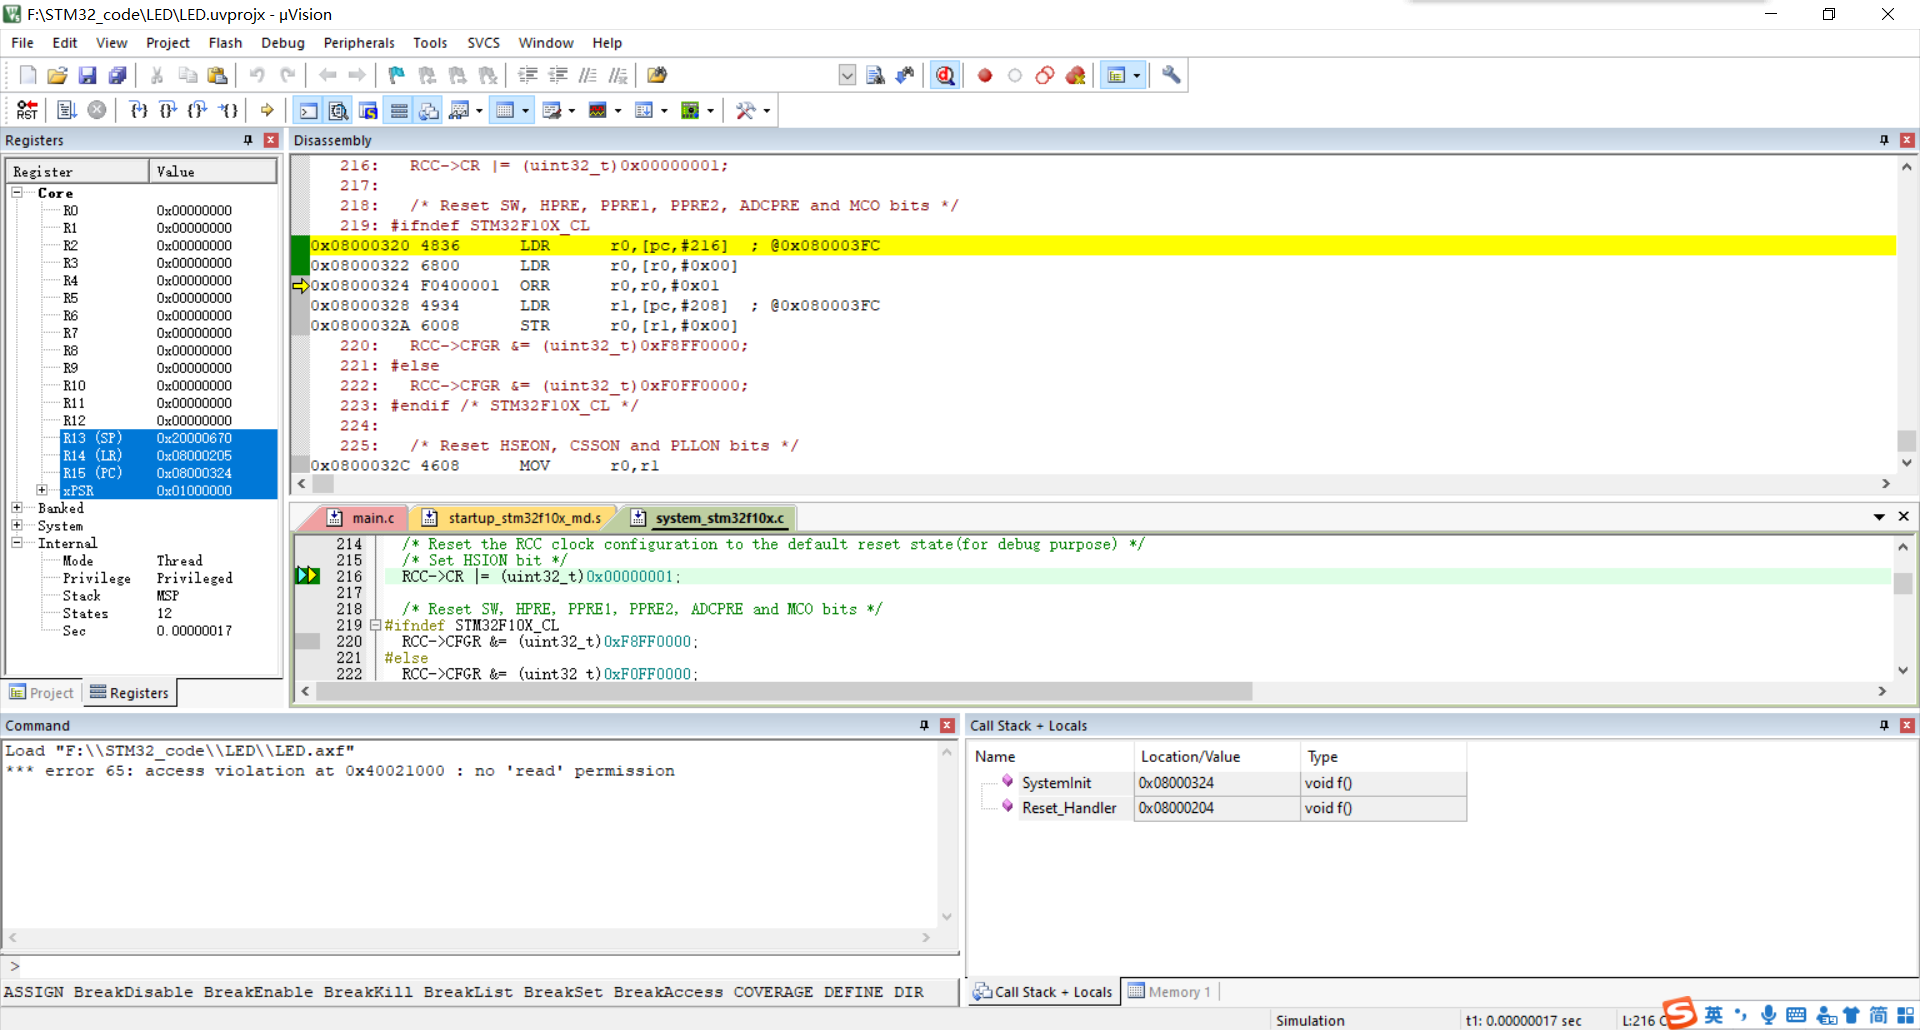
4.stm32仿真编译
二、 Proteus使用51的程序设计和仿真(流水灯)
步骤
1.新建工程
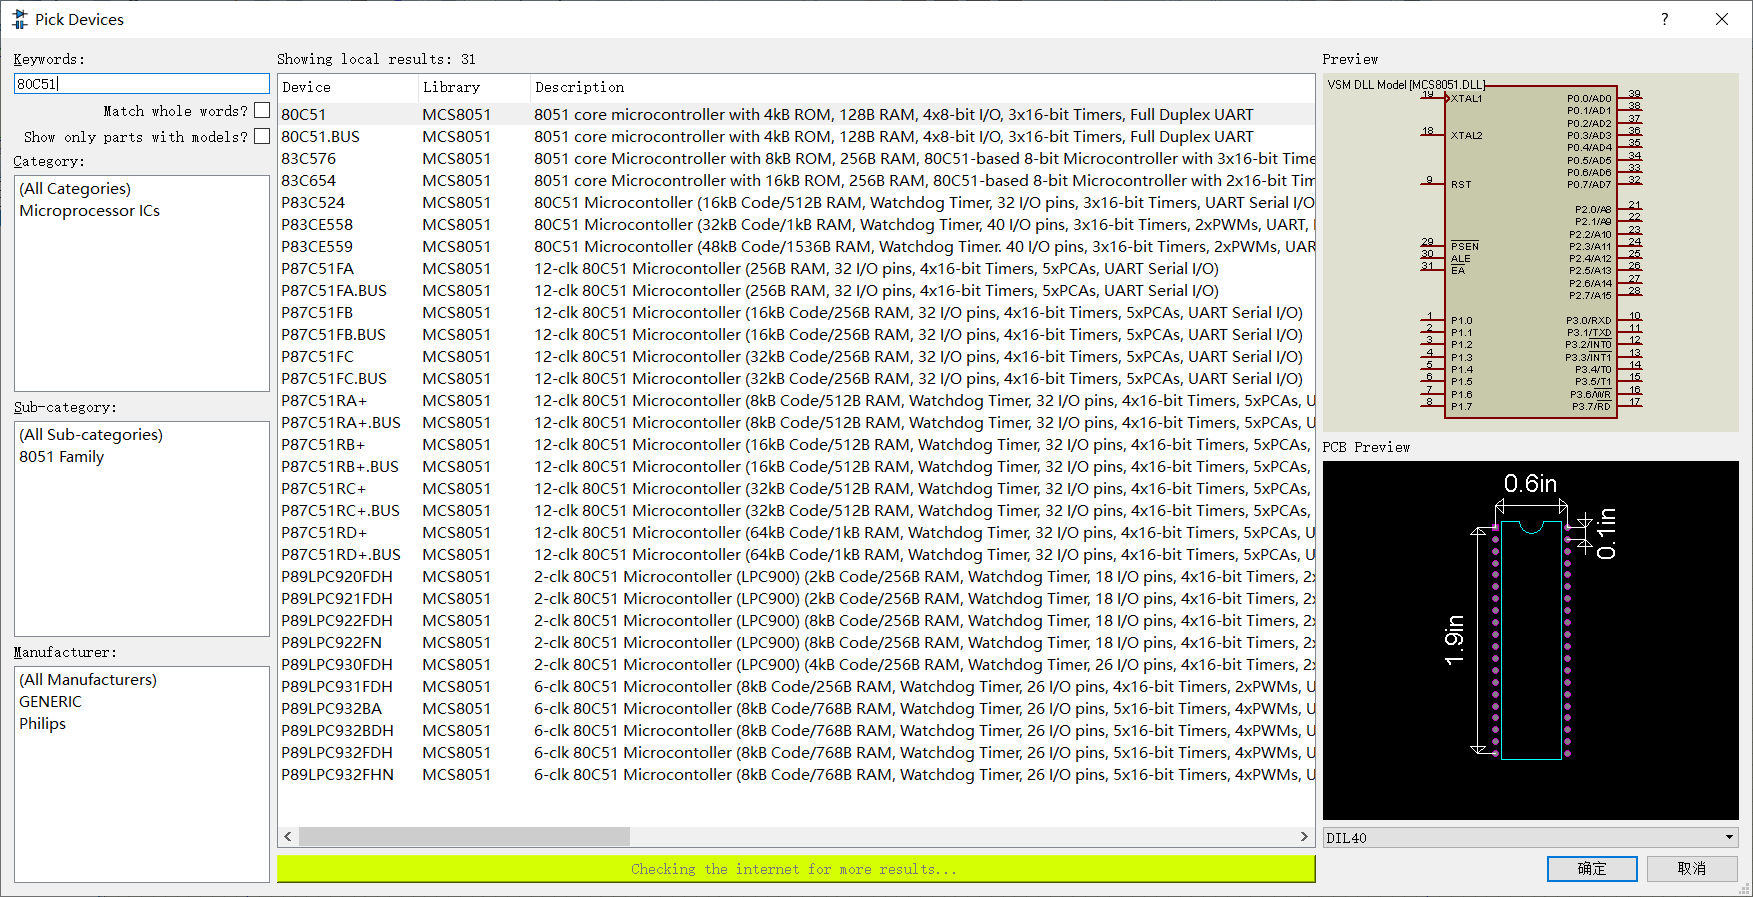
2.选择80c51和LED灯
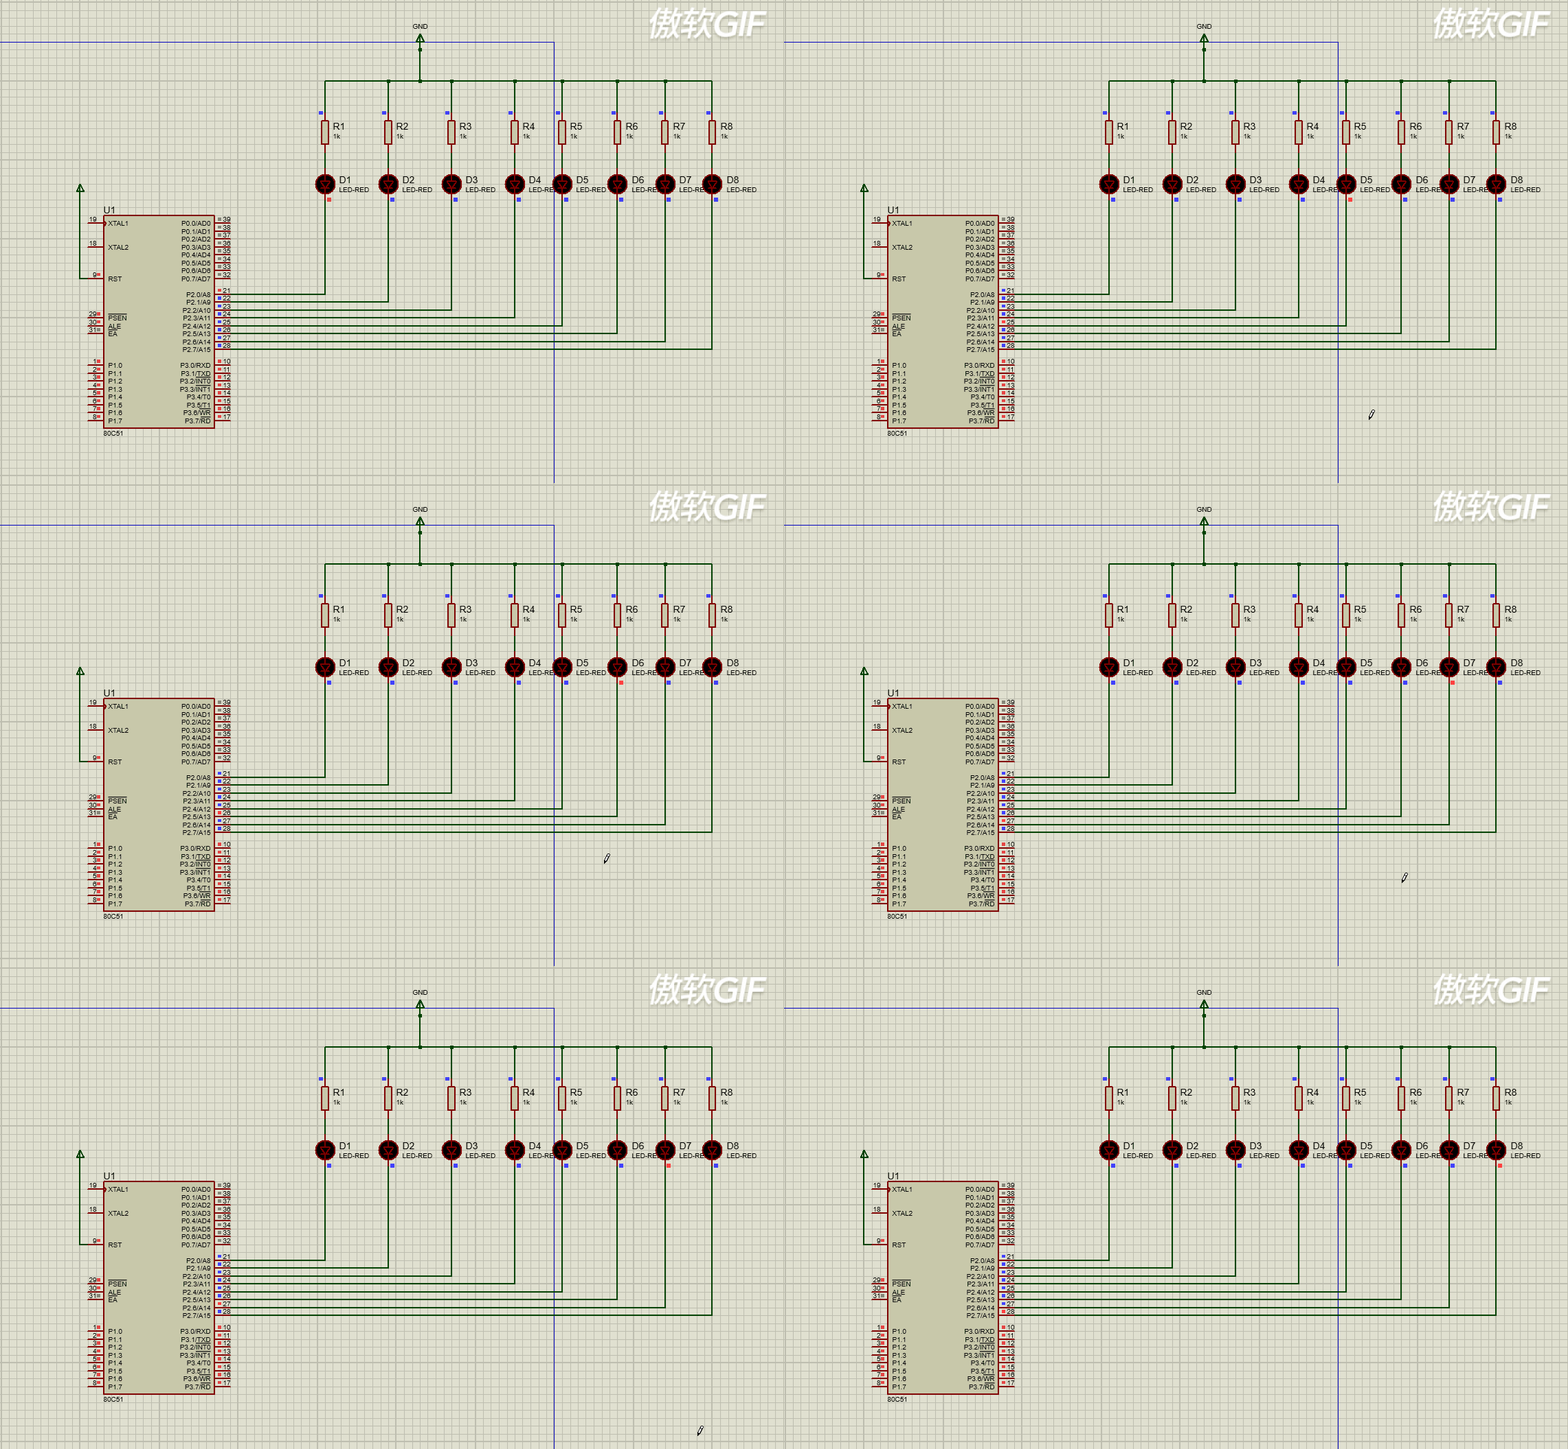
3.设计仿真电路图
4.编写流水灯代码
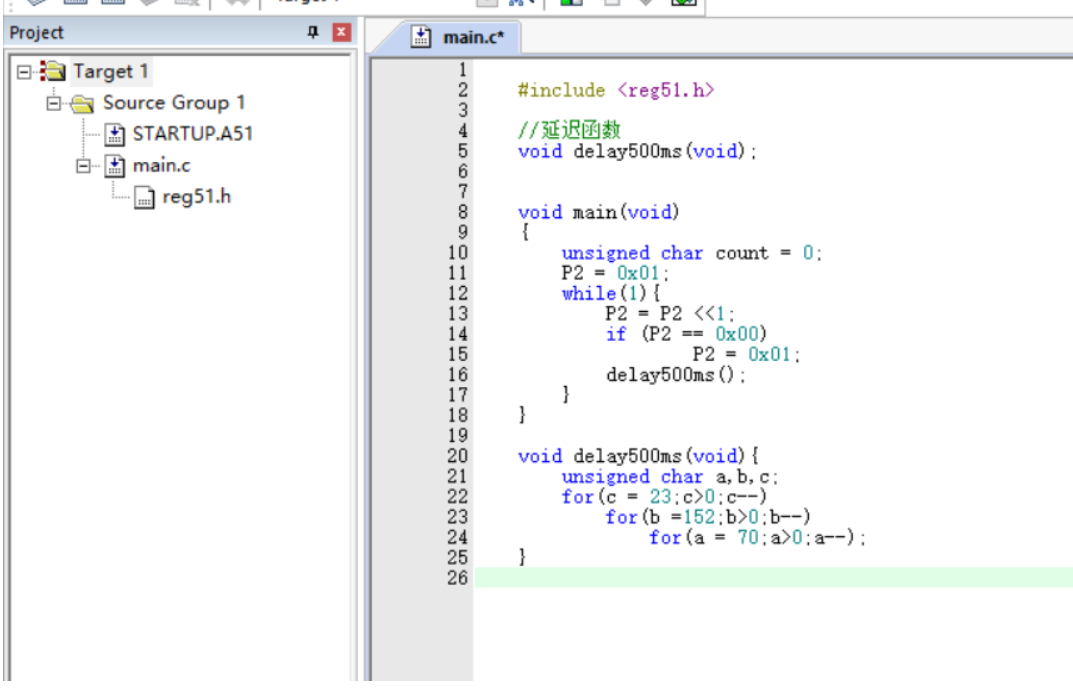
 ```c
 	#include <reg51.h>

 	//延迟函数
 	void delay500ms(void);
 	void main(void)
 	{
 		unsigned char count = 0;
 		P2 = 0x01;
 		while(1){
 			P2 = P2 <<1;
 			if (P2 == 0x00)
 					P2 = 0x01;
 			delay500ms();
 		}
 	}
 	void delay500ms(void){
 		unsigned char a,b,c;
 		for(c = 23;c>0;c--)
 			for(b =152;b>0;b--)
 				for(a = 70;a>0;a--);
 	}
 ```
5.成果展示
