Subject:利用Eclipse+openJTAG调试led.axf文件
Date: 3-Mar-2011
1.本文在《007.FL2440板载用户LED的使用》的基础上调试led.axf文件
2.Eclipse+openJTAG交叉开发系统图示

3.安装openJTAG随盘windows下软件(2~4为交叉编译工具链)
01. OpenOCD with GUI setup.exe(openJTAG 图形控制界面)
02. yagarto-bu-2.18_gcc-4.2.2-c-c++_nl-1.16.0_gi-6.8.50_20080408.exe
03. yagarto-tools-20070303-setup.exe
04. jre-6u7-windows-i586-p.exe
4.在Windows命令行CMD中确定以上软件是否安装成功
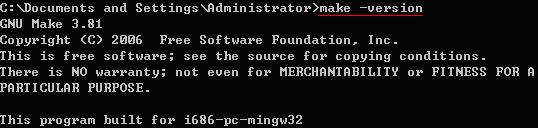


OK!
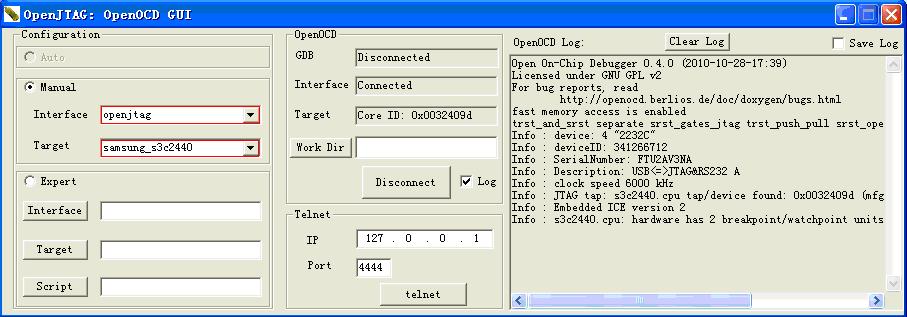
5.连接好openJTAG,上电开发板
6.启动openOCD GUI并按Connect按键连接开发板
7.启动Eclipse,提示建立工程目录

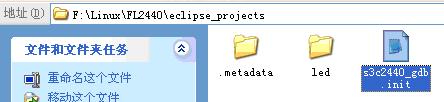
8.拷贝《007.FL2440板载用户LED的使用》的led工程文件及openJTAG光盘的s3c2440_gdb.init到eclipse_projects目录下:
9.进入Workbench界面

10.建立一新的C Project工程led
1)File->New->C Project

2) ->Debug Configurations
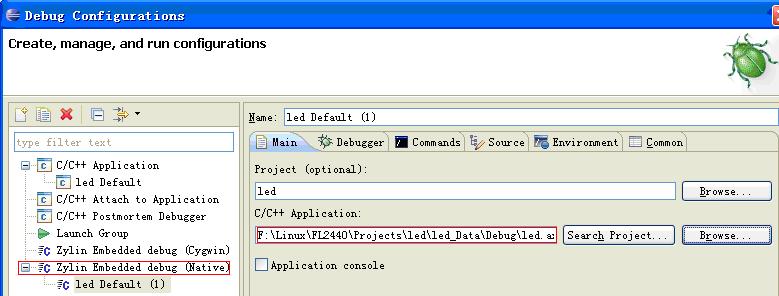
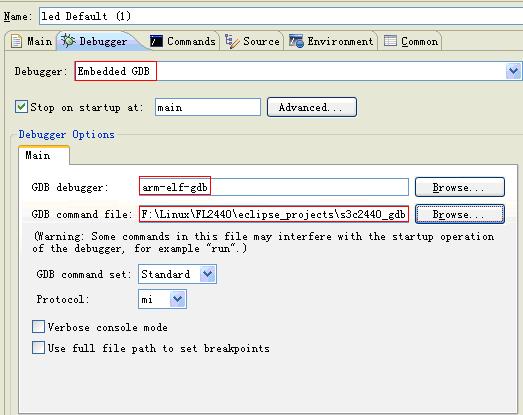
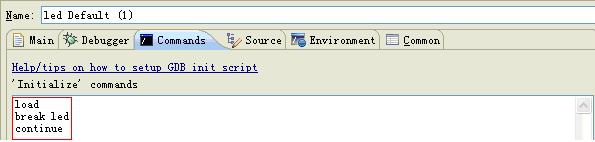
注:break led中的init为led工程目录下的led.c中的led(void)的函数名led.
11.单步调试
1)注OpenOCD GUI已启用并连上开发板

2)点击Debug Configurations->Debug程序进入调试状态,可见程式被中断在led入口处的第二条语句上:

按F5可进入单步调试状态,led0被点亮,测试OK!