Nginx是俄罗斯人编写的十分轻量级的HTTP服务器,Nginx,它的发音为“engine X”,是一个高性能的HTTP和反向代理服务器,同时也是一个IMAP/POP3/SMTP 代理服务器.Nginx是由俄罗斯人 Igor Sysoev为俄罗斯访问量第二的 Rambler.ru站点开发.
Nginx以事件驱动(epoll)的方式编写,所以有非常好的性能,同时也是一个非常高效的反向代理、负载平衡。但是Nginx并不支持cgi方式运行,原因是可以减少因此带来的一些程序上的漏洞。所以必须使用FastCGI方式来执行PHP程序。
由于Nginx本身的一些优点,轻量,开源,易用,越来越多的公司使用nginx作为自己公司的web应用服务器,本文详细介绍nginx源码安装的同时并对nginx进行优化配置。
一、安装所需环境
Nginx 是 C语言 开发,建议在 Linux 上运行,当然,也可以安装 Windows 版本,本篇则使用 CentOS 7 作为安装环境。
1.1 gcc 安装
安装 nginx 需要先将官网下载的源码进行编译,编译依赖 gcc 环境,如果没有 gcc 环境,则需要安装:
yum install gcc-c++
1.2 PCRE pcre-devel 安装
PCRE(Perl Compatible Regular Expressions) 是一个Perl库,包括 perl 兼容的正则表达式库。nginx 的 http 模块使用 pcre 来解析正则表达式,所以需要在 linux 上安装 pcre 库,pcre-devel 是使用 pcre 开发的一个二次开发库。nginx也需要此库。命令:
yum install -y pcre pcre-devel
1.3 zlib 安装
zlib 库提供了很多种压缩和解压缩的方式, nginx 使用 zlib 对 http 包的内容进行 gzip ,所以需要在 Centos 上安装 zlib 库。
yum install -y zlib zlib-devel
1.4 OpenSSL 安装
OpenSSL 是一个强大的安全套接字层密码库,囊括主要的密码算法、常用的密钥和证书封装管理功能及 SSL 协议,并提供丰富的应用程序供测试或其它目的使用。
nginx 不仅支持 http 协议,还支持 https(即在ssl协议上传输http),所以需要在 Centos 安装 OpenSSL 库。
yum install -y openssl openssl-devel
PS.偷懒的方式也可以一次性执行安排所有所需要环境
yum install -y gcc-c++ && yum install -y pcre pcre-devel && yum install -y openssl openssl-devel && yum install -y openssl openssl-devel
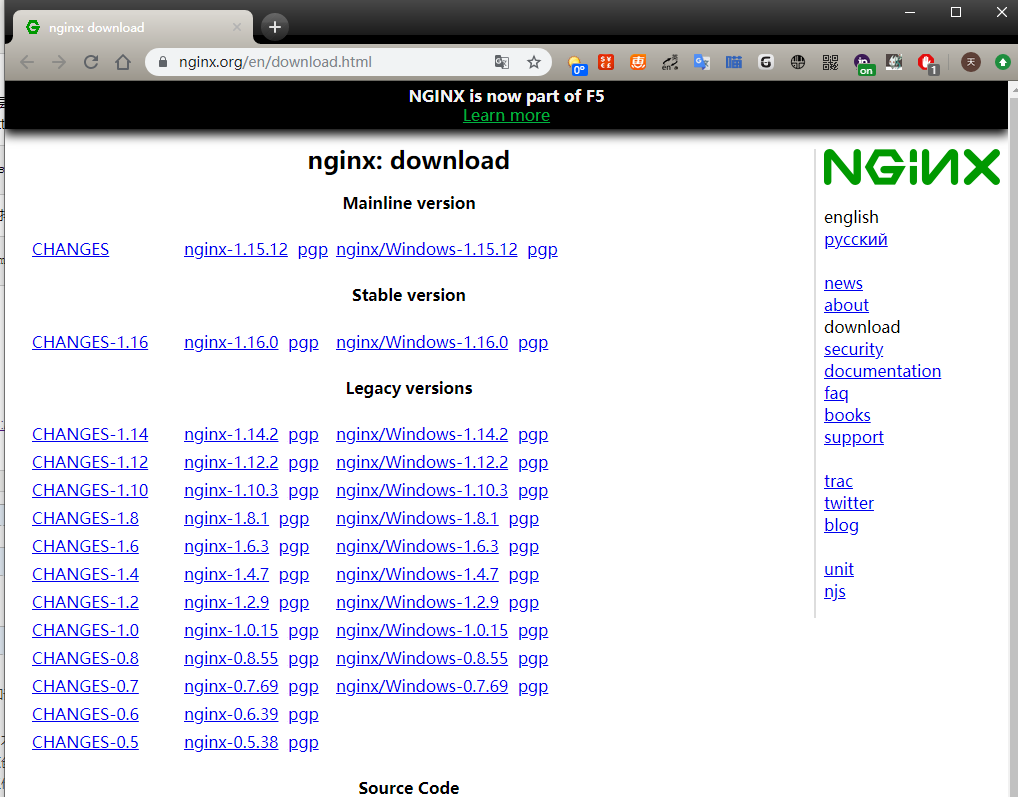
二.下载Nginx
方法1:直接下载.tar.gz安装包 地址:https://nginx.org/en/download.html
方法2:使用wget命令下载(推荐)
wget -c https://nginx.org/download/nginx-1.16.0.tar.gz

我下载的是1.16.0版本,这个是目前的稳定版。
三.解压
直接命令解压:
tar -zxvf nginx-1.16.0.tar.gz
四.配置
1.使用默认配置(建议直接使用默认配置)
./configure
2.自定义配置
./configure
--prefix=/usr/local/nginx
--conf-path=/usr/local/nginx/conf/nginx.conf
--pid-path=/usr/local/nginx/conf/nginx.pid
--lock-path=/var/lock/nginx.lock
--error-log-path=/var/log/nginx/error.log
--http-log-path=/var/log/nginx/access.log
--with-http_gzip_static_module
--http-client-body-temp-path=/var/temp/nginx/client
--http-proxy-temp-path=/var/temp/nginx/proxy
--http-fastcgi-temp-path=/var/temp/nginx/fastcgi
--http-uwsgi-temp-path=/var/temp/nginx/uwsgi
--http-scgi-temp-path=/var/temp/nginx/scgi
./configure --prefix=/usr/local/nginx --with-http_dav_module --with-http_stub_status_module  --with-http_addition_module --with-http_sub_module  --with-http_flv_module --with-http_mp4_module --with-pcre --with-http_ssl_module --with-http_gzip_static_module  --user=nginx  --group=nginx
make && make install
./configure --prefix=/usr --sbin-path=/usr/sbin/nginx --conf-path=/etc/nginx/nginx.conf --error-log-path=/var/log/nginx/error.log --pid-path=/var/run/nginx/nginx.pid --lock-path=/var/lock/nginx.lock --user=nginx --group=nginx --with-http_ssl_module --with-http_flv_module --with-http_gzip_static_module --http-log-path=/var/log/nginx/access.log --http-client-body-temp-path=/var/tem/nginx/client --http-proxy-temp-path=/var/tem/nginx/proxy --http-fastcgi-temp-path=/var/tem/nginx/fcgi --with-http_stub_status_module
五.编译安装
make && make install
查找安装路径:whereis nginx

启动、停止nginx
cd /usr/local/nginx/sbin/
./nginx
./nginx -s stop
./nginx -s quit
./nginx -s reload
查询nginx进程:
ps aux|grep nginx
重启 nginx
1.先停止再启动(推荐):
对 nginx 进行重启相当于先停止再启动,即先执行停止命令再执行启动命令。如下:
./nginx -s quit
./nginx
2.重新加载配置文件:
当 ngin x的配置文件 nginx.conf 修改后,要想让配置生效需要重启 nginx,使用-s reload不用先停止 ngin x再启动 nginx 即可将配置信息在 nginx 中生效,如下:
./nginx -s reload
PS 防火墙开放80端口

firewall-cmd --permanent --zone=public --add-port=80/tcp
firewall-cmd --reload  重启防火墙

————————————————————————————————————————————————————————————
firewall-cmd --permanent --zone=public --add-service=http
firewall-cmd --permanent --zone=public --add-service=https
firewall-cmd --reload 重启防火墙
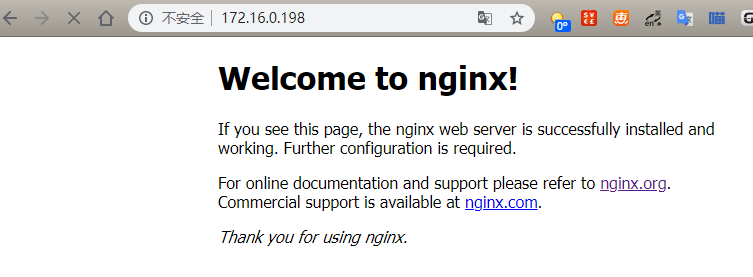
启动成功后,windows访问测试:
六.开机自启动
即在rc.local增加启动代码就可以了
vim /etc/rc.local
增加一行 /usr/local/nginx/sbin/nginx
设置执行权限:
chmod 755 rc.local
细节优化
PS 安装完成后的优化
ln -s /usr/local/nginx/sbin/nginx /usr/local/sbin/
安装部分完成 ,接着配置反向代理