这边开始写一个Demo来熟悉下Netty的使用,Demo主要为写一个Echo服务器来实现服务器和客户端之间的交流问题
ChannelHandler是一个接口簇的父接口,它的实现负责接收并响应事件通知。在Netty应用程序中,所有的数据处理逻辑都是包含在这下核心抽象的实现中。需要响应传入的消息,那么就至少需要实现一个ChannelInboundHandler接口,用来定义入站的事件。
ChannelRead()——对于每个传入的消息都调用
ChannelReadComplete()——通知ChannelInboundHandler最后一次对ChannelRead()调用是当前批量读取中的最后一条消息
exceptionCaught()——在读取操作期间,有异常抛出时候会进行调用
import io.netty.buffer.ByteBuf;
import io.netty.buffer.Unpooled;
import io.netty.channel.ChannelFutureListener;
import io.netty.channel.ChannelHandler;
import io.netty.channel.ChannelHandlerContext;
import io.netty.channel.ChannelInboundHandlerAdapter;

import java.nio.charset.Charset;

/**
 * description: EchoServerHandler
 * date: 2021/4/21 17:43
 *
 * @author: SmartCat
 * version: 1.0.0
 */
@ChannelHandler.Sharable
public class EchoServerHandler extends ChannelInboundHandlerAdapter {

    @Override
    public void channelRead(ChannelHandlerContext ctx, Object msg){
        ByteBuf in = (ByteBuf) msg;
        System.out.println (in.toString (Charset.defaultCharset ()));
        ctx.write (in);
    }

    @Override
    public void channelReadComplete(ChannelHandlerContext ctx){
        ctx.writeAndFlush (Unpooled.EMPTY_BUFFER)
                .addListener (ChannelFutureListener.CLOSE);
    }

    @Override
    public void exceptionCaught (ChannelHandlerContext ctx, Throwable cause){
        cause.printStackTrace ();
        ctx.close ();
    }
}
ChannelInboundHandlerAdapter有一个直观的API,可以通过重写它的方法来对重新挂钩到事件生命周期的恰当点上。
开始写一个引导类,来对Netty进行启动。
引导类的绑定到服务器将在其上监听并接受传入连接请求的端口;配置Channel,将有关的入站这消息通知给EchoServerHandler实例。
import io.netty.bootstrap.ServerBootstrap;
import io.netty.channel.ChannelFuture;
import io.netty.channel.ChannelInitializer;
import io.netty.channel.nio.NioEventLoopGroup;
import io.netty.channel.socket.SocketChannel;
import io.netty.channel.socket.nio.NioServerSocketChannel;

import java.net.InetSocketAddress;

/**
 * description: EchoServer
 * date: 2021/4/21 17:57
 *
 * @author: SmartCat
 * version: 1.0.0
 */
public class EchoServer {
    private int port=8080;
    public EchoServer(int port){
        this.port = port;
    }

    public static void main(String[] args) throws InterruptedException {
        new EchoServer (8088).start();
    }

    private void start() throws InterruptedException {
        EchoServerHandler echoServerHandler = new EchoServerHandler ();
     //NioEventLoopGroup无参构建的时候调用MultithreadEventLoopGroup的构造参数,默认的线程数是CPU个数的*2
        NioEventLoopGroup group = new NioEventLoopGroup ();

        try{
            ServerBootstrap serverBootstrap = new ServerBootstrap ();
            serverBootstrap.group(group)
                    .channel (NioServerSocketChannel.class)
                    .localAddress (new InetSocketAddress (8088))
            //新连接被接受的时候,一个新的Channel会被创建,ChannelInitializer会将一个你的EchoServerHandler的实例添加到该Channel的ChannelPipeline中
                    .childHandler (new ChannelInitializer<SocketChannel> () {
                        @Override
                        protected void initChannel(SocketChannel socketChannel) throws Exception {
                            socketChannel.pipeline ().addLast (echoServerHandler);
                        }
                    });
            ChannelFuture f = serverBootstrap.bind ().sync ();
            f.channel ().closeFuture ().sync ();
        } catch (InterruptedException e) {
            e.printStackTrace ();
        } finally {
            group.shutdownGracefully ().sync ();
        }
    }

}
主要步骤:
1.实现自己的Handler————>EchoServerHandler
2.main()方法进行引导启动
3.创建一个ServerBootStrap的实例以引导和绑定服务器
4.创建并分配一个NioEventGroup实例线程组来进行事件的处理,接受新连接以及读写操作
5.指定服务器绑定的本地的InetSocketAddress
6.使用EchoServerHandler的实例初始化每一个新的Channel
7.调用ServerBootStrap.bind()以绑定服务器
然后建立一个自己的客户端
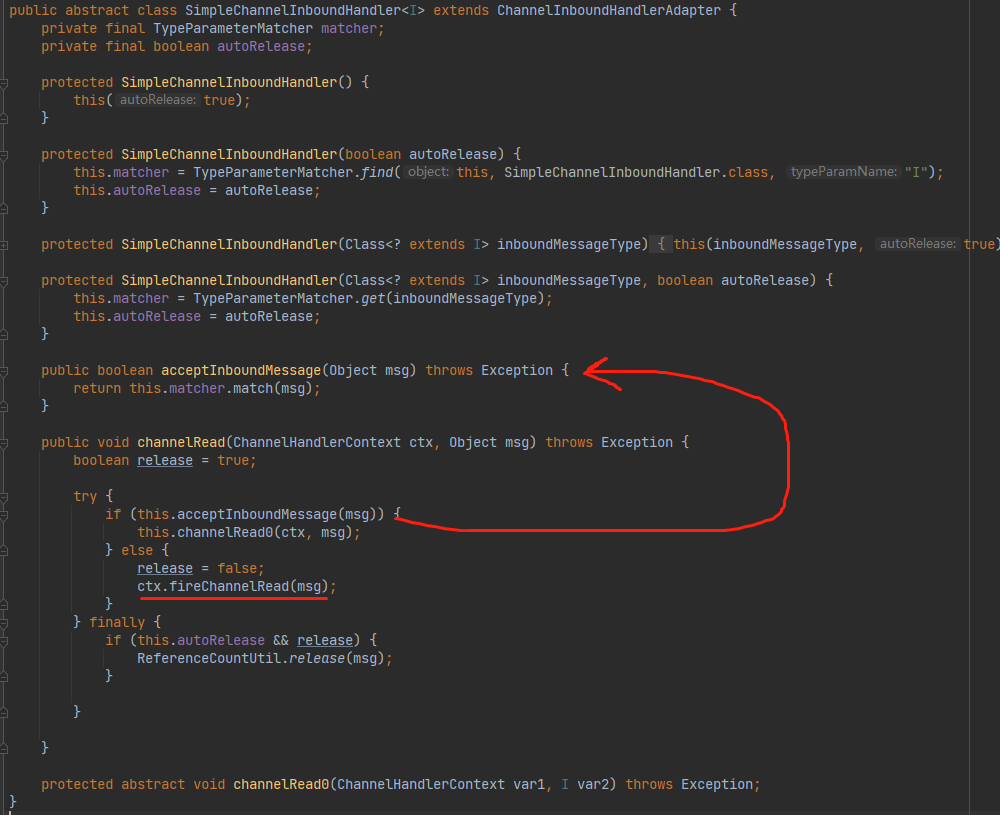
和服务端一样,服务端对应的是ChannelInboundHandlerAdapter。客户端也是ChannelInboundHandlerAdapter(這邊使用的相對簡單的SimpleChannelInboundHandler)。重写的方法不同而已,客户端需要重写的是连接后,读,以及异常的处理

import io.netty.buffer.ByteBuf;
import io.netty.buffer.Unpooled;
import io.netty.channel.ChannelHandler;
import io.netty.channel.ChannelHandlerContext;
import io.netty.channel.SimpleChannelInboundHandler;

import java.nio.charset.Charset;

/**
 * description: EchoClinentHandler
 * date: 2021/4/21 18:11
 *
 * @author: SmartCat
 * version: 1.0.0
 */
@ChannelHandler.Sharable
public class EchoClientHandler extends SimpleChannelInboundHandler<ByteBuf>{

    @Override
    public void channelActive(ChannelHandlerContext ctx){
        ctx.writeAndFlush (Unpooled.copiedBuffer ("Netty rocks", Charset.defaultCharset ()));
    }

    @Override
    protected void channelRead0(ChannelHandlerContext channelHandlerContext, ByteBuf byteBuf) throws Exception {
        System.out.println ("channelHandlerContext is get");
    }

    @Override
    public void exceptionCaught(ChannelHandlerContext ctx, Throwable t){
        t.printStackTrace ();
        ctx.close ();
    }
}
重写ChannelAdvice方法是为了在连接被调用的时候,数据将被写入服务器,重写ChannelRead0()方法是一个接收数据的时候进行的方法。
为什么使用Simple.....不是EchoServerHandler中的那个呢?因为write是异步的,Simple帮我们又做了一层自动的刷新处理
最后再建立一个客户端的启动引导类就可以完成了。
import io.netty.bootstrap.Bootstrap;
import io.netty.channel.ChannelFuture;
import io.netty.channel.ChannelInitializer;
import io.netty.channel.nio.NioEventLoopGroup;
import io.netty.channel.socket.SocketChannel;
import io.netty.channel.socket.nio.NioSocketChannel;

import java.net.InetSocketAddress;

/**
 * description: EchoClient
 * date: 2021/4/21 18:27
 *
 * @author: SmartCat
 * version: 1.0.0
 */
public class EchoClient {


    public void start() {
        NioEventLoopGroup group = new NioEventLoopGroup ();
        try {
            Bootstrap b = new Bootstrap ();
            b.group (group)
                    .channel (NioSocketChannel.class)
                    .remoteAddress (new InetSocketAddress ("127.0.0.1", 8088))
                    .handler (new ChannelInitializer<SocketChannel> () {
                        @Override
                        protected void initChannel(SocketChannel socketChannel) {
                            socketChannel.pipeline ().addLast (new EchoClientHandler ());
                        }
                    });
            ChannelFuture f = b.connect ().sync ();
            f.channel ().closeFuture ().sync ();
        } catch (InterruptedException e) {
            e.printStackTrace ();
        }
    }

    public static void main(String[] args) {
        new EchoClient ().start ();
    }
}
主要的要点:
1.为了初始化客户端,创建一个BootStrap实例
2.为进行实践处理分配了一个NioEventLoopGroup实例,其中实践处理包括创建新的连接以及处理入站和出站数据
3.创建一个InetSocketAddress实例
4.当连接被建立时,一个EchoClientHandler实例会被安装到ChannelPipeline中