一、修改maven.xml
1、添加<.packaging>war</.packaging>,打包为war包
<packaging>war</packaging>

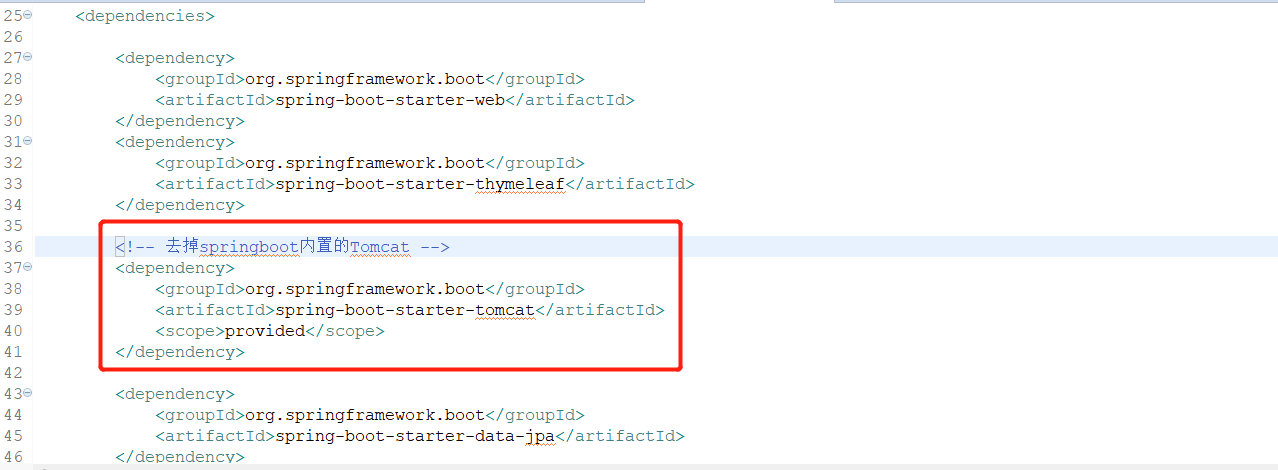
2、不使用SpringBoot内置的Tomcat,添加
<dependency>
  <groupId>org.springframework.boot</groupId>
  <artifactId>spring-boot-starter-tomcat</artifactId>
  <scope>provided</scope>
</dependency>

二、修改application.properties文件,添加 content-path
server.servlet.context-path=/wx-server
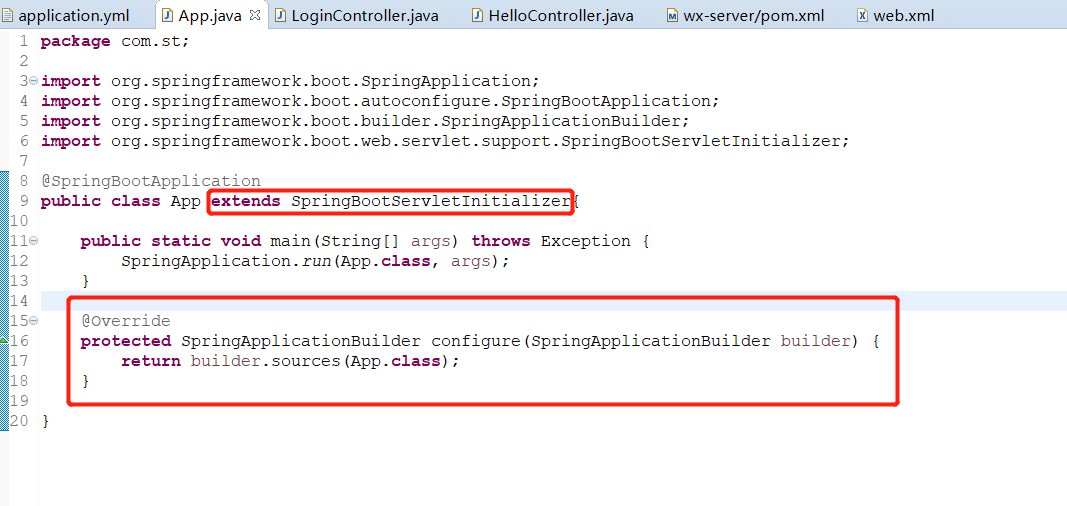
三、修改启动文件main方法,让该方法继承自SpringBootServletInitializer,并且重写configure方法:
@Override
protected SpringApplicationBuilder configure(SpringApplicationBuilder builder) {
  return builder.sources(App.class);
}
修改后的为:
package com.st;

import org.springframework.boot.SpringApplication;
import org.springframework.boot.autoconfigure.SpringBootApplication;
import org.springframework.boot.builder.SpringApplicationBuilder;
import org.springframework.boot.web.servlet.support.SpringBootServletInitializer;

@SpringBootApplication
public class App extends SpringBootServletInitializer{

    public static void main(String[] args) throws Exception {
        SpringApplication.run(App.class, args);
    }

    @Override
    protected SpringApplicationBuilder configure(SpringApplicationBuilder builder) {
        return builder.sources(App.class);
    }

}

在webapp目录新建WEB-INF,并新建web.xml文件
<?xml version="1.0" encoding="UTF-8"?>
<web-app xmlns:xsi="http://www.w3.org/2001/XMLSchema-instance"
xmlns="http://java.sun.com/xml/ns/javaee"
xmlns:web="http://java.sun.com/xml/ns/javaee/web-app_2_5.xsd"
xsi:schemaLocation="http://java.sun.com/xml/ns/javaee http://java.sun.com/xml/ns/javaee/web-app_3_0.xsd"
id="WebApp_ID" version="3.0">
<display-name>vxsoft-tts</display-name>
</web-app>
四、打包
1、在项目的根目录下面执行命令:
mvn clean package
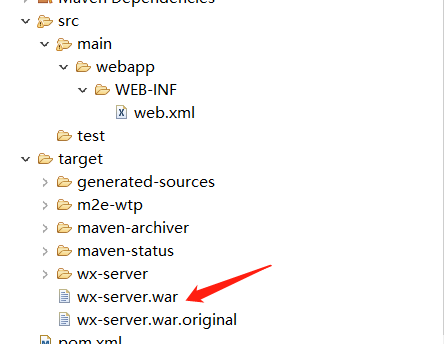
打包成功后,在项目的根目录下面会多出一个target目录,该目录下面有一个war包,名为:wx-server.war。

五、拷贝到tomcat的webapps目录,重启tomcat。
六、访问测试
注意:此时访问的端口以tomcat的端口为准。
http://localhost:8080/wx-server/indexhtml