上一次的随笔内容只是简单的实现了Bean的装配(依赖注入)
今天来具体讲讲实现Bean装配的三种常用方法:
自动化装配
使用javaConfig显示装配
使用xml装配
一般来说,尽可能地使用自动化装配(spring的一大原则就是约定大于配置),在必要时使用javaConfig显示装配,实在不行才使用xml装配
本篇不涉及xml装配
一、自动化装配
所谓自动化装配,就是让spring自动的发现上下文所创建的Bean,并自动满足这些Bean之间的依赖。
自动扫描需要在Config配置类里加上@ComponentScan注解:
@Configuration
//@PropertySource("classpath:./test/app.properties")
@ComponentScan
public class CDPlayerConfig {

//    @Autowired
//    Environment env;
//
//    @Bean
//    @Conditional(CDExistsCondition.class)
//    public CDPlayer cdPlayer(CompactDisc compactDisc){
//      return new CDPlayer(compactDisc);
//    }
//
//    @Bean
////    @Primary
//    public CompactDisc sgtPeppers(){
//        return new BlankDisc();
////        return new SgtPeppers();
//    }
//
//    @Bean
//    public static PropertySourcesPlaceholderConfigurer placeholderConfigurer(){
//        return new PropertySourcesPlaceholderConfigurer();
//    }
//
//    @Bean
//    @Primary
//    public CompactDisc BeatIt(){
//        return new BeatIt();
//    }
}
如果不需要再显示配置Bean,那么配置类里可以是空的,完全交给Spring去自动配置。
既然要让spring自动发现Bean,那么在写类的时候,我们便要加上@Component注解,表示这是一个可以被发现的Bean:
package CD_Play;

import org.springframework.stereotype.Component;

@Component("abc")
public class SgtPeppers implements  CompactDisc {

    private String title = "Sgt. Pepper's Lonely Hearts Club Band";
    private String artist = "The Beatles";

    SgtPeppers(){}

    @Override
    public void play() {
        System.out.println("Playing " + title + " by " + artist);
    }
}
这里类是一张“CD”,他实现了CD接口,并具有play功能,我们正准备把他放入“CD机”(CDPlayer)进行播放,现在我们为这个类加上了@Component注解,他就可以被Spring自动扫描发现了。
现在Spring已经可以发现这个类了,那么要怎么才能让Spring直到这个类该装配到哪里去呢,这就需要我们在需要装配的地方加上@Autowired注解:
package CD_Play;

import org.springframework.beans.factory.annotation.Autowired;
import org.springframework.beans.factory.annotation.Qualifier;
import org.springframework.stereotype.Component;

@Component
public class CDPlayer implements MediaPlayer{

    private CompactDisc cd;

    @Autowired
    CDPlayer(CompactDisc cd){
        this.cd = cd;
    }

//    @Autowired
//    @Qualifier("abc")
//    public void setCd(CompactDisc cd) {
//        this.cd = cd;
//    }
//    public CDPlayer(CompactDisc cd){
//        this.cd = cd;
//    }

    @Override
    public void play() {
        cd.play();
    }
}
这个@Autowired注解可以加载构造器上,也可以加载set方法上(如注释中一样),这样Spring就会根据所需要的参数(这里是CompactDisc类的参数)从创建好各个Bean的容器中找到匹配这个类型的Bean直接装配进去。
最后放出测试类进行测试:
@RunWith(SpringJUnit4ClassRunner.class)
@ContextConfiguration(classes = CDPlayerConfig.class)
public class CDPlayerTest{


    @Rule
    public final StandardOutputStreamLog log = new StandardOutputStreamLog();

    @Autowired
    private MediaPlayer player;

    @Autowired
    private CompactDisc cd;

    @Test
    public void cdShouldNotBeNull(){
        assertNotNull(cd);
    }

    @Test
    public void play(){
        player.play();
        assertEquals("Playing Sgt. Pepper's Lonely Hearts Club Band" +
                " by The Beatles
", log.getLog());
    }
}
测试结果为:
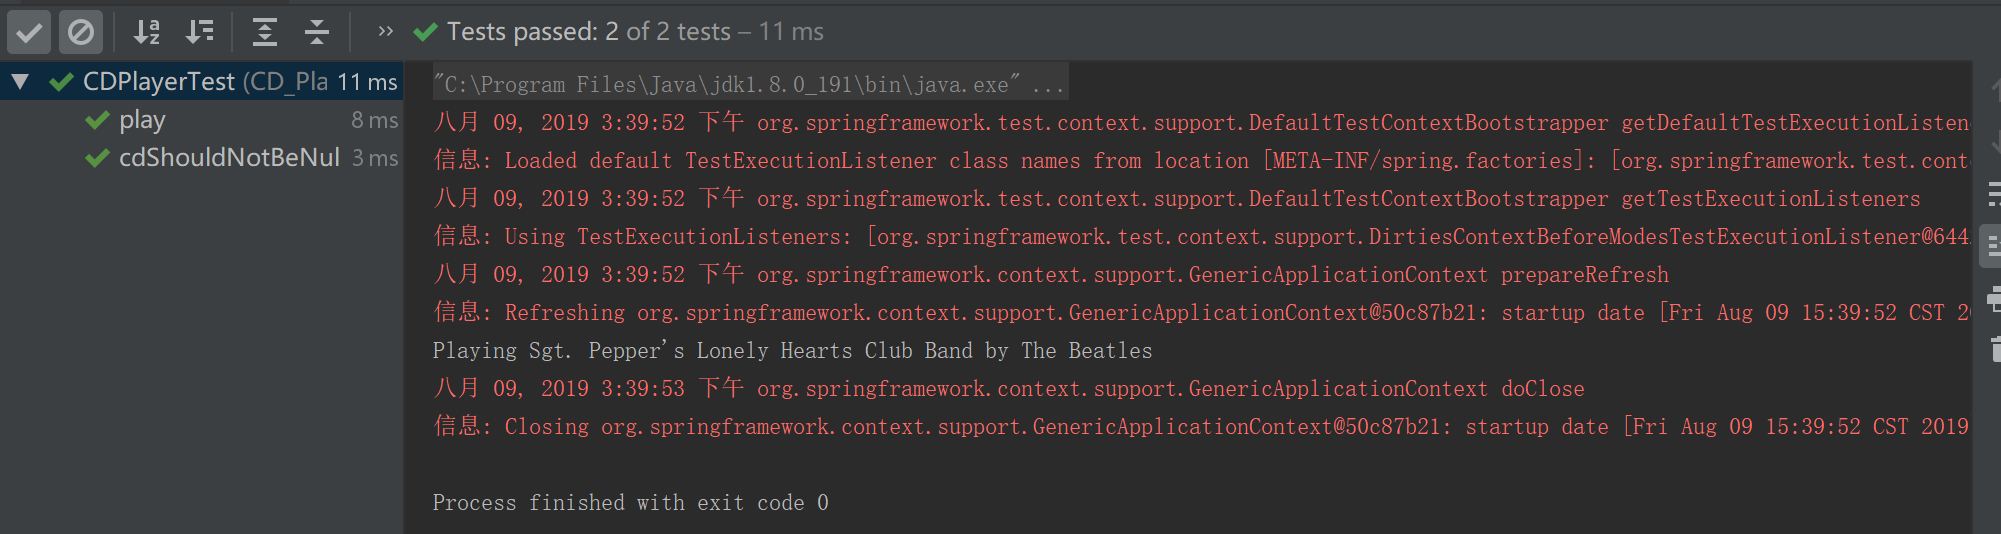
可以看到测试通过,证明Bean已被创建并被正确的装配到CDPlayer中正常工作。