最近有个需求出现在我的视野中,因为我的另外的博客需要上传文章,但是我不想每次都在我的数据库中慢慢的修改格式,所以我另做了一个后台去编辑文本后发送给服务器,那么这里就涉及到两点,一个是富文本,一个是需要图片添加之后立即回显图片,那么我们现在就进入这个需求的解决吧
首先既然是使用wangeditor这个富文本编辑器,当然第一件事是在你的项目中,下载这个npm包,这里我默认大家已经有新建了一个React项目。
npm install wangeditor --save
下载完成后,需要在自己的组件中导入,可以另起一个组件,这边我的的代码是这样的
import React from 'react';
import Edi from 'wangeditor'
import { Button } from 'antd'
// 这css里面记得导入相关的antd CSS,若不使用antd也可,只是一个效果
import './css/post.css'
// 我的照片上传API
const reqUrl = 'http://localhost:5000/upLoadArticlePicture'

let editor1;

export default class Test extends React.Component {
    componentDidMount() {
        this.initEditor()
    }

    initEditor() {
        const elem = this.refs.editor
        const editor = new Edi(elem)

        editor1 = editor

        editor1.customConfig.zIndex = 100
        editor1.customConfig.uploadImgServer = reqUrl
        // 限制一次最多上传 1 张图片
        editor1.customConfig.uploadImgMaxLength = 1
        editor1.customConfig.customUploadImg = function (files, insert) {
            // files 是 input 中选中的文件列表
            console.log(files)
            if (files[0]) {
                const formData = new window.FormData()
                formData.append('file', files[0], 'cover.jpg')
                fetch(reqUrl, {
                    method: 'POST',
                    contentType: false,
                    body: formData
                }).then((res) => {
                    return res.json()
                }).then((res) => {
                    if (res.flag) {
                        // 这里你的后台可能不是我这样的对象属性,后面会带我的node后台,请自行参考
                        insert(res.path)
                    } else {
                        console.log(res)
                    }
                })
            } else {
                console.info('请选择想上传的图片')
            }
        }
        // 自定义配置颜色(字体颜色、背景色)
        editor.customConfig.colors = [
            '#000000',
            '#0000ff',
            '#800000',
            '#ff0000',
            '#f47920',
            '#ea66a6',
            '#afdfe4',
            '#563624',
            '#3e4145',
            '#90d7ec',
            '#ffffff'
        ];

        editor1.customConfig.menus = [
            'head', // 标题
            'bold', // 粗体
            'fontSize', // 字号
            'fontName', // 字体
            'italic', // 斜体
            'underline', // 下划线
            'strikeThrough', // 删除线
            'foreColor', // 文字颜色
            'backColor', // 背景颜色
            'link', // 插入链接
            'list', // 列表
            'justify', // 对齐方式
            'quote', // 引用
            'emoticon', // 表情
            'image', // 插入图片
            // 'table', // 表格
            // 'video', // 插入视频
            // 'code', // 插入代码
            'undo', // 撤销
            'redo' // 重复
        ]
        editor1.customConfig.lang = {
            '设置标题': 'Title',
            '字号': 'Size',
            '文字颜色': 'Color',
            '设置列表': 'List',
            '有序列表': '',
            '无序列表': '',
            '对齐方式': 'Align',
            '靠左': '',
            '居中': '',
            '靠右': '',
            '正文': 'p',
            '链接文字': 'link text',
            '链接': 'link',
            '上传图片': 'Upload',
            '网络图片': 'Web',
            '图片link': 'image url',
            '插入视频': 'Video',
            '格式如': 'format',
            '上传': 'Upload',
            '创建': 'init'
        }
        editor1.create()
    }
    render() {
        return (
            <div>
                <div ref='editor' />
                <Button onClick={this.post.bind(this)} type="primary">Primary</Button>
            </div>
        );
    }
    post() {
        let html = editor1.txt.html()
        // 这里放你的上传文章代码,由于各人这边的逻辑都可能不一样,就不写上去了
        console.log(html);
    }
}
大家显示之后,大概是个这样的界面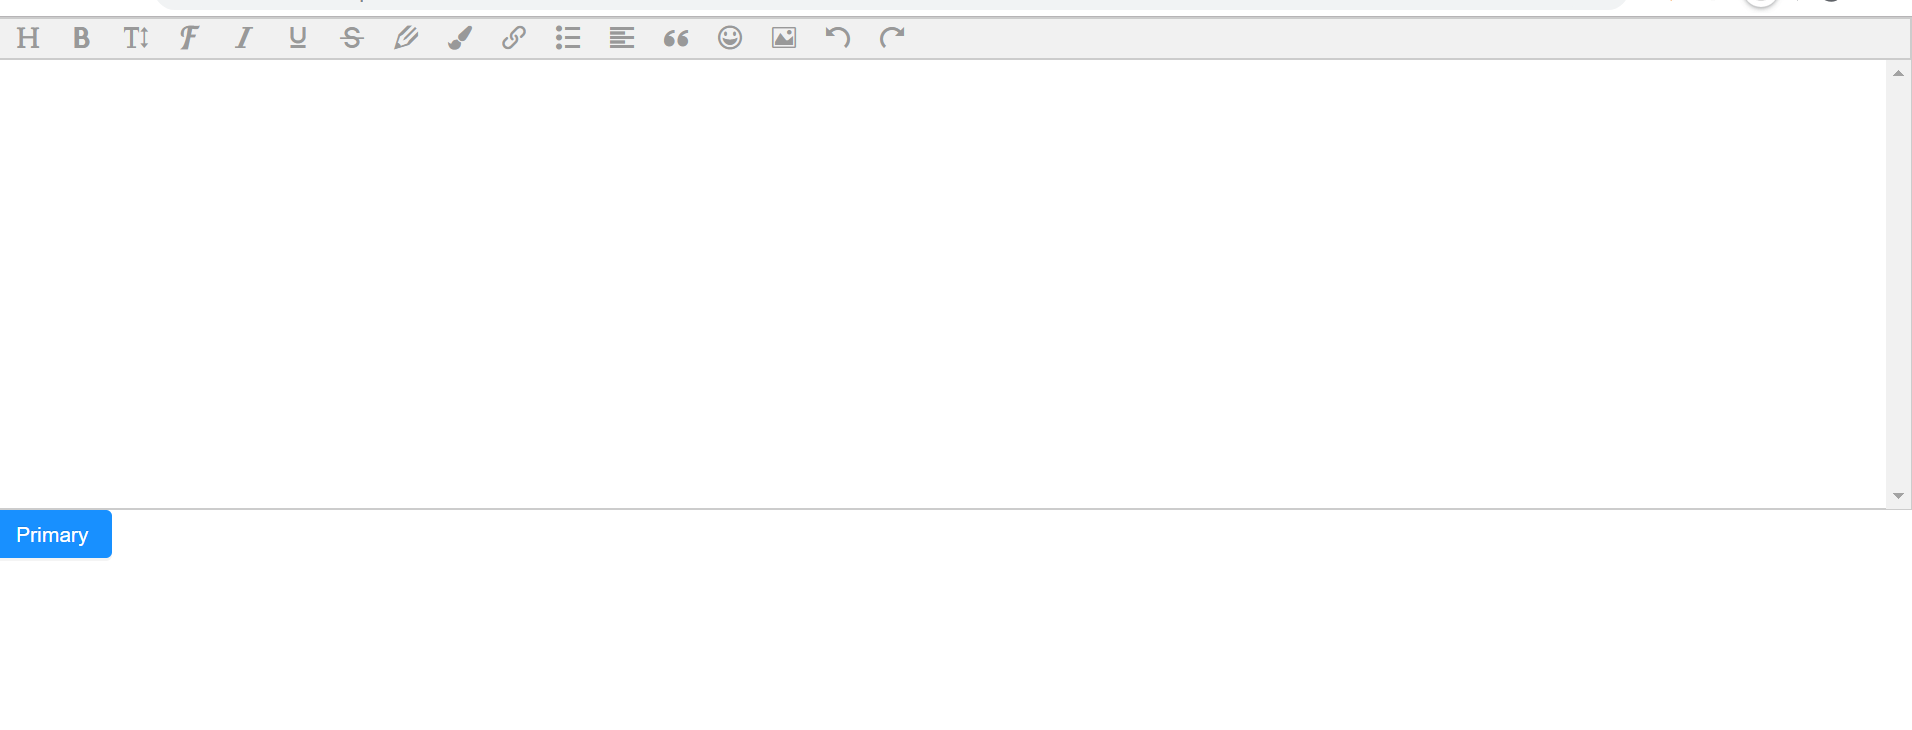
但是使用添加照片之后,会发现可能没有办法在编辑器里显示照片?这里需要解释一下照片添加的逻辑,首先是用户选择添加照片,选中照片之后,fetch立即将此照片发送至后台,由后台保存后将保存好的照片名返回,并将此img回显至编辑器中。
我的node上传照片代码,部分导入部分已省略,若需要完整代码,可以在界面右侧联系我,值得注意的是,使用formidable解析后,jpg文件会直接在你的预设照片目录有一个很长的随机名称,这边其实我也是使用了较短的名称进行重命名,大家可以根据自己的需要选择重命名策略。
const express = require("express");
const listenNumber = 5000;
const app = express();
const bodyParser = require("body-parser");
const http = require('http');//创建服务器的
var formidable = require("formidable");
var path = require("path")
var fs = require("fs")
app.use(express.static('../../upload'))
app.use(bodyParser.urlencoded({ extended: false }));
app.use(bodyParser.json());//数据JSON类型

// 上传图片
app.post('/upLoadArticlePicture', (req, res, next) => {
    let defaultPath = '../../upload/';
    let uploadDir = path.join(__dirname, defaultPath);
    let form = new formidable.IncomingForm();
    let getRandomID = () => Number(Math.random().toString().substr(4, 10) + Date.now()).toString(36)
    form.uploadDir = uploadDir;  //设置上传文件的缓存目录
    form.encoding = 'utf-8';        //设置编辑
    form.keepExtensions = true;     //保留后缀
    form.maxFieldsSize = 2 * 1024 * 1024;   //文件大小
    form.parse(req, function (err, fields, files) {
        if (err) {
            res.locals.error = err;
            res.render('index', { title: TITLE });
            return;
        }
        let filePath = files.file['path'];
        let backName = filePath.split('.')[1]
        let oldPath = filePath.split('\')[filePath.split('\').length - 1];
        let newPath = `${getRandomID()}.${backName}`;
        fs.rename(defaultPath + oldPath, defaultPath + newPath, (err) => {//fs.rename重命名
            if (!err) {
                newPath = `http://localhost:${listenNumber}/${newPath}`
                res.json({ flag: true, path: newPath });
            } else {
                res.json({ flag: false, path: '' });
            }
        })
    })
})
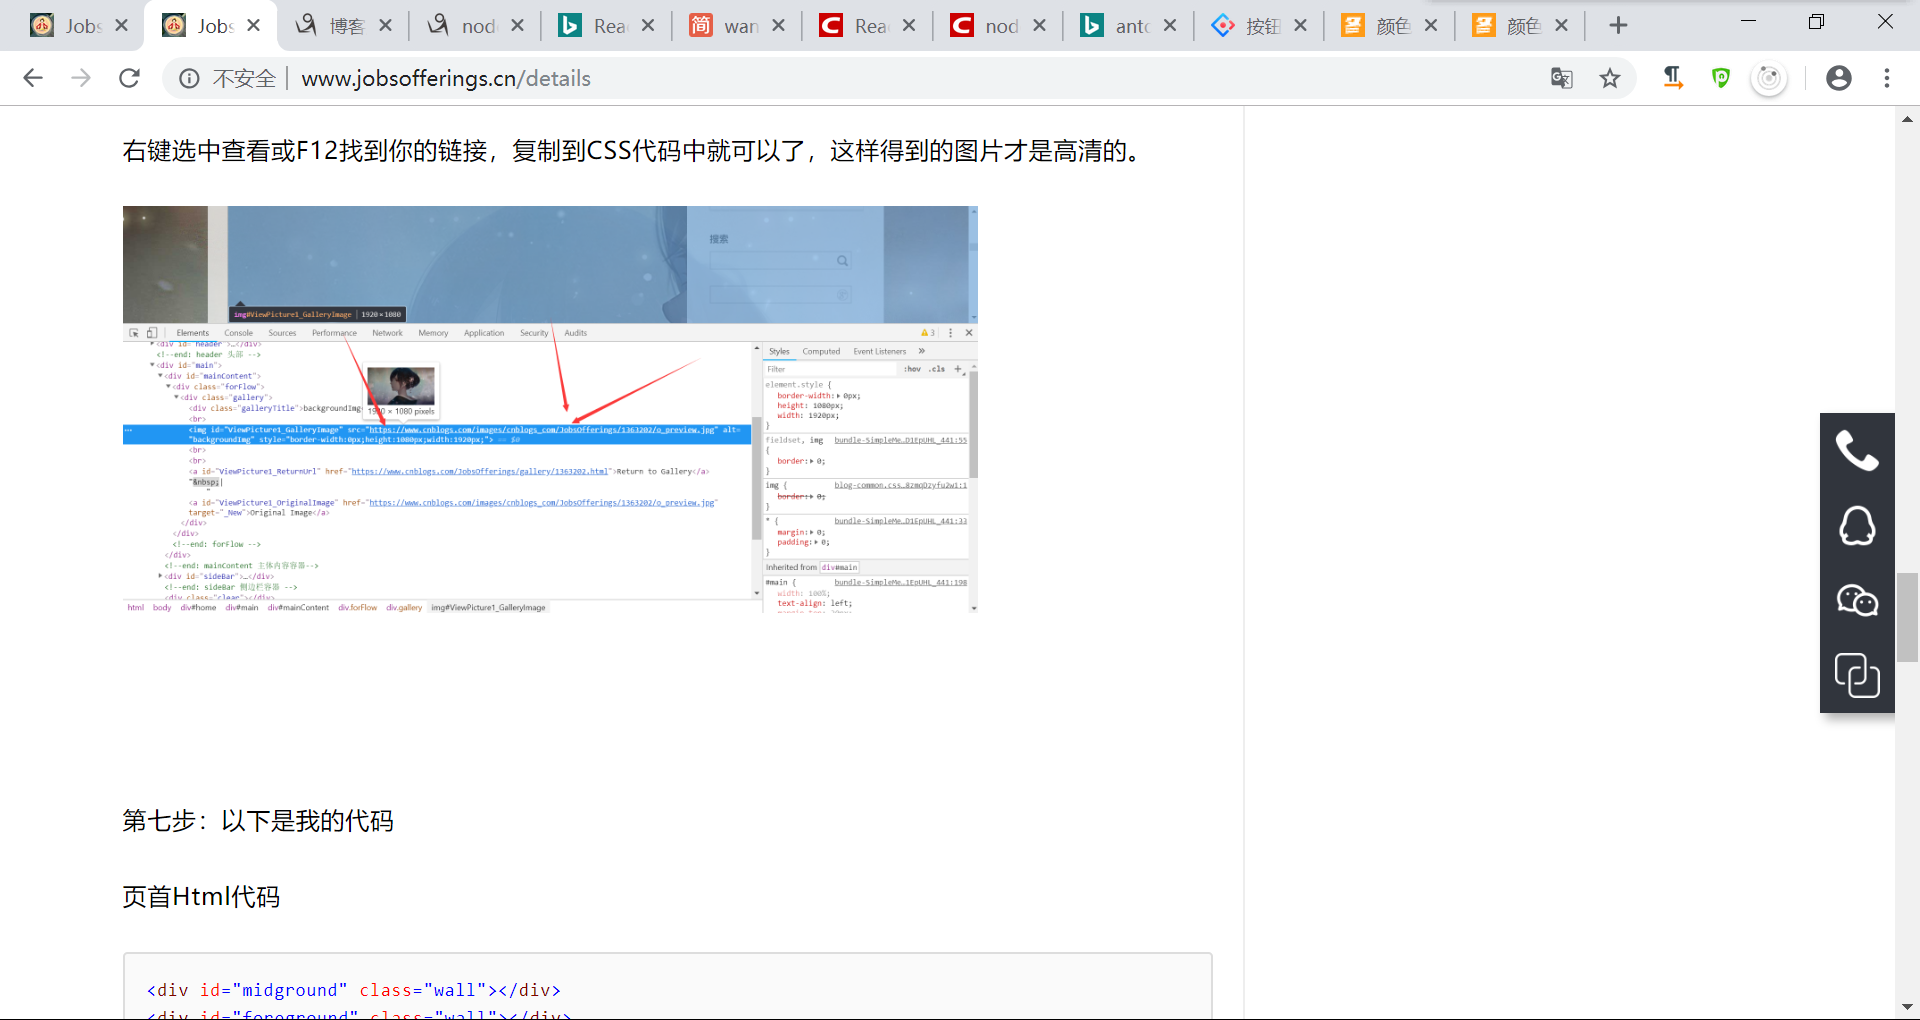
然后这里当然还是需要一个正常的文章上传接口,保存至数据库,然后就可以在自己的网页对自己的文章进行编辑了,如下是效果
谢谢大家!!!