首先,不要跟我说Shave怎么好怎么好。第一,99%人用的都是盗版;第二,Shave,包括Houdini Fur都没有完美解决高度displacement后的精确毛发生长问题。Houdini fur的Paint Density完全就是个基于顶点着色后差值的废物,根本无法和3D Paint这一步骤完美的结合起来。我提出的这个方案可以完美的解决这个问题,特别适合植物和草皮等等这些东西的制作上。更甚可以和支持Procedural Primtive的渲染器结合起来使用,实现《金刚》一样的全身毛发差值。一切为了最精确,一切为了最傻瓜控制。
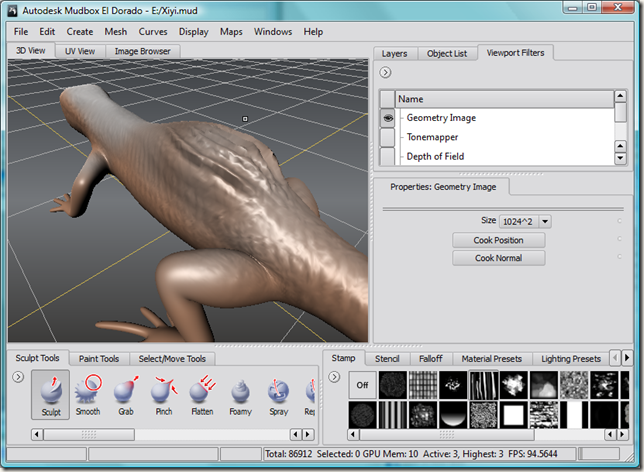
- Step 1 : Paint density texture in Mudbox or the others sculpt software. Sorry for my poor artist ability.
- 第一步:在Mudbox中绘制密度分布。使用我的GeometryImageViewport Filter插件,渲染Displaced之后的Object坐标系数值和法线到两张贴图中。现在的Mudbox还没有提供世界位置的烘培功能。
- Step 2 : Export the density field as following. This is an probability density function(PDF for short).
- 第二部:导出密度分布,作为毛发生长的概率分布函数。
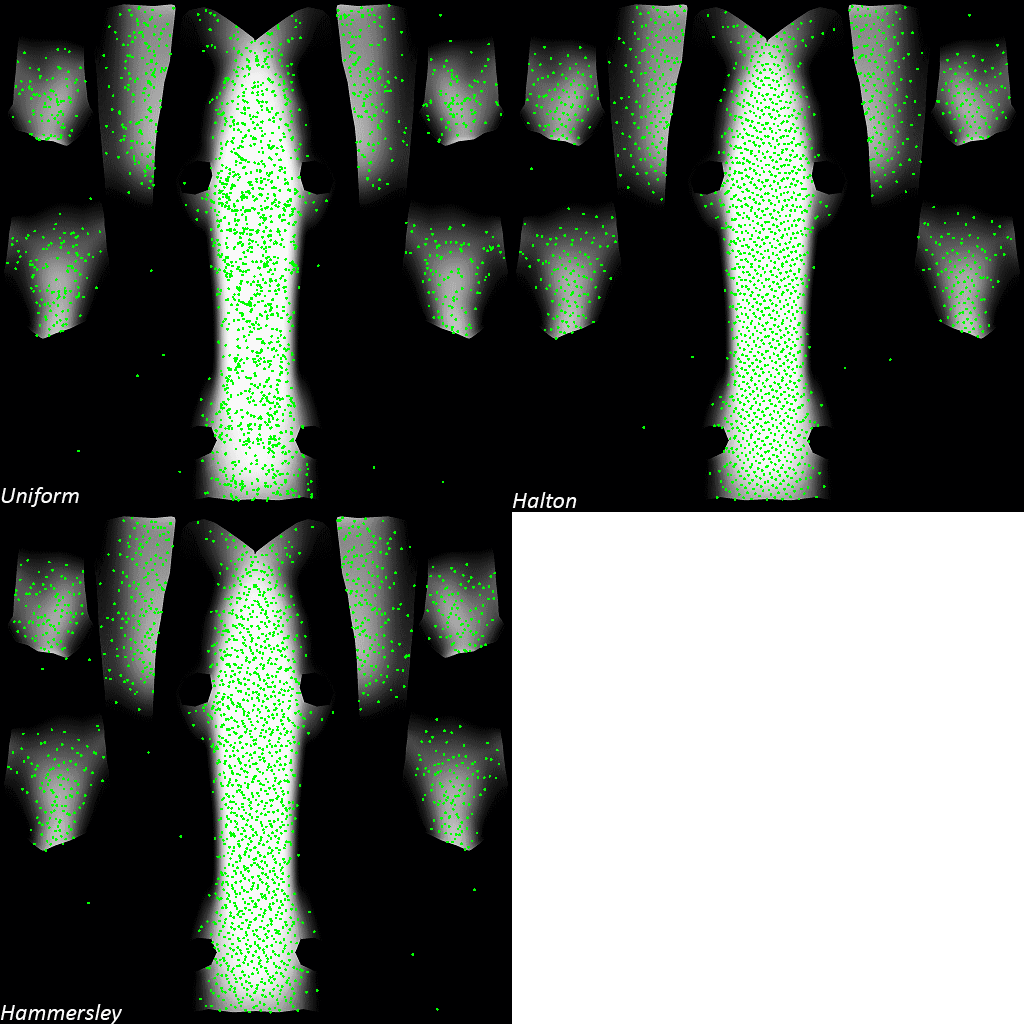
- Step 3 : Applied the classical inversion function and Quasi Monte Carlo sampling, we could genereate deterministic amount of the sampler positions.
- 第三部:使用我的外部程序预览分布分布。采样点UV的生成使用了伪随机蒙特卡洛采样,用户可以使用Uniform或者QMC Sequence进行调整。
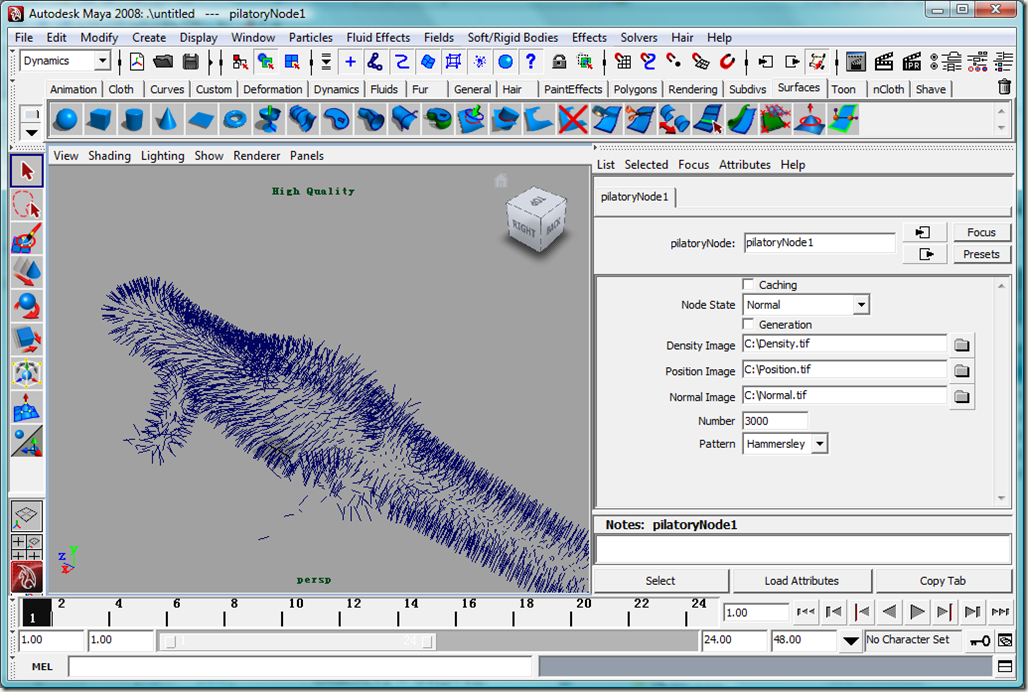
- Step 4 : I made a maya DG to generate curves in maya. The root follicles will be placed on subdivided diplaced surface.
- 为了实现毛发的生长,我还提供了一个DG节点用来读取第一步生成的密度图位置图法线图,进行采样与生长。


