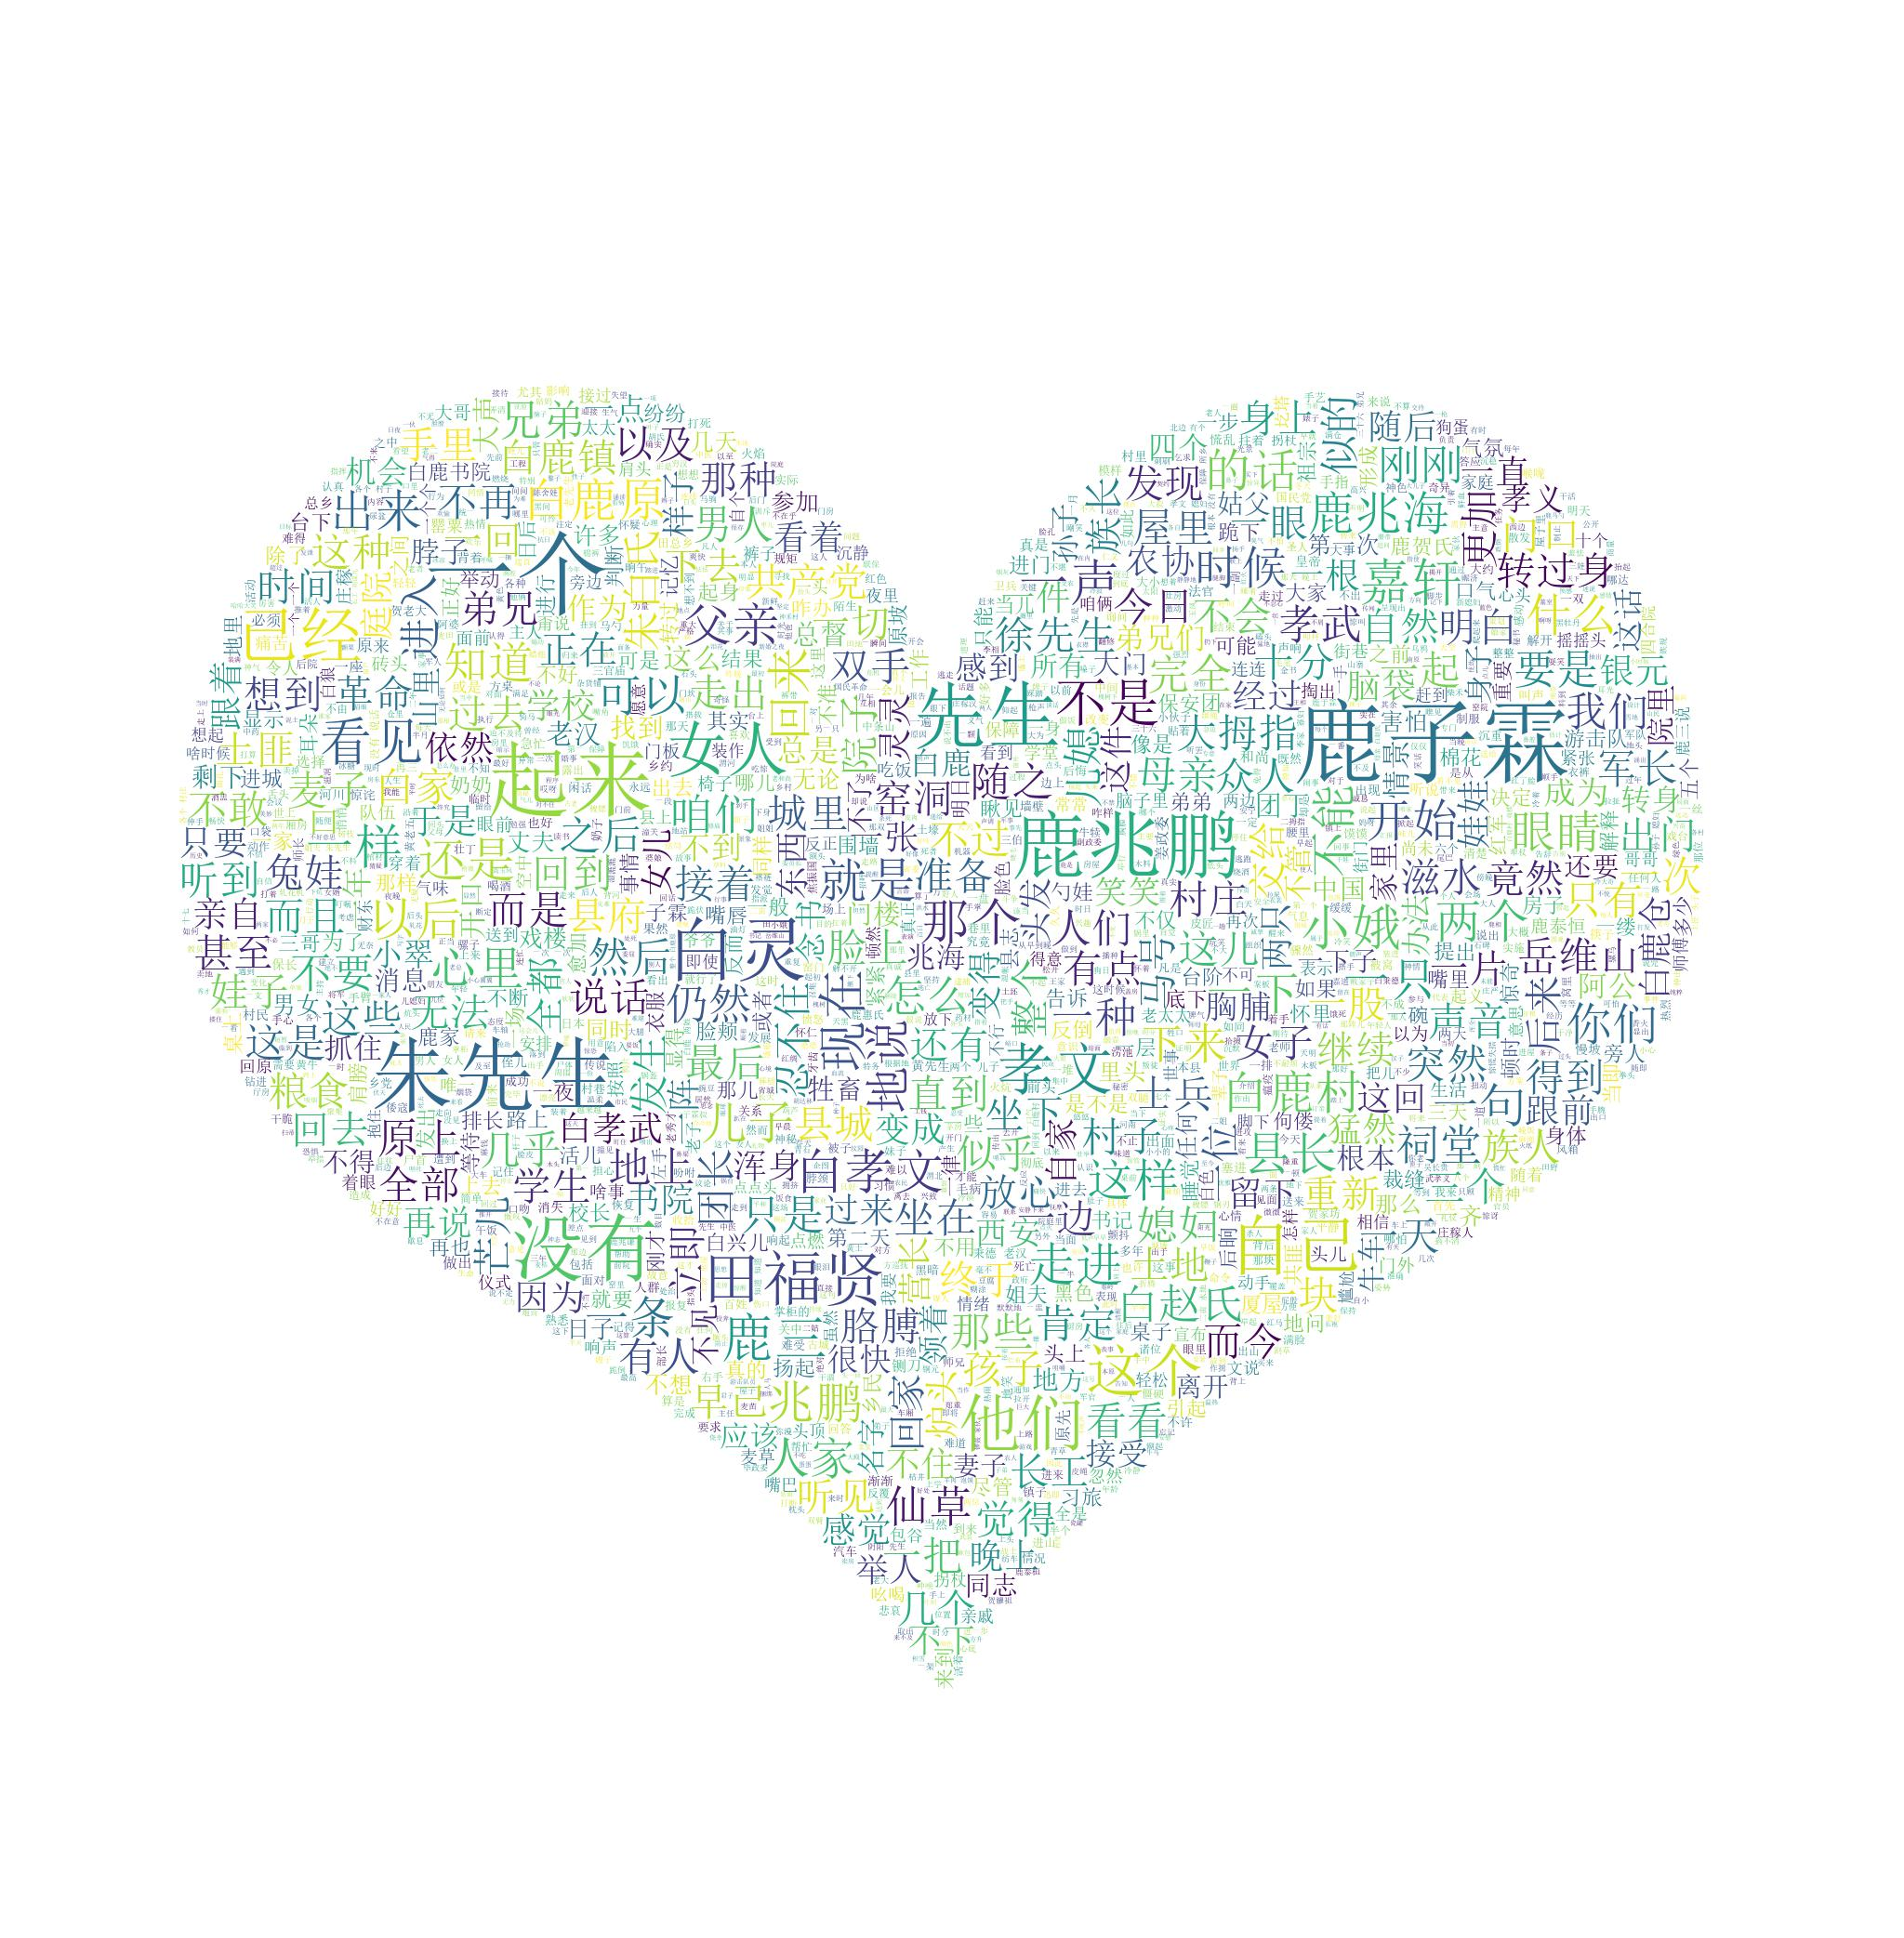
词云 wordcloud
wordcloud轮子下载
- 下载上面链接里对应的 whl (我选的 xxx_win32.whl)到 本地 进行安装
- 一般地, 会结合 jieba 分词 还有 matplotlib 来做
初识庐山面目

# -*- coding: utf-8 -*-
#导入所需库
from wordcloud import WordCloud
f = open(r'xxxAIgowordcollections.txt','r').read()
wordcloud = WordCloud(background_color="white",width=1000, height=860, margin=2).generate(f)
__author__ = 'Frank Li'
# width,height,margin可以设置图片属性
# generate 可以对全部文本进行自动分词,但是对中文支持不好
# 可以设置font_path参数来设置字体集
#background_color参数为设置背景颜色,默认颜色为黑色


import matplotlib.pyplot as plt
plt.imshow(wordcloud)
plt.axis("off")
plt.show()
wordcloud.to_file('test.png')
# 保存图片,但是在第三模块的例子中 图片大小将会按照 mask 保存


# -*- coding: utf-8 -*-
import matplotlib.pyplot as plt
from PIL import Image as image
import jieba
import numpy
from wordcloud import WordCloud, ImageColorGenerator, STOPWORDS

__author__ = 'Frank Li'

def chinese_jieba(text):
    # 通过jieba工具将中文文本做处理,并返回指定格式的内容
    wordlist_jieba = jieba.cut(text)
    text_jieba = ' '.join(wordlist_jieba)
    return text_jieba


def main(filename):
    with open(filename, 'rb') as f:
        text = chinese_jieba(f.read().decode())

    mask_pic = numpy.array(image.open('heart.png'))  # 打开图像处理,设置遮罩层

    # 设置固定的词个数为0
    # stopwords = {'黑娃':0,'白嘉轩':0}
    # 也可以按照下面格式设置
    stopwords = set(STOPWORDS)
    stopwords = stopwords.union(set(['黑娃', '白嘉轩']))  # 将不想在词云上出现的词,放入集合中,也就是设置固定词个数为0

    wordclod = WordCloud(
        background_color='white',  # 设置背景颜色,默认是黑色
        margin=0,
        max_words=2000,  # 关键字的个数
        max_font_size=100,  # 字体大小
        font_path=r'C:WindowsFontssimsun.ttc',  # 设置中文识别
        mask=mask_pic,  # 添加遮罩层,也就是设置词云形状
        stopwords=stopwords,  # 过滤固定的词
    ).generate(text)  # 将text里面所有的词统计,产生词云

    # image_colors = ImageColorGenerator(mask_pic)

    plt.imshow(wordclod)
    # plt.imshow(wordclod.recolor(color_func=image_colors))
    plt.axis('off')
    plt.show()
    wordclod.to_file('bailuyuan.jpg')  # 保存图片


if __name__ == "__main__":
    filename = r'C:UsersFrankLiDownloads白鹿原.txt'
    main(filename)
将图像转为 字符画
# -*- coding: utf-8 -*-
__author__ = 'Frank Li'
import os
import math
from PIL import Image

class ProcessBar(object):
    """一个打印进度条的类"""
    def __init__(self, total):  # 初始化传入总数
        self.shape = ['▏', '▎', '▍', '▋', '▊', '▉']
        self.shape_num = len(self.shape)
        self.row_num = 30
        self.now = 0
        self.total = total

    def print_next(self, now=-1):   # 默认+1
        if now == -1:
            self.now += 1
        else:
            self.now = now

        rate = math.ceil((self.now / self.total) * (self.row_num * self.shape_num))
        head = rate // self.shape_num
        tail = rate % self.shape_num
        info = self.shape[-1] * head
        if tail != 0:
            info += self.shape[tail-1]
        full_info = '[%s%s] [%.2f%%]' % (info, (self.row_num-len(info)) * '  ', 100 * self.now / self.total)

        print("
", end='', flush=True)
        print(full_info, end='', flush=True)

        if self.now == self.total:
            print('')


class MosaicImg(object):
    '''
    用于将源图像当成一个像素点合成目标图像
    '''
    def __init__(self,
                 target,            # 目标图像的路径,图像的透明区域会被忽略
                 img_path,          # 源图片的目录,里面的图片将被拿来作为像素点
                 pixel_size=50,     # 每个像素图片的宽高
                 size=(0, 0),       # 最后生成的图片的尺寸,格式是 (width, height)
                 scale_factor=-1,   # 缩放因子,0~1之间的浮点数,如果设定了这个,则 size 无效
                 ):
        path = os.path.split(target)
        name, ext = os.path.splitext(path[1])
        self.save_img = os.path.join(path[0], "mosaic_" + name + '.png')      # 生成的图像名字
        self.pixel_size = pixel_size
        # 处理目标图像
        self.target = Image.open(target).convert('RGBA')
        if scale_factor == -1:      # 使用 size 参数
            self.target.thumbnail(size)
        else:                       # 使用 scale_factor 参数
            new_size = (scale_factor * self.target.size[0], scale_factor * self.target.size[1])
            self.target.thumbnail(new_size)

        # 处理源图像
        self.images = {}            # key是一张图片的主颜色,value是该图片的 PIL.Image 对象
        self.images_count = {}
        file_list = os.listdir(img_path)
        print("正在读取源图像:")
        pb = ProcessBar(len(file_list))
        for file in file_list:   # 遍历目录
            img = Image.open(os.path.join(img_path, file)).convert('RGB')
            img.thumbnail((pixel_size, pixel_size))  # 重设图片大小
            color = self.main_color(img)    # 计算主颜色
            self.images[color] = img
            self.images_count[color] = 0
            pb.print_next()
        # 每个图像最多使用的次数
        self.max_img_use = 3 * self.target.size[0] * self.target.size[1] / len(self.images)

    def gen_mosaic_image(self):
        '''
        使用初始化的设置生成像素图。
        其具体做法是遍历目标图像,对每个像素点的颜色,从源图像
        的主颜色中找到一个最接近的,然后将该图像当成像素点
        '''
        # 最后生成的图像的大小
        size = (self.pixel_size * self.target.size[0], self.pixel_size * self.target.size[1])
        self.mosaic_img = Image.new('RGBA', size)
        # 开始生成图像
        print("正在生成图像: ")
        # 遍历每一个像素
        pb = ProcessBar(self.target.size[0])
        for x in range(self.target.size[0]):
            for y in range(self.target.size[1]):
                r, g, b, a = self.target.getpixel((x, y))   # 得到该像素的颜色
                if a == 0:  # 跳过透明区域
                    continue
                min_score = 1000
                min_color = None
                for color in self.images:                   # 找到最接近的颜色
                    score = self.color_distance((r, g, b), color)
                    if score < min_score:
                        min_score = score
                        min_color = color

                # 将图片贴上去
                self.mosaic_img.paste(self.images[min_color], (x*self.pixel_size, y*self.pixel_size))
                self.images_count[min_color] += 1           # 使用次数+1
                # 超过了最大使用次数就删除
                if self.images_count[min_color] > self.max_img_use:
                    self.images.pop(min_color)
            pb.print_next()
        print('正在保存图像,请稍候。')
        self.mosaic_img.save(self.save_img, format='PNG')

        return self.mosaic_img

    def main_color(self, image):
        '''
        得到一张图片的主颜色,这里使用了偷懒的做法,
        将图片resize到一个像素点大小,取该点的像素值
        '''
        img = image.resize((1, 1), Image.BICUBIC)
        return img.getpixel((0, 0))

    def color_distance(self, rgb_1, rgb_2):
        '''
        两个RGB颜色的相似度计算,使用LAB颜色空间
        '''
        R_1, G_1, B_1 = rgb_1
        R_2, G_2, B_2 = rgb_2
        rmean = (R_1 + R_2) / 2
        R = R_1 - R_2
        G = G_1 - G_2
        B = B_1 - B_2
        return math.sqrt((2+rmean/256)*(R**2)+4*(G**2)+(2+(255-rmean)/256)*(B**2))

if __name__ == '__main__':
    current_path = os.path.dirname(os.path.abspath(__file__))   # 当前目录的完整路径
    img_path = os.path.join(current_path, 'images/')                # 存放源图像的目录
    target = os.path.join(current_path, 'images/xinxin.png')           # 目标图像

    ma = MosaicImg(target, img_path, 70, scale_factor=0.1)      # 初始化
    img = ma.gen_mosaic_image()
短信接口 twilio
scrapy + fake_useragent 爬虫
# 做事就要做极致,要学便学无上法,最佳实践 ,不管他多难
pip 指定源
pip install pillow -i http://mirrors.aliyun.com/pypi/simple/ --extra-index-url https://pypi.python.org/simple --trusted-host mirrors.aliyun.com


清华:https://pypi.tuna.tsinghua.edu.cn/simple

阿里云:http://mirrors.aliyun.com/pypi/simple/

中国科技大学 https://pypi.mirrors.ustc.edu.cn/simple/

华中理工大学:http://pypi.hustunique.com/

山东理工大学:http://pypi.sdutlinux.org/

豆瓣:http://pypi.douban.com/simple/
DOS 时代游戏
DOS 游戏有些无聊
https://dos.zczc.cz/
