继续-》》
在app.json 文件的pages 下写一个想要的名字 ,然后Ctrl+S保存 自动会生成四个文件:.js .json .wxml .wxss
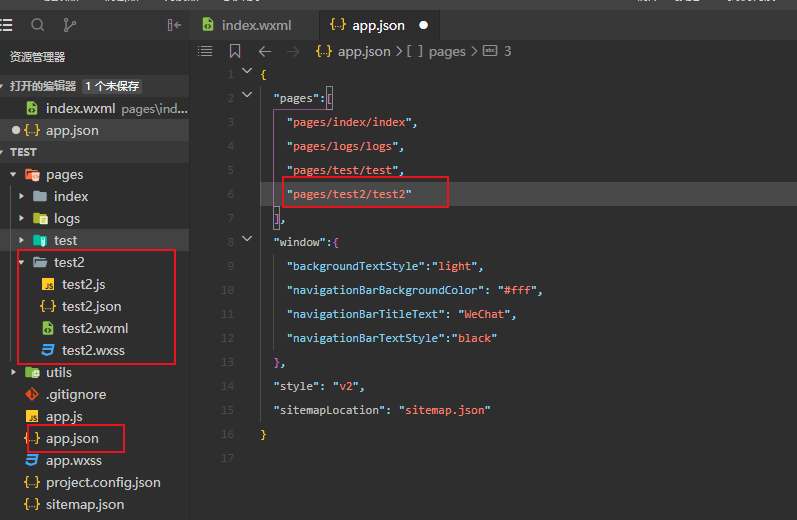
.wxml :类似html
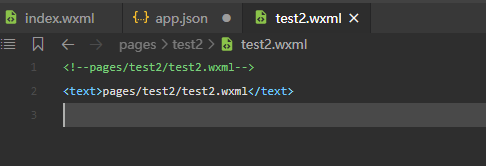
看一下常用标签:
<view> 类似于div
<button> 按钮
<form>表单
<image>图片
<text> 文本
<icon>图标
<checkbox> 复选框
<radio>单选框
<input>输入框
<progress>进度条
<input id="anhao" name="anhao" class="anhaoIn" type="password"/>
<block wx:if="{{true}}">
  <text>是</text>
</block>
<block wx:else>
  <text>否</text>
</blcok>
** <block >不是组件 不做渲染 仅是一个包装元素
类似html 我们通常会用form 标签创建表单容易提交

bindsubmit 用于绑定表单提交:js 写一个loginForm:function(e){} 即可
input 组件要有name属性js才可获得值
form-type ="submit" 表示按钮用于提交表单 reset 为重置表单
写一个简单的表单

wxml:
<view class="container">
  <form bindsubmit="submit">
    <view>
      <text>姓名:</text>
      <input name="userName" value="小明"></input>
    </view>
    <view>
      <text>性别:</text>
      <radio-group name="gender">
        <radio value="0" checked>男</radio>
        <radio value="1" >女</radio>
      </radio-group>
    </view>
    <view>
    <text>兴趣:</text>
     <checkbox-group name="interests">
      <checkbox value="1" checked>唱歌</checkbox>
      <checkbox value="2" >跳舞</checkbox>
      <checkbox value="3" checked>读书</checkbox>
      <checkbox value="4" checked>旅游</checkbox>
     </checkbox-group>
    </view>
    <view>
      <text class="introductionText">个人简介:</text>
      <textarea name="introduction"value="测试用"></textarea>
    </view>
    <button class="submit" form-type="submit">确定</button>
  </form>
</view>
wxss 样式
选择器:类似
#id id="balabala"
.class class="balabala"
element view
::after view::after
::before view:before
根据屏幕大小改变的 rpx
引用外来样式:

@import "../index/index.wxss";
可以把全局样式写到:app.wxss
当然页面本身的样式优先级要高于 全局样式。
.js
打开js文件。可以看到生命周期函数和事件处理函数。注释已帮我们写好。
1.data:初始化数据
2.生命周期函数
3.事件处理函数 如: 单击“⋯”会在底部弹出一个菜单,在菜单中有一项“转发”,单击转发就会触发onShareAppMessage 事件。单击“⊙”可以在前台、后台之间切换,通过此按钮可以测试onShow和onHide事件
等等(onEerror,onPageNotFound)
生命周期:onLoad→onShow→onReady
onLoad:监听页面加载,一个页面只会调用一次。通过options 可获得当前页面参数。
onReady:监听页面初次渲染完成。一个页面只会调用一次。代表页面已经准备妥当 ,可以进行交互。
onShow:监听页面显示。例如,从后台切入前台时触发。
onHide:监听页面隐藏。例如,从前台切入后台时触发。
onUnload:监听页面卸载。例如,使用路由API中的wx.redirectTo()或wx.navigateBack()跳转其他页面时触发。

事件处理函数:
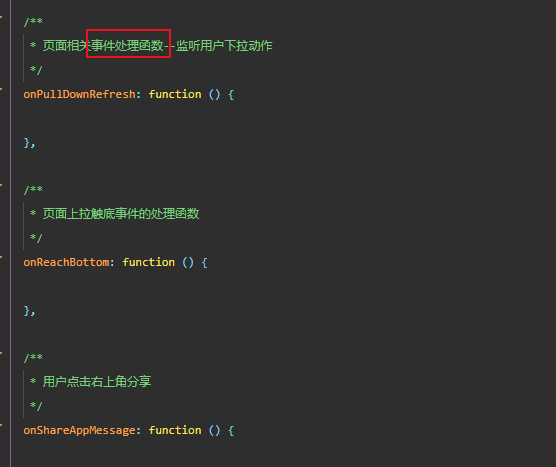
组件事件处理函数 自己写的 比如button 绑定tap 事件
bind 常用绑定事件:冒泡 (catch 阻止冒泡)
tap:点击事件;
longtap:长按事件;
touchstart:触摸开始;
touchmove:触摸后移动;
touchend:触摸结束;
touchcancel:取消触摸被打断 如来电提醒 弹窗;
bindchange:change
.json 配置文件
app.json是应用级配置文件;我们自己创建的是页面级配置文件。
在页面及配置文件中我们可以改变:导航栏样式、是否允许滚动条等等。
栗子:

4.backgroundColor:窗口背景颜色 即 当在手机上向下拉页面时出现的背景颜色
5.backgroundTextStyle:下拉loading 的样式 dark,light 两种 默认dark
6.enablePullDownRefresh :开启下拉刷新 默认false
onPullDownRefresh 事件 需要在配置文件中将 enablePullDownRefresh 设为 true

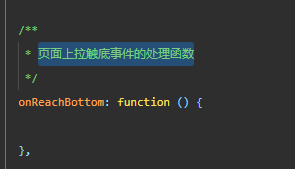
7.onReachBottomDistance:页面上拉触底事件的处理函数 触发时 距页面底部的距离:默认50px
onReachBottom 事件 需要在配置文件中将onReachBottomDistance设为true
8.disableScroll:默认false 。true 页面整体不能上下滚动
应用级配置文件:
1.pages:页面路径列表
2.window:全局默认窗口的样式表现
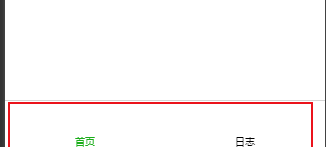
3.tabBar:底部tabBar栏表现
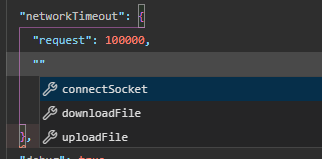
4.networkTimeout:网络超时 默认为60000ms
request :wx.request()超时
connectSocket:wx.connectSocket()超时
downloadFile:wx.downloadFile()超时
uploadFile:wx.uploadFile()超时
5.debug :是否开启debug模式 默认false
6.requiredBackgroundModes:需要在后台使用的能力 如音乐播放等
7.plugins:插件
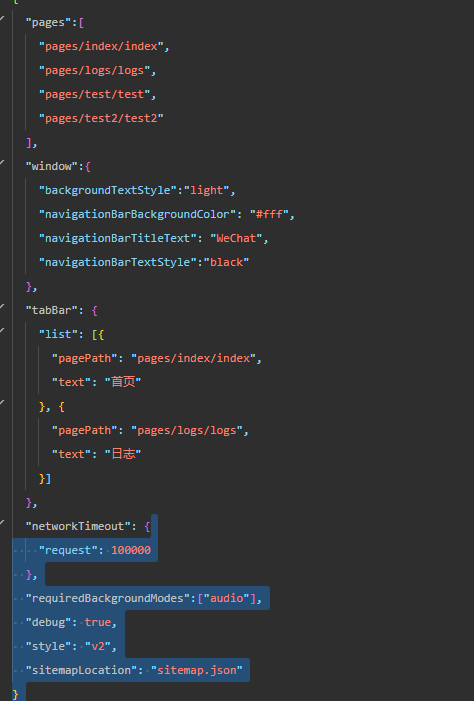
代码:
{
  "pages":[
    "pages/index/index",
    "pages/logs/logs",
    "pages/test/test",
    "pages/test2/test2"
  ],
  "window":{
    "backgroundTextStyle":"light",
    "navigationBarBackgroundColor": "#fff",
    "navigationBarTitleText": "WeChat",
    "navigationBarTextStyle":"black"
  },
  "tabBar": {
    "list": [{
      "pagePath": "pages/index/index",
      "text": "首页"
    }, {
      "pagePath": "pages/logs/logs",
      "text": "日志"
    }]
  },
  "networkTimeout": {
    "request": 100000
  },
  "requiredBackgroundModes":["audio"],
  "debug": true,
  "style": "v2",
  "sitemapLocation": "sitemap.json"
}
弹窗:
1.

代码:
wx.showToast({
        title: '暗号错误!',
        icon: 'none',
        duration: 1500
})
2.
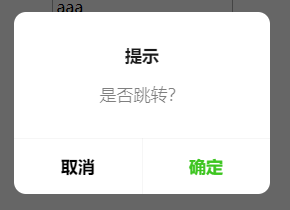
代码:
wx.showModal({
        title: '提示',
        content: '是否跳转?',
        success: function (res) {
          if (res.confirm) {//这里是点击了确定以后
            console.log('用户点击确定')
          } else {//这里是点击了取消以后
            console.log('用户点击取消')
          }
        }
})
跳转:
1.后台 参数:url ,success ,fail ,complete( url 可传参数 )
wx.navigateTo(OBJECT)

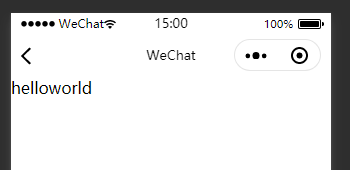
2.跳转到应用的某个页面 参数:url ,success ,fail ,complete
wx.redirectTo(OBJECT)

无返回跳转:
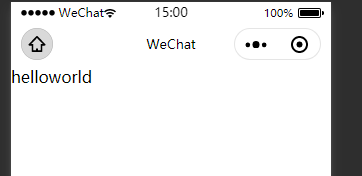
3.reLaunch:可传值:但tabBar 页面则不能带参数
wx.reLaunch({
      url: '/pages/helloworld/helloworld'
})
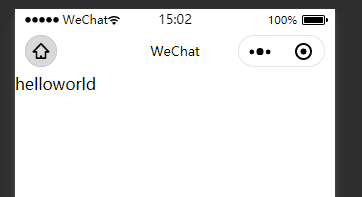
4.跳tabBar
wx.switchTab({
  url:  '/pages/logs/logs'
})
5.返回上一页 参数:data
wx.navigateBack(OBJECT)
开发文档:https://developers.weixin.qq.com/miniprogram/dev/api/network/request/wx.request.html
服务器交互
这里就当服务器后台已经写好。可通过https 访问:
首先找到apps.js 配置一下项目 访问后台的请求路径:

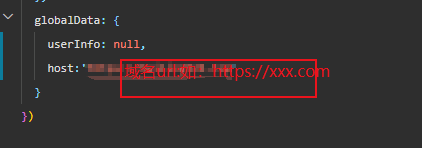
我们可以做一些简单的封装以便每次调用都要写请求头什么比较麻烦。所以在utils 下加了一个js 文件。
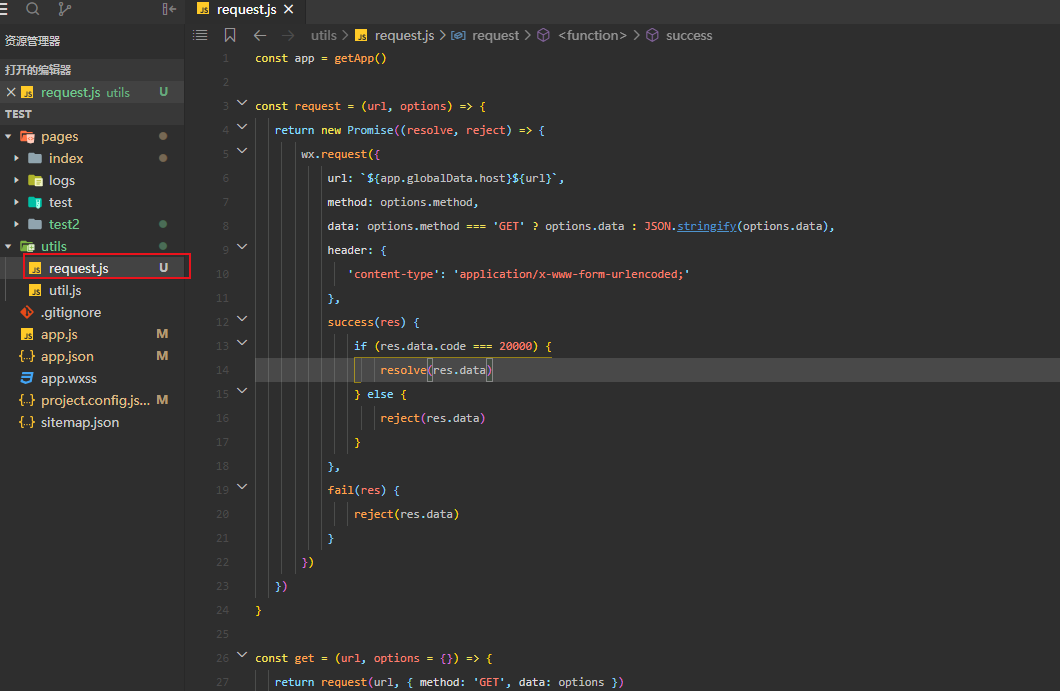
代码如下:这里返回code 是20000 可改成自己的。

const app = getApp()

const request = (url, options) => {
   return new Promise((resolve, reject) => {
       wx.request({
           url: `${app.globalData.host}${url}`,
           method: options.method,
           data: options.method === 'GET' ? options.data : JSON.stringify(options.data),
           header: {
              'content-type': 'application/x-www-form-urlencoded;'
           },
           success(res) {
               if (res.data.code === 20000) {
                   resolve(res.data)
               } else {
                   reject(res.data)
               }
           },
           fail(res) {
               reject(res.data)
           }
       })
   })
}

const get = (url, options = {}) => {
   return request(url, { method: 'GET', data: options })
}

const post = (url, options) => {
   return request(url, { method: 'POST', data: options })
}

const put = (url, options) => {
   return request(url, { method: 'PUT', data: options })
}

// 不能声明DELETE(关键字)
const remove = (url, options) => {
   return request(url, { method: 'DELETE', data: options })
}

module.exports = {
   get,
   post,
   put,
   remove
}
调用request

get请求:

返回值:

UI
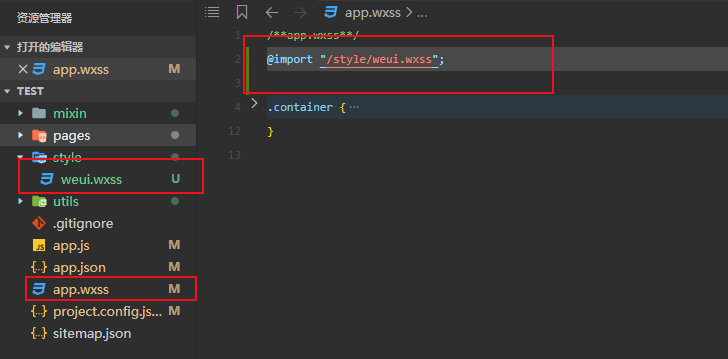
网上有很多免费开源的UI,这里以weui 为例子。
github地址:https://github.com/Tencent/weui
文档地址:https://github.com/Tencent/weui/wiki
github小程序地址:https://github.com/Tencent/weui-wxss/

@
