springboot的核心原理,自动装配
一,两种搭建SpringBoot方式
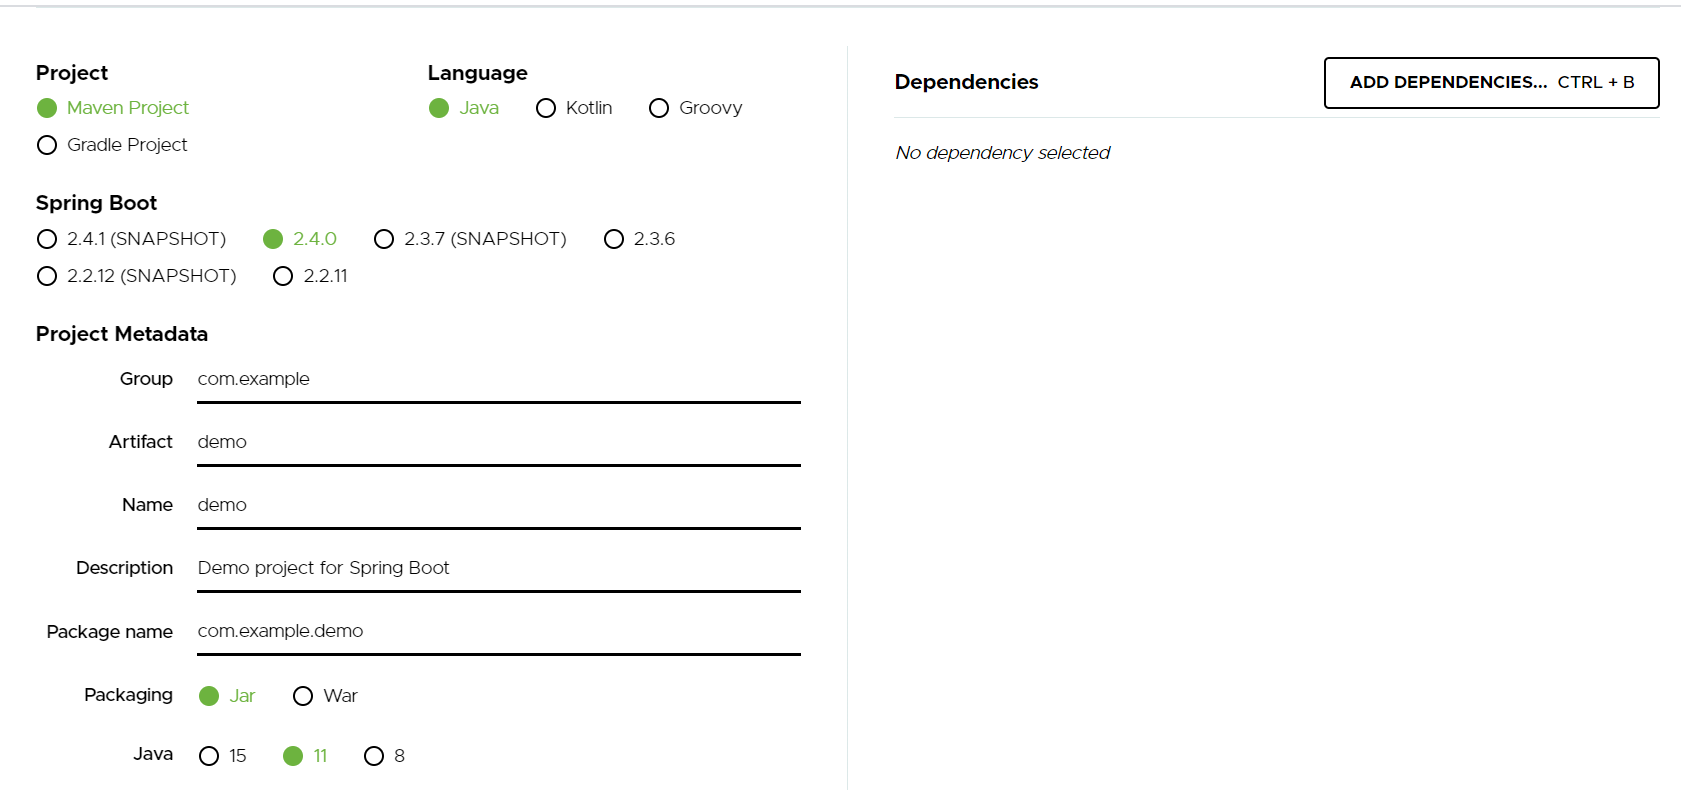
1.官方:提供了一个快速生成springboot的网站,仅需在官网上配置后下载就可以了,(IDEA集成了这个网站)


2,直接使用IDEA创建(推荐)


基本结构
package com.king.helloworld;

import org.springframework.boot.SpringApplication;
import org.springframework.boot.autoconfigure.SpringBootApplication;


//底层是@Component,所以这个注解本身就是spring的一个组件
//程序的主入口
@SpringBootApplication
public class HelloworldApplication {

    public static void main(String[] args) {
        SpringApplication.run(HelloworldApplication.class, args);
    }

}
pom.xml
 <?xml version="1.0" encoding="UTF-8"?>
<project xmlns="http://maven.apache.org/POM/4.0.0" xmlns:xsi="http://www.w3.org/2001/XMLSchema-instance"
    xsi:schemaLocation="http://maven.apache.org/POM/4.0.0 https://maven.apache.org/xsd/maven-4.0.0.xsd">
    <modelVersion>4.0.0</modelVersion>
    <!--有一个父项目,path是空的说明他的父是在线的-->
    <parent>
        <groupId>org.springframework.boot</groupId>
        <artifactId>spring-boot-starter-parent</artifactId>
        <version>2.4.0</version>
        <relativePath/> <!-- lookup parent from repository -->
    </parent>
    <groupId>com.king</groupId>
    <artifactId>helloworld</artifactId>
    <version>0.0.1-SNAPSHOT</version>
    <name>helloworld</name>
    <description>Demo project for Spring Boot</description>

    <properties>
        <java.version>1.8</java.version>
    </properties>

    <dependencies>
        <!--web依赖:集成了一个tomcat,配置dispatcherservlet,xml-->
        <dependency>
            <groupId>org.springframework.boot</groupId>
            <artifactId>spring-boot-starter-web</artifactId>
        </dependency>

        <!--spring-boot-starter,springboot所有的依赖都是使用这个开头的-->

        <!--单元测试-->
        <dependency>
            <groupId>org.springframework.boot</groupId>
            <artifactId>spring-boot-starter-test</artifactId>
            <scope>test</scope>
        </dependency>
    </dependencies>

    <build>
        <!--打jar包插件-->
        <plugins>
            <plugin>
                <groupId>org.springframework.boot</groupId>
                <artifactId>spring-boot-maven-plugin</artifactId>
            </plugin>
        </plugins>
    </build>

</project>
彩蛋
更换项目端口号
在application.properties中写入

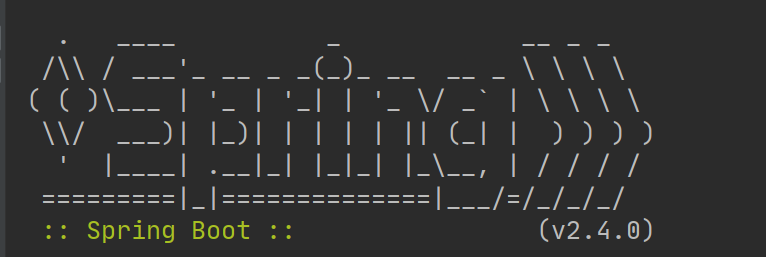
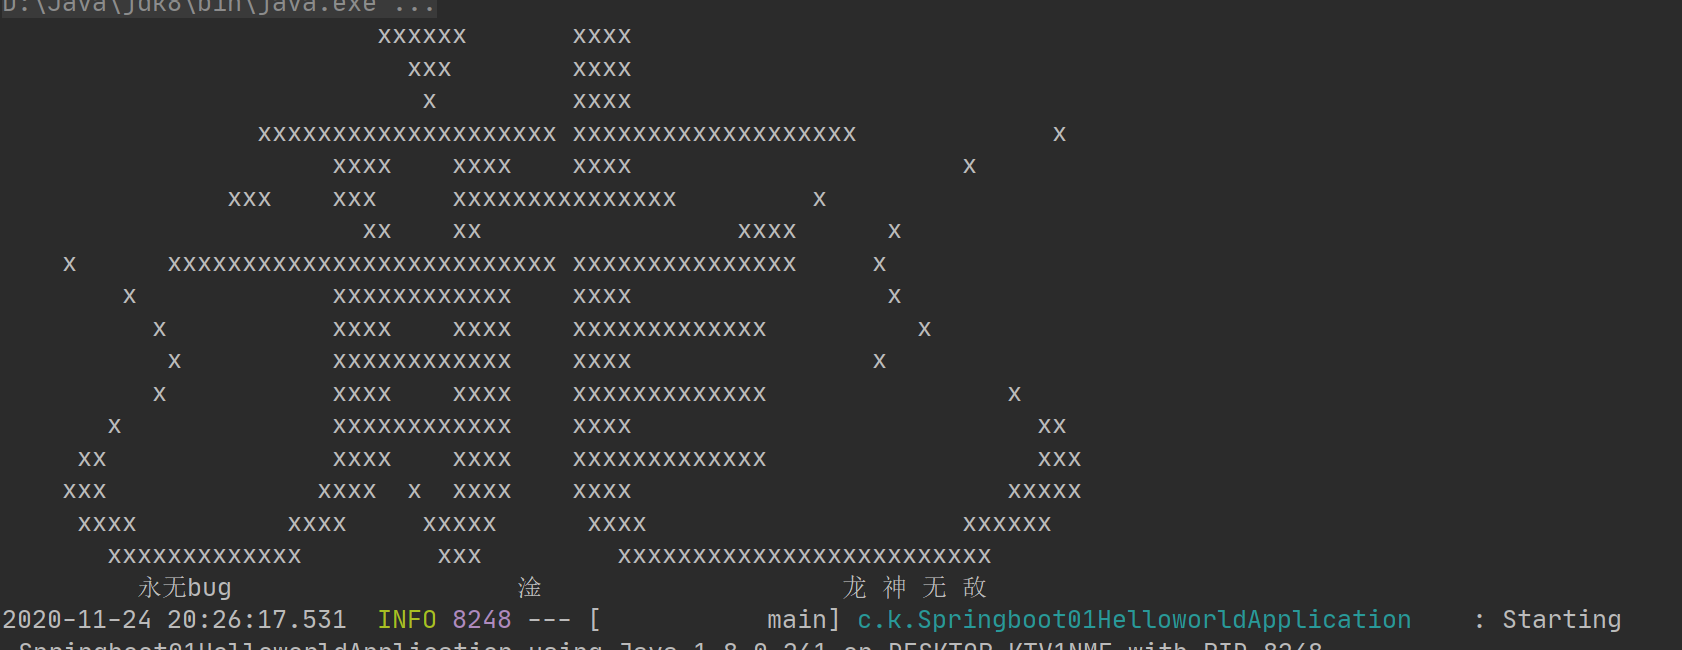
自定义编译运行图案(网址:https://www.bootschool.net/ascii-art)
官方:

自定义:(通过网站找的模板)
