1、创建项目仓库
[root@git ~]# su - git
[git@git ~]$ mkdir auto_php.git
[git@git ~]$ cd auto_php.git/
[git@git auto_php.git]$ git --bare init
初始化空的 Git 版本库于 /home/git/auto_php.git/
2、在 GiT 服务器上生成密钥对,方便 git 使用钩子脚本触发 Jenkins 执行任务
[git@git ~]$ ssh-keygen
[git@git ~]$ ssh-copy-id root@192.168.200.117
3、开发人员提交代码
[root@jenkins ~]# ssh-keygen
[root@jenkins ~]# ssh-copy-id git@192.168.200.127
[root@jenkins ~]# ssh-copy-id root@192.168.200.128
[root@jenkins ~]# git clone git@192.168.200.127:/home/git/auto_php.git
正克隆到 'auto_php'...
warning: 您似乎克隆了一个空仓库。
[root@jenkins ~]# cd auto_php/
[root@jenkins auto_php]# echo "wxl.test" > test.html
[root@jenkins auto_php]# git add .
[root@jenkins auto_php]# git commit -m "cl"
[master(根提交) 6a623b1] cl
1 file changed, 1 insertion(+)
create mode 100644 test.html
[root@jenkins auto_php]# git push origin master
枚举对象: 3, 完成.
对象计数中: 100% (3/3), 完成.
写入对象中: 100% (3/3), 208 bytes | 208.00 KiB/s, 完成.
总共 3 (差异 0),复用 0 (差异 0)
To 192.168.200.127:/home/git/auto_php.git
* [new branch] master -> master
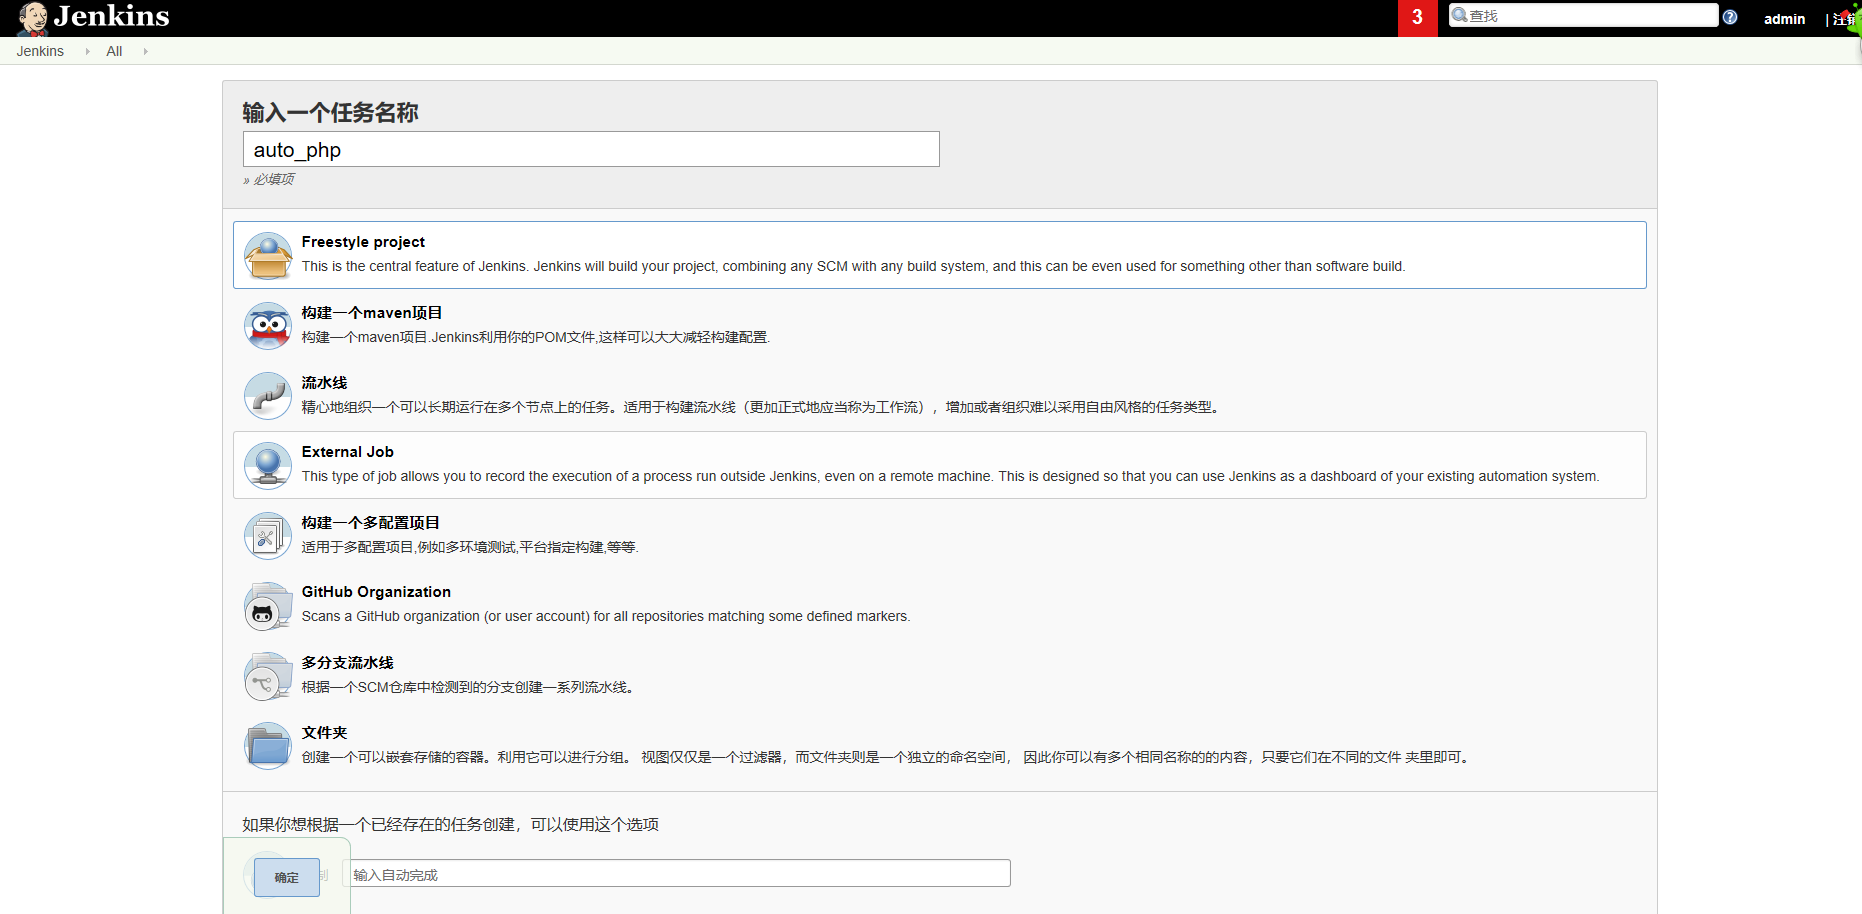
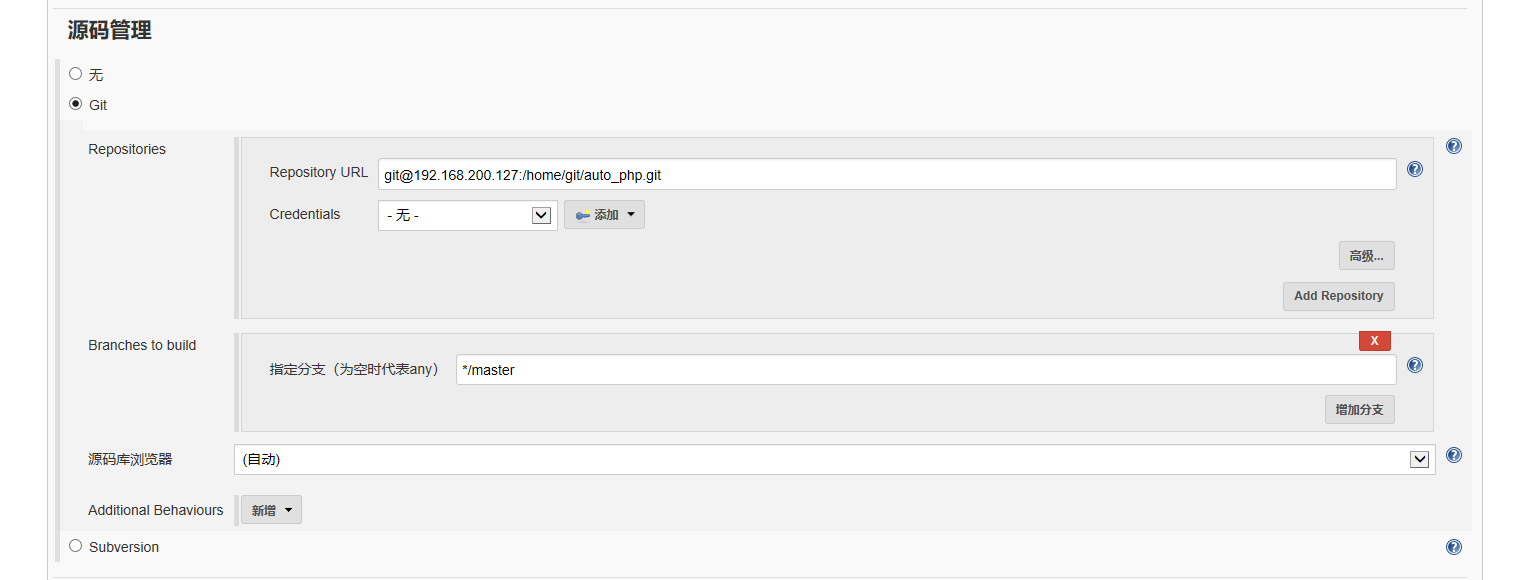
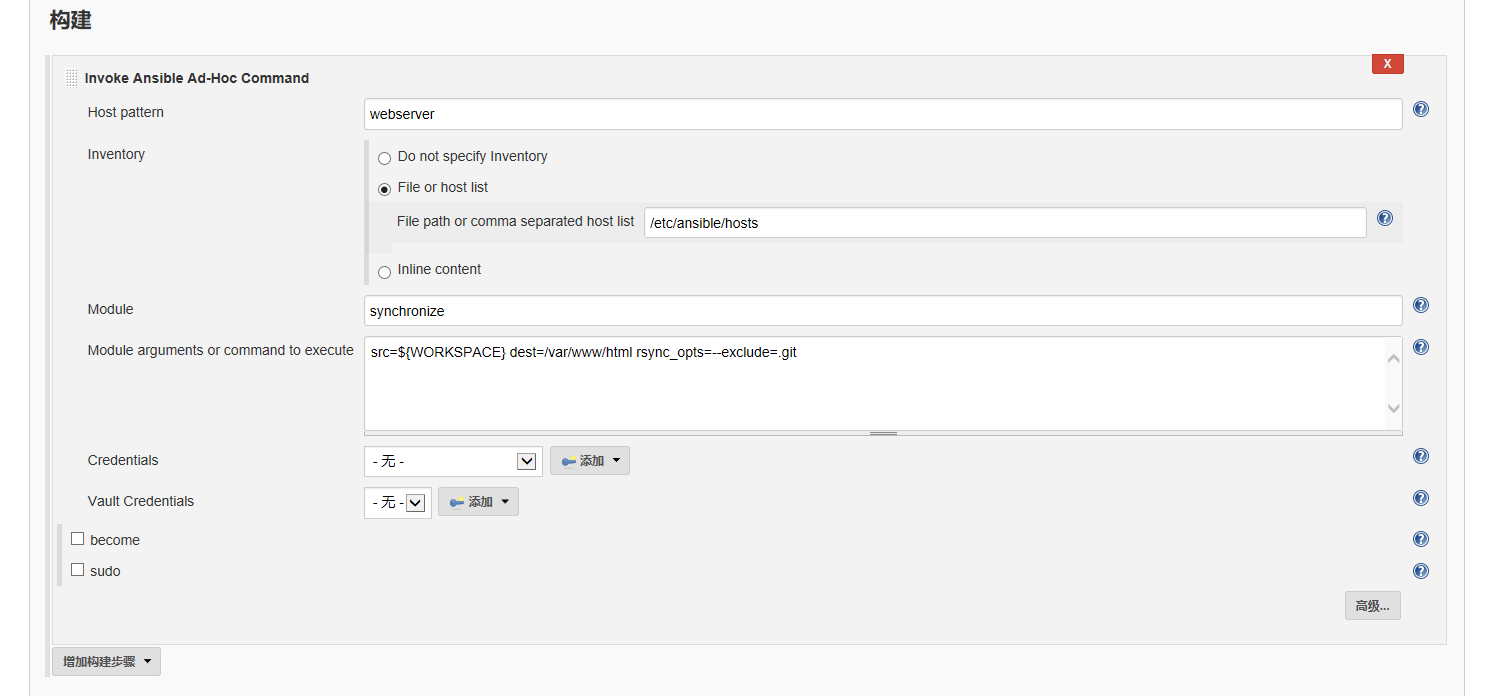
4、创建一个 Freestyle Project


5、配置 githooks(钩子)脚本
[root@git ~]# su - git
[git@git ~]$ cd auto_php.git/hooks/
[git@git hooks]$ vim post-receive#!/bin/bash
#提取分支名
read paramsbranch=$(echo $params | awk '{print $3}' | awk -F '/' '{print $3}')
#根据分支选择 jenkins 任务名
if [ $branch == "master" ];then
ssh root@192.168.200.117 '/usr/local/java/bin/java -jar /var/cache/jenkins/war/WEB-INF/jenkins-cli.jar -s http://192.168.200.117:8080 -auth admin:123123 build auto_php'
else
exit
fi[git@git hooks]$ chmod +x post-receive
解释:
脚本中的 -s 参数指定 Jenkins 服务的地址,然后加 build 命令,build 命令后边加上需要构建的 job 名(也即是我们创建的任务名称)
6、测试自动构建

模拟开发人员提交新代码
[root@jenkins ~]# cd auto_php/
[root@jenkins auto_php]# echo "12345" >> index.html
[root@jenkins auto_php]# git add .
[root@jenkins auto_php]# git commit -m "xl"[master 077d754] xl
1 file changed, 1 insertion(+)
[root@jenkins auto_php]# git push origin master
枚举对象: 5, 完成.
对象计数中: 100% (5/5), 完成.
使用 2 个线程进行压缩
压缩对象中: 100% (2/2), 完成.
写入对象中: 100% (3/3), 270 bytes | 270.00 KiB/s, 完成.
总共 3 (差异 0),复用 0 (差异 0)
remote: 五月 09, 2020 10:43:28 上午 org.apache.sshd.common.util.security.AbstractSecurityProviderRegistrar getOrCreateProvider
remote: 信息: getOrCreateProvider(EdDSA) created instance of net.i2p.crypto.eddsa.EdDSASecurityProvider
To 192.168.200.127:/home/git/auto_php.git
4ba4df8..077d754 master -> master
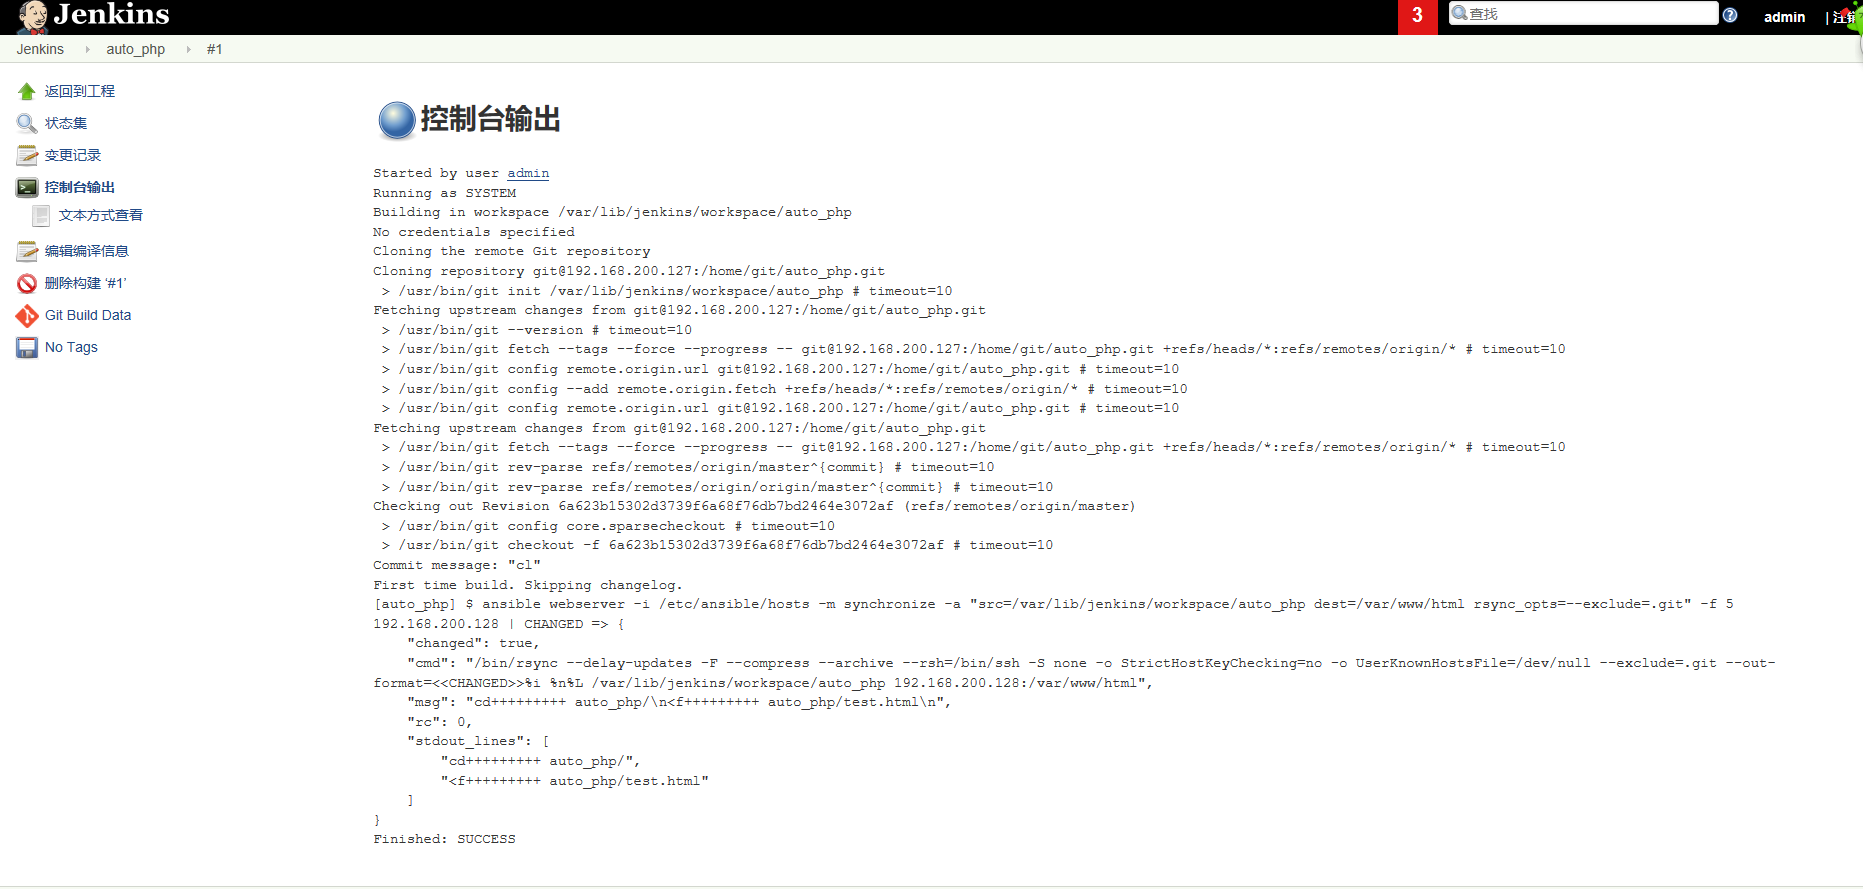
7、Jenkins 会自动发起一个创建

[root@tomcat ~]# cd /var/www/html/
[root@tomcat html]# ls
auto_php index.php php-ansible
[root@tomcat html]# cd auto_php/
[root@tomcat auto_php]# ls
index.html test.html
[root@tomcat auto_php]# cat index.html
12345