前置:Docker、Docker-Compose的安装以及相关使用
一、docker-compose.yml
version: '3.1'
services:
  anaconda:
    restart: always
    image: continuumio/anaconda3:2021.04
    container_name: anaconda
    ports:
      - 8888:8888
    command: /bin/bash -c "mkdir -p /mnt/data && mkdir -p /mnt/app && chmod +x /mnt/app/entrypoint.sh && /mnt/app/entrypoint.sh > /mnt/app/log.log"
    volumes:
      - ./app:/mnt/app
      - ./data:/mnt/data
二、文件准备
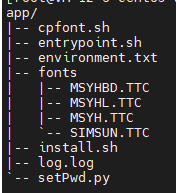
1. 在yml文件同级目录下创建目录app
mkdir ./app
2. 在app目录下创建几个文件
entrypoint.sh
#!/bin/bash
echo y|conda install -c conda-forge jupyterlab
echo y|jupyter notebook --generate-config
sha1=`python3 /mnt/app/setPwd.py`
echo $sha1
echo "c.NotebookApp.ip='*'                          #绑定所有地址,即所有IP 地址都可以访问" >> /root/.jupyter/jupyter_notebook_config.py
echo "c.NotebookApp.password = u'$sha1'" >> /root/.jupyter/jupyter_notebook_config.py
echo "c.NotebookApp.open_browser = False            #启动后是否在浏览器中自动打开" >> /root/.jupyter/jupyter_notebook_config.py
echo "c.NotebookApp.port =8888                      #指定一个访问端口8100,默认8888" >> /root/.jupyter/jupyter_notebook_config.py
echo "c.NotebookApp.allow_remote = True     #将远程访问设置成True" >> /root/.jupyter/jupyter_notebook_config.py
echo "c.NotebookApp.notebook_dir = '/mnt/data'   #设置项目路径" >> /root/.jupyter/jupyter_notebook_config.py
pip --default-timeout=100 install -U jupyter_contrib_nbextensions
jupyter contrib nbextension install --user
pip --default-timeout=100 install -U jupyter_nbextensions_configurator
jupyter nbextensions_configurator enable --user
chmod +x /mnt/app/install.sh
/mnt/app/install.sh &
# 安装字体
# chmod +x /mnt/app/cpfont.sh
# /mnt/app/cpfont.sh &
jupyter notebook --allow-root
setPwd.py
from notebook.auth import passwd
# 密码:12345
print(passwd("12345","sha1"))
install.sh
自定义安装python包
#!/bin/bash
for line in `cat /mnt/app/environment.txt`
do
 pip install $line -i https://mirrors.aliyun.com/pypi/simple/
done
environment.txt
包名与版本
tensorflow==2.4.0
keras==2.4.3
librosa
numba==0.51.2
cpfont.sh
设置matplotlib中文字体
#!/bin/bash
cp /mnt/app/fonts/* /opt/conda/lib/python3.8/site-packages/matplotlib/mpl-data/fonts/ttf
rm -rf /root/.cache/matplotlib
echo "font.family         : sans-serif" >> /opt/conda/lib/python3.8/site-packages/matplotlib/mpl-data/matplotlibrc
echo "font.sans-serif     : SimHei, Bitstream Vera Sans, Lucida Grande, Verdana, Geneva, Lucid, Arial, Helvetica, Avant Garde, sans-serif" >> /opt/conda/lib/python3.8/site-packages/matplotlib/mpl-data/matplotlibrc
echo "axes.unicode_minus  : False" >> /opt/conda/lib/python3.8/site-packages/matplotlib/mpl-data/matplotlibrc
fonts目录
存放字体文件
app目录结构

三、启动docker
docker-compose up -d
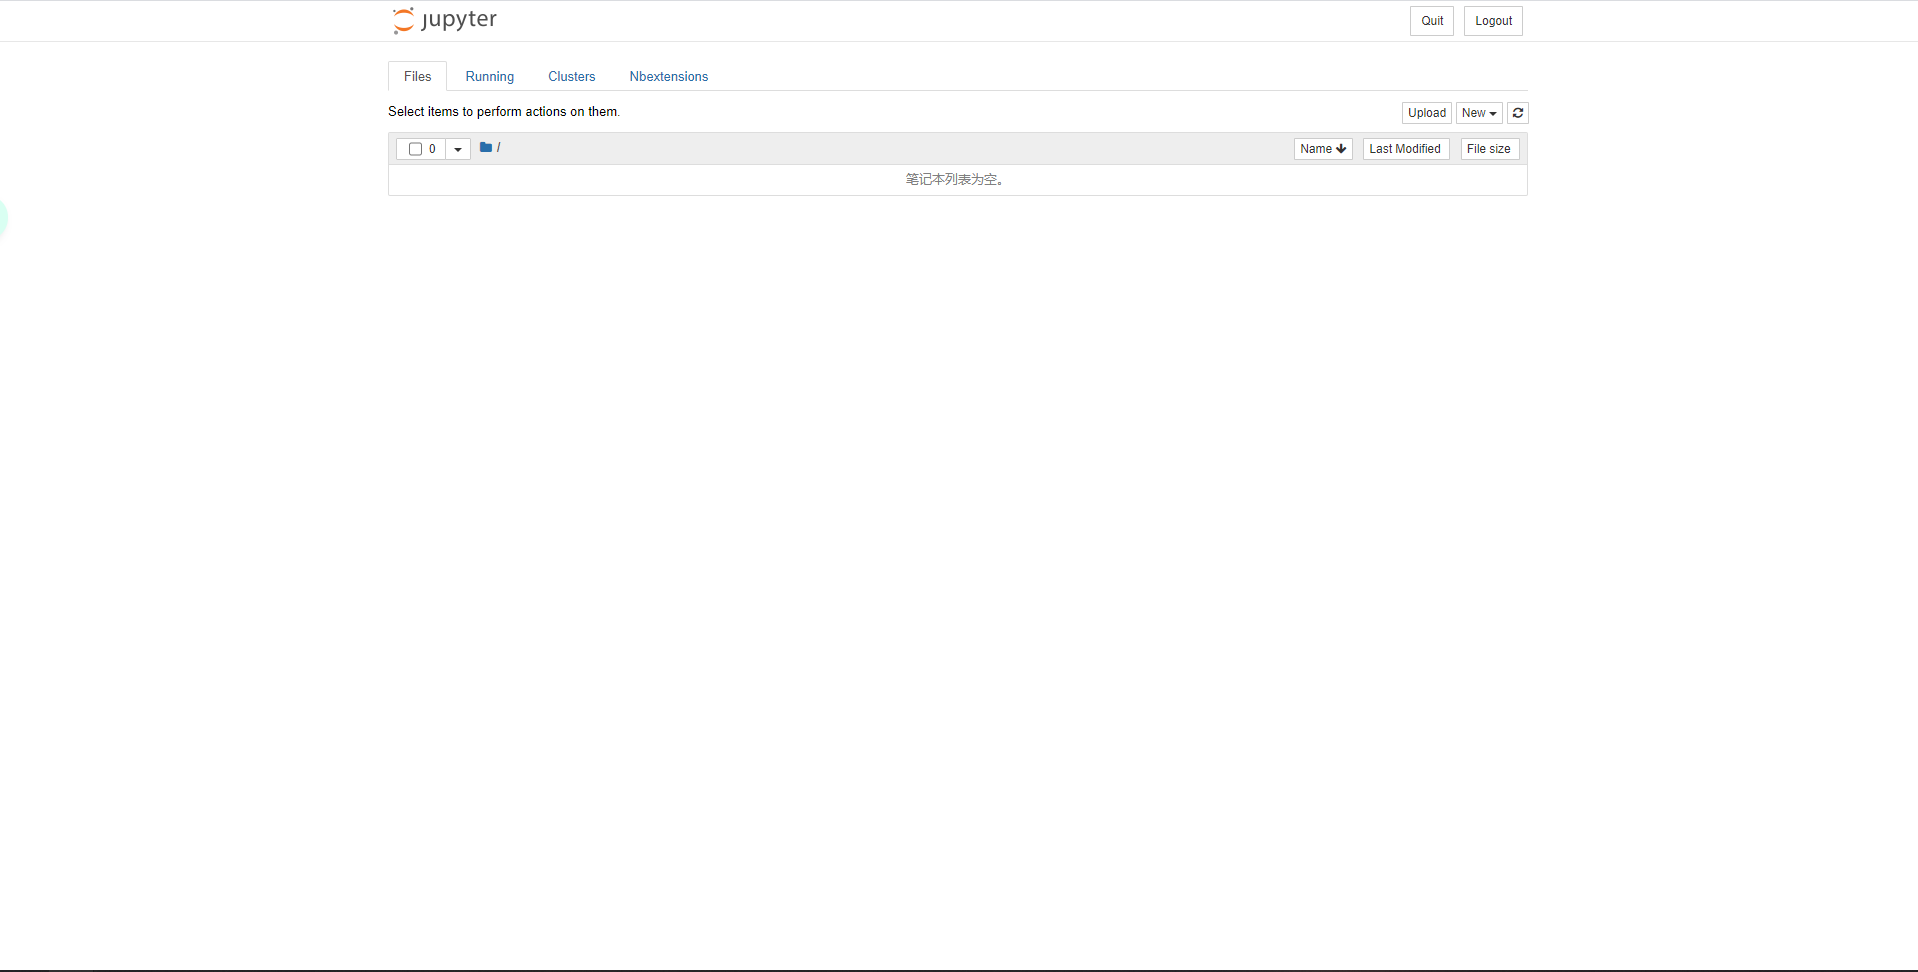
启动时比较慢,多等一会,刷新后进入输入密码的界面

输入密码后进入主界面

自此,大功告成,完结撒花
四、设置代码提示
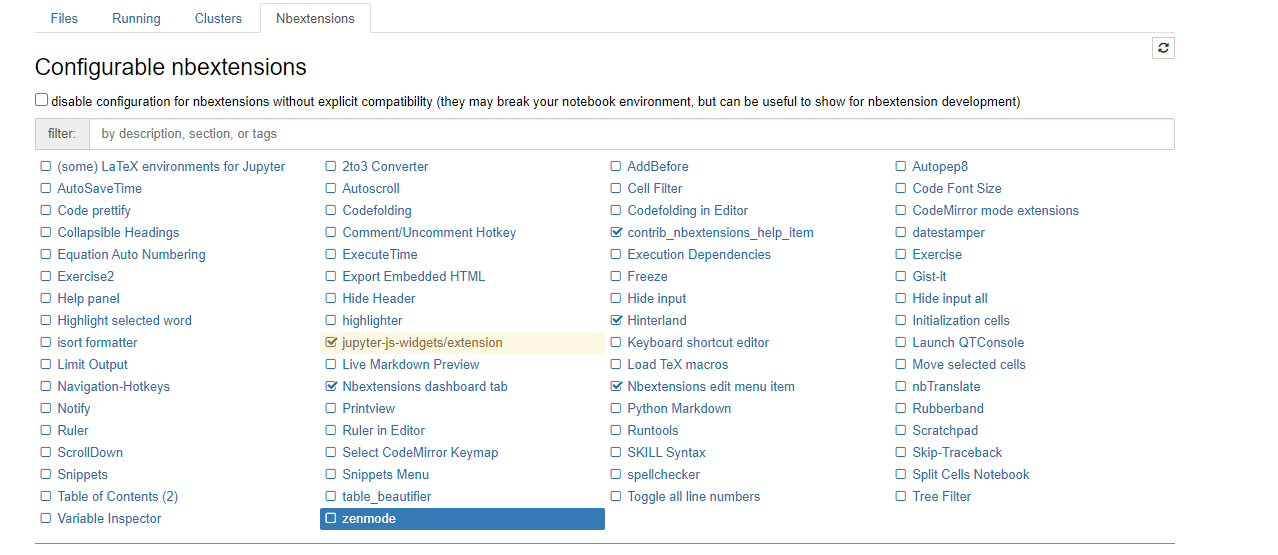
点击Nbextensions选项卡勾选Hinterland,使用Jupyter敲几行代码试试,终于摆脱每次按tab键的烦恼了
