1. 应用K-means算法进行图片压缩
源码:
from sklearn.datasets import load_sample_image
from sklearn.cluster import KMeans
import matplotlib.pyplot as plt
import matplotlib.image as img
import sys

# 读取一张示例图片图片,观察图片存放数据特点。
milu = img.imread("G:\zbh.jpg")
plt.imshow(milu)
plt.show()#显示原图片

# 根据图片的分辨率,可适当降低分辨率
milus = milu[::3, ::3]  # 降低图片3倍分辨率

# 再用K-means均值聚类算法,将图片中所有的颜色值做聚类。
import numpy as np

milu1 = np.reshape(milu, (-1, 3))
n_colors = 64 #设定64类聚类中心
model = KMeans(n_colors)
labels = model.fit_predict(milu1) #获取每个像素的颜色类别
colors = model.cluster_centers_ # 获取每个类别的颜色

# 然后用聚类中心的颜色代替原来的颜色值。
new_milu = colors[labels].reshape(milu.shape)  #以聚类中收替代原像素颜色,还原为二维
new_milu = new_milu.astype(np.uint8)  # 将浮点型数据转换为整型
plt.imshow(new_milu)
plt.show()
#将原始图片与新图片保存成文件。
plt.imsave('G:\imgs\milu.jpg', milu)
plt.imsave('G:\imgs\new_milu.jpg', new_milu)
#观察图片文件大小,占内存大小,图片数据结构,线性化
print("压缩前图片大小:",milu.size)
print("压缩前图片占用的内存:",sys.getsizeof(milu))
print('原图片线性化为:',milu1.shape) #查看原图片线性化的结构
print('原图片的数据结构为:',milu) #查看原图片的数据结构
print("压缩后的图片的大小:",milus.size)
print("压缩后的图片占用的内存:",sys.getsizeof(new_milu))
print('原图片线性化为:',milu1.shape) #查看压缩后图片线性化的结构
print('原图片的数据结构为:',new_milu) #查看压缩后图片的数据结构
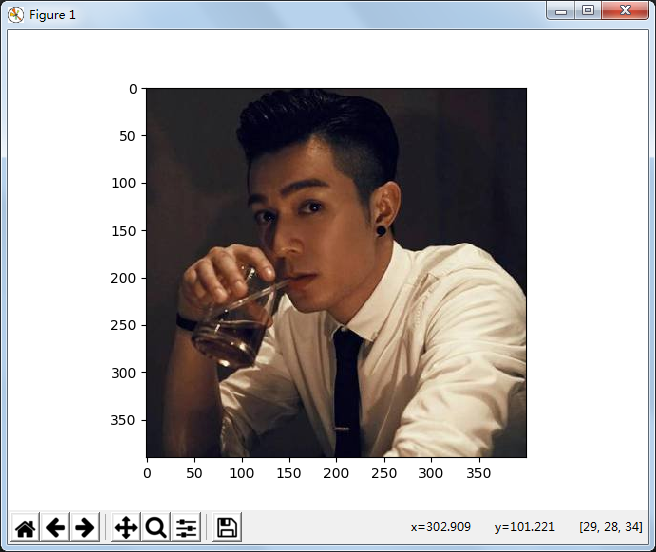
压缩前图片:


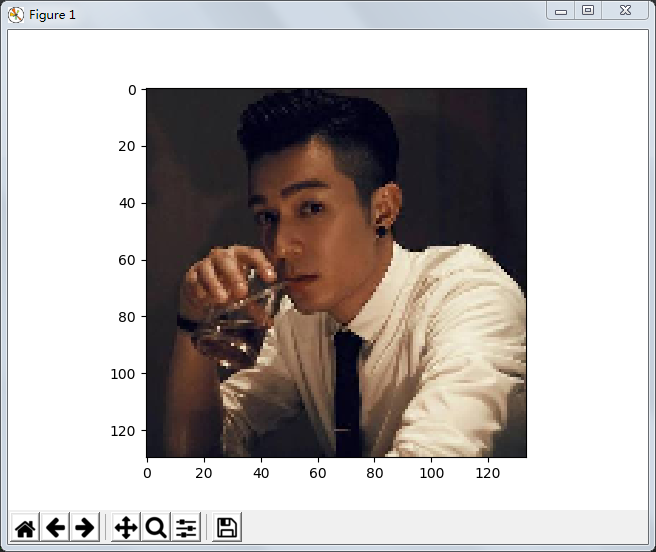
压缩后图片:


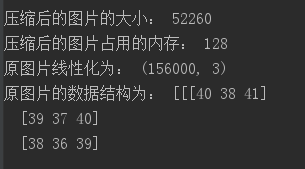
原图和压缩后的图的大小对比:

2. 观察学习与生活中可以用K均值解决的问题。
#判别天气状况是否去打网球
import numpy
import numpy as np
from sklearn.naive_bayes import GaussianNB
from sklearn.model_selection import train_test_split
from sklearn.neighbors import KNeighborsClassifier
# Sunny:1; Overcast:2; Rain:3;
# Hot:1; Mild:2; Cool:3;
# High:1; Normal:2;
# Weak:1; Strong:2;
# Yes:1; No:2;
X = numpy.array([  #训练集(随机虚拟值,可按真实添加)
        [1, 1, 1, 1],
        [1, 1, 1, 2],
        [2, 1, 1, 1],
        [3, 2, 1, 1],
        [3, 3, 2, 1],
        [3, 3, 2, 2],
        [2, 3, 2, 2],
        [1, 2, 1, 1],
        [1, 3, 2, 1],
        [3, 2, 2, 1],
        [1, 2, 2, 2],
        [2, 2, 1, 2],
        [2, 1, 2, 1],
        [3, 2, 1, 2]])
Y = numpy.array([2,2,1,1,1,2,1,2,1,1,1,1,1,2])
Z = numpy.array([[1,3,1,2]]) #测试值
data_tr,data_te,target_tr,target_te=train_test_split(X,Y,test_size=0.2,random_state=5)
# KNN算法预算对天气状况判定是否去打网球
knn = KNeighborsClassifier()
knn.fit(data_tr,target_tr)
pre1 = knn.predict(Z)
if pre1 == 1:
   pre1 = 'Yes'
elif pre1 == 2:
   pre1 = 'No'
print('KNN算法预算预测的目标为:',pre1)

预测结果如下:
