https://raymii.org/s/articles/virt-install_introduction_and_copy_paste_distro_install_commands.html
virt-install is a command line tool for creating new KVM , Xen or Linux container guests using the libvirt hypervisor management library. It allows you to create a VM and start an installation from the command line.
This article is a quick introduction to virt-install. It also has a copy pastable getting started examples for different distro's. Make sure to change the mirror to one near you for faster downloads.
I myself use virt-install together with kickstart, debootstrap and a PXE server to create images for Openstack. I've used in the past with a Django web frontend were developers could request and destroy vm's themself. Every requested VM was a new fresh installed one, backed by KVM and virt-install.
Please do note that you need to have kvm and libvirt running on your machine. This article does not cover the installation of those, but your package manager probably does.
Disk images
A VM needs a place to store it's data. The hypervisor emulates a disk and most of the time uses an image as its source. We can create an empty, 8 GB raw disk image with the following command:
fallocate -l 8G name.img
The KVM hypervisor supports qcow2. qcow2 images support compression, snapshots and a few other nice things like growing on demand (thin provisioning, sparse file) and a read only base image. There was a performance overhead but nowdays that is almost negligent. To create an 8 GB qcow2 image:
qemu-img create -f qcow2 ./name.qcow2 8G
virt-install
The virsh-install command is an easy way to spin up a VM from the command line. It allows you to start up an installation from a remote repo (network install), from a pxe boot or from a local iso. It also allows you to just boot a vm from a (live) cd iso.
Here are some copy pastable virt-install commands to get you up and running with a few distributions. You do need to have libvirt and KVM running and the disk image should exist.
Please make sure you've created a disk image before executing these commands.
If your default bridge interface is not named br0, change that.
vmbr0 is also a common one.
The VM's get 1 CPU core, 1 GB of RAM and an 8 GB disk. If you want more, change the command line accordingly.
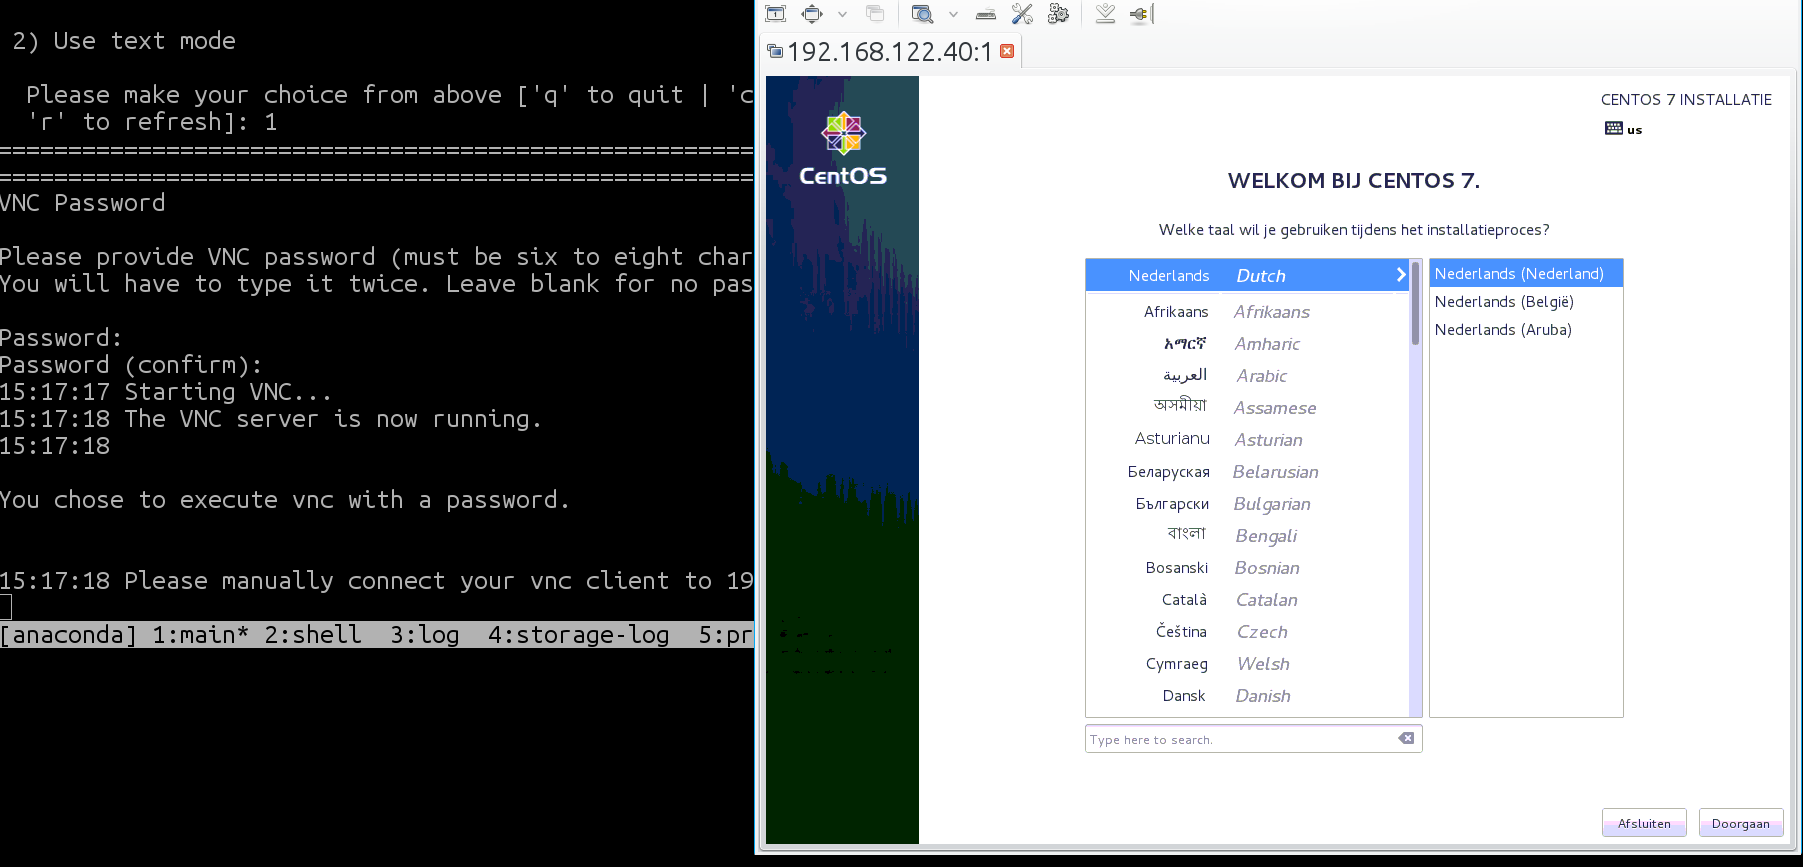
Here is an image of an OpenSUSE install via virt install in the serial console:
Debian 8
virt-install
--name debian8
--ram 1024
--disk path=./debian8.qcow2,size=8
--vcpus 1
--os-type linux
--os-variant generic
--network bridge=virbr0
--graphics none
--console pty,target_type=serial
--location 'http://ftp.nl.debian.org/debian/dists/jessie/main/installer-amd64/'
--extra-args 'console=ttyS0,115200n8 serial'
Debian 7
virt-install
--name debian7
--ram 1024
--disk path=./debian7.qcow2,size=8
--vcpus 1
--os-type linux
--os-variant debian7
--network bridge=virbr0
--graphics none
--console pty,target_type=serial
--location 'http://ftp.nl.debian.org/debian/dists/jessie/main/installer-amd64/'
--extra-args 'console=ttyS0,115200n8 serial'
Debian 6
virt-install
--name debian6
--ram 1024
--disk path=./debian6.qcow2,size=8
--vcpus 1
--os-type linux
--os-variant debian6
--network bridge=virbr0
--graphics none
--console pty,target_type=serial
--location 'http://ftp.nl.debian.org/debian/dists/squeeze/main/installer-amd64/'
--extra-args 'console=ttyS0,115200n8 serial'
CentOS 7
virt-install
--name centos7
--ram 1024
--disk path=./centos7.qcow2,size=8
--vcpus 1
--os-type linux
--os-variant centos7
--network bridge=virbr0
--graphics none
--console pty,target_type=serial
--location 'http://mirror.i3d.net/pub/centos/7/os/x86_64/'
--extra-args 'console=ttyS0,115200n8 serial'
CentOS 6
virt-install
--name centos6
--ram 1024
--disk path=./centos6.qcow2,size=8
--vcpus 1
--os-type linux
--os-variant centos6
--network bridge=virbr0
--graphics none
--console pty,target_type=serial
--location 'http://mirror.i3d.net/pub/centos/6/os/x86_64/'
--extra-args 'console=ttyS0,115200n8 serial'
CentOS 5
virt-install
--name centos5
--ram 1024
--disk path=./centos5.qcow2,size=8
--vcpus 1
--os-type linux
--os-variant centos5
--network bridge=virbr0
--graphics none
--console pty,target_type=serial
--location 'http://mirror.i3d.net/pub/centos/5/os/x86_64/'
--extra-args 'console=ttyS0,115200n8 serial'
Ubuntu 14.04
virt-install
--name ubuntu1404
--ram 1024
--disk path=./ubuntu1404.qcow2,size=8
--vcpus 1
--os-type linux
--os-variant generic
--network bridge=virbr0
--graphics none
--console pty,target_type=serial
--location 'http://archive.ubuntu.com/ubuntu/dists/trusty/main/installer-amd64/'
--extra-args 'console=ttyS0,115200n8 serial'
Ubuntu 12.04
virt-install
--name ubuntu1204
--ram 1024
--disk path=./ubuntu1204.qcow2,size=8
--vcpus 1
--os-type linux
--os-variant ubuntu12.04
--network bridge=virbr0
--graphics none
--console pty,target_type=serial
--location 'http://archive.ubuntu.com/ubuntu/dists/precise/main/installer-amd64/'
--extra-args 'console=ttyS0,115200n8 serial'
Ubuntu 10.04
virt-install
--name ubuntu1004
--ram 1024
--disk path=./ubuntu1004.qcow2,size=8
--vcpus 1
--os-type linux
--os-variant ubuntu10.04
--network bridge=virbr0
--graphics none
--console pty,target_type=serial
--location 'http://archive.ubuntu.com/ubuntu/dists/lucid/main/installer-amd64/'
--extra-args 'console=ttyS0,115200n8 serial'
OpenSUSE 13
virt-install
--name opensuse13
--ram 1024
--disk path=./opensuse13.qcow2,size=8
--vcpus 1
--os-type linux
--os-variant generic
--network bridge=virbr0
--graphics none
--console pty,target_type=serial
--location 'http://download.opensuse.org/distribution/13.2/repo/oss/'
--extra-args 'console=ttyS0,115200n8 serial'
OpenSUSE 12
virt-install
--name opensuse12
--ram 1024
--disk path=./opensuse12.qcow2,size=8
--vcpus 1
--os-type linux
--os-variant generic
--network bridge=virbr0
--graphics none
--console pty,target_type=serial
--location 'http://download.opensuse.org/distribution/12.3/repo/oss/'
--extra-args 'console=ttyS0,115200n8 serial'
OpenSUSE 11
virt-install
--name opensuse11
--ram 1024
--disk path=./opensuse11.qcow2,size=8
--vcpus 1
--os-type linux
--os-variant generic
--network bridge=virbr0
--graphics none
--console pty,target_type=serial
--location 'http://download.opensuse.org/distribution/11.4/repo/oss/'
--extra-args 'console=ttyS0,115200n8 serial'
Generic ISO
Download an ISO file and give the filename to the --cdrom= parameter. This is used instead of
--location. A VNC console is available on localhost, port 5999 for you to use.
An example for FreeBSD 10. First download the ISO:
wget http://ftp.freebsd.org/pub/FreeBSD/releases/ISO-IMAGES/10.1/FreeBSD-10.1-RELEASE-amd64-dvd1.iso
Then start virt-install:
 virt-install
--name freebsd10
--ram 1024
--disk path=./freebsd10.qcow2,size=8
--vcpus 1
--os-type generic
--os-variant generic
--network bridge=virbr0
--graphics vnc,port=5999
--console pty,target_type=serial
--cdrom ./FreeBSD-10.1-RELEASE-amd64-dvd1.iso
You need to start up a VNC client to do the installation.
Do note that this method works for Windows ISO's as well.
os-variant
You can get a list of supported operating system variants with the osinfo-query os command. Below you'll find an example output:
osinfo-query os
 Short ID             | Name                                               | Version  | ID
----------------------+----------------------------------------------------+----------+-----------------------------------------
 debian7              | Debian Wheezy                                      | 7        | http://debian.org/debian/7
 freebsd10.0          | FreeBSD 10.0                                       | 10.0     | http://freebsd.org/freebsd/10.0
 openbsd5.5           | OpenBSD 5.5                                        | 5.5      | http://openbsd.org/openbsd/5.5
 rhel6.5              | Red Hat Enterprise Linux 6.5                       | 6.5      | http://redhat.com/rhel/6.5
 rhel7.0              | Red Hat Enterprise Linux 7.0                       | 7.0      | http://redhat.com/rhel/7.0
 ubuntu12.04          | Ubuntu Precise Pangolin LTS                        | 12.04    | http://ubuntu.com/ubuntu/12.04
 win3.1               | Microsoft Windows 3.1                              | 3.1      | http://microsoft.com/win/3.1
 win7                 | Microsoft Windows 7                                | 6.1      | http://microsoft.com/win/7
 winxp                | Microsoft Windows XP                               | 5.1      | http://microsoft.com/win/xp
Kickstart and debootstrap
If you have a kickstart file set up you can give it directly to the vm using the
--extra-args parameter:
--extra-args "ks=http://server/vm.ks"
If you don't have a server set up you can inject a file into the initrd and use that for kickstarting:
--initrd-inject=vm.ks --extra-args "ks=file:/vm.ks"
preseed.cfg is a regular preseed file (as described in the Debian Wiki) in your local filesystem. It must be named preseed.cfg in order for d-i to pick it up from the initrd.
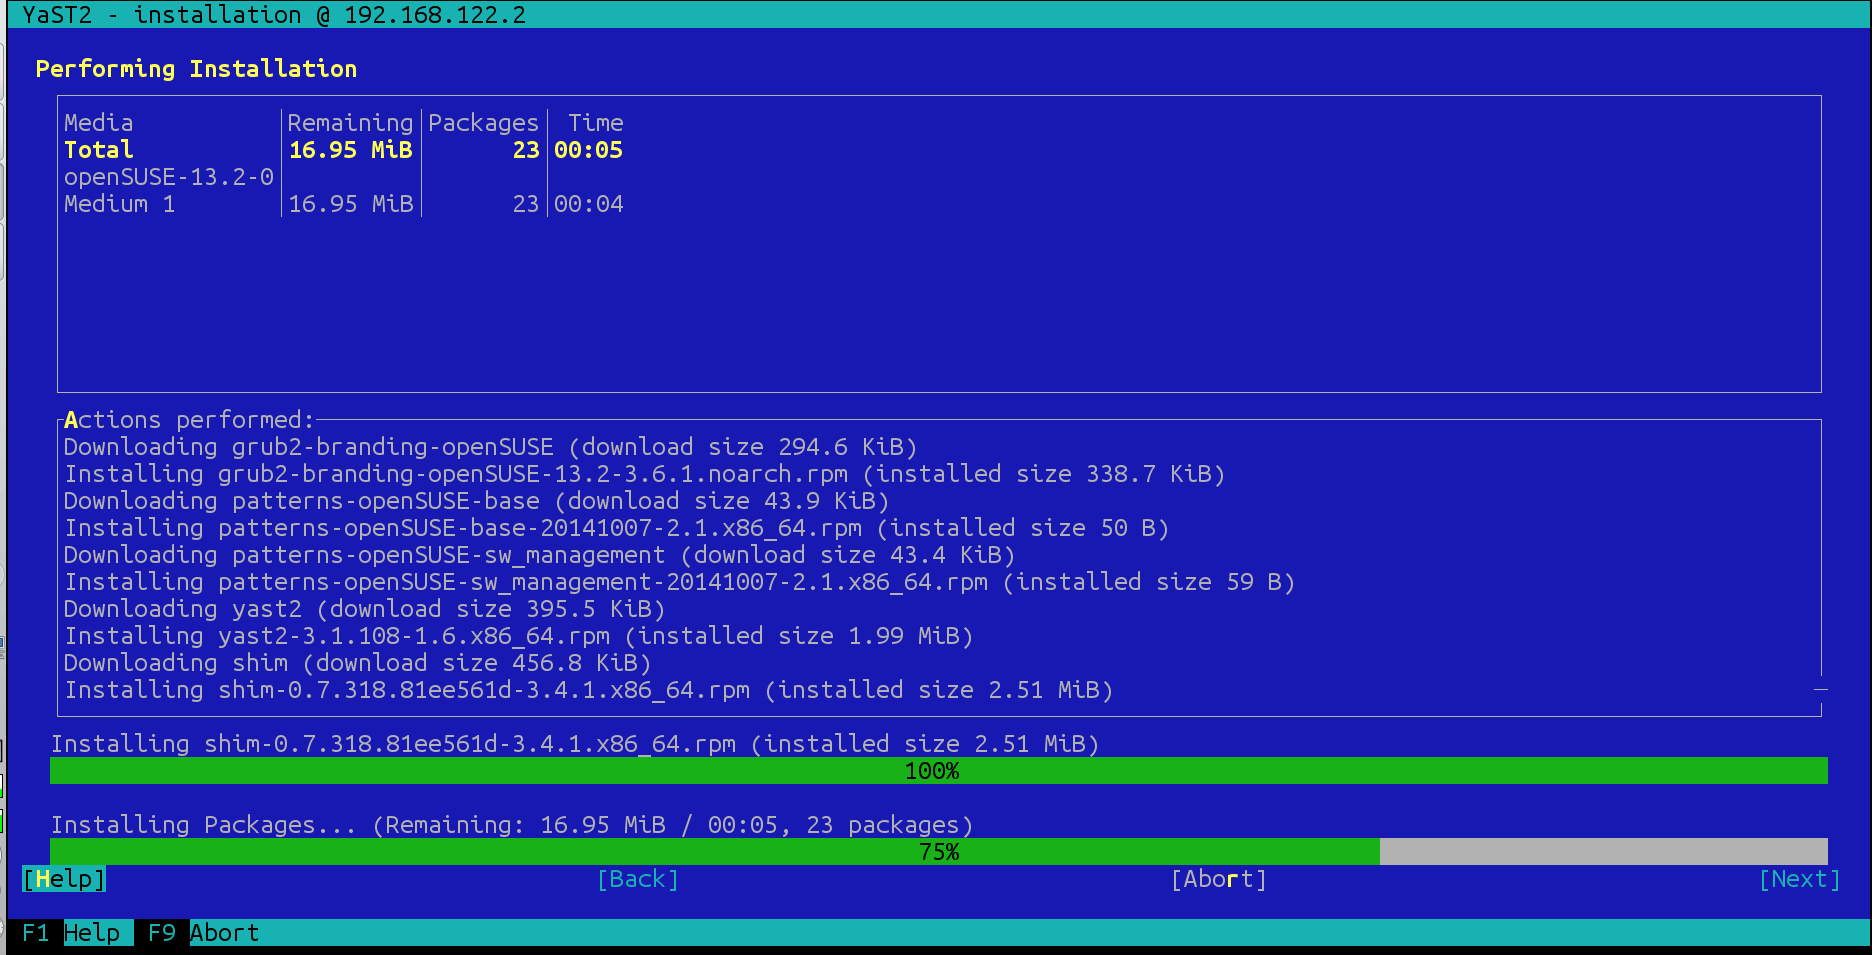
Here is another, rather boring, image of a Debian install via virt-install:
Starting a VM
To start a VM you've just created after the installation, use the virsh start NAME command:
virsh start centos7
Use the virsh list --all to list all available virtual machines, including powered off ones:
$ virsh list --all
 Id    Name                           State
----------------------------------------------------
 4     centos7                        running
 -     debian7                        shut off
 -     win7                           shut off
 -     win98                          shut off
 -     winxp                          shut off
Stopping and removing
To stop a VM, you give the (unintuitive) command virsh destroy NAME:
virsh destroy centos7
It will not remove any data, just stop the VM by pulling the virtual power cable.
If you want to remove the VM from the virsh list, you need to undefine it:
virsh undefine centos7
This will remove the configuration. If you don't undefine the VM and want to try the
virt-install again it will give an error like this:
ERROR Guest name 'centos7' is already in use.
You do manually need to remove the virtual disk after undefining a vm.