1.下载私有镜像库
docker pull registry
2.运行容器
docker run -itd -p 5000:5000 -v /data/registry:/var/lib/registry --restart=always --name registry registry:latest
3. 生成本地hello-world的镜像
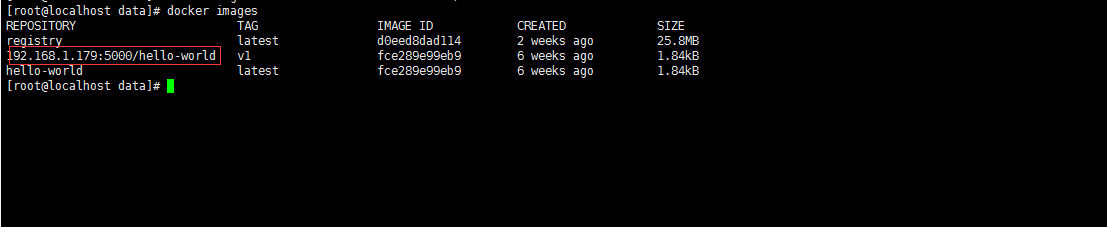
docker tag hello-world 192.168.1.179:5000/hello-world:v1
4.推送本地hello-world镜像到私有仓库
docker push 192.168.1.179:5000/hello-world:v1
报错误:
docker push 192.168.1.179:5000/hello-world:v1
The push refers to repository [192.168.1.179:5000/hello-world]
Get https://192.168.1.179:5000/v2/: http: server gave HTTP response to HTTPS client、
默认是需要https,所以推送失败。
配置私有仓库不需要https:
{
"registry-mirror": [
"
],
"insecure-registries": [
"
]
}
文件如果不存在就新建。
重启docker服务且再次推送:
systemctl restart docker
docker push 192.168.1.179:5000/hello-world:v1
5. 查看私有仓库
- 查看仓库列表
http://192.168.1.179:5000/v2/_catalog
- 查看指定仓库的版本列表
http://192.168.1.179:5000/v2/hello-world/tags/list
6.测试
可以删除本地 192.168.1.179:5000/hello-world:v1 镜像,从私有库拉取,也可以在从其它服务器测试。
至此本地私有仓库已经搭建完成