一、常用命令
在学习spring boot整合ElasticSearch之前,我们先了解下常用的命令。
使用工具:postman等第三方http工具、head插件或者Kibana里边的Dev Tools。
这里我们使用Dev Tools(有提示功能,比较方便),最后再head插件中进行数据浏览。
1)添加或更新索引及其文档
方法一(推荐):PUT /{索引}/{文档}/{id}, id为必传,若没有该id则插入数据,已有id则更新数据(若只传入索引,则创建索引)
方法二:POST /{索引}/{文档}/{id}, id可省略,如不传则由es生成。
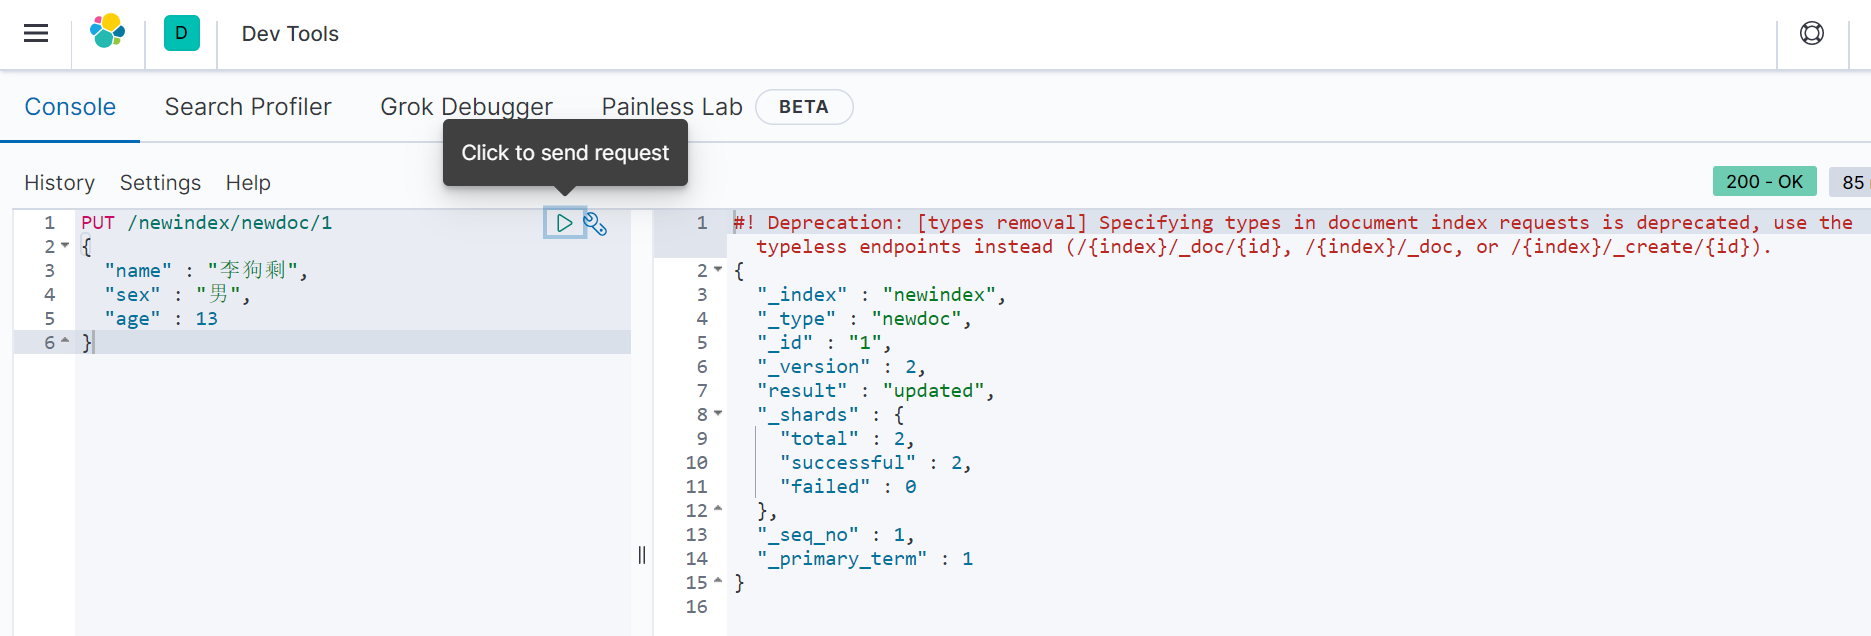
添加三个文档
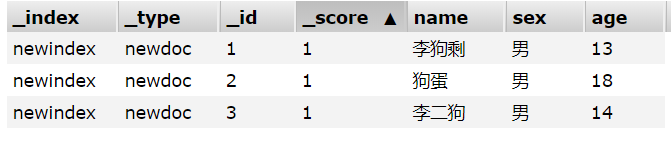
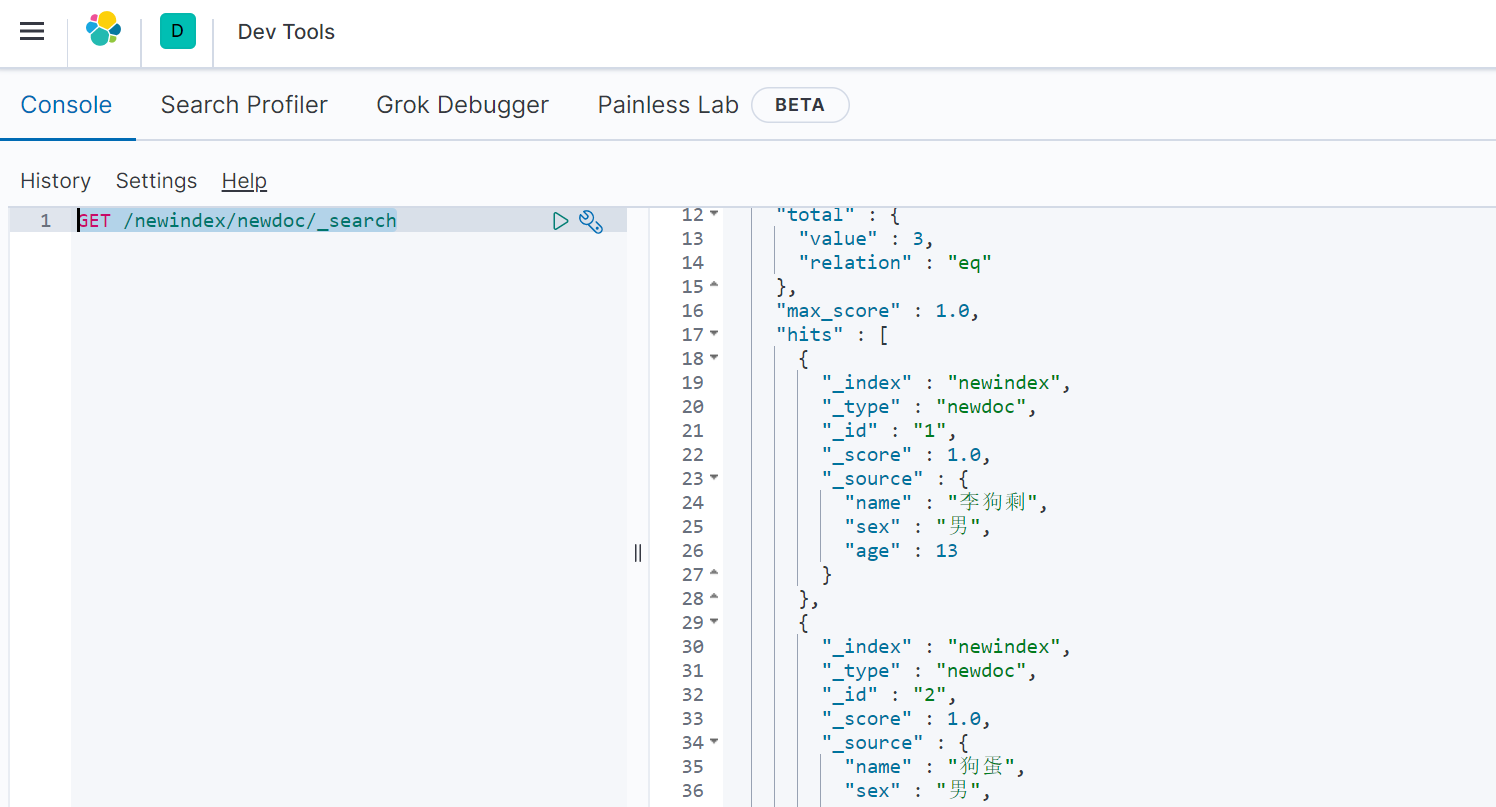
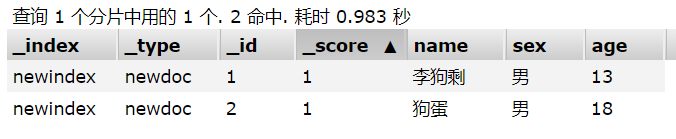
2)获取所有文档
GET /{索引}/{文档}/_search
如:http://192.168.0.111:9200/newindex/newdoc/_search
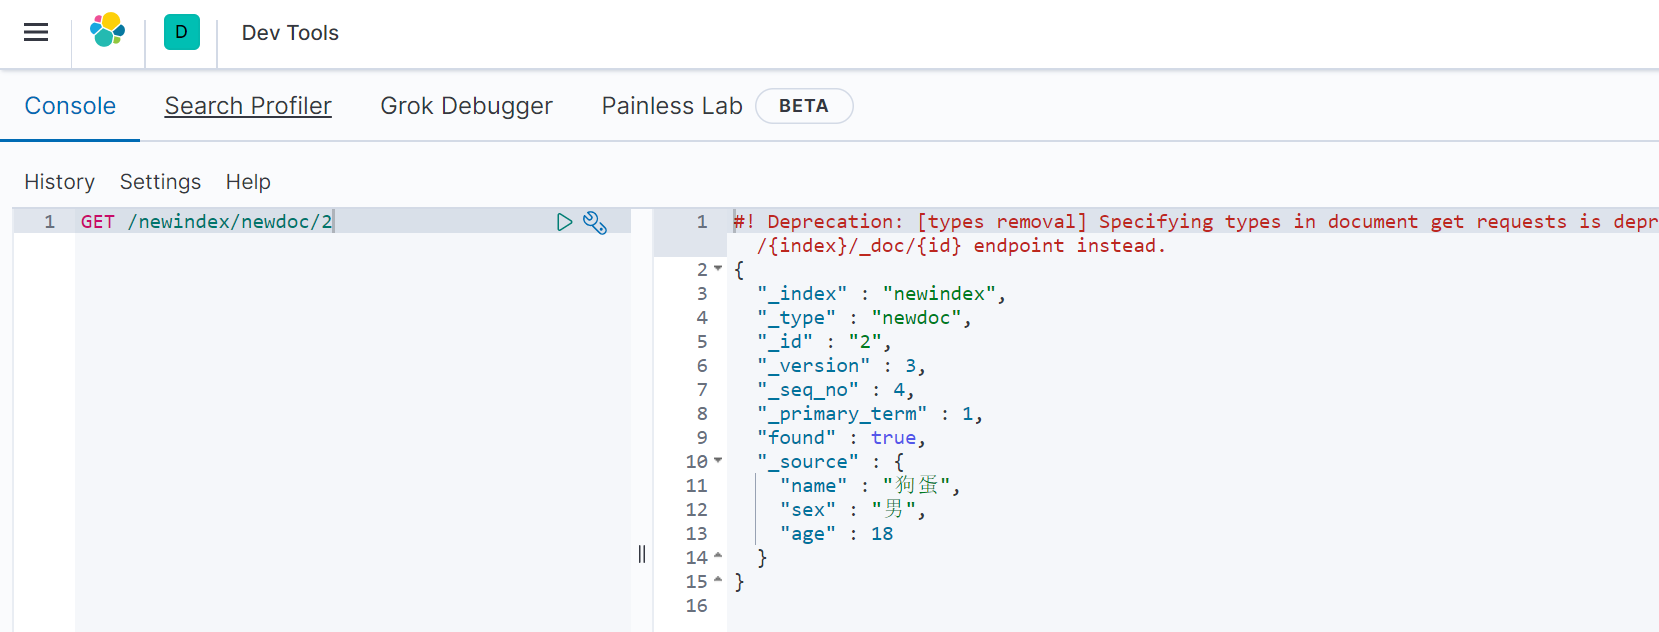
3)获取指定id文档
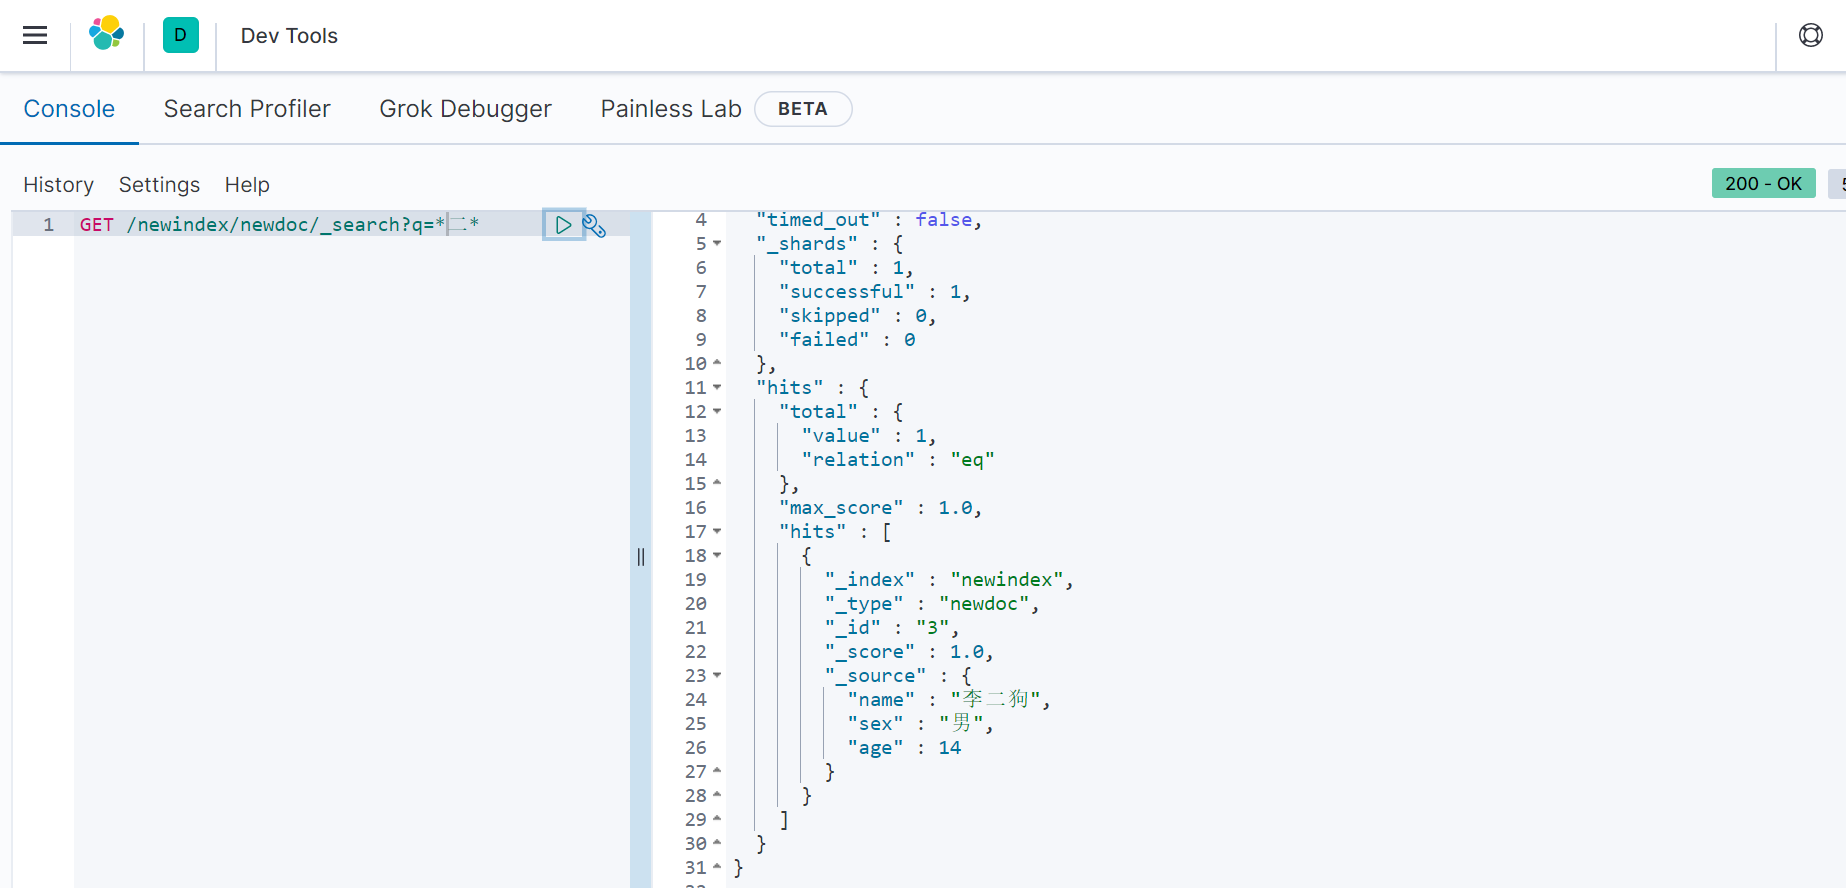
4)模糊查询
GET /{索引}/{文档}/_search?q=关键词
如:http://192.168.0.111:9200/newindex/newdoc/_search?q=二
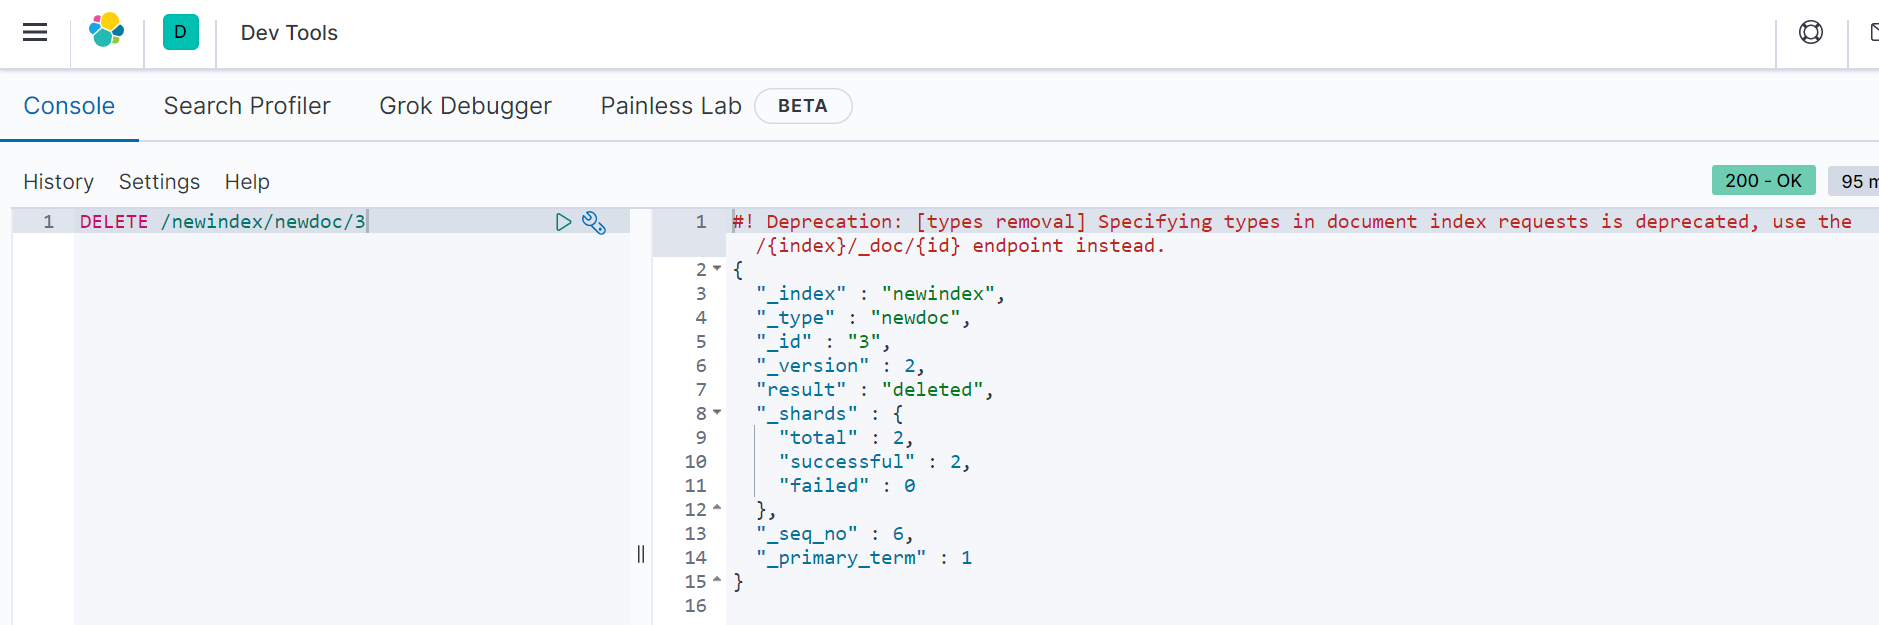
5)删除文档
DELETE /{索引}/{文档}/{id}
如:http://192.168.0.111:9200/newindex/newdoc/3
6)其他
http://192.168.0.111:9200/_cat/indices 查看索引列表
http://nginxos:9200/_cat/health?v 查看es集群状态
二、spring boot整合ElasticSearch7.8.0
SpringBoot与Es的整合,需要注意版本支持,且在7.x的ES版本中客户端更新为 High Level REST Client,在 SpringBoot中的ElasticSearchTemplate过时,建议使用 High Level REST Client或者ElasticSearchRestTemplate。
版本如果不适配,也无法运行。
1)导入依赖
<dependency>
    <groupId>org.elasticsearch.client</groupId>
    <artifactId>elasticsearch-rest-high-level-client</artifactId>
    <version>7.8.0</version>
</dependency>
<dependency>
    <groupId>org.springframework.boot</groupId>
    <artifactId>spring-boot-starter-data-elasticsearch</artifactId>
</dependency>
<dependency>
    <groupId>com.alibaba</groupId>
    <artifactId>fastjson</artifactId>
    <version>1.2.73</version>
</dependency
注意,org.elasticsearch.client的版本必须与Es版本一直,否则可能会不兼容。
2)配置RestHighLevelClient
@Configuration
public class ElasticConfig {

    @Bean(value = "myClient", destroyMethod = "close")
    public RestHighLevelClient getRestHighLevelClient() {
        RestHighLevelClient client = new RestHighLevelClient(
                RestClient.builder(
                        new HttpHost("192.168.0.111",9200,"http"),
                        new HttpHost("192.168.0.111",9201,"http"),
                        new HttpHost("192.168.0.111",9202,"http")
                        )
        );
        return client;
    }
}
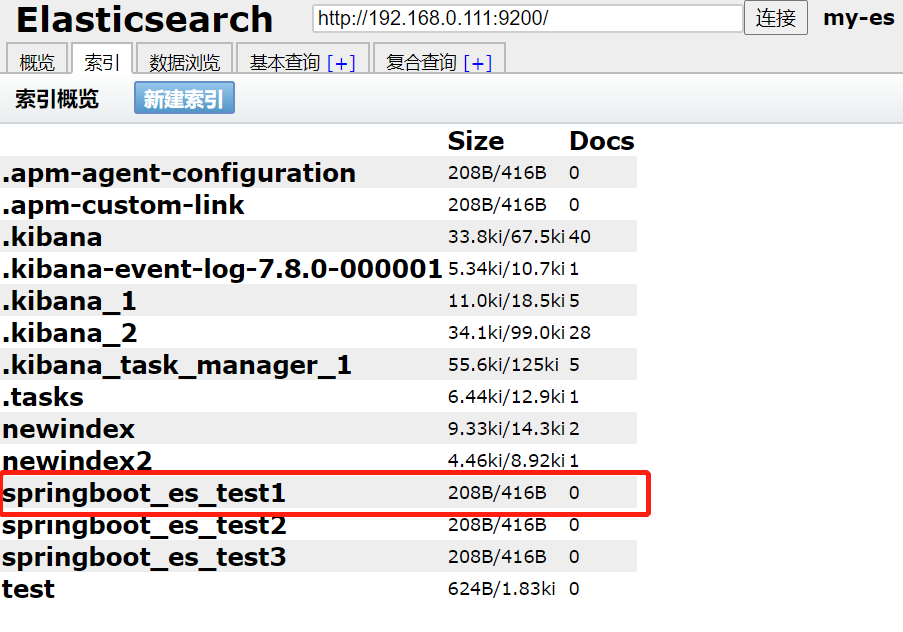
3.1)创建索引
注意:索引名称必须为小写,否则报错
直接使用spring boot测试方法。代码如下:
@SpringBootTest
class SpringElasticsearchApplicationTests {

    @Autowired
    @Qualifier("myClient")
    private RestHighLevelClient client;

    @Test
    public void test1(){
    	// 创建一个名为"springboot_es_test1"的索引库
        CreateIndexRequest request = new CreateIndexRequest("springboot_es_test1");
        try {
            CreateIndexResponse createIndexResponse = client.indices().create(request, RequestOptions.DEFAULT);
            System.out.println(createIndexResponse.toString());
        } catch (IOException e) {
            e.printStackTrace();
        }
    }
}
可以通过head插件查看到创建成功,
3.2)获取索引
判断索引是否存在
@Test
public void test2(){
    GetIndexRequest request = new GetIndexRequest("springboot_es_test1");
    try {
        boolean exists = client.indices().exists(request, RequestOptions.DEFAULT);
        System.out.println(exists ? "索引存在" : "索引不存在");
    } catch (IOException e) {
        e.printStackTrace();
    }
}
3.3)添加对象
添加User实体类
public class User {
    private String name;
    private String sex;
    private Integer age;

    public User(String name, String sex, Integer age) {
        this.name = name;
        this.sex = sex;
        this.age = age;
    }
    // 省略getter、setter(注意getter、setter必须要有)
}
添加对象、获取文档内容
	@Test
    public void test3() {
        User user = new User("狗蛋", "男", 12);
        IndexRequest request = new IndexRequest("userindextest1");
        request.id("1");
        // 对象转为Json串
        request.source(JSON.toJSONString(user), XContentType.JSON);

        try {
            // 发送
            IndexResponse indexResponse = client.index(request, RequestOptions.DEFAULT);
            System.out.println("返回状态码:" + indexResponse.status().getStatus());
            // 查询索引内容
            GetResponse getResponse = client.get(new GetRequest("userindextest1", "1"), RequestOptions.DEFAULT);
            System.out.println(getResponse);
        } catch (IOException e) {
            e.printStackTrace();
        }
    }
======================================
执行结果:
返回状态码:201
{"_index":"userindextest1","_type":"_doc","_id":"1","_version":1,"_seq_no":0,"_primary_term":1,"found":true,"_source":{"age":12,"name":"狗蛋","sex":"男"}}

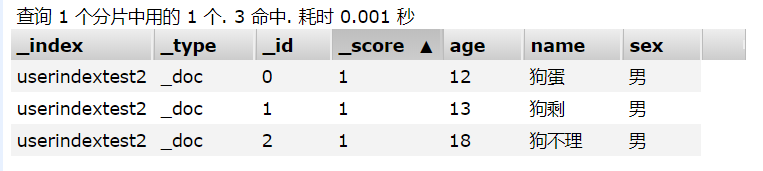
3.4)批量添加
@Test
    public void test4() {
        // 创建批量请求
        BulkRequest bulkRequest = new BulkRequest();
        // 设置超时时间
        bulkRequest.timeout("10s");

        List<User> users = new ArrayList<>();
        users.add(new User("狗蛋", "男", 12));
        users.add(new User("狗剩", "男", 13));
        users.add(new User("狗不理", "男", 18));
        int i = 0;
        for (User u : users) {
            bulkRequest.add(
                    new IndexRequest("userindextest2")
                            .id(""+i++)
                            .source(JSON.toJSONString(u), XContentType.JSON)
            );
        }
        try {
            BulkResponse bulk = client.bulk(bulkRequest, RequestOptions.DEFAULT);
            System.out.println("批量插入是否报错:" + bulk.hasFailures());
        } catch (IOException e) {
            e.printStackTrace();
        }
    }
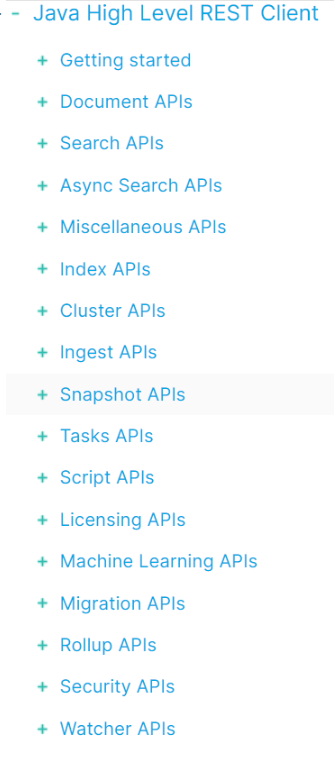
三、最后
除了以上,High Level REST Client还有很多API,详细使用请参考官方文档:
https://www.elastic.co/guide/en/elasticsearch/client/java-rest/current/java-rest-high.html
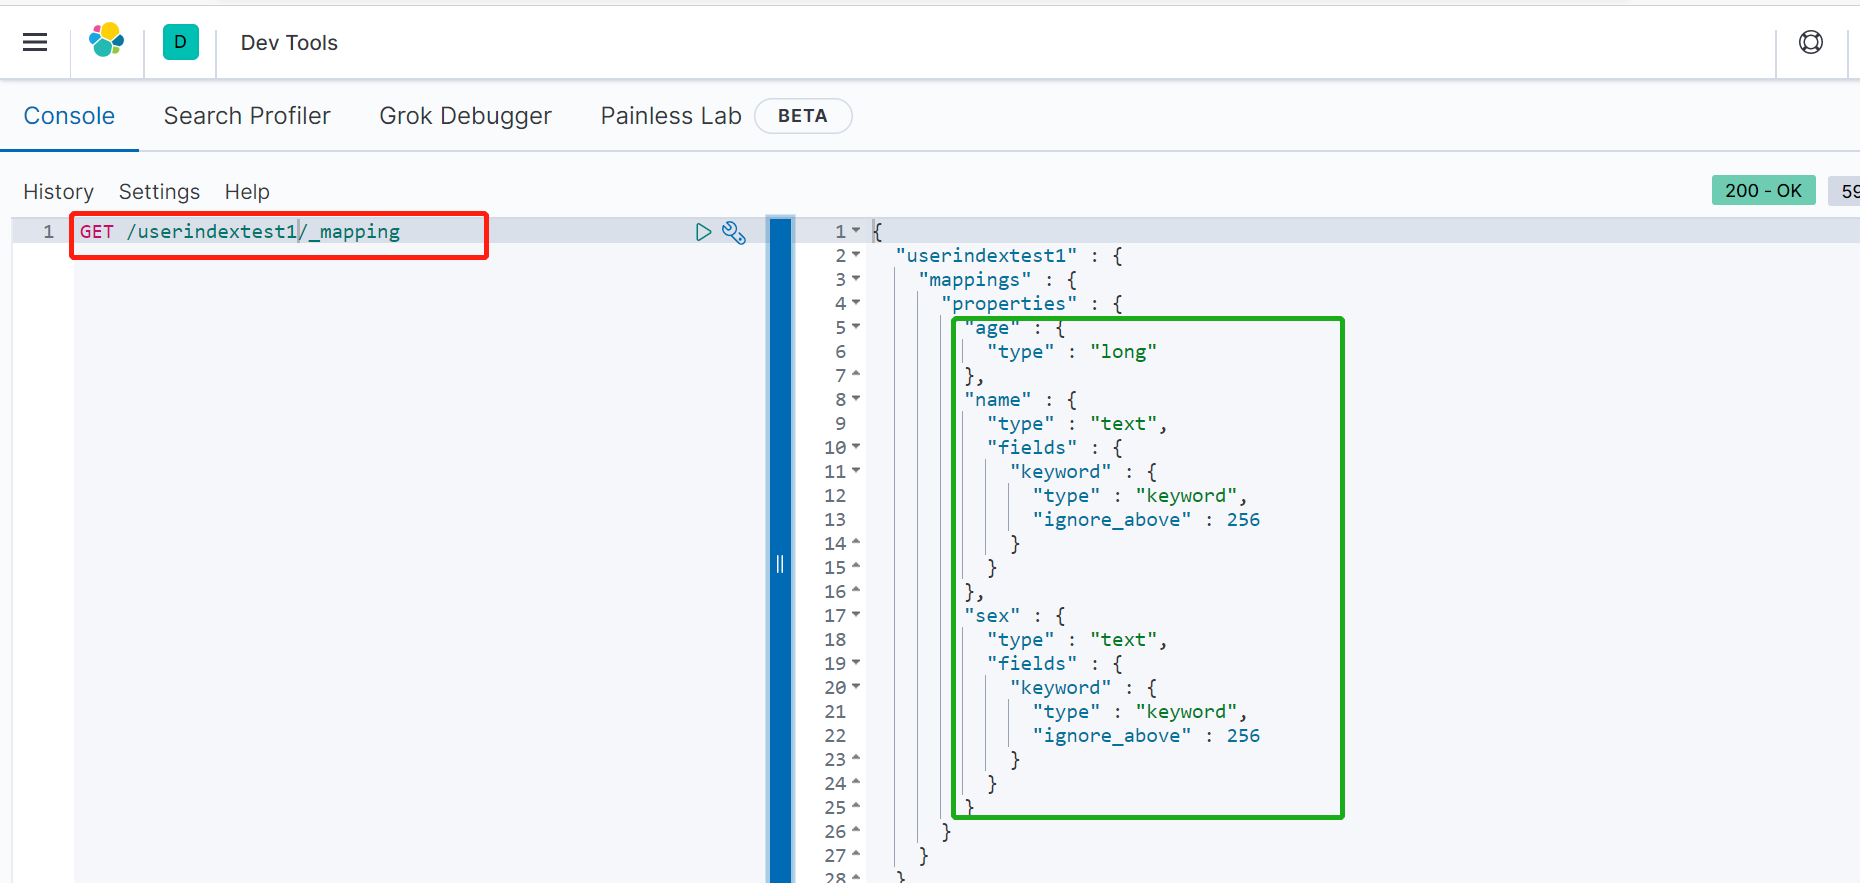
四、补充
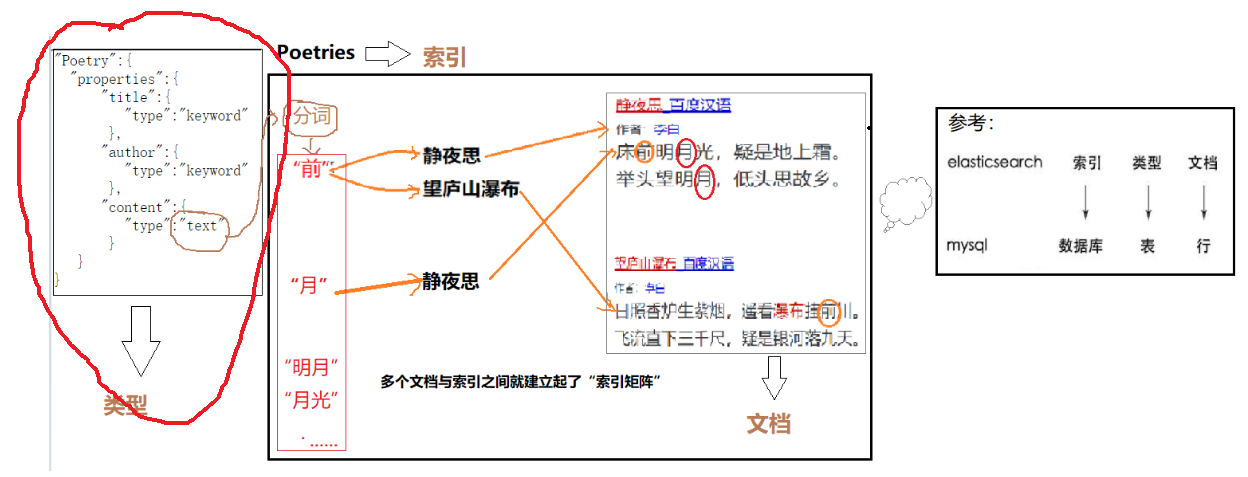
如前所述,索引是有类型定义的。以上面“添加对象”为例,如果没有指定类型,es会自动创建一个类型映射,如下图:
当然,我们也可以自身指定mapping。但是,如果mapping已经存在,直接去修改就会报错,如下:

那么,我们该如何做的。一般分两种时机。
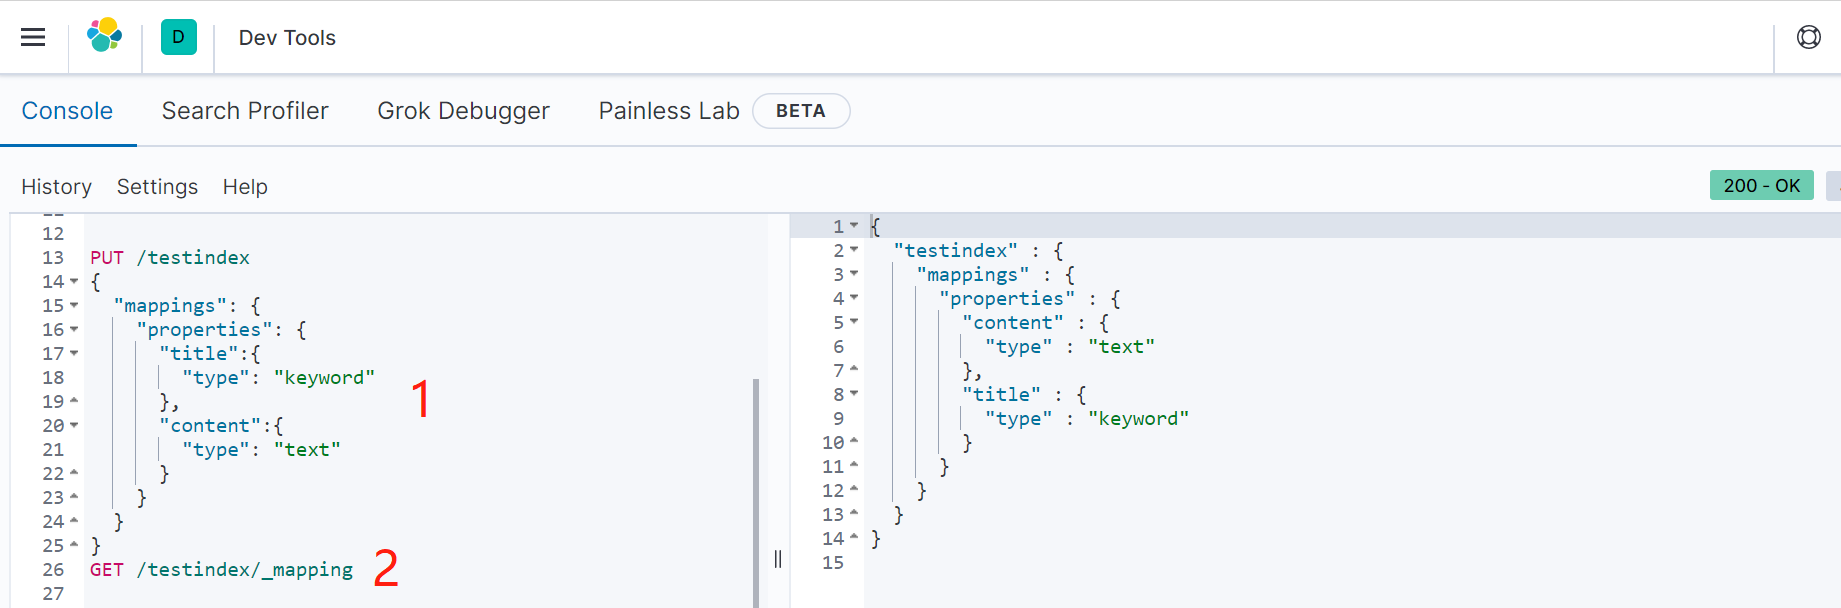
1)第一,创建索引时指定mapping
2)第二,复制索引库进行数据迁移
场景举例:在使用es期间,发现已有的mapping有问题,比如某个类型设置为了float,但实际上想要更高精度的double。这个时候就只能复制索引->修改mapping->数据迁移
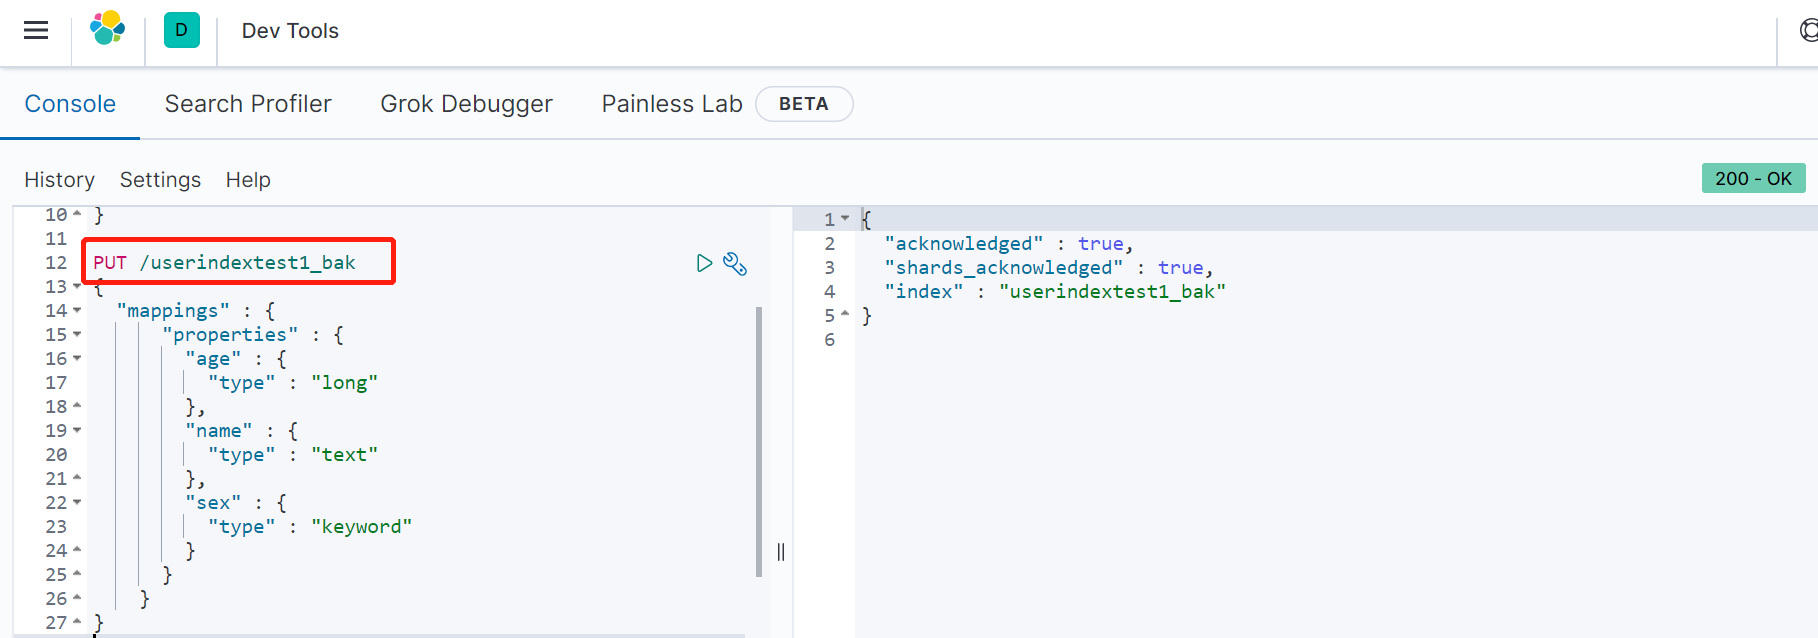
我们把上例中的userindextest1索引中的sex由text改为keyword
第一步,重新创建一个索引:
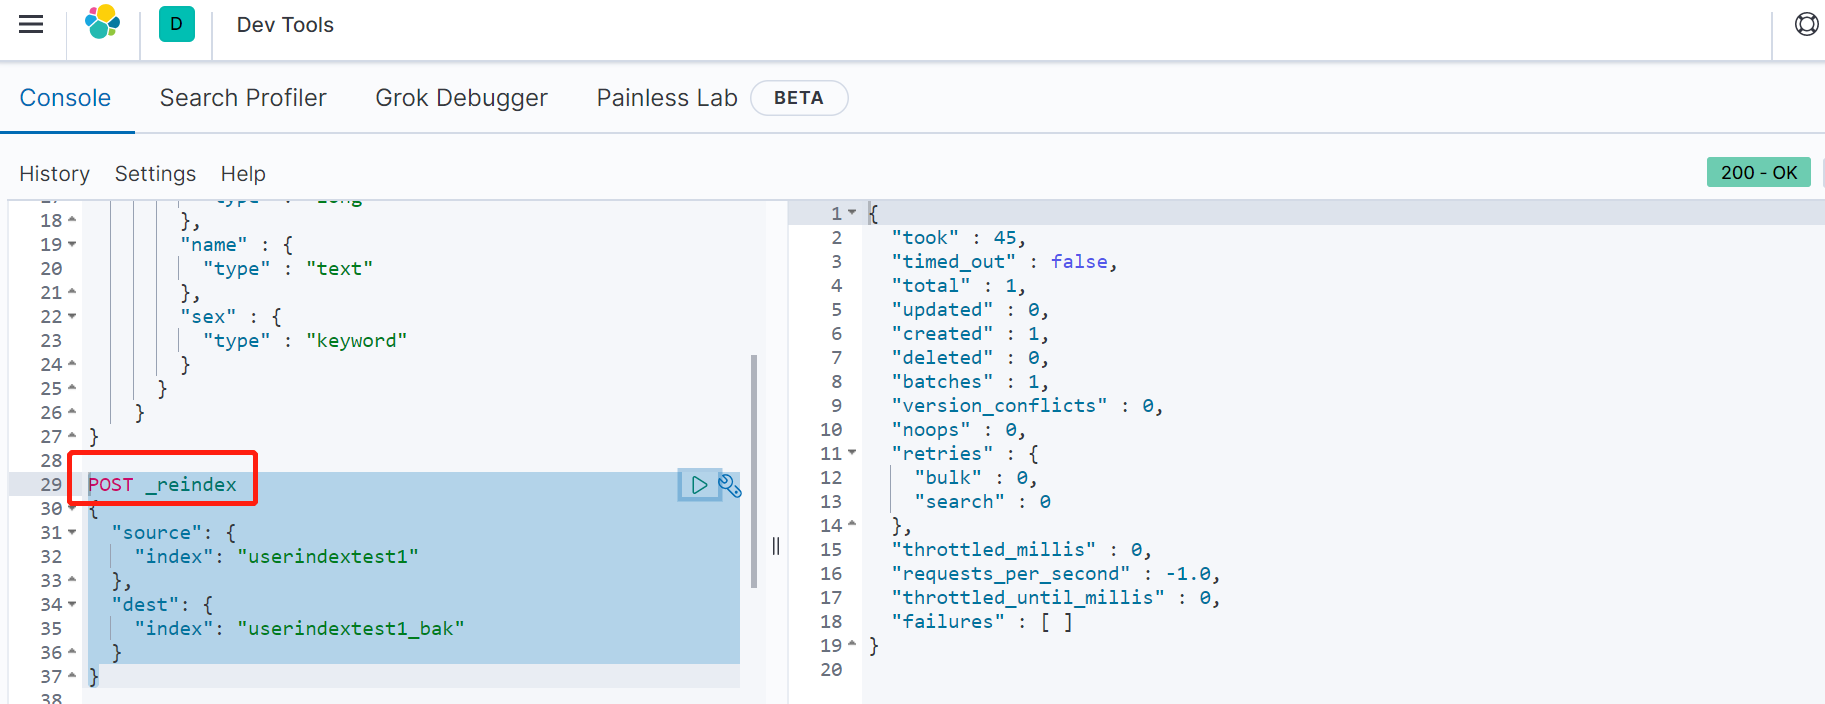
第二步,用reindex命令, 将原始库的内容,拷给到userindextest1_bak中:
最后,我们验证一下userindextest1_bak的索引类型和数据是否正确。
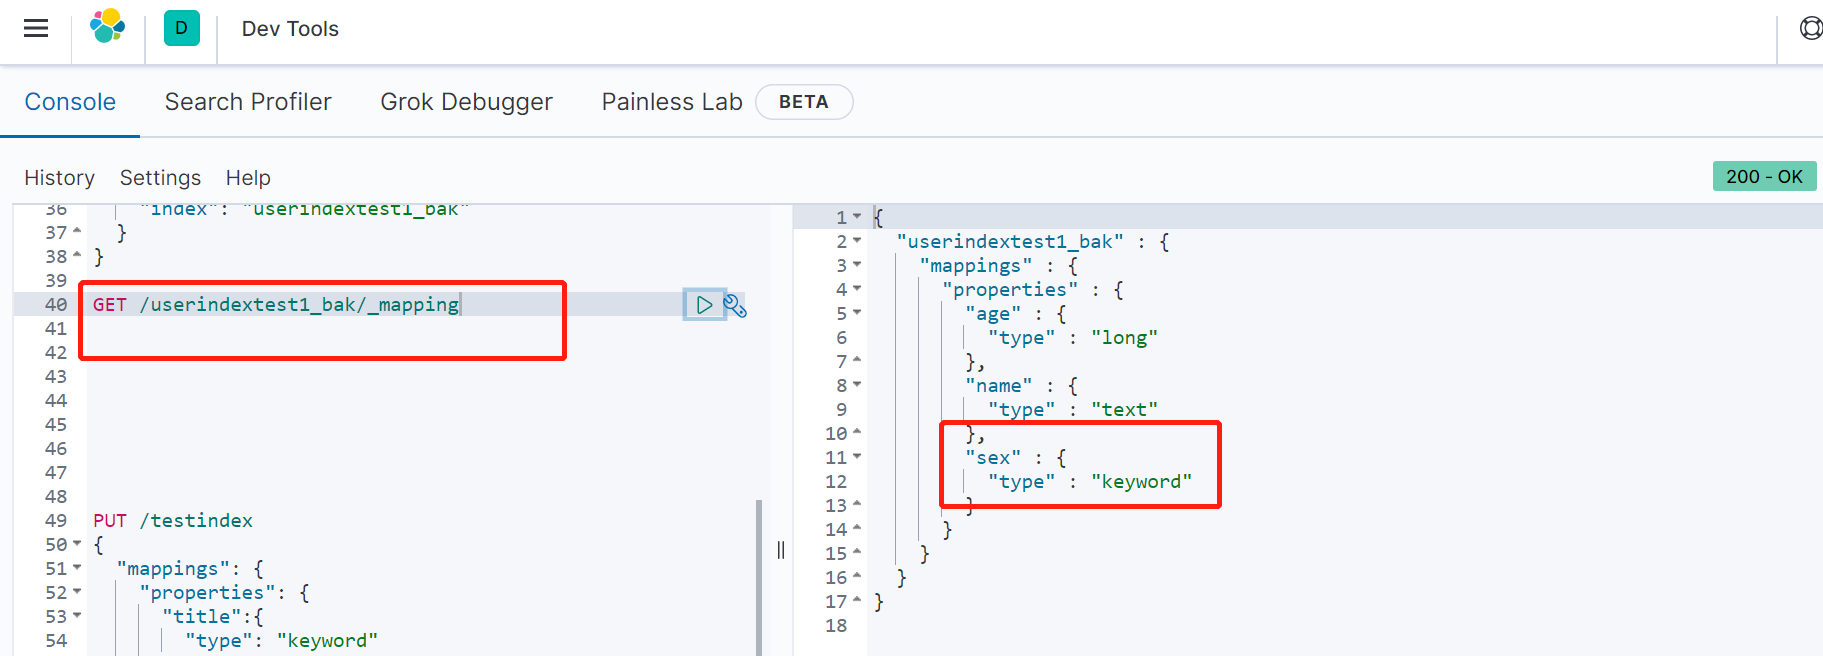
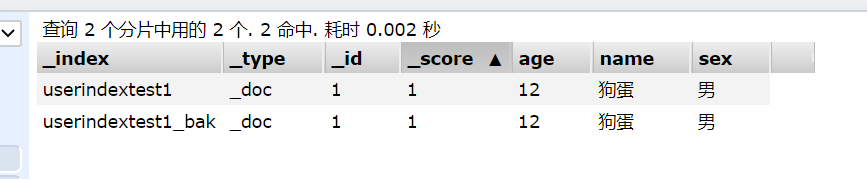
ok,大功告成。