一、前言
最近在看到公众号文章,关于流星雨的,看着效果挺好。就跟着做了。
在做的过程中,对 Canvas 有了一些了解。同时在使用过程中会有一些问题。在这里总结记录下。
二、width、height
首先 canvas 元素有自己的属性 width、height。同时也可以设置 CSS 的 width、height。
对于这两者的区别,最开始我以为是一样的。只有在 CSS 中设置就好了。
但是两者完全不一样。在 MDN 有这样一句话:当没有设置宽度和高度的时候,canvas会初始化宽度为300像素和高度为150像素。
是的,有默认值。
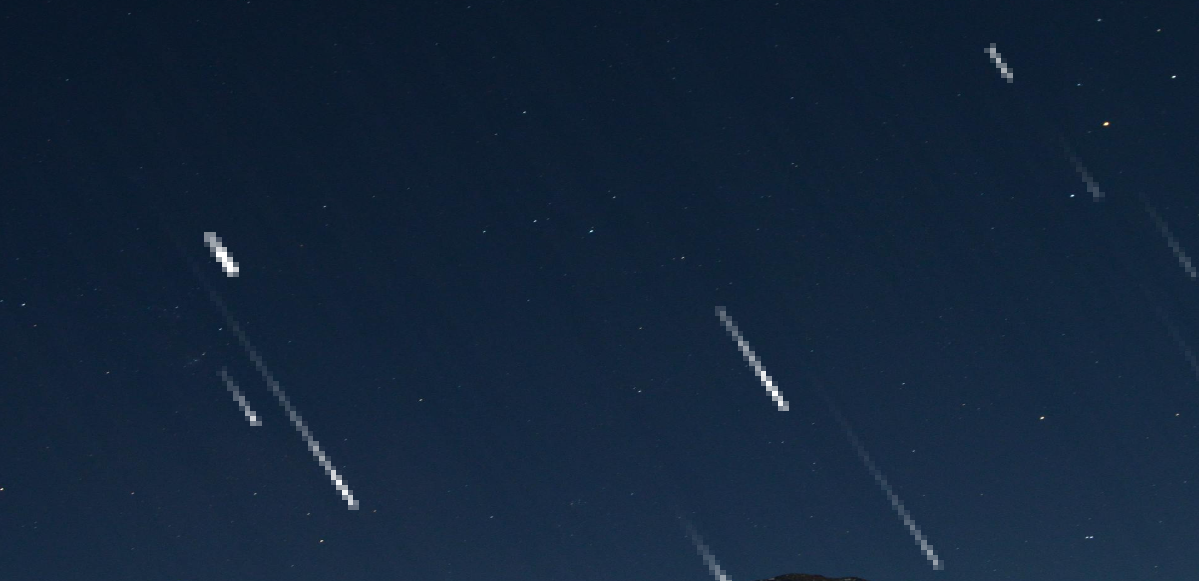
所以,我以为的流星雨效果是这样:
可是当没有设置 canvas 属性 width、height时是这样

这是什么鬼。
再回头看看 MDN 上面的说明:如果CSS的尺寸与初始画布的比例不一致,它会出现扭曲。
我只是设置了 CSS 的尺寸,没有设置 canvas 画布尺寸。两者不一样,而且差距有点大,就出现扭曲、变形。
一般是这样设置的:
// 这里设定,css 中已经设置了尺寸
var canvas = document.getElementById('canvas');
var ctx = canvas.getContext('2d');
canvas.width = canvas.offsetWidth
canvas.height = canvas.offsetHeight
这样设置后看到了想要的效果。
三、beginPath、moveTo 的使用
beginPath 是开始绘制一段路径。
一般路径绘制完成,要使用 stroke 或者 fill 进行绘制或者填充。
但是想绘制多段路径怎么办呢?
1、每次都调用 beginPath、stroke
实现如下:
      this.canvasTxt.beginPath()
      this.canvasTxt.arc(250, 150, 50, 0, Math.PI * 2, true)
      this.canvasTxt.stroke()
      this.canvasTxt.beginPath()
      this.canvasTxt.arc(250, 150, 35, 0, Math.PI, false)
      this.canvasTxt.stroke()
      this.canvasTxt.beginPath()
      this.canvasTxt.arc(235, 120, 5, 0, Math.PI * 2, true)
      this.canvasTxt.stroke()
      this.canvasTxt.beginPath()
      this.canvasTxt.arc(265, 120, 5, 0, Math.PI * 2, true)
      this.canvasTxt.stroke()
2、从一个路径到另外一个路径使用 moveTo
如下面的代码:
      this.canvasTxt.beginPath()
      this.canvasTxt.arc(250, 150, 50, 0, Math.PI * 2, true)
      this.canvasTxt.moveTo(285, 150)
      this.canvasTxt.arc(250, 150, 35, 0, Math.PI, false)
      this.canvasTxt.moveTo(240, 120)
      this.canvasTxt.arc(235, 120, 5, 0, Math.PI * 2, true)
      this.canvasTxt.moveTo(270, 120)
      this.canvasTxt.arc(265, 120, 5, 0, Math.PI * 2, true)
      this.canvasTxt.stroke()
如果都是路径的绘制,可以使用 moveTo 更简洁方便。
但是其中如果有是需要 fill 的,那么就需要使用第一中方法了