本教程例子可到GitHub 上下载 Laravel5.5-Vue-Element-ui-Vux
1.laravel5.5安装,详情请参考: https://laravelacademy.org/post/7620.html
2.vue的安装:
直接进入项目的根目录,执行npm install ,建议如果可以的话使用 cnpm install
cnpm安装 使用命令执行 npm install -g cnpm --registry=https://registry.npm.taobao.org
然后进入 resourceassets 目录后会发现,里面自带了一个vue的例子

然后在 resourcesviewswelcome.blade.php文件 ,将其修改为下面的代码
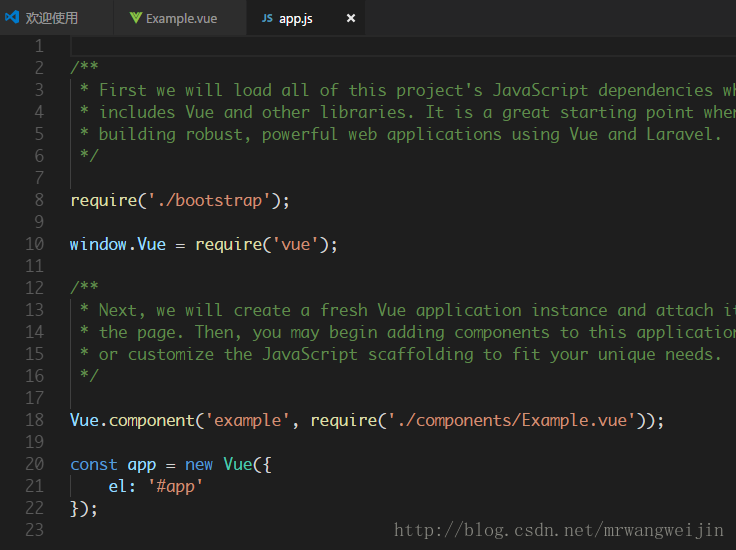
将原来的HTML删了,添加一个id为app的div,在其中使用app.js 中注册的组件,需要注意的就是要添加crsf-Token的验证meta标签,和引入 app.js 文件,这个js文件也可以去根目录中的 webpack.mix.js 文集中修改。
 1 <!doctype html>
 2 <html lang="{{ app()->getLocale() }}">
 3     <head>
 4         <meta charset="utf-8">
 5         <meta http-equiv="X-UA-Compatible" content="IE=edge">
 6         <meta name="viewport" content="width=device-width, initial-scale=1">
 7         <meta name="csrf-token" content="{{ csrf_token() }}">
 8
 9         <title>Laravel</title>
10
11         <!-- Fonts -->
12         <link href="https://fonts.googleapis.com/css?family=Raleway:100,600" rel="stylesheet" type="text/css">
13
14     </head>
15     <body>
16         <div id="app">
17             <example></example>
18         </div>
19     </body>
20     <script src="/js/app.js"></script>
21 </html>
然后,我们npm run dev 一下即可
3.Element-ui 安装
我们可以去 Element-ui 官方文档 查看安装教程,也就是简单的npm 安装一下
npm i element-ui -S //安装Element-ui然后在 resourcesassetsjsapp.js 中引入Element-ui组件
import ElementUI from 'element-ui'
import 'element-ui/lib/theme-default/index.css'
Vue.use(ElementUI)
修改Example.vue 文件,使用Element-ui的组件,修改为
<template>
    <div>
        <el-radio class="radio" v-model="radio" label="1">备选项</el-radio>
        <el-radio class="radio" v-model="radio" label="2">备选项</el-radio>
    </div>
</template>

<script>
  export default {
    data () {
      return {
        radio: '1'
      };
    }
  }
</script>
最后 npm run dev 编译一下,即可
5. Vux的安装
我们首先安装Vux必要的组件
npm install vux --save   //安装vux
npm install vux-loader --save
npm install less-loader --save 
安装完成后我们还需要将 webpack.config.js 文件提出来
cp node_modules/laravel-mix/setup/webpack.config.js 
然后打开webpack.config.js 文件,向其中添加一些代码,然后将第8行和第24行的路径修改为 ./node_modules/laravel-mix/src/index和 ./node_modules/laravel-mix/src/builder/WebpackConfig

附加代码:
/**
* As our first step, we'll pull in the user's webpack.mix.js
* file. Based on what the user requests in that file,
* a generic config object will be constructed for us.
*/
require('./node_modules/laravel-mix/src/index'); // 修改路径
require(Mix.paths.mix());
/**
* Just in case the user needs to hook into this point
* in the build process, we'll make an announcement.
*/
Mix.dispatch('init', Mix);
/**
* Now that we know which build tasks are required by the
* user, we can dynamically create a configuration object
* for Webpack. And that's all there is to it. Simple!
*/
let WebpackConfig = require('./node_modules/laravel-mix/src/builder/WebpackConfig'); //修改路径
module.exports = new WebpackConfig().build();
/**
*添加的内容
*================================================
*/
const vuxLoader = require('vux-loader')
const webpackConfig = module.exports // 原来的 module.exports 代码赋值给变量 webpackConfig
module.exports = vuxLoader.merge(webpackConfig, {
plugins: ['vux-ui']
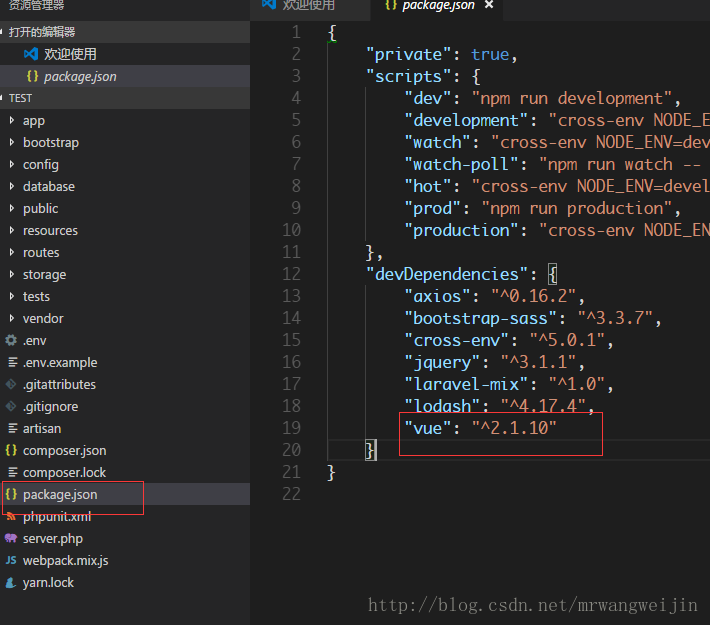
})修改package.json文件的config文件路径 为根目录的webpack.config.js文件

修改为

然后我们去Vux中找一个demo 然后修改 Example.vue文件为
<template>
    <div>
        <group>
            <cell title="Total" value="¥1024"></cell>
            <cell-form-preview :list="list"></cell-form-preview>
        </group>
    </div>
</template>

<script>
    import { CellFormPreview, Group, Cell } from 'vux'

    export default {
        components: {
            CellFormPreview,
            Group,
            Cell
        },
        data () {
            return {
                list: [{
                    label: 'Apple',
                    value: '3.29'
                }, {
                    label: 'Banana',
                    value: '1.04'
                }, {
                    label: 'Fish',
                    value: '8.00'
                }]
            }
        }
    }
</script>
然后 npm run dev 编译后即可
6. Vue-router 的使用
这里扩展Vue-router的使用,首先,我们要安装vue-router组件
npm install vue-router --save 然后我们在 resourcesassetsjs 目录下创建 router.js 和 App.vue 文件

在App.vue文件中添加 模板代码:
<template>
    <div>
        <router-view></router-view>
    </div>
</template>
<script scoped>

    export default {
        data(){
            return {}
        },
        components: {

        },
        computed: {},
        methods: {

        },
        mounted() {
        },
    }
</script>
在 router.js 文件中添加:
import Vue from 'vue'
import VueRouter from 'vue-router'

Vue.use(VueRouter);

export default new VueRouter({
    routes: [
        {
            name:"test",
            path:'/',
            component: resolve =>void(require(['./components/Example.vue'], resolve))
        },
    ]
})
然后我们来修改 app.js 文件,我们需要引入刚才的路由文件,在Vue创建时添加路由和App.vue,

然后等待编译完成即可。
到这里,我们的路由配置就完成了,如果需要添加更多的路由,可以在router.js 中添加一条路由,然后路径指向相应的组件就ok了。

对应相应的文件

即可
注:本文转载 http://blog.csdn.net/mrwangweijin/article/details/78126714,如需转载请注明出处:https://www.cnblogs.com/zhuchenglin/p/7732303.html。