前言:
一个简单的Web API实例,通过自己编写Web API的代码来可以更好的感悟Web API的运行机制,废话不多说,直接上代码,希望同为初学者的同学能够跟着敲一遍,所有代码通过调试,可自行在原有基础上进行修改和扩展,有任何疑问还请不吝赐教。
正文:
1、首先创建一个空的Web项目,注意是Empty,而非Web API
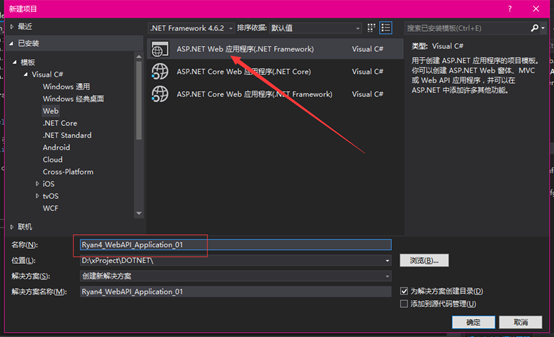
注意:
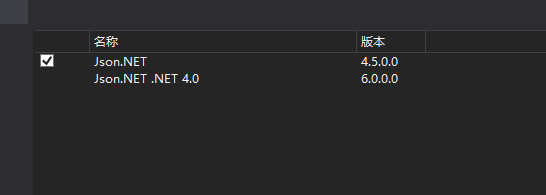
这里一定要引入如下DLL:
Json.NET
System.NET.Http
System.Web.Http
System.Web.Http.WebHost

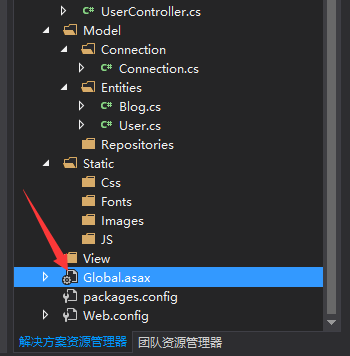
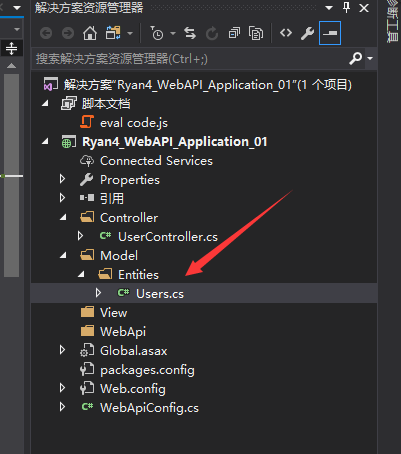
1.1. 大体的目录是这样的,没有明确规定,读者可自行拟定目录

2、首先创建一个WebApiConfig的配置文件,这里名称可自行拟定,主要用来定义Web API的路由

详细代码如下:
 1 namespace Ryan4_WebAPI_Application_01
 2
 3 {
 4
 5     public class WebApiConcifg
 6
 7     {
 8
 9         public static void Register(HttpConfiguration config)
10
11         {
12
13             config.Routes.MapHttpRoute(
14
15                 name: "DefaultApi",
16
17                 routeTemplate: "api/{controller}/{action}/{id}",
18
19                 defaults: new { id = RouteParameter.Optional }
20
21                 );
22
23         }
24
25     }
26
27 }

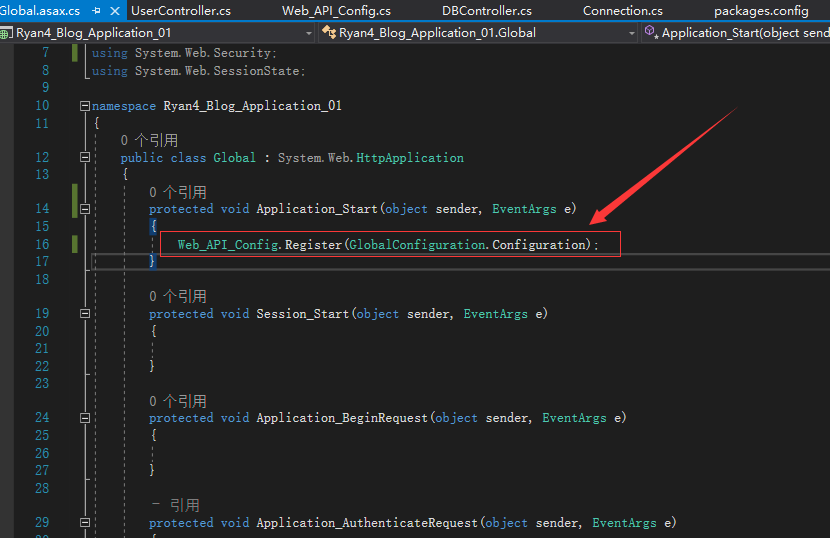
接下来必须要创建一个asax文件,来注册这个定义的API Route
在Application_Start中加入如下代码,有了这句后方能在程序运行后使用Web API方式定位你的控制器和方法
 1         protected void Application_Start(object sender, EventArgs e)
 2         {
 3             Web_API_Config.Register(GlobalConfiguration.Configuration);
 4         }
 5
 6         protected void Session_Start(object sender, EventArgs e)
 7         {
 8
 9         }
10
11         protected void Application_BeginRequest(object sender, EventArgs e)
12         {
13
14         }
15
16         protected void Application_AuthenticateRequest(object sender, EventArgs e)
17         {
18
19         }
20
21         protected void Application_Error(object sender, EventArgs e)
22         {
23
24         }
25
26         protected void Session_End(object sender, EventArgs e)
27         {
28
29         }
30
31         protected void Application_End(object sender, EventArgs e)
32         {
33
34         }
35     }
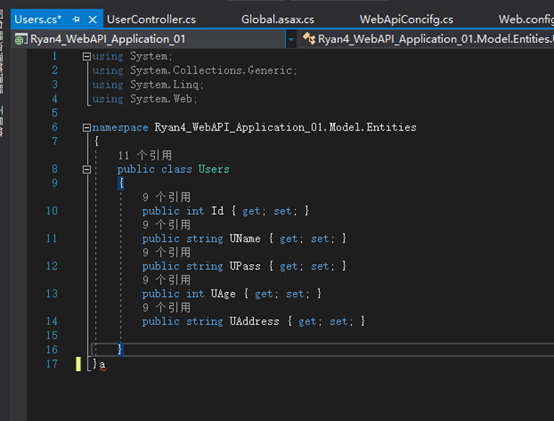
3、创建数据实体Users.cs
详细代码如下:
 1 namespace Ryan4_WebAPI_Application_01.Model.Entities
 2
 3 {
 4
 5     public class Users
 6
 7     {
 8
 9         public int Id { get; set; }
10
11         public string UName { get; set; }
12
13         public string UPass { get; set; }
14
15         public int UAge { get; set; }
16
17         public string UAddress { get; set; }
18
19     }
20
21 }
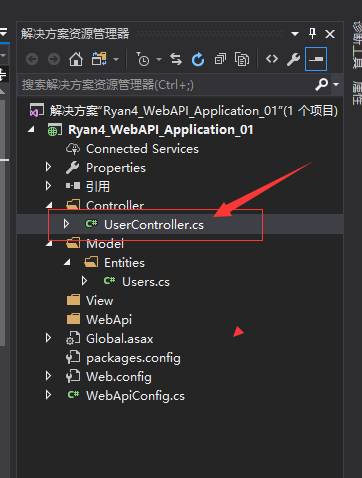
4、创建控制器:UserController.cs
 1 namespace Ryan4_WebAPI_Application_01.Controller
 2
 3 {
 4
 5     public class UserController : ApiController
 6
 7     {
 8
 9         public List<Users> GetUser()
10
11         {
12
13             var userList = new List<Users>
14
15             {
16
17                 new Users { Id = 1, UName = "Ryan Chow", UPass = "123456", UAge = 27, UAddress = "Earth"},
18
19                 new Users { Id = 2, UName = "Ryan Chow", UPass = "123456", UAge = 27, UAddress = "Earth"},
20
21                 new Users { Id = 3, UName = "Ryan Chow", UPass = "123456", UAge = 27, UAddress = "Earth"},
22
23                 new Users { Id = 4, UName = "Ryan Chow", UPass = "123456", UAge = 27, UAddress = "Earth"},
24
25                 new Users { Id = 5, UName = "Ryan Chow", UPass = "123456", UAge = 27, UAddress = "Earth"},
26
27                 new Users { Id = 6, UName = "Ryan Chow", UPass = "123456", UAge = 27, UAddress = "Earth"},
28
29                 new Users { Id = 7, UName = "Ryan Chow", UPass = "123456", UAge = 27, UAddress = "Earth"},
30
31                 new Users { Id = 8, UName = "Ryan Chow", UPass = "123456", UAge = 27, UAddress = "Earth"},
32
33                 new Users { Id = 9, UName = "Ryan Chow", UPass = "123456", UAge = 27, UAddress = "Earth"},
34
35             };
36
37
38
39             var temp = (from u in userList select u).ToList();
40
41             return temp;
42
43         }
44
45     }
46
47 }

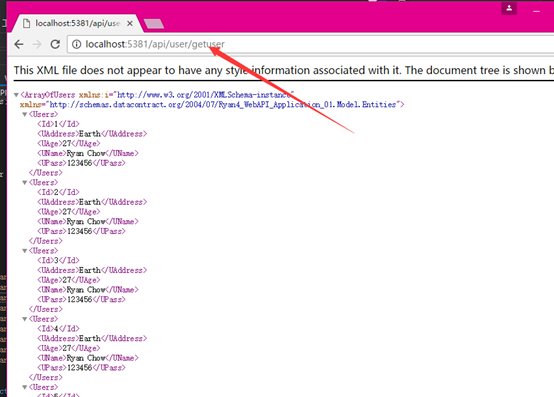
5、最后F5调试项目,输入localhost:5381/api/user/getuser