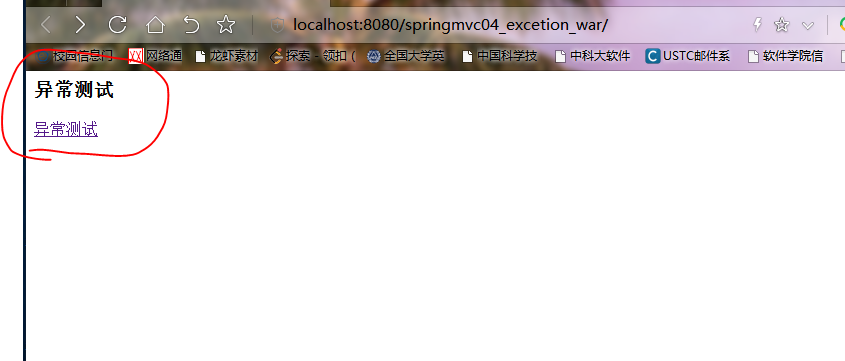
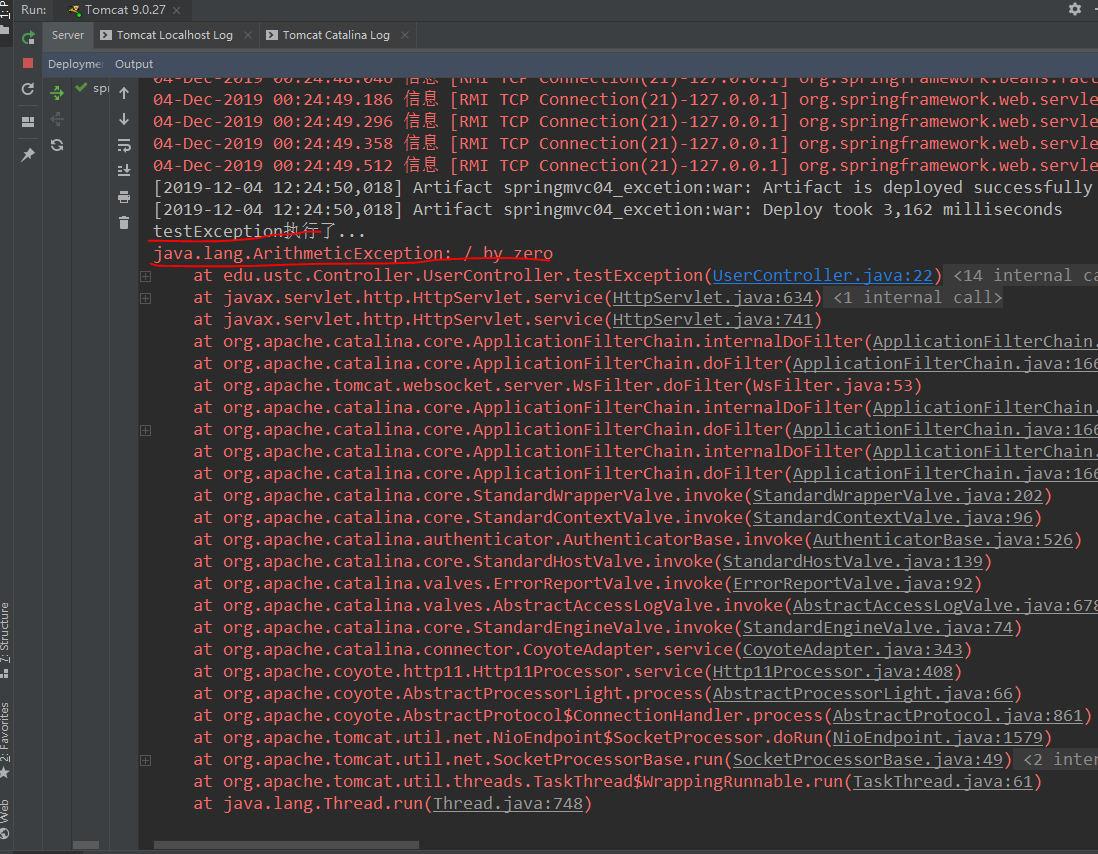
一.页面的异常处理流程
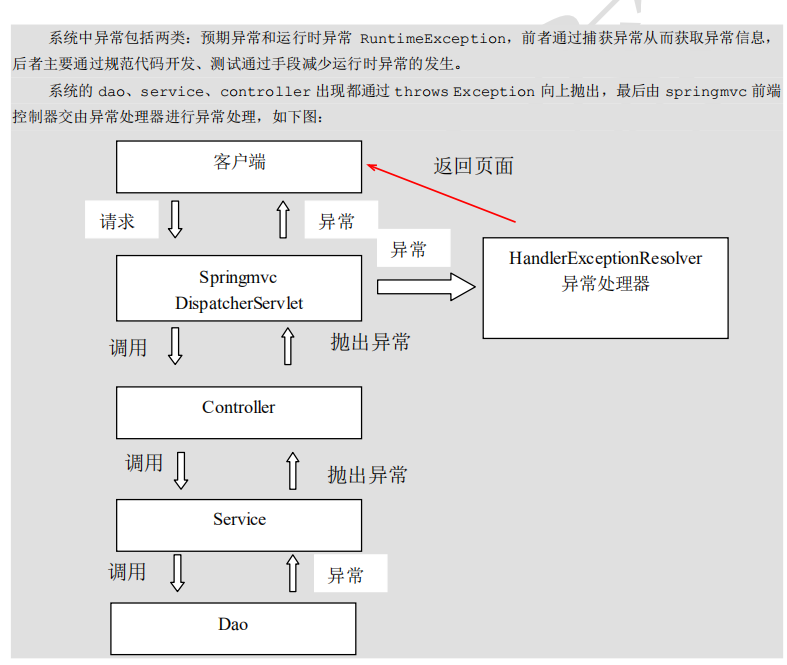
二.建立项目springmvc04_exception
1.编写index.jsp页面:
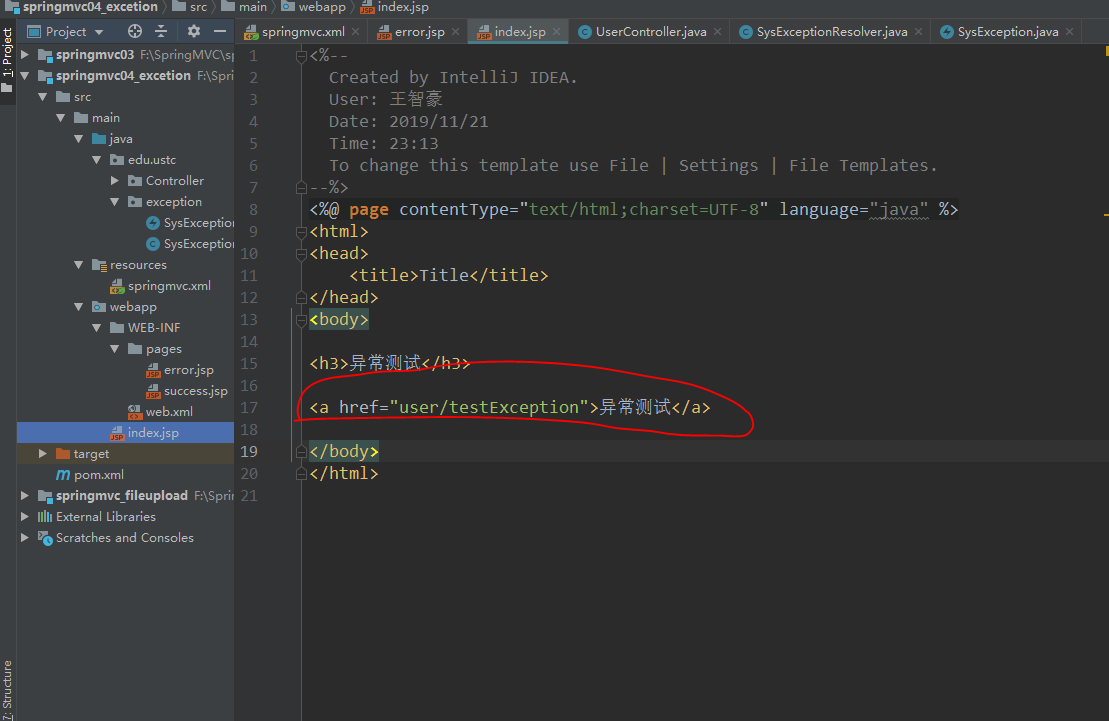
 1 <%@ page contentType="text/html;charset=UTF-8" language="java" %>
 2 <html>
 3 <head>
 4     <title>Title</title>
 5 </head>
 6 <body>
 7
 8 <h3>异常测试</h3>
 9
10 <a href="user/testException">异常测试</a>
11
12 </body>
13 </html>
2.编写控制器方法:
编写UserController:
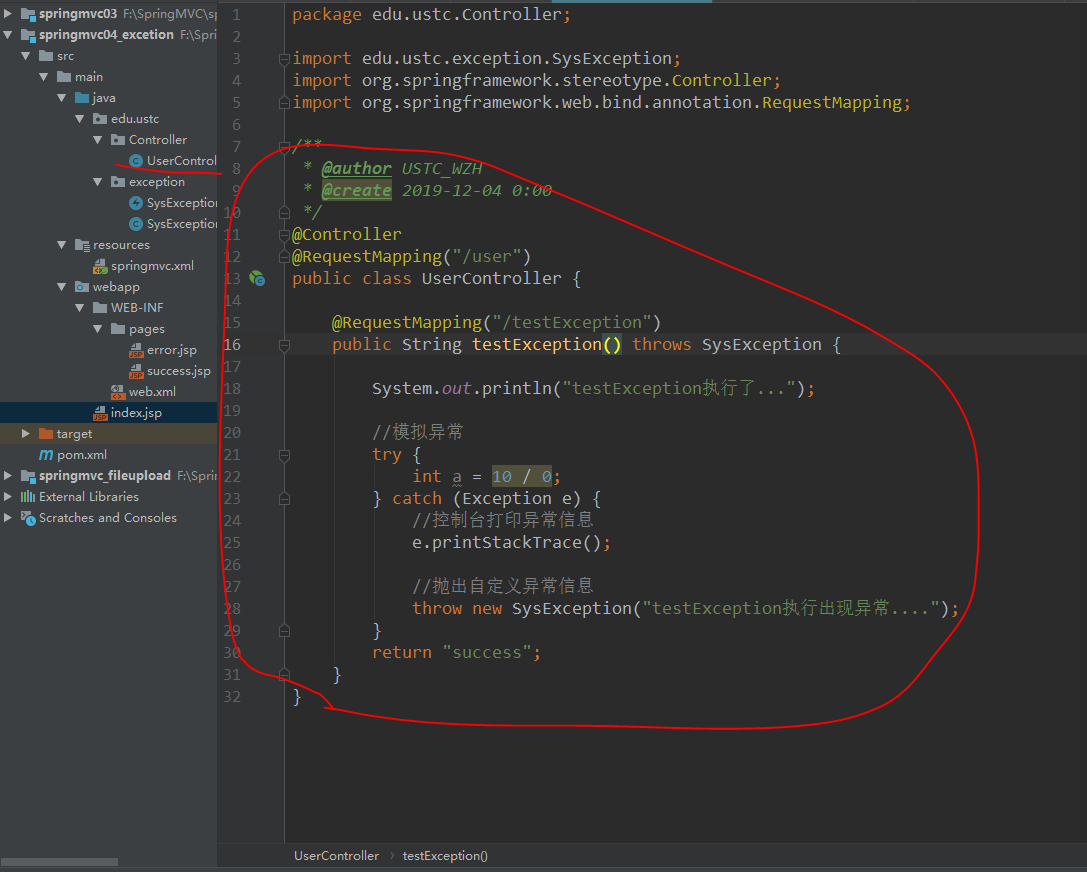
 1 @Controller
 2 @RequestMapping("/user")
 3 public class UserController {
 4
 5     @RequestMapping("/testException")
 6     public String testException() throws SysException {
 7
 8         System.out.println("testException执行了...");
 9
10         //模拟异常
11         try {
12             int a = 10 / 0;
13         } catch (Exception e) {
14             //控制台打印异常信息
15             e.printStackTrace();
16
17             //抛出自定义异常信息
18             throw new SysException("testException执行出现异常....");
19         }
20         return "success";
21     }
22 }
编写异常处理类SysException:
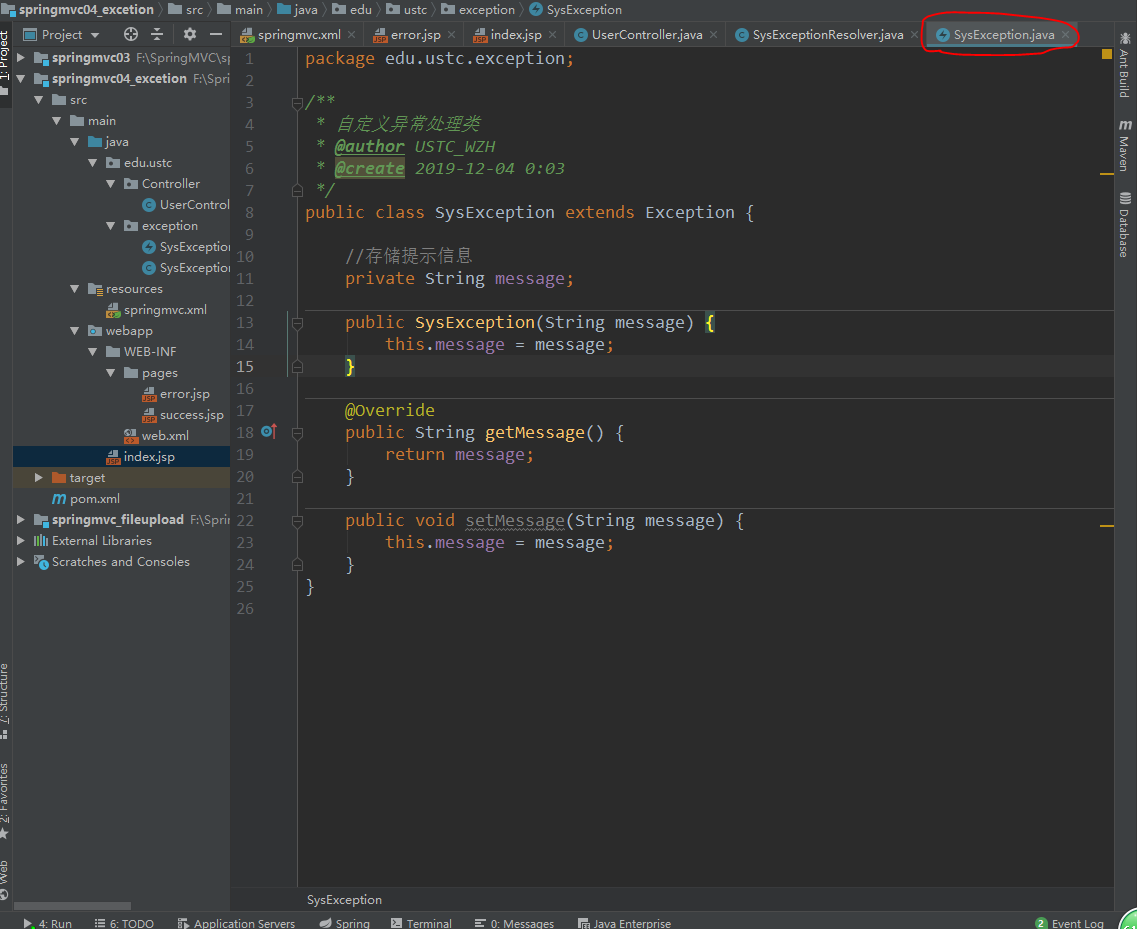
 1 /**
 2  * 自定义异常处理类
 3  * @author USTC_WZH
 4  * @create 2019-12-04 0:03
 5  */
 6 public class SysException extends Exception {
 7
 8     //存储提示信息
 9     private String message;
10
11     public SysException(String message) {
12         this.message = message;
13     }
14
15     @Override
16     public String getMessage() {
17         return message;
18     }
19
20     public void setMessage(String message) {
21         this.message = message;
22     }
23 }
编写异常处理器SysExceptionResolver:
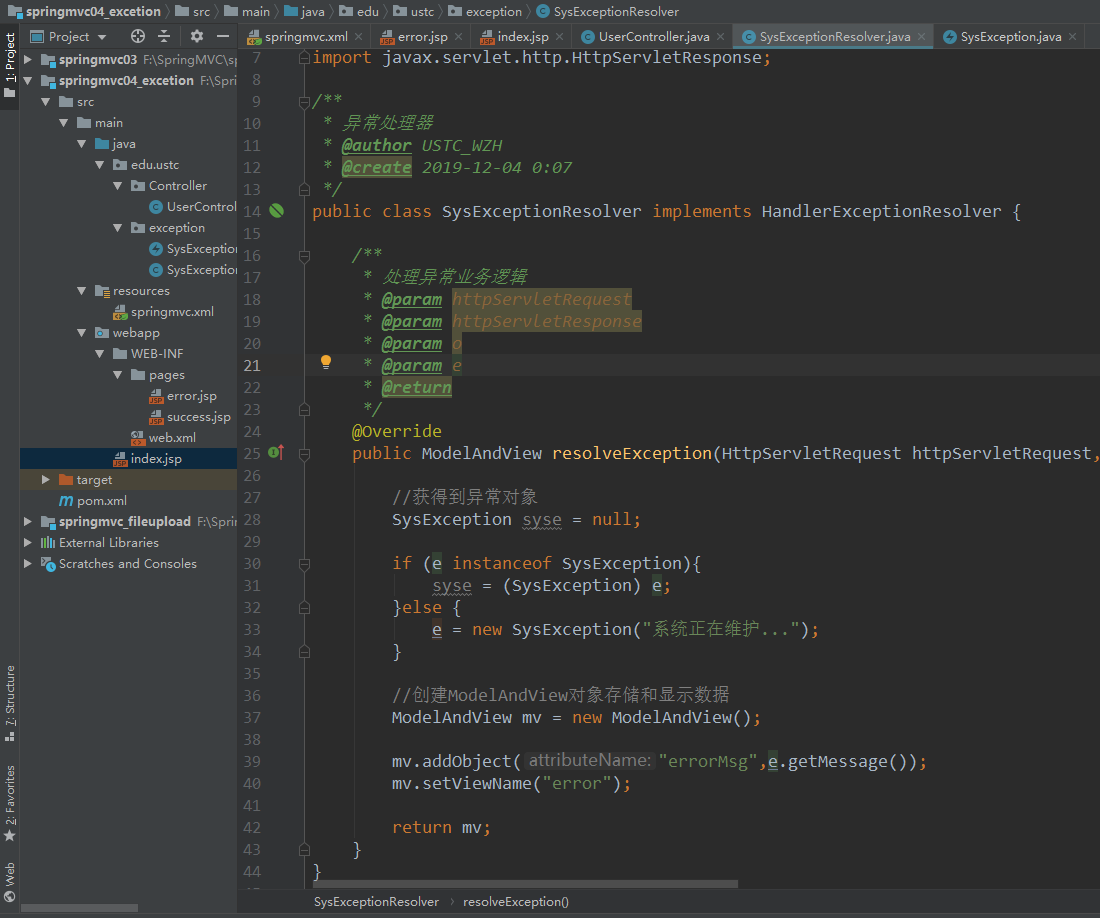
 1 /**
 2  * 异常处理器
 3  * @author USTC_WZH
 4  * @create 2019-12-04 0:07
 5  */
 6 public class SysExceptionResolver implements HandlerExceptionResolver {
 7
 8     /**
 9      * 处理异常业务逻辑
10      * @param httpServletRequest
11      * @param httpServletResponse
12      * @param o
13      * @param e
14      * @return
15      */
16     @Override
17     public ModelAndView resolveException(HttpServletRequest httpServletRequest, HttpServletResponse httpServletResponse, Object o, Exception e) {
18
19         //获得到异常对象
20         SysException syse = null;
21
22         if (e instanceof SysException){
23             syse = (SysException) e;
24         }else {
25             e = new SysException("系统正在维护...");
26         }
27
28         //创建ModelAndView对象存储和显示数据
29         ModelAndView mv = new ModelAndView();
30
31         mv.addObject("errorMsg",e.getMessage());
32         mv.setViewName("error");
33
34         return mv;
35     }
36 }
3.配置springmvc.xml的异常处理器:
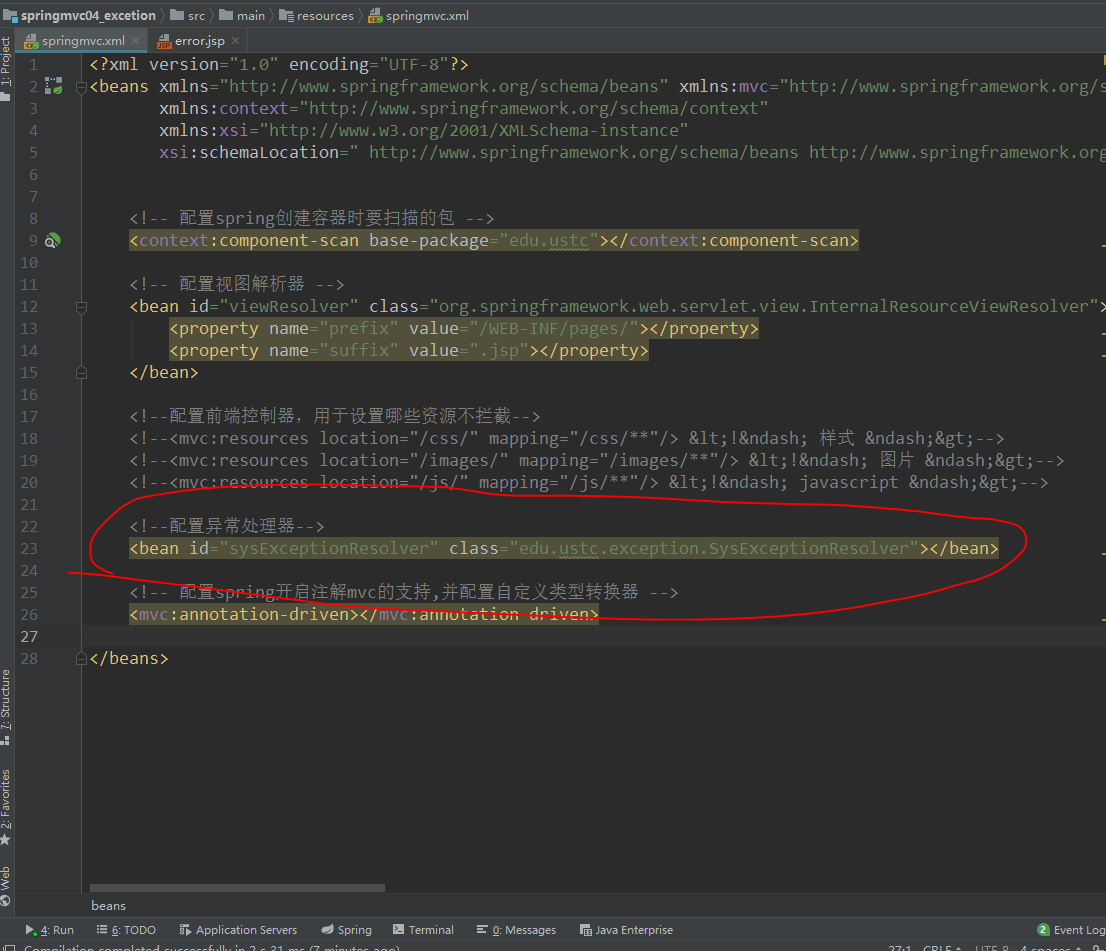
1     <!--配置异常处理器-->
2     <bean id="sysExceptionResolver" class="edu.ustc.exception.SysExceptionResolver"></bean>
4.编写错误展示页面error.jsp:
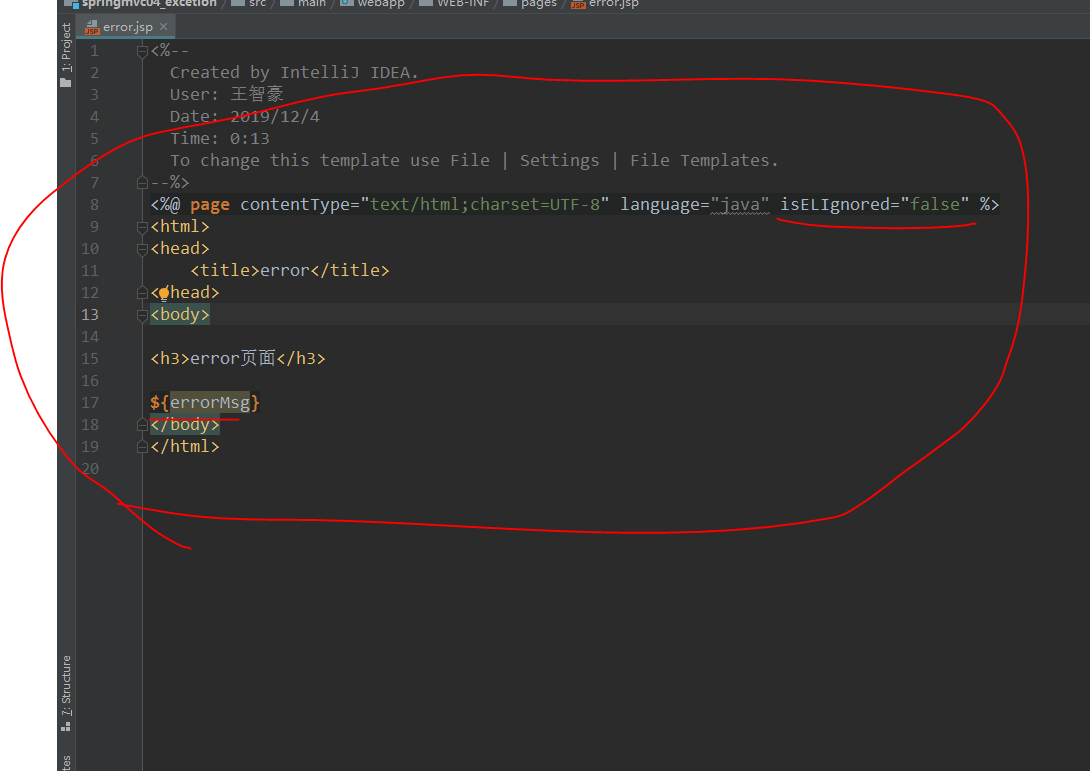
 1 <%@ page contentType="text/html;charset=UTF-8" language="java" isELIgnored="false" %>
 2 <html>
 3 <head>
 4     <title>error</title>
 5 </head>
 6 <body>
 7
 8 <h3>error页面</h3>
 9
10 ${errorMsg}
11 </body>
12 </html>
完成并展示:
