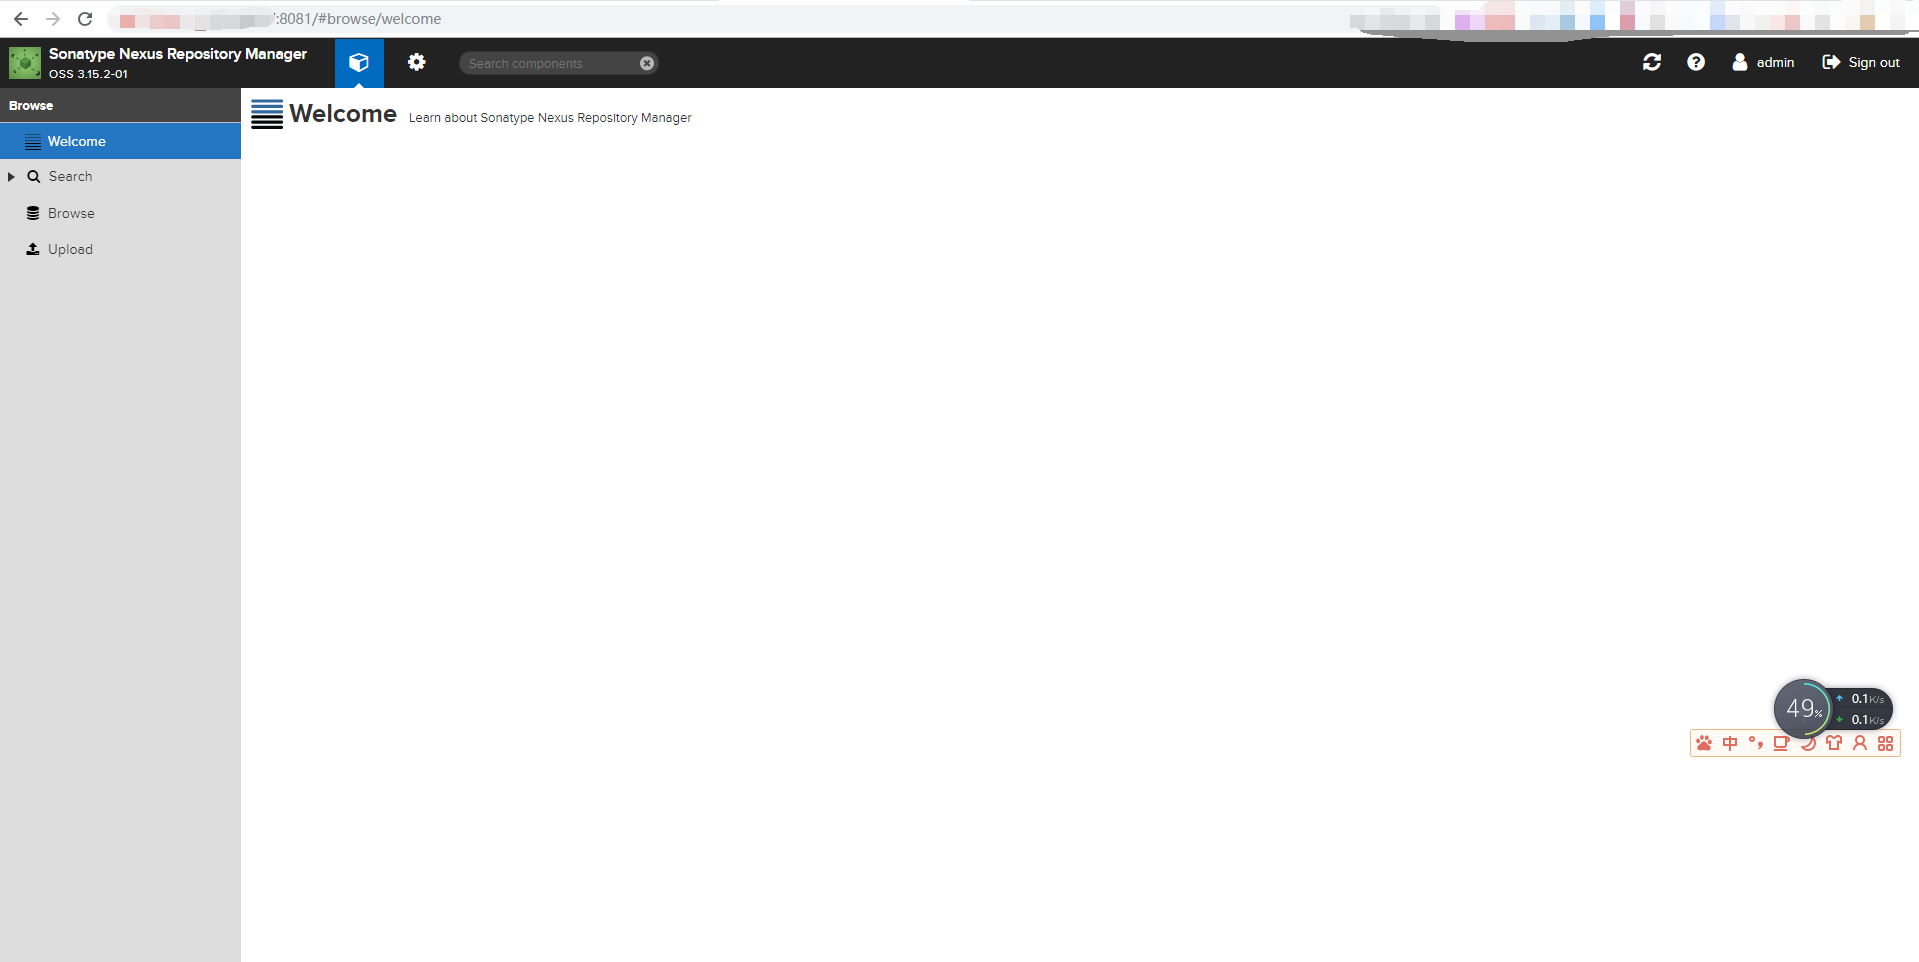
1.官网下载unix版本
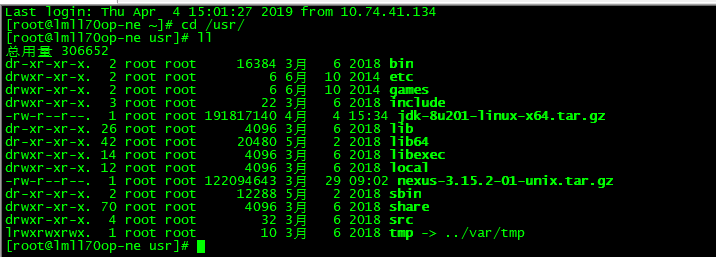
2.上传到linux系统的/usr/目录下
[root@lmll70op-ne ~]# cd /usr/
[root@lmll70op-ne usr]# ll
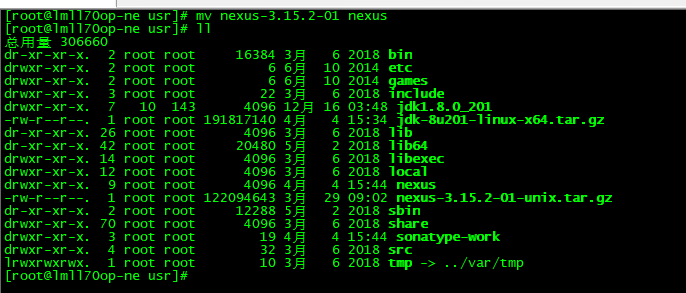
3.解压,并重命名为nexus
[root@lmll70op-ne usr]# tar -zxvf nexus-3.15.2-01-unix.tar.gz

[root@lmll70op-ne usr]# mv nexus-3.15.2-01 nexus

4.修改配置修改运行nexus3所使用的用户
[root@lmll70op-ne usr]# cd nexus/bin/
contrib/         nexus            nexus.rc         nexus.vmoptions
[root@lmll70op-ne usr]# cd nexus/bin/
[root@lmll70op-ne bin]# ll
总用量 32
drwxr-xr-x. 2 root root  4096 4月   4 15:44 contrib
-rwxr-xr-x. 1 root root 17269 1月  26 02:34 nexus
-rw-r--r--. 1 root root    15 1月  26 02:30 nexus.rc
-rw-r--r--. 1 root root   464 1月  26 02:34 nexus.vmoptions
[root@lmll70op-ne bin]# vi nexus.rc
[root@lmll70op-ne bin]# cat nexus.rc

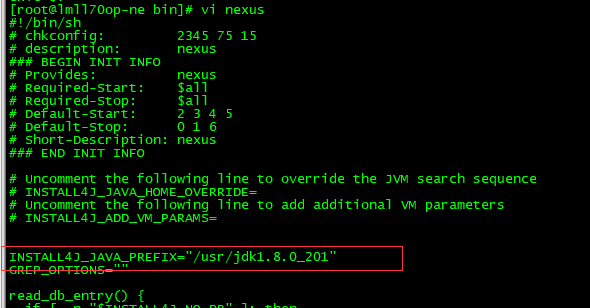
5.修改nexus3启动所使用的jdk版本
如果没有配置环境变量需要配置这个路径;
如果有jdk环境变量可以省略
[root@lmll70op-ne java8]# cd /usr/local/src/nexus/bin/
[root@lmll70op-ne bin]# ls

[root@lmll70op-ne bin]# vim nexus
[root@lmll70op-ne bin]# cat nexus
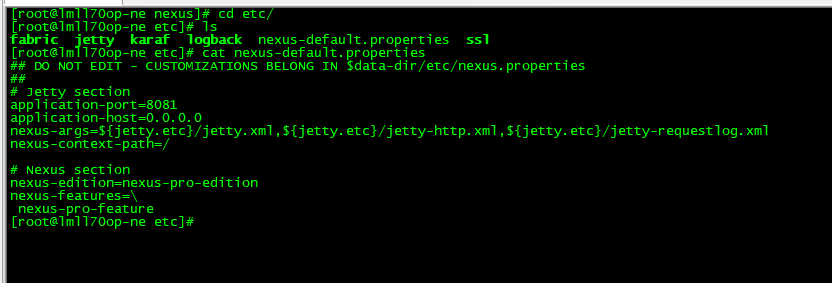
6.修改nexus3默认端口
[root@lmll70op-ne nexus]# cd etc/
[root@lmll70op-ne etc]# ls
fabric  jetty  karaf  logback  nexus-default.properties  ssl
[root@lmll70op-ne etc]# cat nexus-default.properties
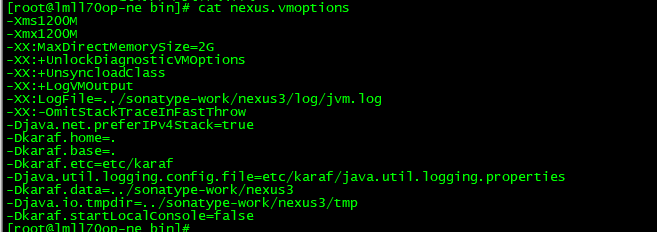
7.修改nexus3数据以及相关日志的存储位置
[root@lmll70op-ne nexus]# cd bin/
[root@lmll70op-ne bin]# ls
contrib  nexus  nexus.rc  nexus.vmoptions
[root@lmll70op-ne bin]# cat nexus.vmoptions
8.启动nexus

[root@lmll70op-ne bin]# ./nexus start
WARNING: ************************************************************
WARNING: Detected execution as "root" user.  This is NOT recommended!
WARNING: ************************************************************
Starting nexus
注意:关闭防火墙访问!!
9.访问
http://IP地址:8081/ 使用admin/admin123登陆
