http://www.jb51.net/article/87160.htm
************************************************
linux环境Mysql 5.7.13安装教程分享给大家,供大家参考,具体内容如下
1系统约定
安装文件下载目录:/data/software
Mysql目录安装位置:/usr/local/mysql
数据库保存位置:/data/mysql
日志保存位置:/data/log/mysql
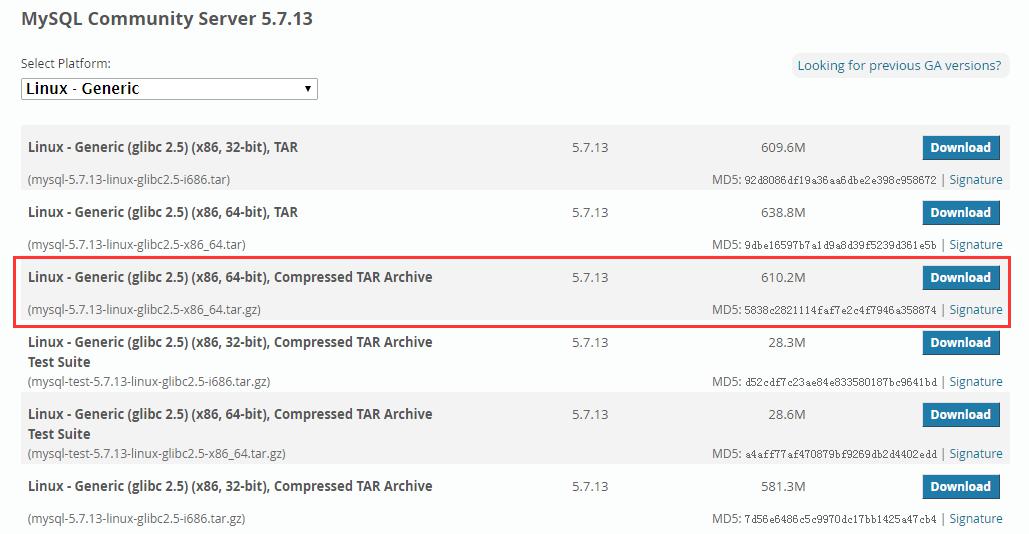
2下载mysql
在官网:http://dev.mysql.com/downloads/mysql/ 中,选择以下版本的mysql下载:
执行如下命名:
#mkdir /data/software
#cd /data/software
#wget http://dev.mysql.com/get/Downloads/MySQL-5.7/mysql-5.7.13-linux-glibc2.5-x86_64.tar.gz
3解压压缩包到目标位置
# mkdir /usr/local/mysql
#cd /dat/software
#pwd
执行后如下:

#ls

#cd /usr/local
#pwd

# tar -xzvf /data/software/mysql-5.7.13-linux-glibc2.5-x86_64.tar.gz
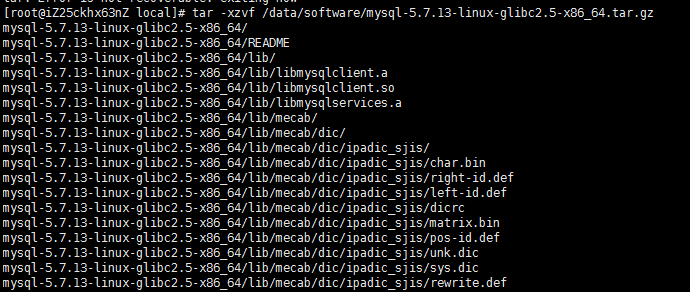
#ls

--修改文件名
# mv mysql-5.7.13-linux-glibc2.5-x86_64 mysql
#ls

4创建数据仓库目录
--/data/mysql 数据仓库目录
# mkdir /data/mysql
#ls /data/

5新建mysql用户、组及目录
# ---新建一个msyql组
# useradd -r -s /sbin/nologin -g mysql mysql -d /usr/local/mysql ---新建msyql用户禁止登录shell
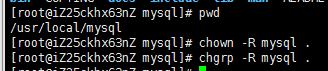
6改变目录属有者
#cd /usr/local/mysql
#pwd
#chown –R mysql .
#chgrp –R mysql .
#chown -R mysql /data/mysql
7配置参数
# bin/mysqld --initialize --user=mysql --basedir=/usr/local/mysql --datadir=/data/mysql

此处需要注意记录生成的临时密码,如上文:YLi>7ecpe;YP
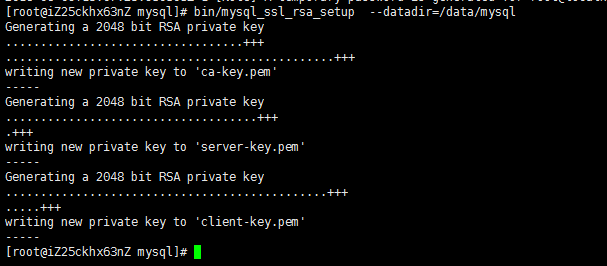
#bin/mysql_ssl_rsa_setup --datadir=/data/mysql
8修改系统配置文件

# cp my-default.cnf /etc/my.cnf
# cp mysql.server /etc/init.d/mysql

# vim /etc/init.d/mysql
修改以下内容:
[client]
port=3306
# socket=/usr/local/mysql/mysql.sock
socket=/data/mysql/mysql.sock
[mysqld]
basedir=/usr/local/mysql
datadir=/data/mysql
# socket=/usr/local/mysql/mysql.sock
socket=/data/mysql/mysql.sock
pid-file=/data/mysql/mysqld.pid

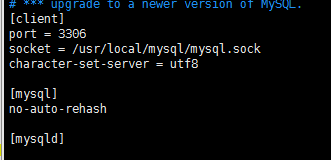
# vim /etc/my.cnf
修改以下内容:


9启动mysql

#bin/mysqld_safe --user=mysql &

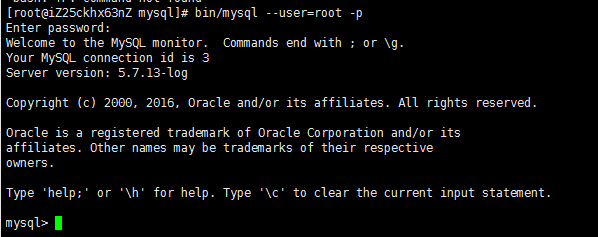
bin/mysql --user=root –p
--输入第6步生成的临时密码

mysql> set password=password('A123456');

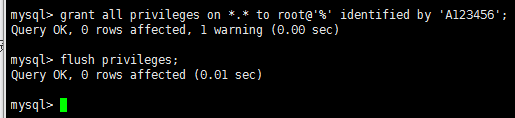
mysql>grant all privileges on *.* to 'root'@'%' identified by 'A123456';
mysql> flush privileges;
mysql> use mysql;
mysql> select host,user from user;

10添加系统路径
# vim /etc/profile
添加:
export PATH=/usr/local/mysql/bin:$PATH
如下:

# source /etc/profile
11配置mysql自动启动
# chmod 755 /etc/init.d/mysql
# chkconfig --add mysql
# chkconfig --level 345 mysql on
以上就是linux环境Mysql 5.7.13安装教程,希望对大家的学习有所帮助。
附my.cn
/etc/my.cnf
# For advice on how to change settings please see
# http://dev.mysql.com/doc/refman/5.7/en/server-configuration-defaults.html
# *** DO NOT EDIT THIS FILE. It's a template which will be copied to the
# *** default location during install, and will be replaced if you
# *** upgrade to a newer version of MySQL.
[mysqld]
# Remove leading # and set to the amount of RAM for the most important data
# cache in MySQL. Start at 70% of total RAM for dedicated server, else 10%.
innodb_buffer_pool_size = 10G
# Remove leading # to turn on a very important data integrity option: logging
# changes to the binary log between backups.
log_bin
character-set-server=utf8
collation-server=utf8_bin
init-connect='SET NAMES utf8'
# These are commonly set, remove the # and set as required.
basedir = /usr/local/mysql
datadir = /export/mysql/var
port = 3306
server_id = 22206
socket = /export/mysql/mysql.sock
binlog_format = statement
# Remove leading # to set options mainly useful for reporting servers.
# The server defaults are faster for transactions and fast SELECTs.
# Adjust sizes as needed, experiment to find the optimal values.
join_buffer_size = 128M
sort_buffer_size = 2M
read_rnd_buffer_size = 2M
log_bin_trust_function_creators = on
sql_mode=NO_ENGINE_SUBSTITUTION,STRICT_TRANS_TABLES
lower_case_table_names=1