一、准备
安装Xamarin
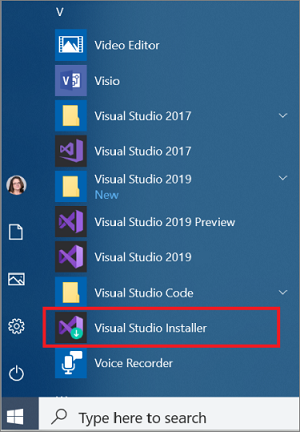
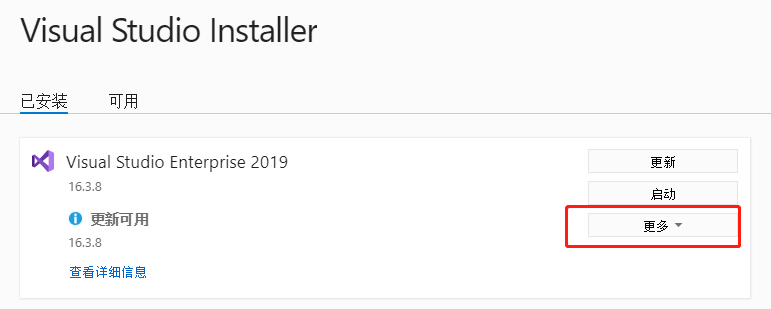
打开Visual Studio 安装程序,选择更多,然后点击修改,之后,勾上.Net桌面开发
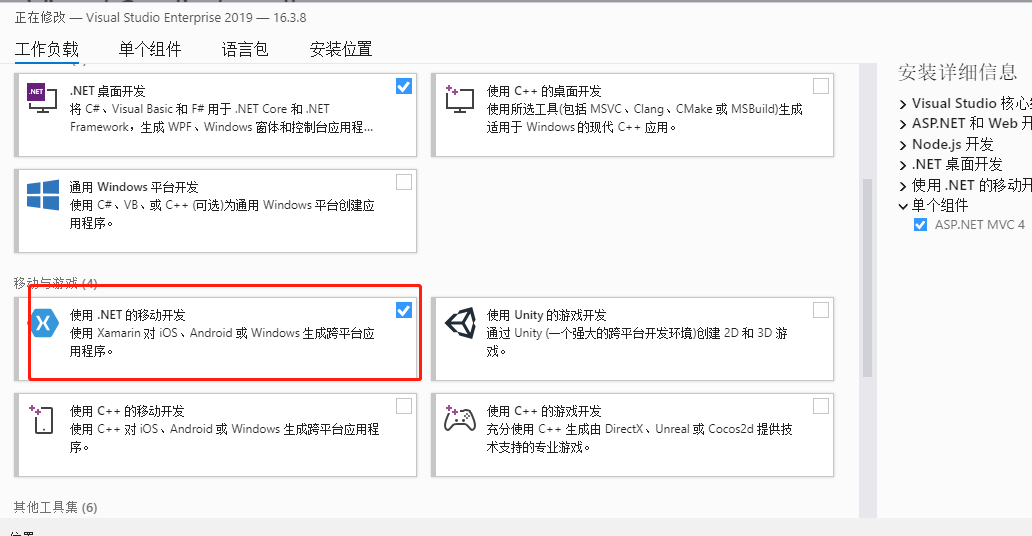
然后下载安装完成即可。
二、简介
1、什么是Xamarin
Xamarin 是一个开放源代码平台,用于通过 .NET 构建适用于 iOS、Android 和 Windows 的新式高性能应用程序。 Xamarin 是一个抽象层,可管理共享代码与基础平台代码的通信。 Xamarin 在提供便利(如内存分配和垃圾回收)的托管环境中运行。Xamarin 应用程序可以在电脑或 Mac 上进行编写并编译为本机应用程序包,如 Android 上的 .apk 文件,或 iOS 上的 .ipa 文件。
Xamarin 适用于具有以下目标的开发人员:
- 跨平台共享代码、测试和业务逻辑。
- 使用 Visual Studio 在 C# 中编写跨平台应用程序。
2、体系结构
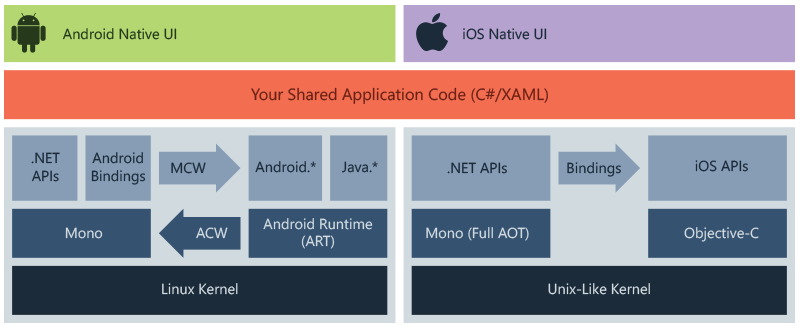
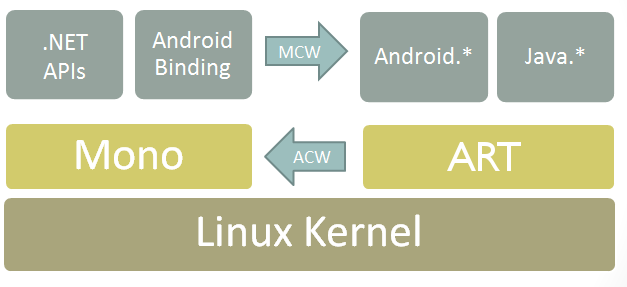
该图显示跨平台 Xamarin 应用程序的总体体系结构。 Xamarin 允许在每个平台上创建本机 UI,并在 C# 中编写跨平台共享的业务逻辑。 在大多数情况下,80% 的应用程序代码可使用 Xamarin 进行共享。
Xamarin 是在 Mono 基础上生成的,后者是基于 .NET ECMA 标准的 .NET Framework 的开放源代码版本。 Mono 存在时间几乎与 .NET Framework 本身一样长,并可在大多数平台上运行,包括 Linux、Unix、FreeBSD 和 macOS。 Mono 执行环境会自动处理任务,如内存分配、垃圾回收以及与基础平台的互操作性。
3、Xamarin Android
Xamarin Android 应用程序在 Mono 执行环境中运行。 此执行环境与 Android 运行时(ART)虚拟机并行运行。 这两个运行时环境都在 Linux 内核的顶层运行,并向用户代码公开各种 Api,使开发人员能够访问基础系统。
4.一些基础教程
1)Grid
<Grid Margin="20,35,20,20">
    <Grid.ColumnDefinitions>
        <ColumnDefinition Width="0.5*" />
        <ColumnDefinition Width="0.5*" />
    </Grid.ColumnDefinitions>
    <Grid.RowDefinitions>
        <RowDefinition Height="50" />
        <RowDefinition Height="50" />
    </Grid.RowDefinitions>
    <Label Grid.ColumnSpan="2" Text="This text uses the ColumnSpan property to span both columns." />
    <Label Grid.Row="1"
           Text="Column 0, Row 1" />
    <Label Grid.Column="1"
           Grid.Row="1"
           Text="Column 1, Row 1" />
</Grid>
列和行数据存储在 ColumnDefinitions 和 RowDefinitions 属性中,这两个属性分别是 ColumnDefinition 和 RowDefinition 对象的集合。 每个 ColumnDefinition 的宽度由 ColumnDefinition.Width 属性设置,每个 RowDefinition 的高度由 RowDefinition.Height 属性设置。 有效的宽度值和高度值为:
Auto对列或行进行大小调整以适应内容。- 比例值,将列和行的大小设置为剩余空间的比例。 以
*结尾表示比例值。 - 绝对值,使用特定的固定值调整列或行的大小。
因此,在上面的代码中,每列的宽度为 Grid 的一半,而每行的高度为 50 个与设备无关的单位。
2)Shell
Shell 就是一个容器,负责处理每个应用都需要的基本 UI 功能,这样开发人员就能以应用的核心工作为重点。现有 iOS 和 Android 应用也可以轻松采用 Shell,并立即受益于导航、UI 性能和扩展性方面的改进。
Shell 的优势如下:
- 在一个位置集中描述应用的可视结构
- 通用导航 UI 和无所不在的导航服务(含深层链接)
- 集成的搜索处理程序,可提高整体应用内搜索体验
- 默认可扩展理念,可提高多功能性和灵活性
Shell 由三个层次结构元素组成:ShellItem、ShellSection 和 ShellContent。每个 ShellContent 都是 ShellSection 的子级,ShellSection 又是 ShellItem(即 Shell 的所有部分)的子级。这三个元素本身都不代表 UI,而是代表应用体系结构组织。Shell 需要使用这些项,并针对运行平台生成适当的导航 UI:
- ShellItem:应用的顶级结构,由浮出控件中的项表示。可以包含多个 ShellSection。
- ShellSection:应用内容分组,可通过底部的选项卡进行导航。可以包含一个或多个 ShellContent(多个 ShellContent 可通过顶部选项卡进行导航)。
- ShellContent:应用的 ContentPage。
<ShellItem Title="主页">
        <ShellSection Title="报告查询">
            <ShellContent>
                <local:MainPage/>
            </ShellContent>
        </ShellSection>
        <ShellSection Title="联系我们">
            <ShellContent>
                <local:MainPage/>
            </ShellContent>
        </ShellSection>
        <ShellSection Title="实验室">
            <ShellContent>
                <local:MainPage/>
            </ShellContent>
        </ShellSection>
        <ShellSection Title="特色">
            <ShellContent Title="资质" ContentTemplate="{DataTemplate local:AboutPage}"/>
            <ShellContent Title="特色" ContentTemplate="{DataTemplate local:AboutPage}"/>
            <ShellContent Title="实验室" ContentTemplate="{DataTemplate local:AboutPage}"/>
        </ShellSection>
    </ShellItem>
三、开始开发
官方网址:https://docs.microsoft.com/zh-cn/xamarin/get-started/
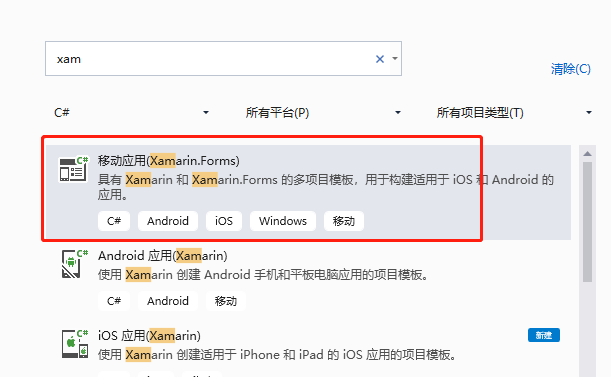
新建项目Xamarin.From项目
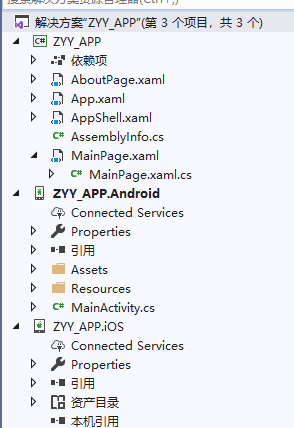
我的项目结构如下:
在这里,开发一个如下界面APP
首先,修改我们的MainPage
 <StackLayout Margin="10,35,10,10">
        <Label Text="Notes"
               HorizontalOptions="Center"
               FontAttributes="Bold" />
        <Editor x:Name="editor"
                Placeholder="Enter your note"
                HeightRequest="100" />
        <Grid>
            <Grid.ColumnDefinitions>
                <ColumnDefinition Width="*" />
                <ColumnDefinition Width="*" />
            </Grid.ColumnDefinitions>
            <Button Text="Save"
                    Clicked="OnSaveButtonClicked" />
            <Button Grid.Column="1"
                    Text="Delete"
                    Clicked="OnDeleteButtonClicked"/>
        </Grid>
    </StackLayout>
MainPage.xml.cs更改如下:
string _fileName = Path.Combine(Environment.GetFolderPath(Environment.SpecialFolder.LocalApplicationData), "notes.txt");

        public MainPage()
        {
            InitializeComponent();

            if (File.Exists(_fileName))
            {
                editor.Text = File.ReadAllText(_fileName);
            }
        }

        void OnSaveButtonClicked(object sender, EventArgs e)
        {
            File.WriteAllText(_fileName, editor.Text);
        }

        void OnDeleteButtonClicked(object sender, EventArgs e)
        {
            if (File.Exists(_fileName))
            {
                File.Delete(_fileName);
            }
            editor.Text = string.Empty;
        }
界面布局,我在这里讲用到Shell,为了使用,我们需要在MainActivity中进行配置:
protected override void OnCreate(Bundle savedInstanceState)
        {
            TabLayoutResource = Resource.Layout.Tabbar;
            ToolbarResource = Resource.Layout.Toolbar;

            base.OnCreate(savedInstanceState);

            //添加启用Shell功能的标识
            //如果需要其他功能则添加响应标识即可,如:"Visual_Experimental"等;
            global::Xamarin.Forms.Forms.SetFlags("Shell_Experimental");
            //Xamarin.Essentials.Platform.Init(this, savedInstanceState);
            global::Xamarin.Forms.Forms.Init(this, savedInstanceState);
            LoadApplication(new App());
        }
现在,我们将添加一个Shell页面,用来控制整体布局
<?xml version="1.0" encoding="utf-8" ?>
<Shell xmlns="http://xamarin.com/schemas/2014/forms"
             xmlns:x="http://schemas.microsoft.com/winfx/2009/xaml"
             xmlns:local="clr-namespace:ZYY_APP"
             FlyoutBehavior="Flyout"
             x:Class="ZYY_APP.AppShell"
             Title="主页">
    <Shell.FlyoutHeader>
        <Grid HeightRequest="200">
            <Image Source="logo.png" Aspect="AspectFill" Margin="24"/>
        </Grid>
    </Shell.FlyoutHeader>


        <MenuItem Text="会员" Icon="feed_png" CommandParameter="1" Command="{Binding VipCommand}"/>
        <MenuItem Text="我" Icon="me_png" CommandParameter="2" Command="{Binding VipCommand}"/>
        <MenuItem Text="设置" Icon="editor_png" CommandParameter="3" Command="{Binding VipCommand}"/>

    <ShellItem Title="主页">
        <ShellSection Title="报告查询">
            <ShellContent>
                <local:MainPage/>
            </ShellContent>
        </ShellSection>
        <ShellSection Title="联系我们">
            <ShellContent>
                <local:MainPage/>
            </ShellContent>
        </ShellSection>
        <ShellSection Title="实验室">
            <ShellContent>
                <local:MainPage/>
            </ShellContent>
        </ShellSection>
        <ShellSection Title="特色">
            <ShellContent Title="资质" ContentTemplate="{DataTemplate local:AboutPage}"/>
            <ShellContent Title="特色" ContentTemplate="{DataTemplate local:AboutPage}"/>
            <ShellContent Title="实验室" ContentTemplate="{DataTemplate local:AboutPage}"/>
        </ShellSection>
    </ShellItem>
</Shell>
这里有几点需要注意:
1.ShellSection为分组内容,即底部导航栏。
2.ShellItem表示浮出控件中的一个或多个项。
3.ShellContent为页面内容,如果同一ShellSection下有多个ShellContent,则会变为带有顶部标签的形式。
4.Flyout为浮出控件,可以从侧面滑出的菜单。主要有两部分组成:头部(FlyoutHeader)和菜单项(MenuItem)。
关于MenuItem,有的地方写法如下:
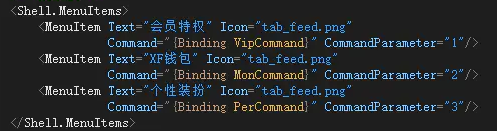
这一种写法,在我的项目里面是不支持的,会报错,所以要注意,直接写MenuItem即可。
为了让主页面为我们的Shell页面,更改如下:
public partial class App : Application
    {
        public App()
        {
            InitializeComponent();

            MainPage = new AppShell();
        }
    }
另外,我们的AppShell.xml.cs别忘记了,设置顶级容器为Shell:
public partial class AppShell : Shell
    {
        public AppShell()
        {
            InitializeComponent();
        }
    }
修改完成之后,生成整个解决方案:
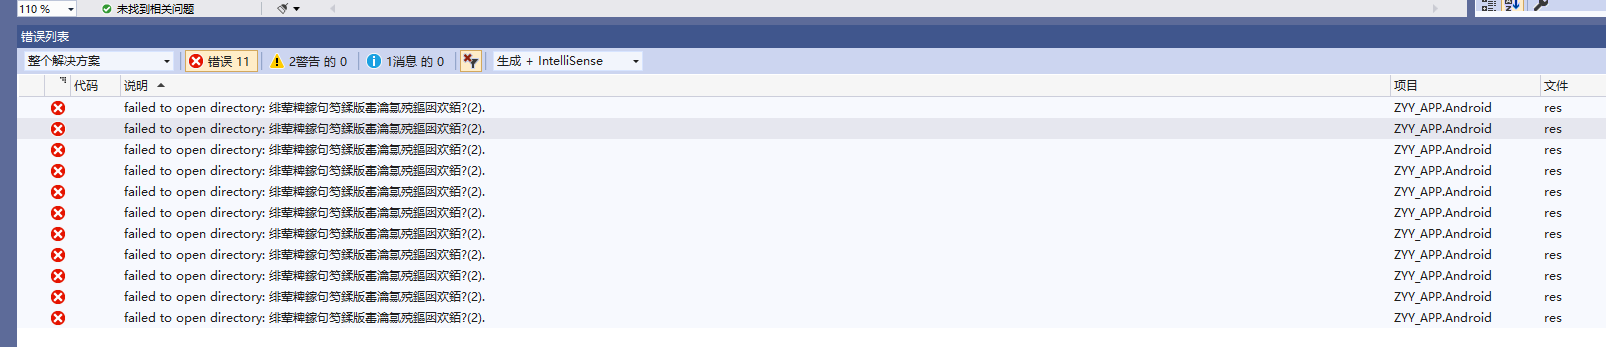
报错了,为什么呢?
因为目录里面有中文,在Xamarin.From生成Android项目中,整个路径里面都不能出现中文,否则无法生成。
下面我们来对生成的项目进行调试,有两种,一种是真机,一种模拟器。
1)模拟器
添加模拟器
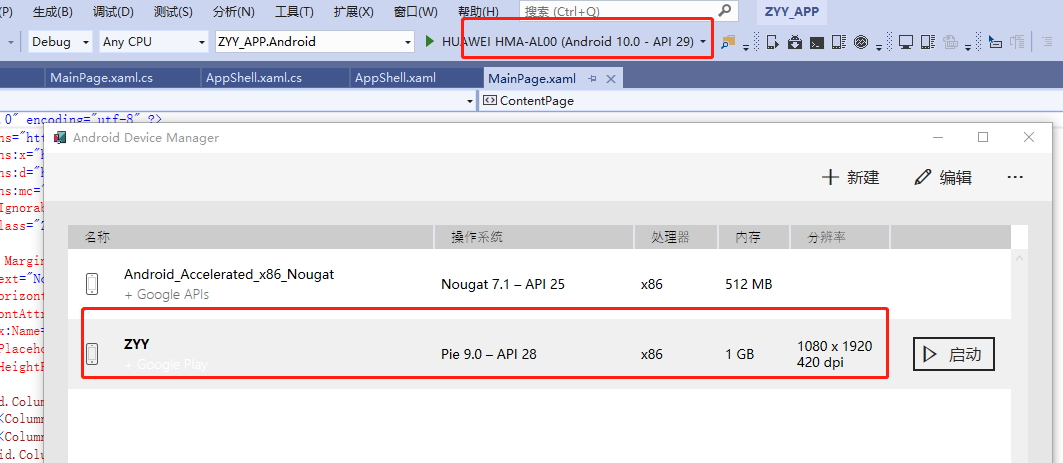
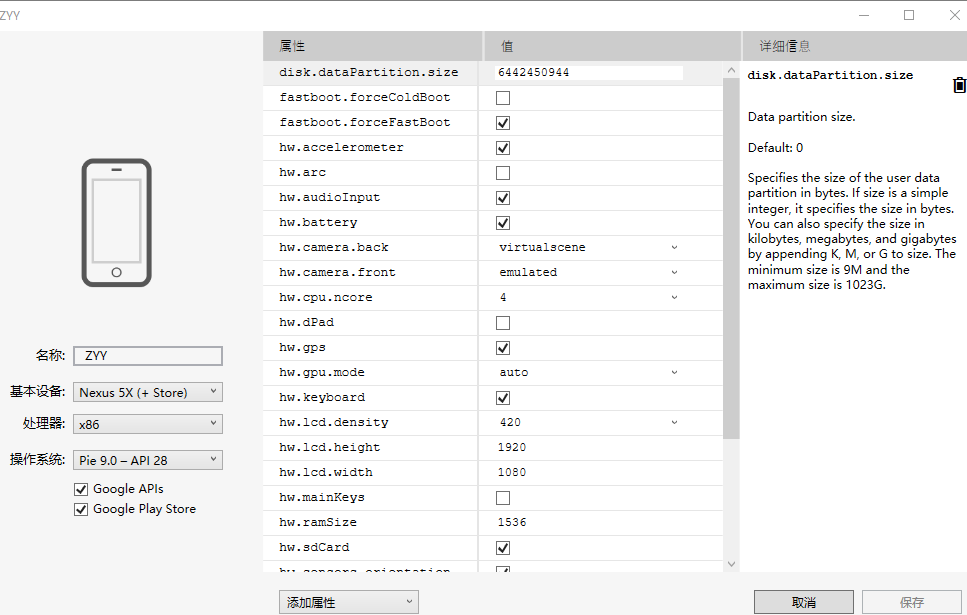
模拟器会比较慢,而且因为版本问题,不一定安装成功;
2)真机
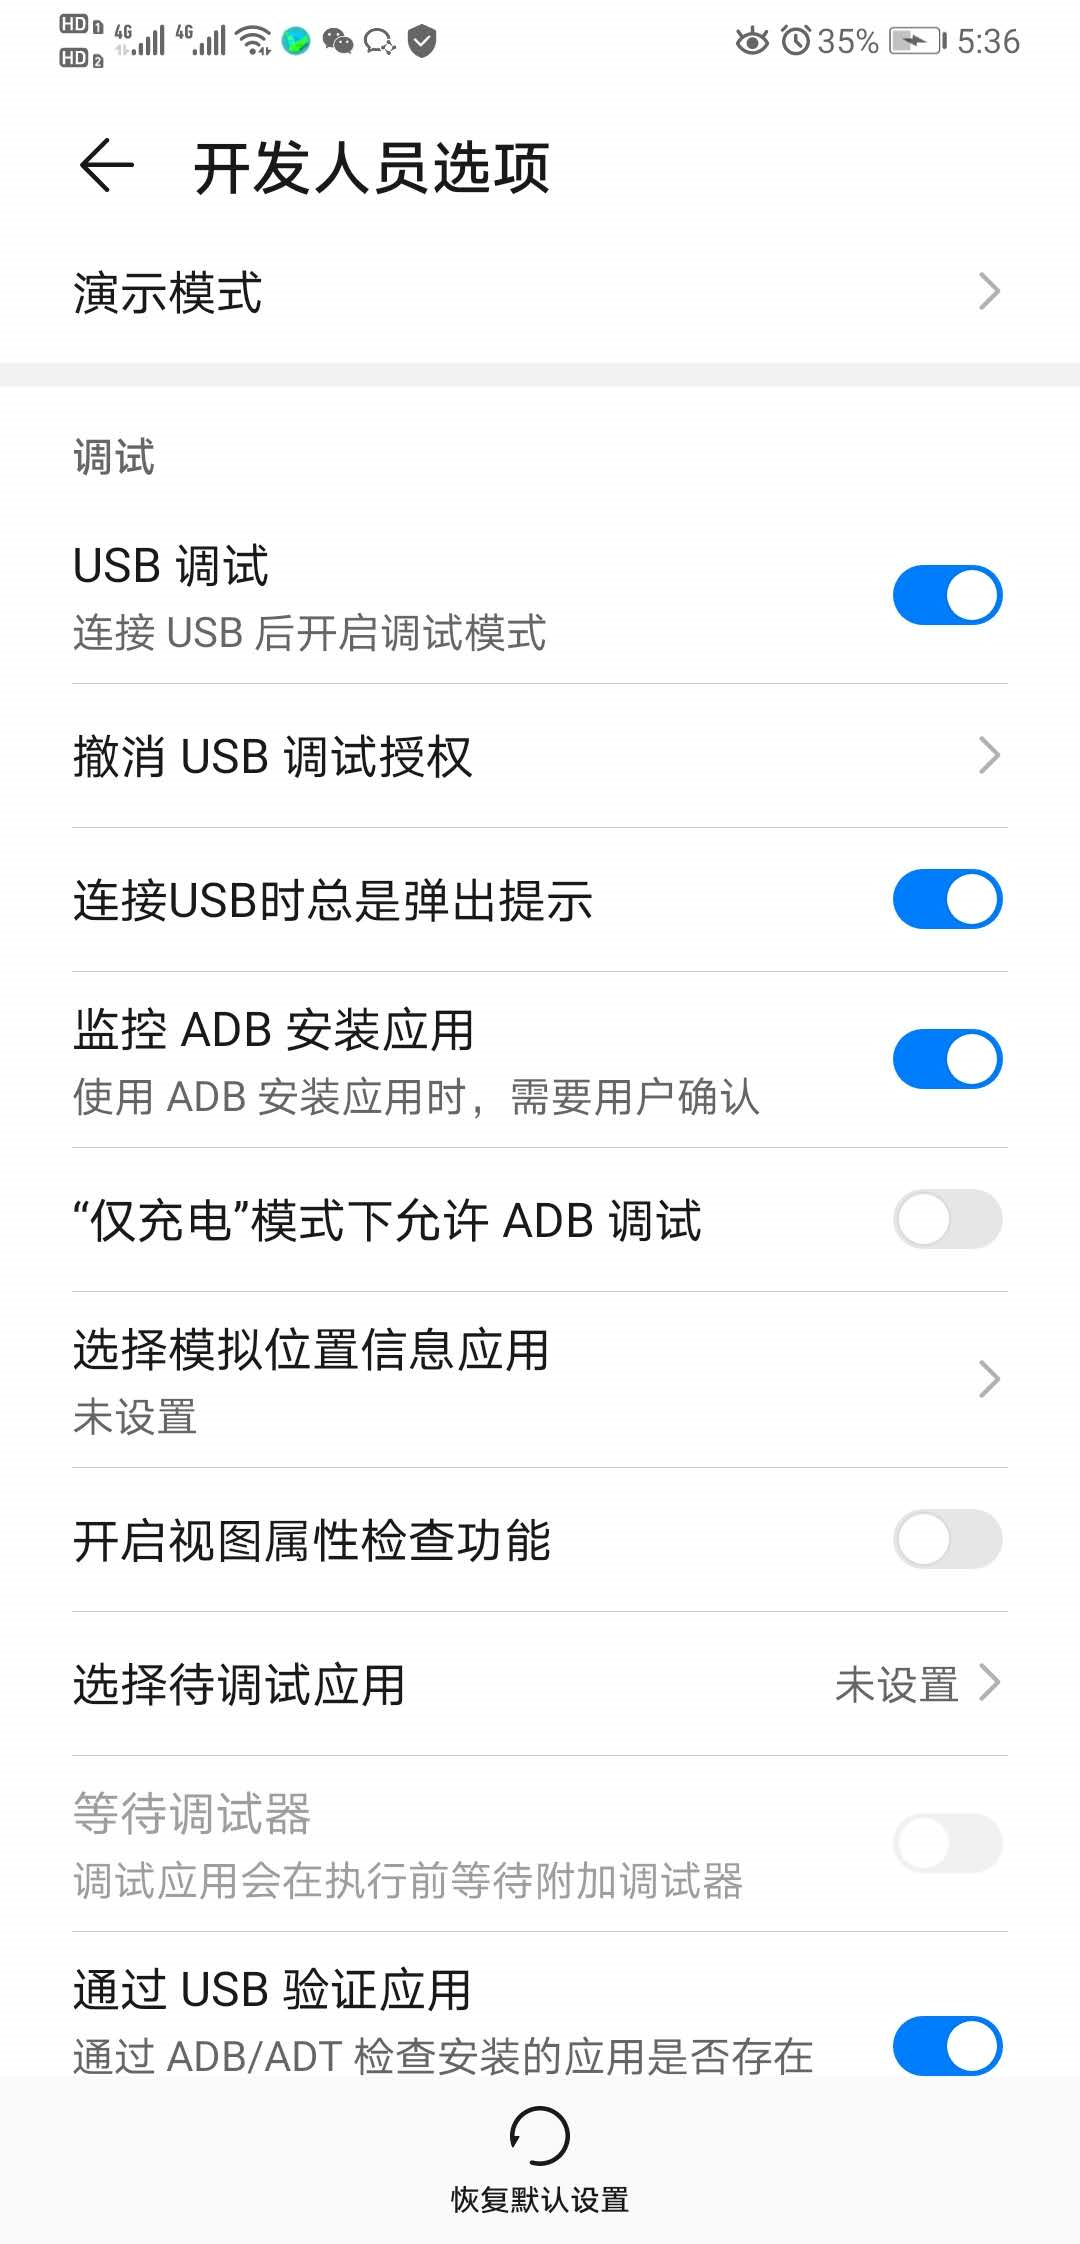
首先将我们的手机要调为开发者模式,然后打开USB调试,用数据线将手机与电脑连接
连接成功之后

这里会出现你自己的本机,然后运行程序,将会在真机进行安装部署,在我们的APP开始安装之前,会安装一些插件,全部安装就可以了,安装完成后,如下:
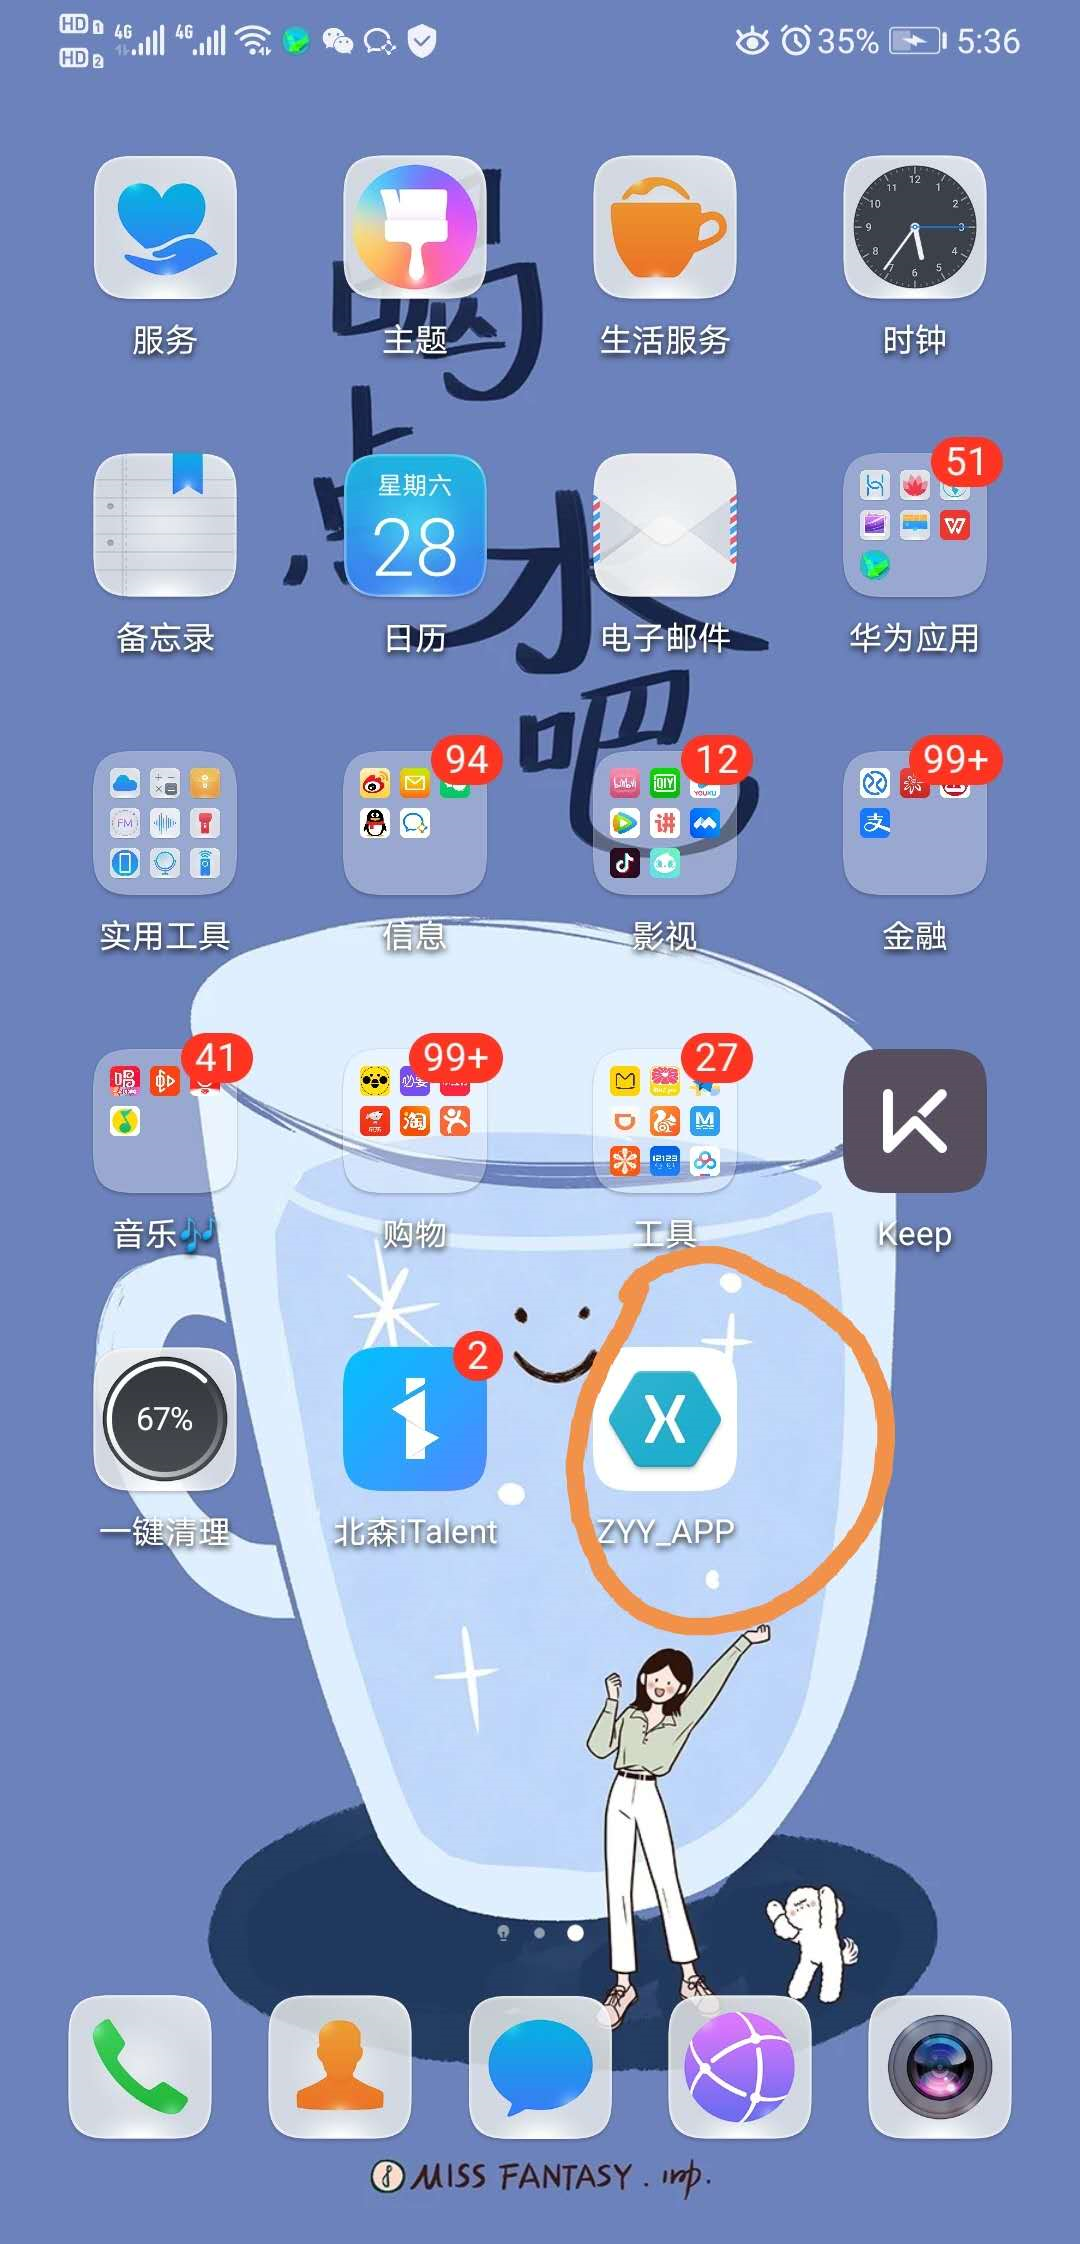
至此,一个简单的安卓APP就安装成功了。