1.前言
今天介绍React Native来实现二维码扫描的功能。首先我们要借助第三方插件react-native-barcode-scanner-universal来实现跨平台二维码扫描。
2.介绍
react-native-barcode-scanner-universal
react-native-barcode-scanner-universal是react-native-barcodescanner和react-native-camera的结合,react-native-barcodescanner应用于android平台,react-native-camera应用于iOS平台。
3.使用实例
1)安装:npm install react-native-barcode-scanner-universal --save
2) 关联native库:react-native-barcodescanner 和 react-native-camera
which rnpm || npm install -g rnpm
rnpm link react-native-camera
rnpm link react-native-barcodescanner
3)可以手动关联,建议用第2步自动关联。手动关联参考:
https://github.com/lwansbrough/react-native-camera#manual-install
https://github.com/ideacreation/react-native-barcodescanner#installation
4)关联成功后,需要修改Android工程下的MainApplication.java代码
import com.eguma.barcodescanner.BarcodeScannerPackage;//导入
public class MainApplication extends Application implements ReactApplication {
    // (...)

    @Override
    protected List<ReactPackage> getPackages() {
      return Arrays.<ReactPackage>asList(
        new MainReactPackage(),
        new BarcodeScannerPackage() // add this statement
      );
    }
}
5) react native中使用
import React, { Component } from 'react';
import {
AppRegistry,
StyleSheet,
Text,
View
} from 'react-native';
import BarcodeScanner from 'react-native-barcode-scanner-universal'
export default class qrcode extends Component {
//解析数据
parseData(pdata){
var ptype = pdata.type;
var data = pdata.data;
fetch(data)
.then((response) => response.json())
.then((responseJson) => {
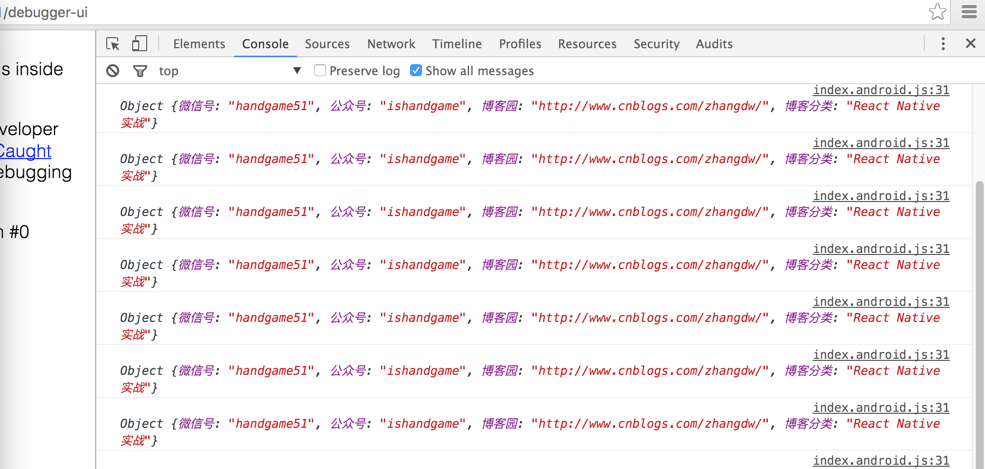
console.log(responseJson);
})
.catch((error) => {
console.error(error);
});
}
render() {
let scanArea = null
scanArea = (
<View style={styles.rectangleContainer}>
<View style={styles.rectangle} />
</View>
)
return (
<BarcodeScanner
onBarCodeRead={ this.parseData.bind(this) }
style={styles.camera}
>
{scanArea}
</BarcodeScanner>
);
}
}
const styles = StyleSheet.create({
camera: {
flex: 1
},
rectangleContainer: {
flex: 1,
alignItems: 'center',
justifyContent: 'center',
backgroundColor: 'transparent'
},
rectangle: {
height: 250,
250,
borderWidth: 2,
borderColor: '#00FF00',
backgroundColor: 'transparent'
}
});
4.效果
扫描成功后打印的数据