系列目录
Nginx简介
Nginx是一个免费的,开源的,高性能的HTTP服务器和反向代理,以及IMAP / POP3代理服务器。
Nginx以其高性能,稳定性,丰富的功能集,简单的配置和低资源消耗而闻名。
Nginx使用更加可扩展的事件驱动(异步)架构,此体系结构在负载下使用较小但更重要的可预测内存量。即使您不希望同时处理数千个请求,您仍然可以从Nginx的高性能和小内存占用中受益。
Nginx可以向各个方向扩展:从最小的VPS一直到大型服务器集群。
安装Nginx
安装 epel
sudo yum install epel-release
安装 Nginx
sudo yum install nginx
启动 Nginx
Nginx 不会自己启动,启动命令:
sudo systemctl start nginx
关闭防火墙
如果外部浏览器输入该机IP还是访问不了,说明有防火墙正在运行,关闭HTTP 和 HTTPS的防火墙:
sudo firewall-cmd --permanent --zone=public  --add-service=http
sudo firewall-cmd --permanent --zone=public --add-service=https
sudo firewall-cmd --reload
访问验证
外部浏览器访问成功,说明Nginx安装成功。

开机启动
最后,因为Nginx默认是不主动开启的,为了能够在系统启动就开启Nginx:
sudo systemctl enable nginx
端口映射配置
查看nginx.conf
vi /etc/nginx/nginx.conf
修改nginx配置
nginx.conf文件http配置内容,并且i进去注释掉http配置下server的默认配置内容Esc+:wq保存后退出。
    log_format  main  '$remote_addr - $remote_user [$time_local] "$request" '
                      '$status $body_bytes_sent "$http_referer" '
                      '"$http_user_agent" "$http_x_forwarded_for"';

    access_log  /var/log/nginx/access.log  main;

    sendfile            on;
    tcp_nopush          on;
    tcp_nodelay         on;
    keepalive_timeout   65;
    types_hash_max_size 2048;

    include             /etc/nginx/mime.types;
    default_type        application/octet-stream;

    # Load modular configuration files from the /etc/nginx/conf.d directory.
    # See http://nginx.org/en/docs/ngx_core_module.html#include
    # for more information.
    include /etc/nginx/conf.d/*.conf;
    #【解释】nginx会加载 /etc/nginx/conf.d文件夹下所有的conf文件的配置
 #   server {
 #       listen       80 default_server;
 #       listen       [::]:80 default_server;
 #        server_name  _;
 #        root         /usr/share/nginx/html;
 #
 #        # Load configuration files for the default server block.
 #        include /etc/nginx/default.d/*.conf;
 #
 #        location / {
 #        }
 #
 #        error_page 404 /404.html;
 #            location = /40x.html {
 #        }
 #
 #        error_page 500 502 503 504 /50x.html;
 #            location = /50x.html {
 #        }
 #    }
创建新配置
根据nginx配置文件有提示,在/etc/nginx/conf.d文件夹下为hellocore项目新建一个netcore.conf文件,文件配置如下
server {
    listen       80;
    location / {
    proxy_pass http://localhost:5000;
    proxy_http_version 1.1;
    proxy_set_header Upgrade $http_upgrade;
    proxy_set_header Connection keep-alive;
    proxy_set_header Host $host;
    proxy_cache_bypass $http_upgrade;
    }
}
重启nginx
nginx -s reload # systemctl restart nginx
特别注意
外部访问有可能会报502错误
原因:
SELinux配置问题
解决:
方法1.关闭SELinux
输入:sestatus,如果SELinux status: enabled ,表示开启,输入vi /etc/selinux/config 修改配置:SELINUX=disabled。
方法2.将nginx添加至SELinux的白名单
逐行执行如下命令:
yum install policycoreutils-python
cat /var/log/audit/audit.log | grep nginx | grep denied | audit2allow -M mynginx
semodule -i mynginx.pp
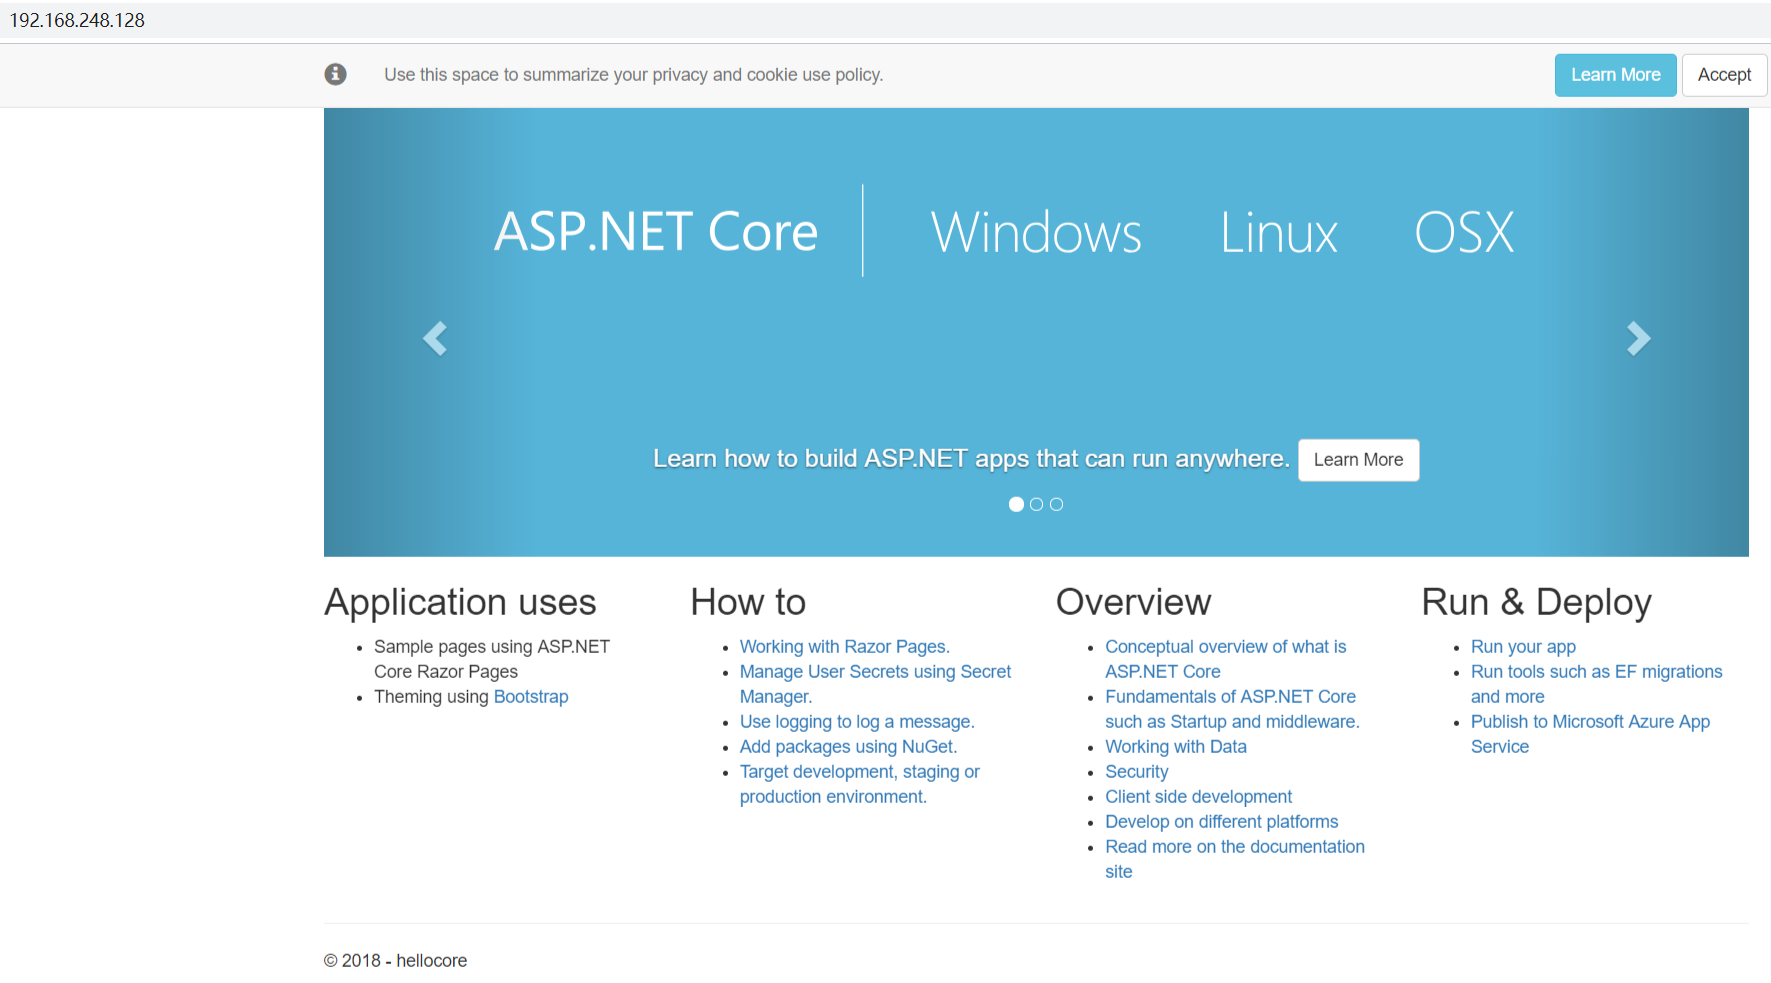
访问验证
