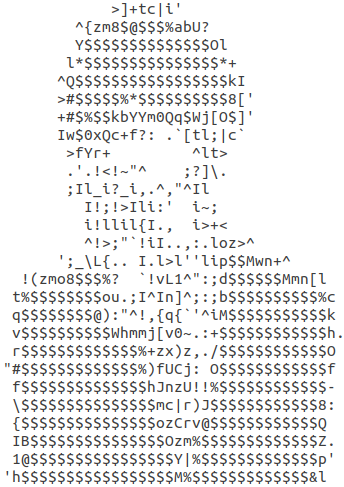
 1 from PIL import Image  # 安装 见https://www.cnblogs.com/yuzhen0228/p/13330536.html
 2
 3 ascii_char = list("$@B%8&WM#*oahkbdpqwmZO0QLCJUYXzcvunxrjft/|()1{}[]?-_+~<>i!lI;:,"^`'. ")  # 字符从深到浅
 4 length = len(ascii_char)
 5 img = Image.open('demo.png')
 6 (width, heigth) = img.size
 7 img = img.resize((int(width * 0.1), int(heigth * 0.05)))  # 缩小,便于字符画的展示
 8 print(img.size)  # 打印字符画的宽和高
 9
10
11 def covert(img):
12     # img = img.convert("L")  # 彩图直接灰度化
13     txt = ""
14     imode = list(img.getbands())
15     print(imode[-1])
16     for i in range(img.size[1]):  # 高,也就是行
17         for j in range(img.size[0]):  # 宽,也就是列
18             if imode[-1] == 'A':
19                 r,g,b,a = img.getpixel((j, i))
20             else: # imode[-1] == 'B'
21                 r,g,b = img.getpixel((j, i))
22             gray = int(r*0.299+g*0.587+b*0.114)  # 得到该点的灰度   详情 https://blog.csdn.net/xdrt81y/article/details/8289963
23             txt += ascii_char[int(gray * (length-1)/256)]  # 不同灰度分散到字符列表中的每个字符
24         txt += '
'  # 表示做完一行了
25     return txt
26
27
28 txt = covert(img)
29 f = open('demo.txt', 'w')
30 f.write(txt)
31 f.close()

