前面通过DefaultTabController组件实现了AppBar里面的顶部导航切换,但是在项目中有数据请求,上拉加载更多等操作的时候,前面的写法,就不是很方便操作,因此,在flutter里面,还提供了一个用于实现顶部导航的组件:tabController。
基本实现
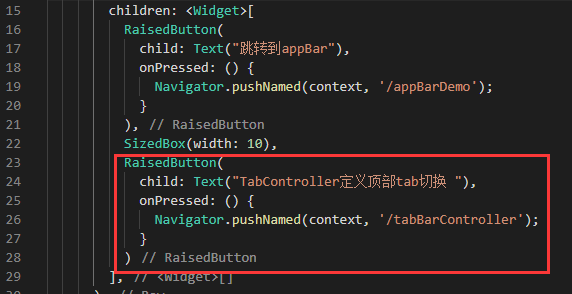
为了实现tabController的顶部切换,在前面项目的基础上,新建一个TabBarController.dart的页面,然后配置路由,并在首页配置路由跳转按钮。


接下来是写abBarController.dart的页面。
首先,要使用tabController组件,就必须是在一个继承StatefulWidget的动态组件,并且还要实现SingleTickerProviderStateMixin这个类,

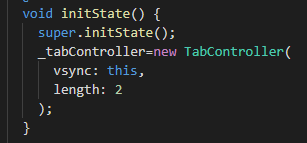
然后在组件初始化的时候,实例化TabController,实例化的时候需要传入两个参数,其中第一个是固定写法,第二个代表Tab个数。

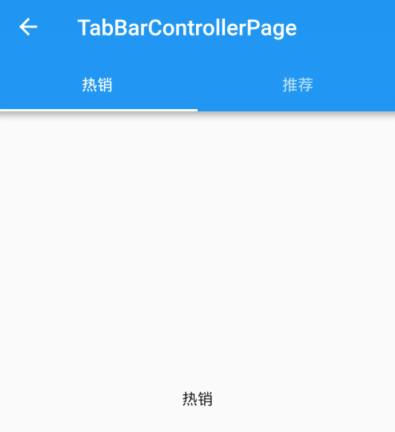
剩下的和前面差不多了,在AppBar里配置bottom属性,设置导航,然后在body里面添加导航对应的页面,不同的是,不管在bottom里面还是body里面,都还需要添加controller: this._tabController。
abBarController.dart
import 'package:flutter/material.dart';

class TabBarControllerPage extends StatefulWidget {
  TabBarControllerPage({Key key}) : super(key: key);

  _TabBarControllerPageState createState() => _TabBarControllerPageState();
}

class _TabBarControllerPageState extends State<TabBarControllerPage> with SingleTickerProviderStateMixin {
  TabController _tabController;

  @override
  void initState() {
    super.initState();
    _tabController=new TabController(
      vsync: this,
      length: 2
    );
  }

  @override
  Widget build(BuildContext context) {
    return Scaffold(
      appBar: AppBar(
        title: Text("TabBarControllerPage"),
        bottom: TabBar(
          controller: this._tabController,
          tabs: <Widget>[
            Tab(text:"热销"),
            Tab(text:"推荐"),
          ],
        ),
      ),
      body: TabBarView(
        controller: this._tabController,
        children: <Widget>[
          Center(child: Text("热销")),
          Center(child: Text("推荐"))
        ],
      ),
    );
  }
}

代码下载:点这里(提取码:dwvo)