1.配置yum源
vim /etc/yum.repos.d/gitlab-ce.repo
[gitlab-ce]
name=Gitlab CE Repository
baseurl=https://mirrors.tuna.tsinghua.edu.cn/gitlab-ce/yum/el7/
gpgcheck=0
enabled=1
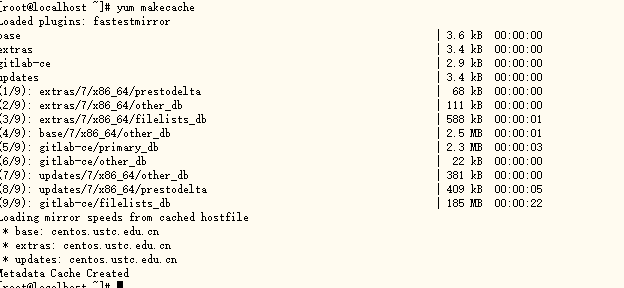
2.更新本地yum 缓存
yum makecache
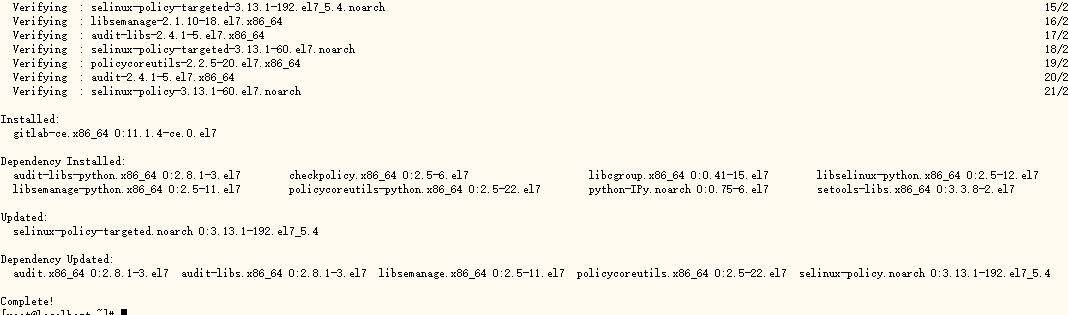
3.安装gitlab
yum install gitlab-ce
4.启动 gitlab
gitlab-ctl reconfigure
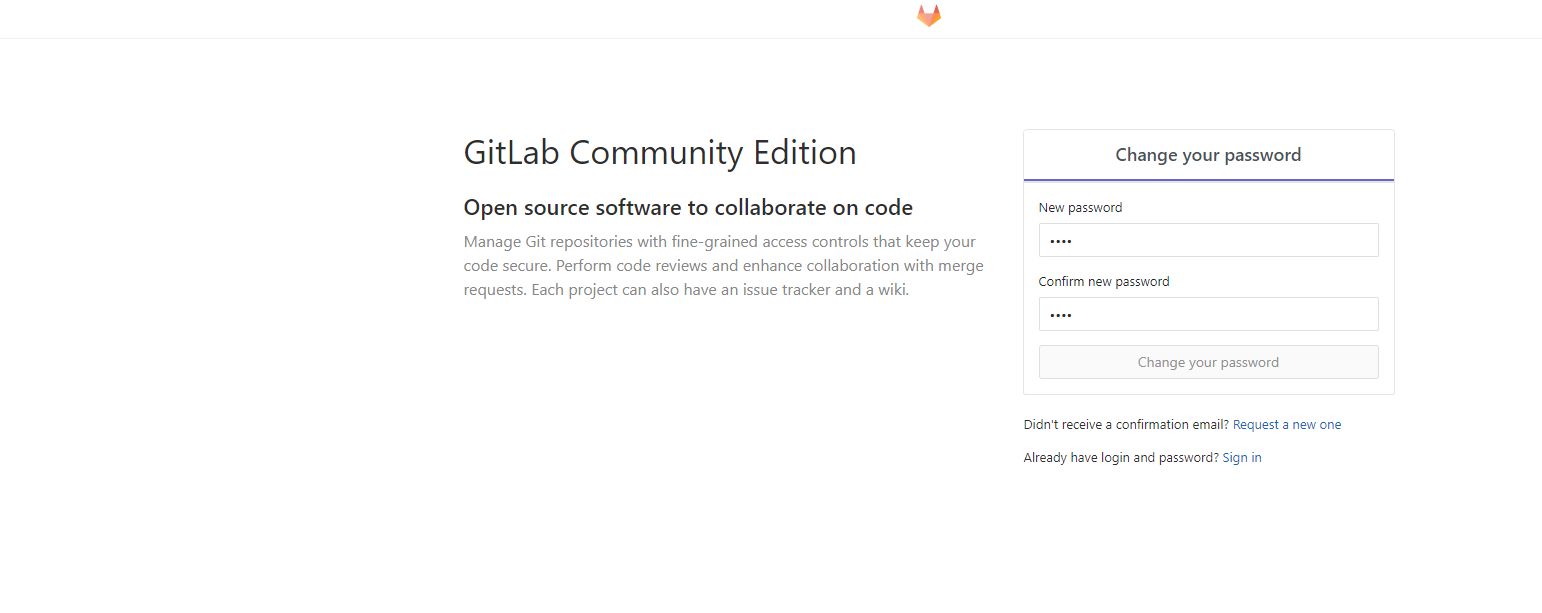
5.访问
http://192.168.64.128
6.常用命令
gitlab-ctl start    # 启动所有 gitlab 组件;
gitlab-ctl stop        # 停止所有 gitlab 组件;
gitlab-ctl restart        # 重启所有 gitlab 组件;
gitlab-ctl status        # 查看服务状态;
gitlab-ctl reconfigure        # 启动服务;
vi /etc/gitlab/gitlab.rb        # 修改默认的配置文件;
gitlab-rake gitlab:check SANITIZE=true --trace    # 检查gitlab;
gitlab-ctl tail        # 查看日志;
7.gitlab默认使用的80端口,占用了nginx的默认端口,我们修改下gitlab的端口
vi /etc/gitlab/gitlab.rb
修改 external_url 访问地址
external_url 'http://192.168.5.256'

修改监听端口 80 改为 9091
nginx['listen_port'] = 9091

修改监听端口 8080 改为9092
unicorn['port'] = 9092
让配置生效
gitlab-ctl reconfigure
重启gitlab
gitlab-ctl restart
访问
curl http://localhost:9091
日志,可能一次配置并不会成功,需要查看日志。
gitlab-ctl tail unicorn